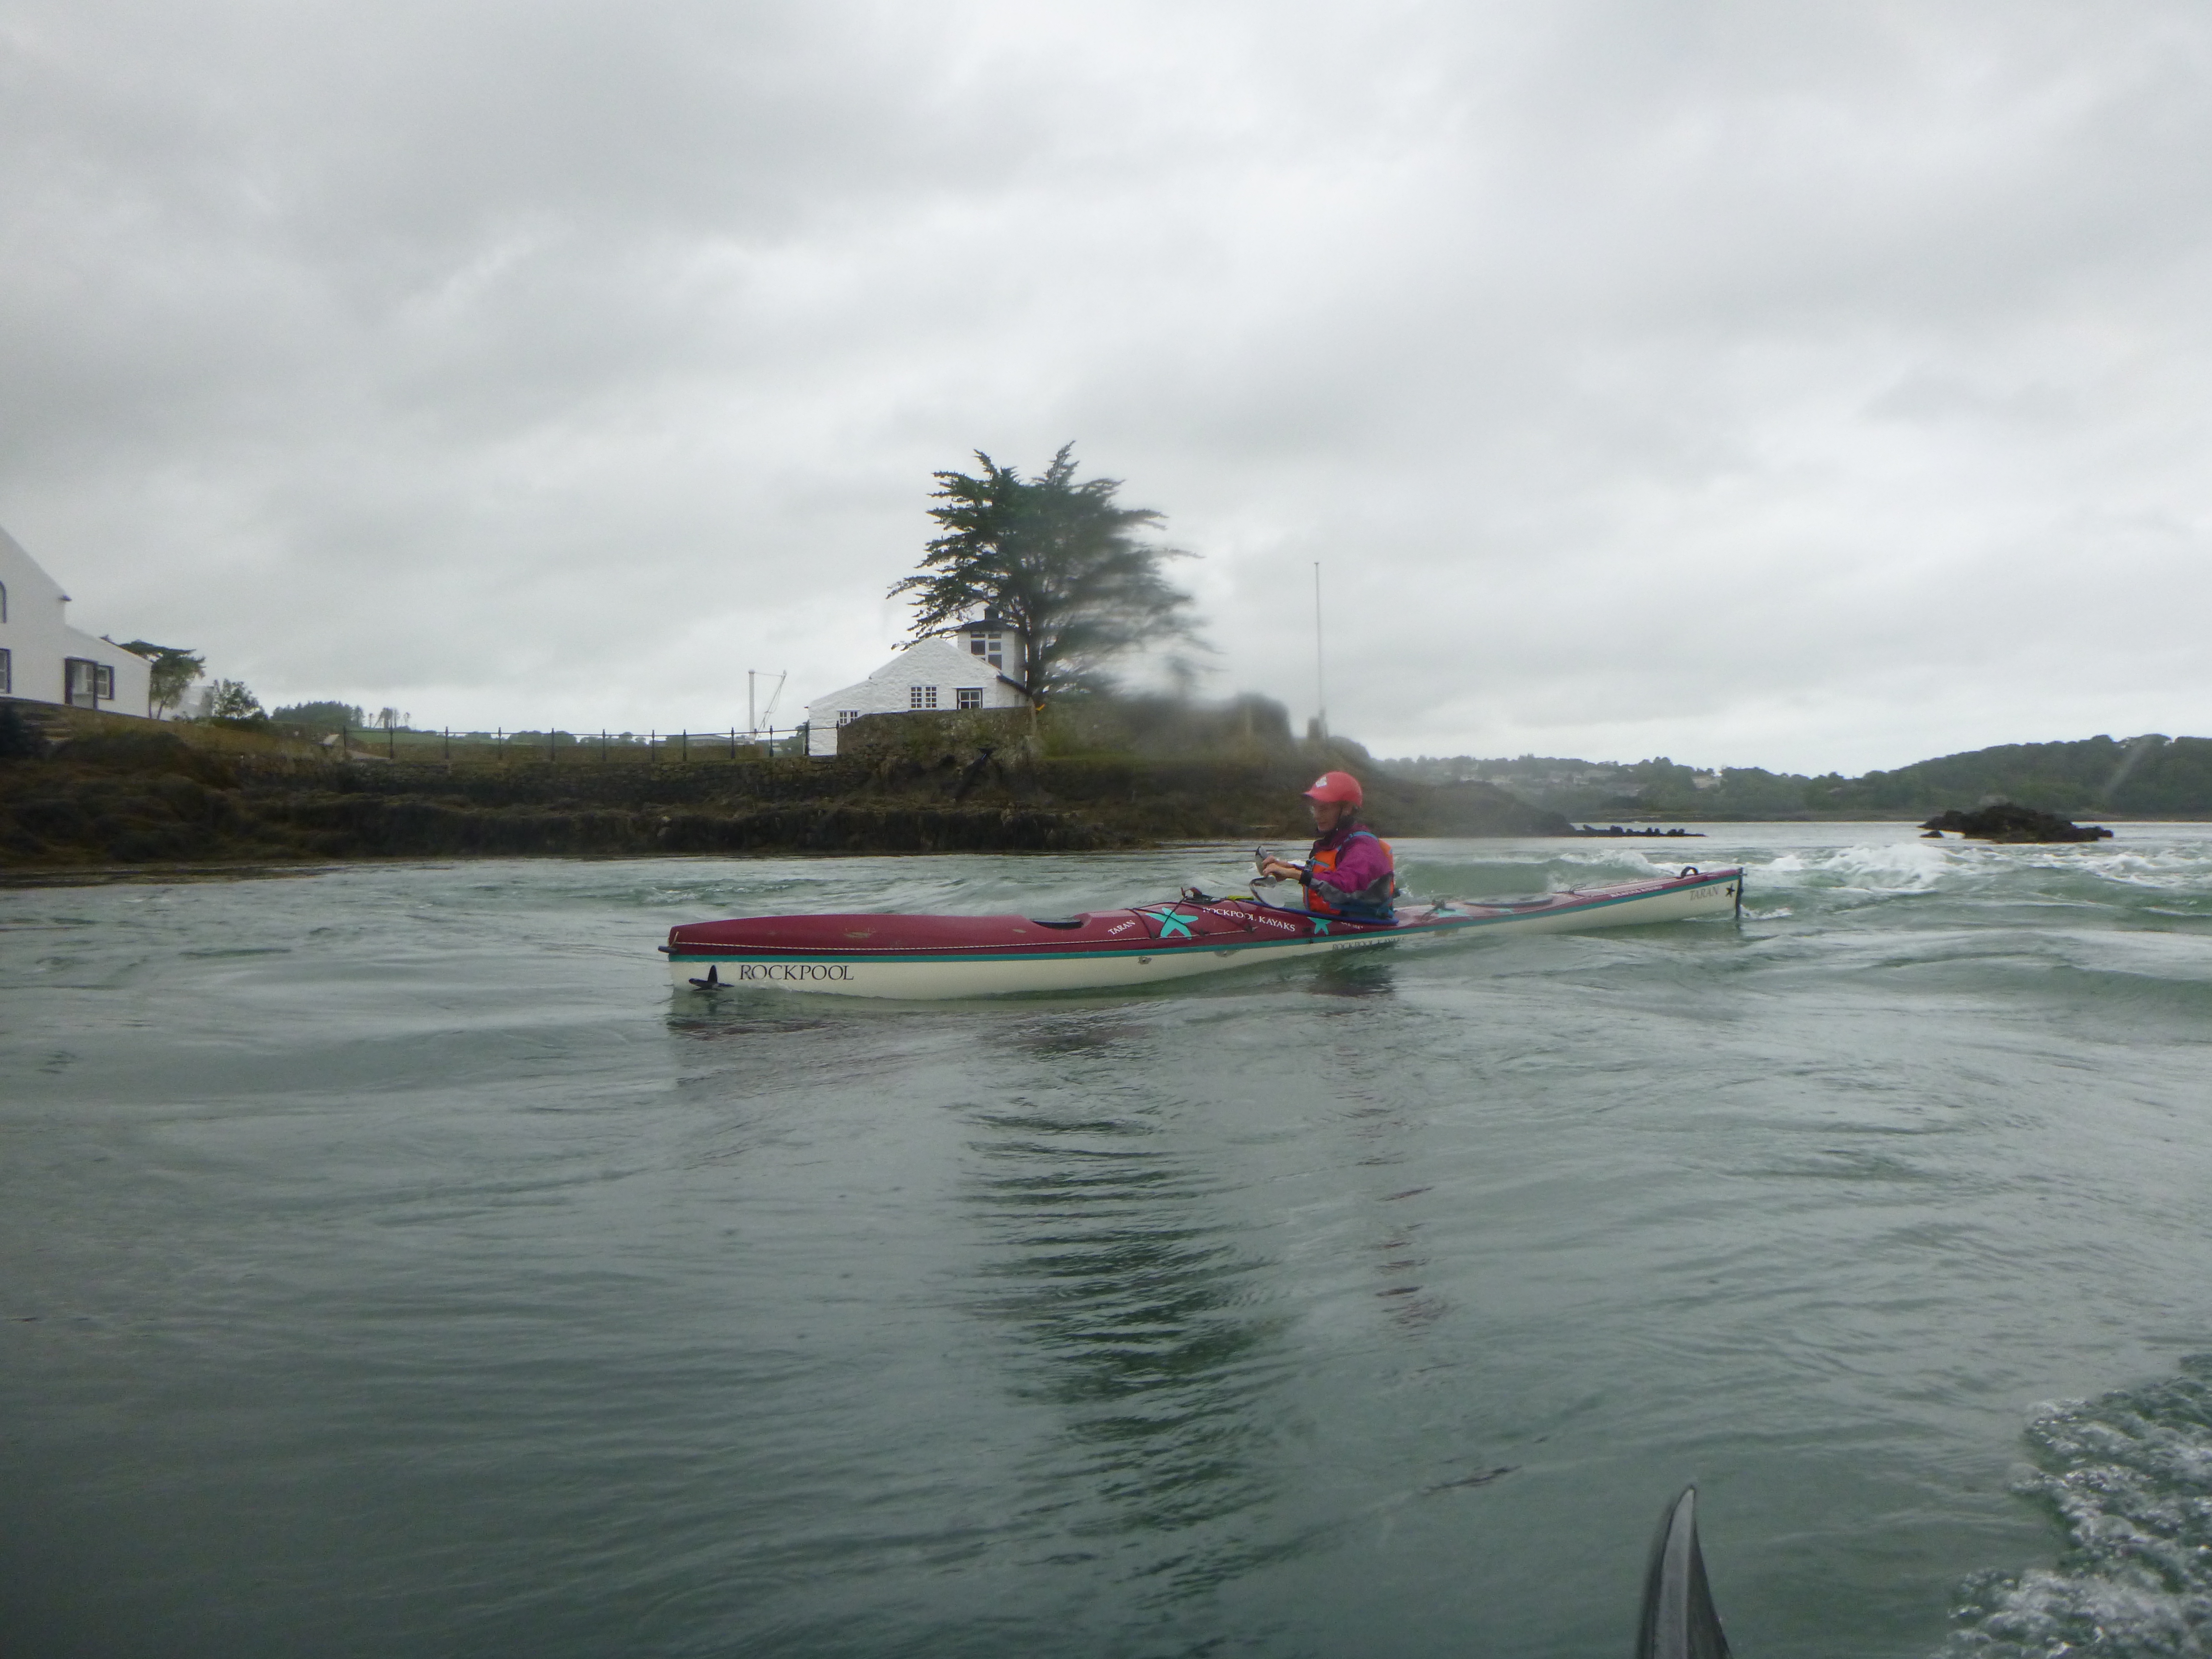
Although this guide is based on extensive Menai Straits paddling, we are still learning, and so this guide is a work in-progress.
Updated: 2024-04-04 JW
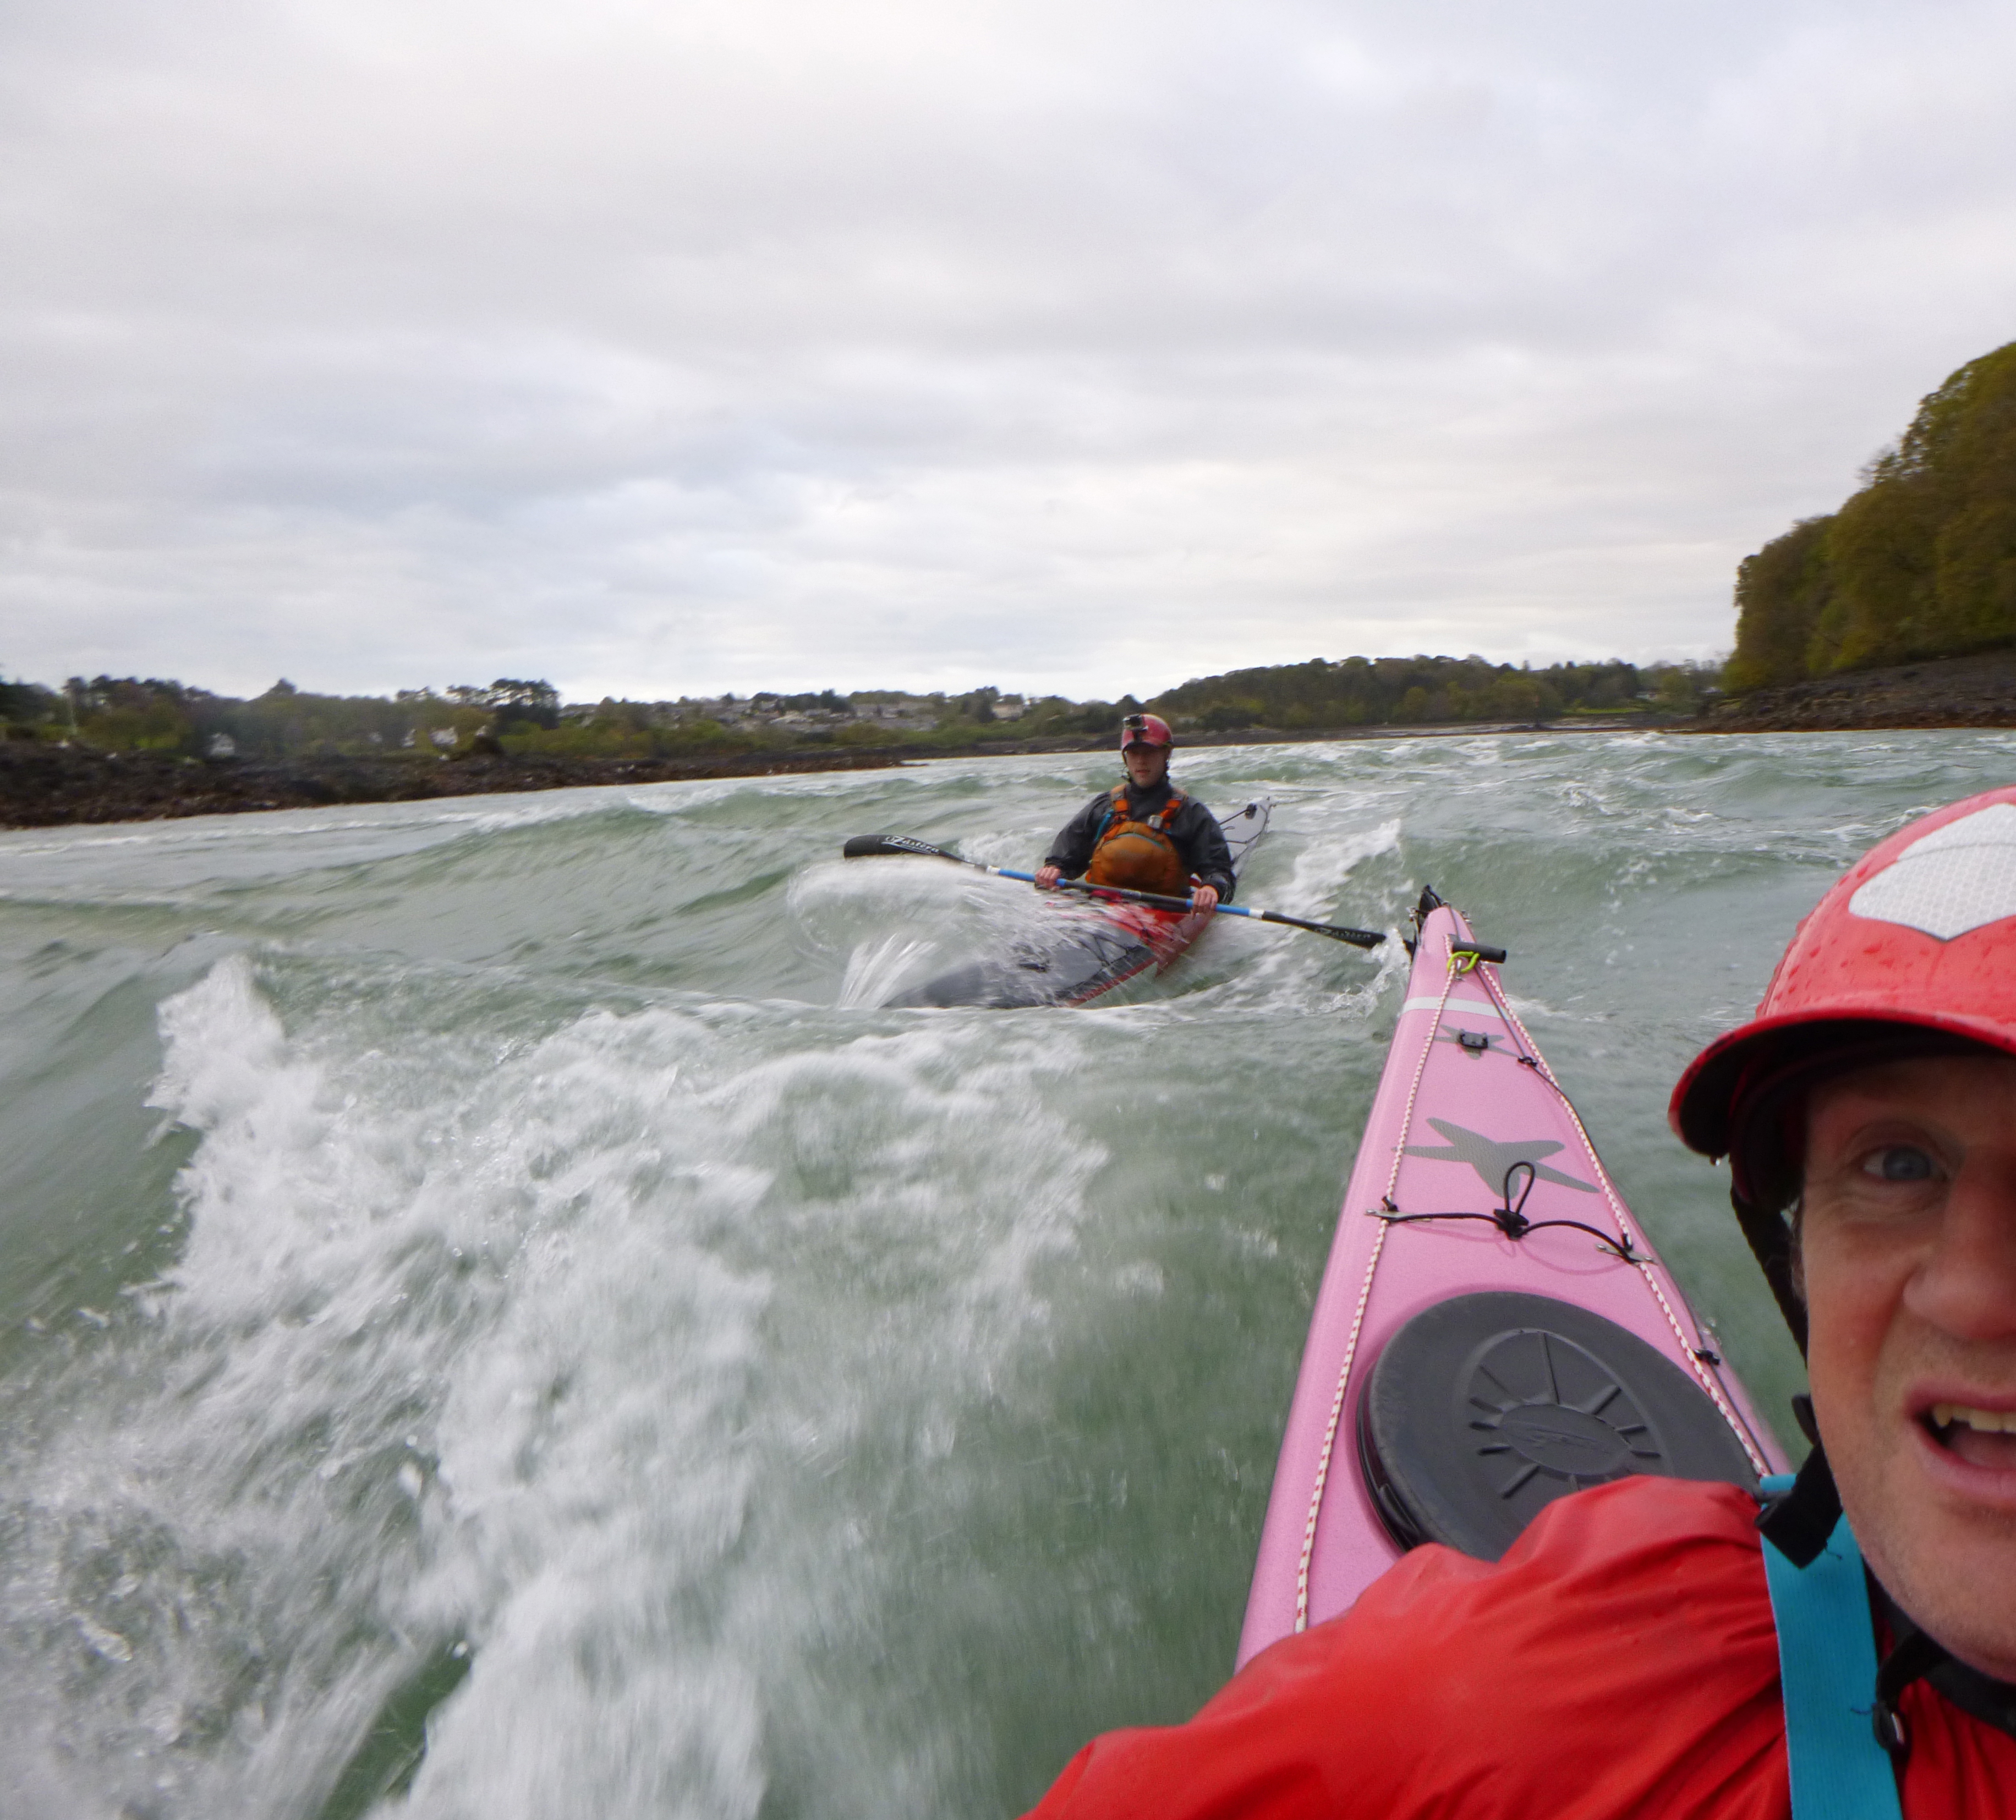
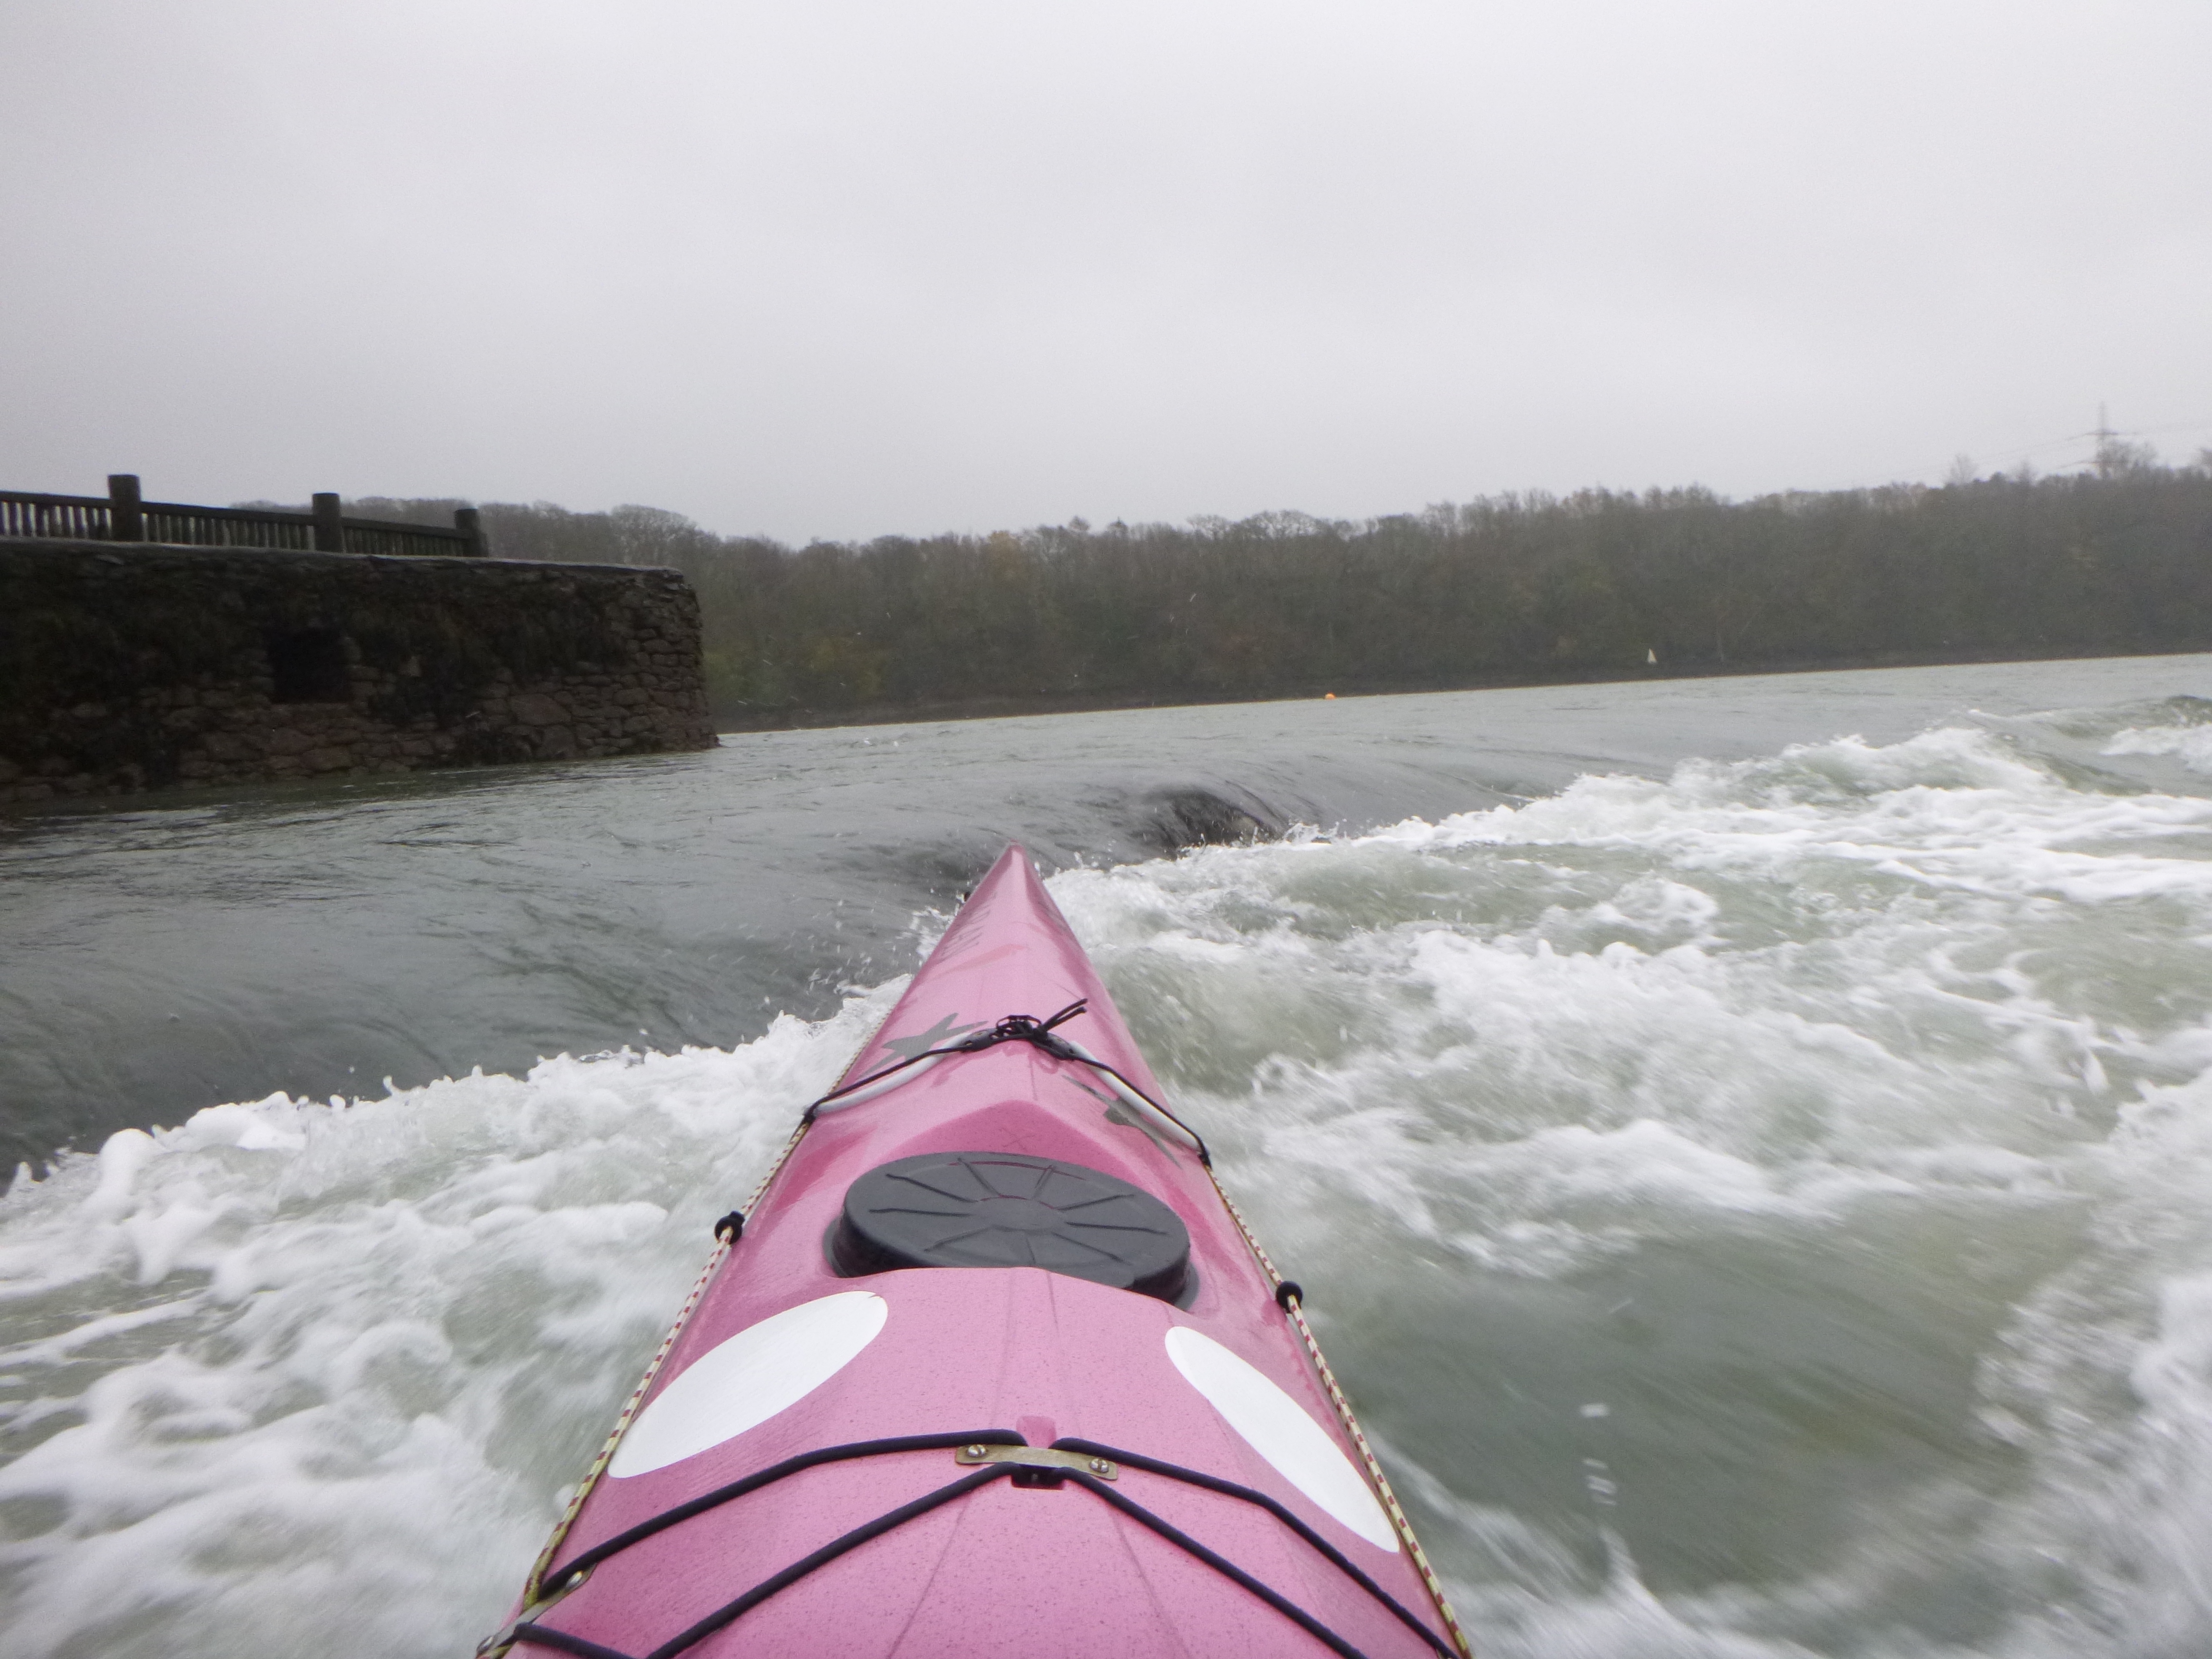
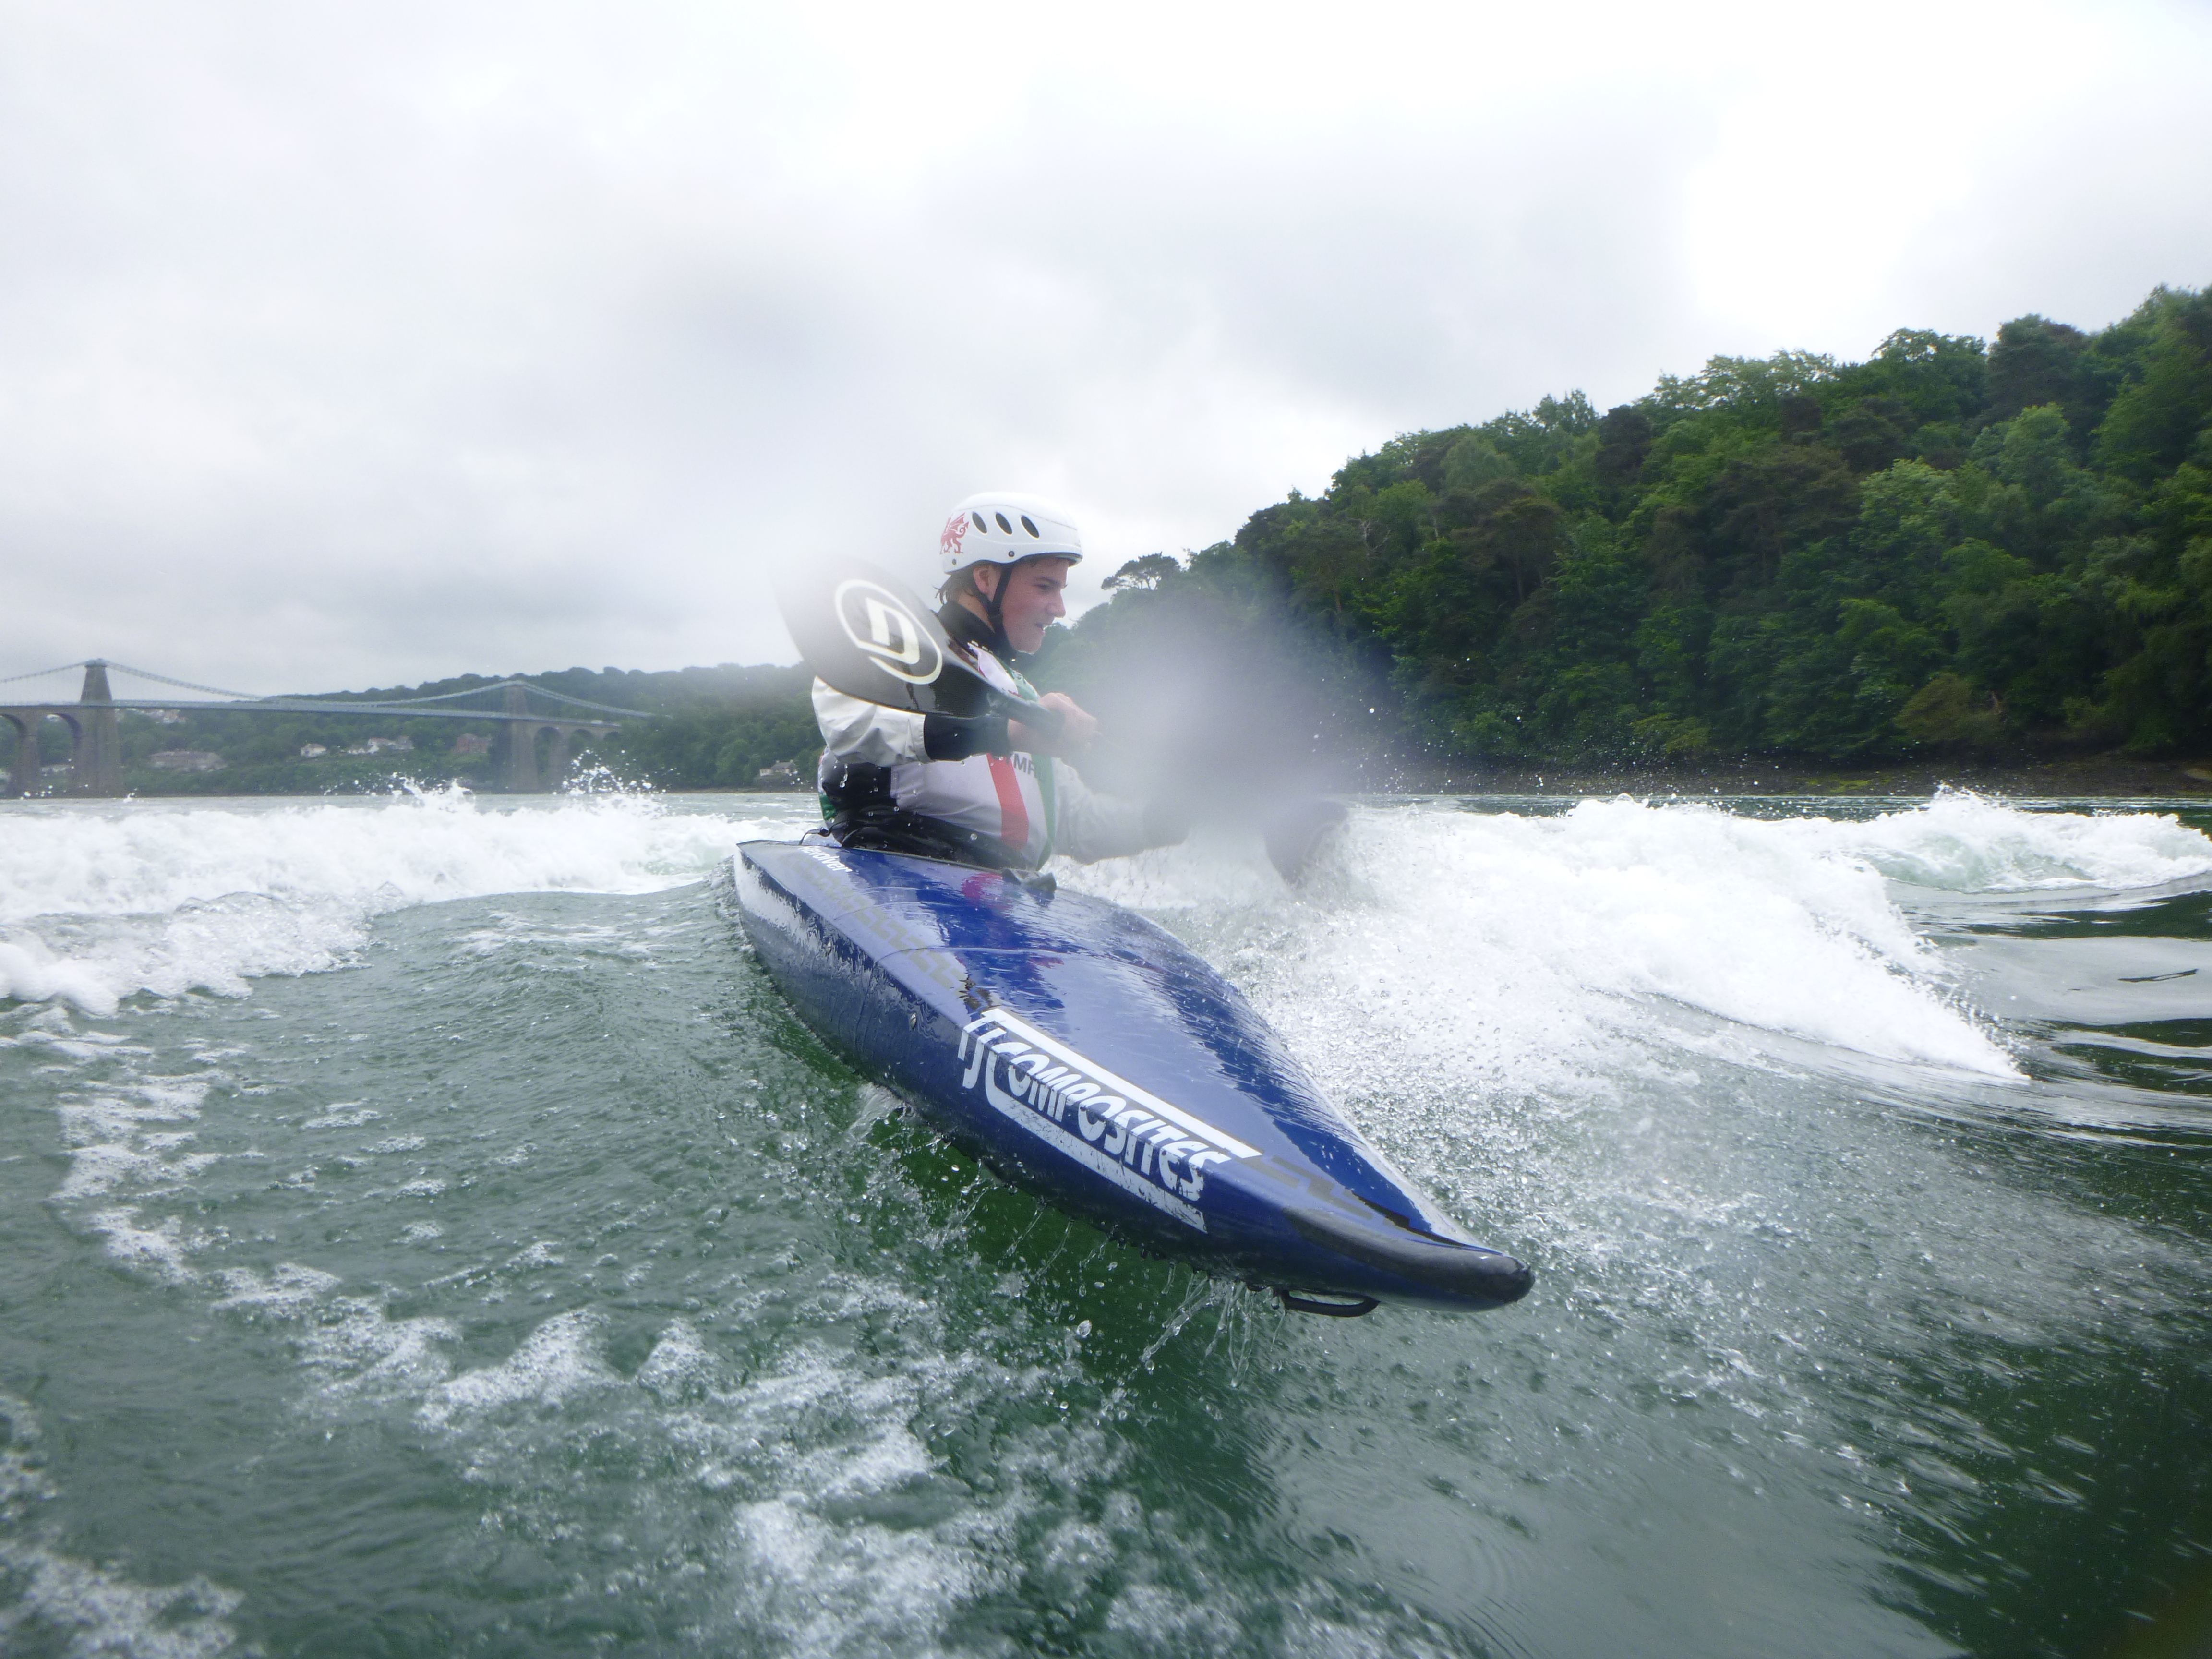
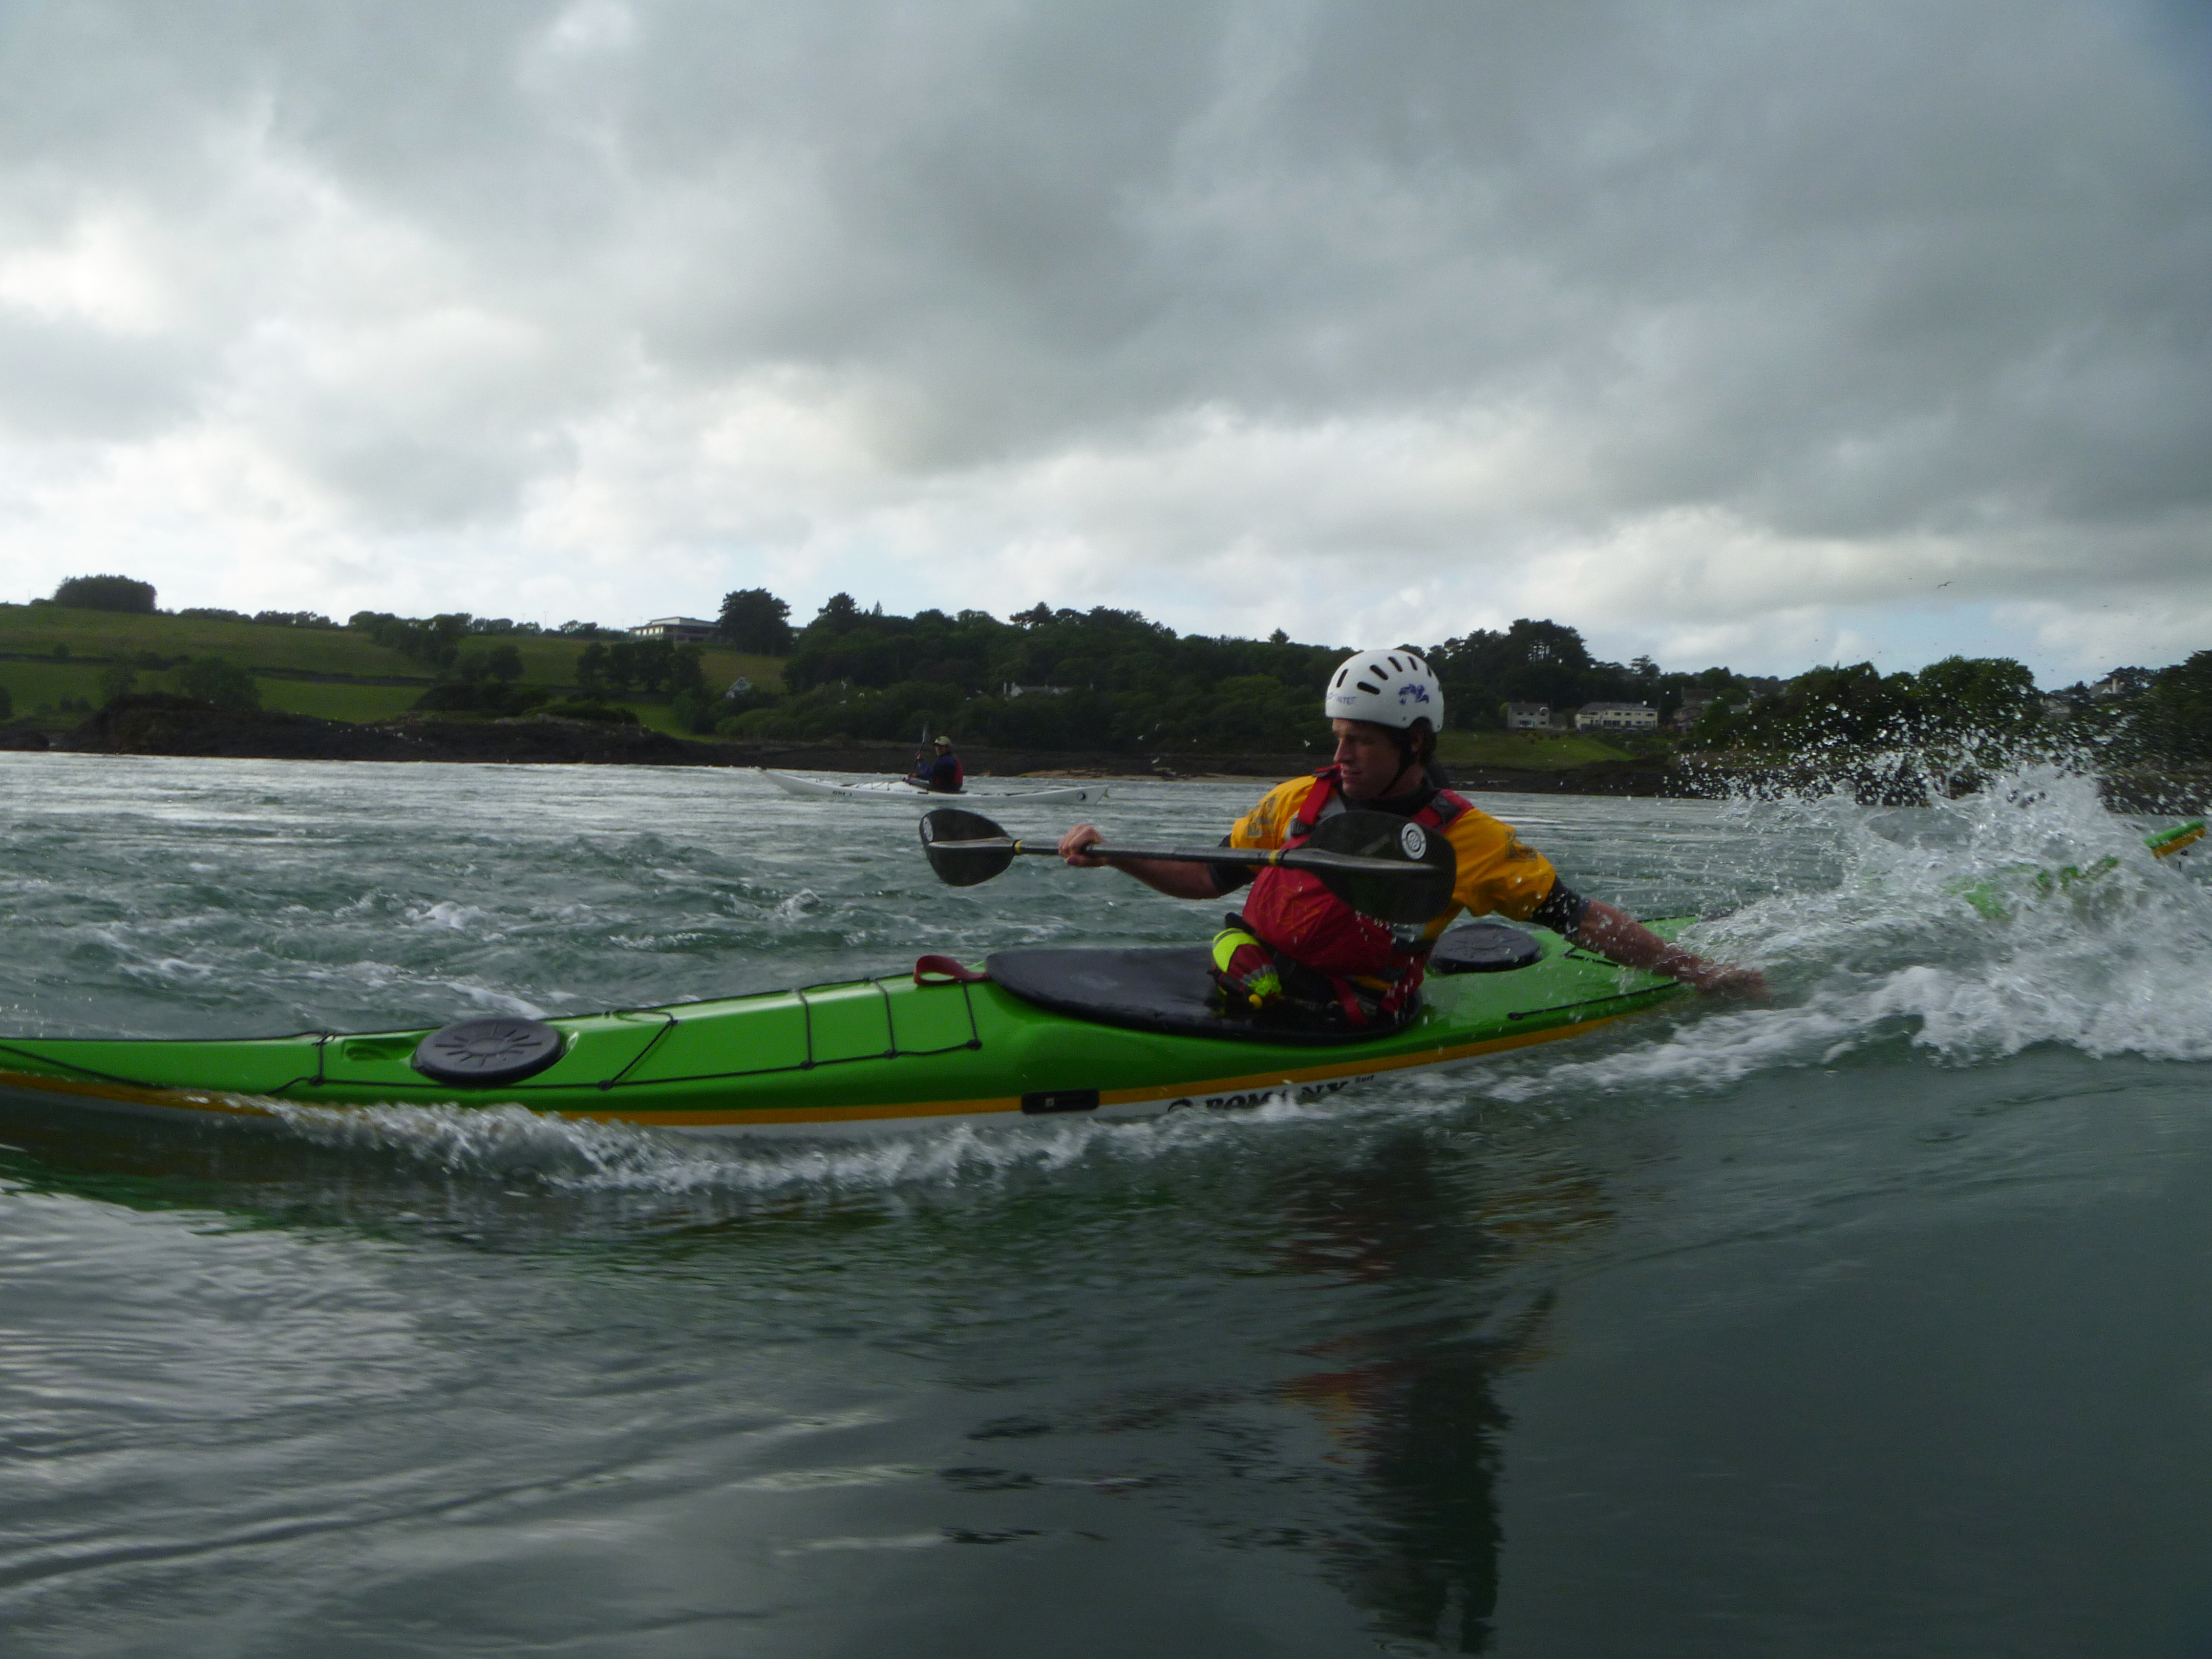
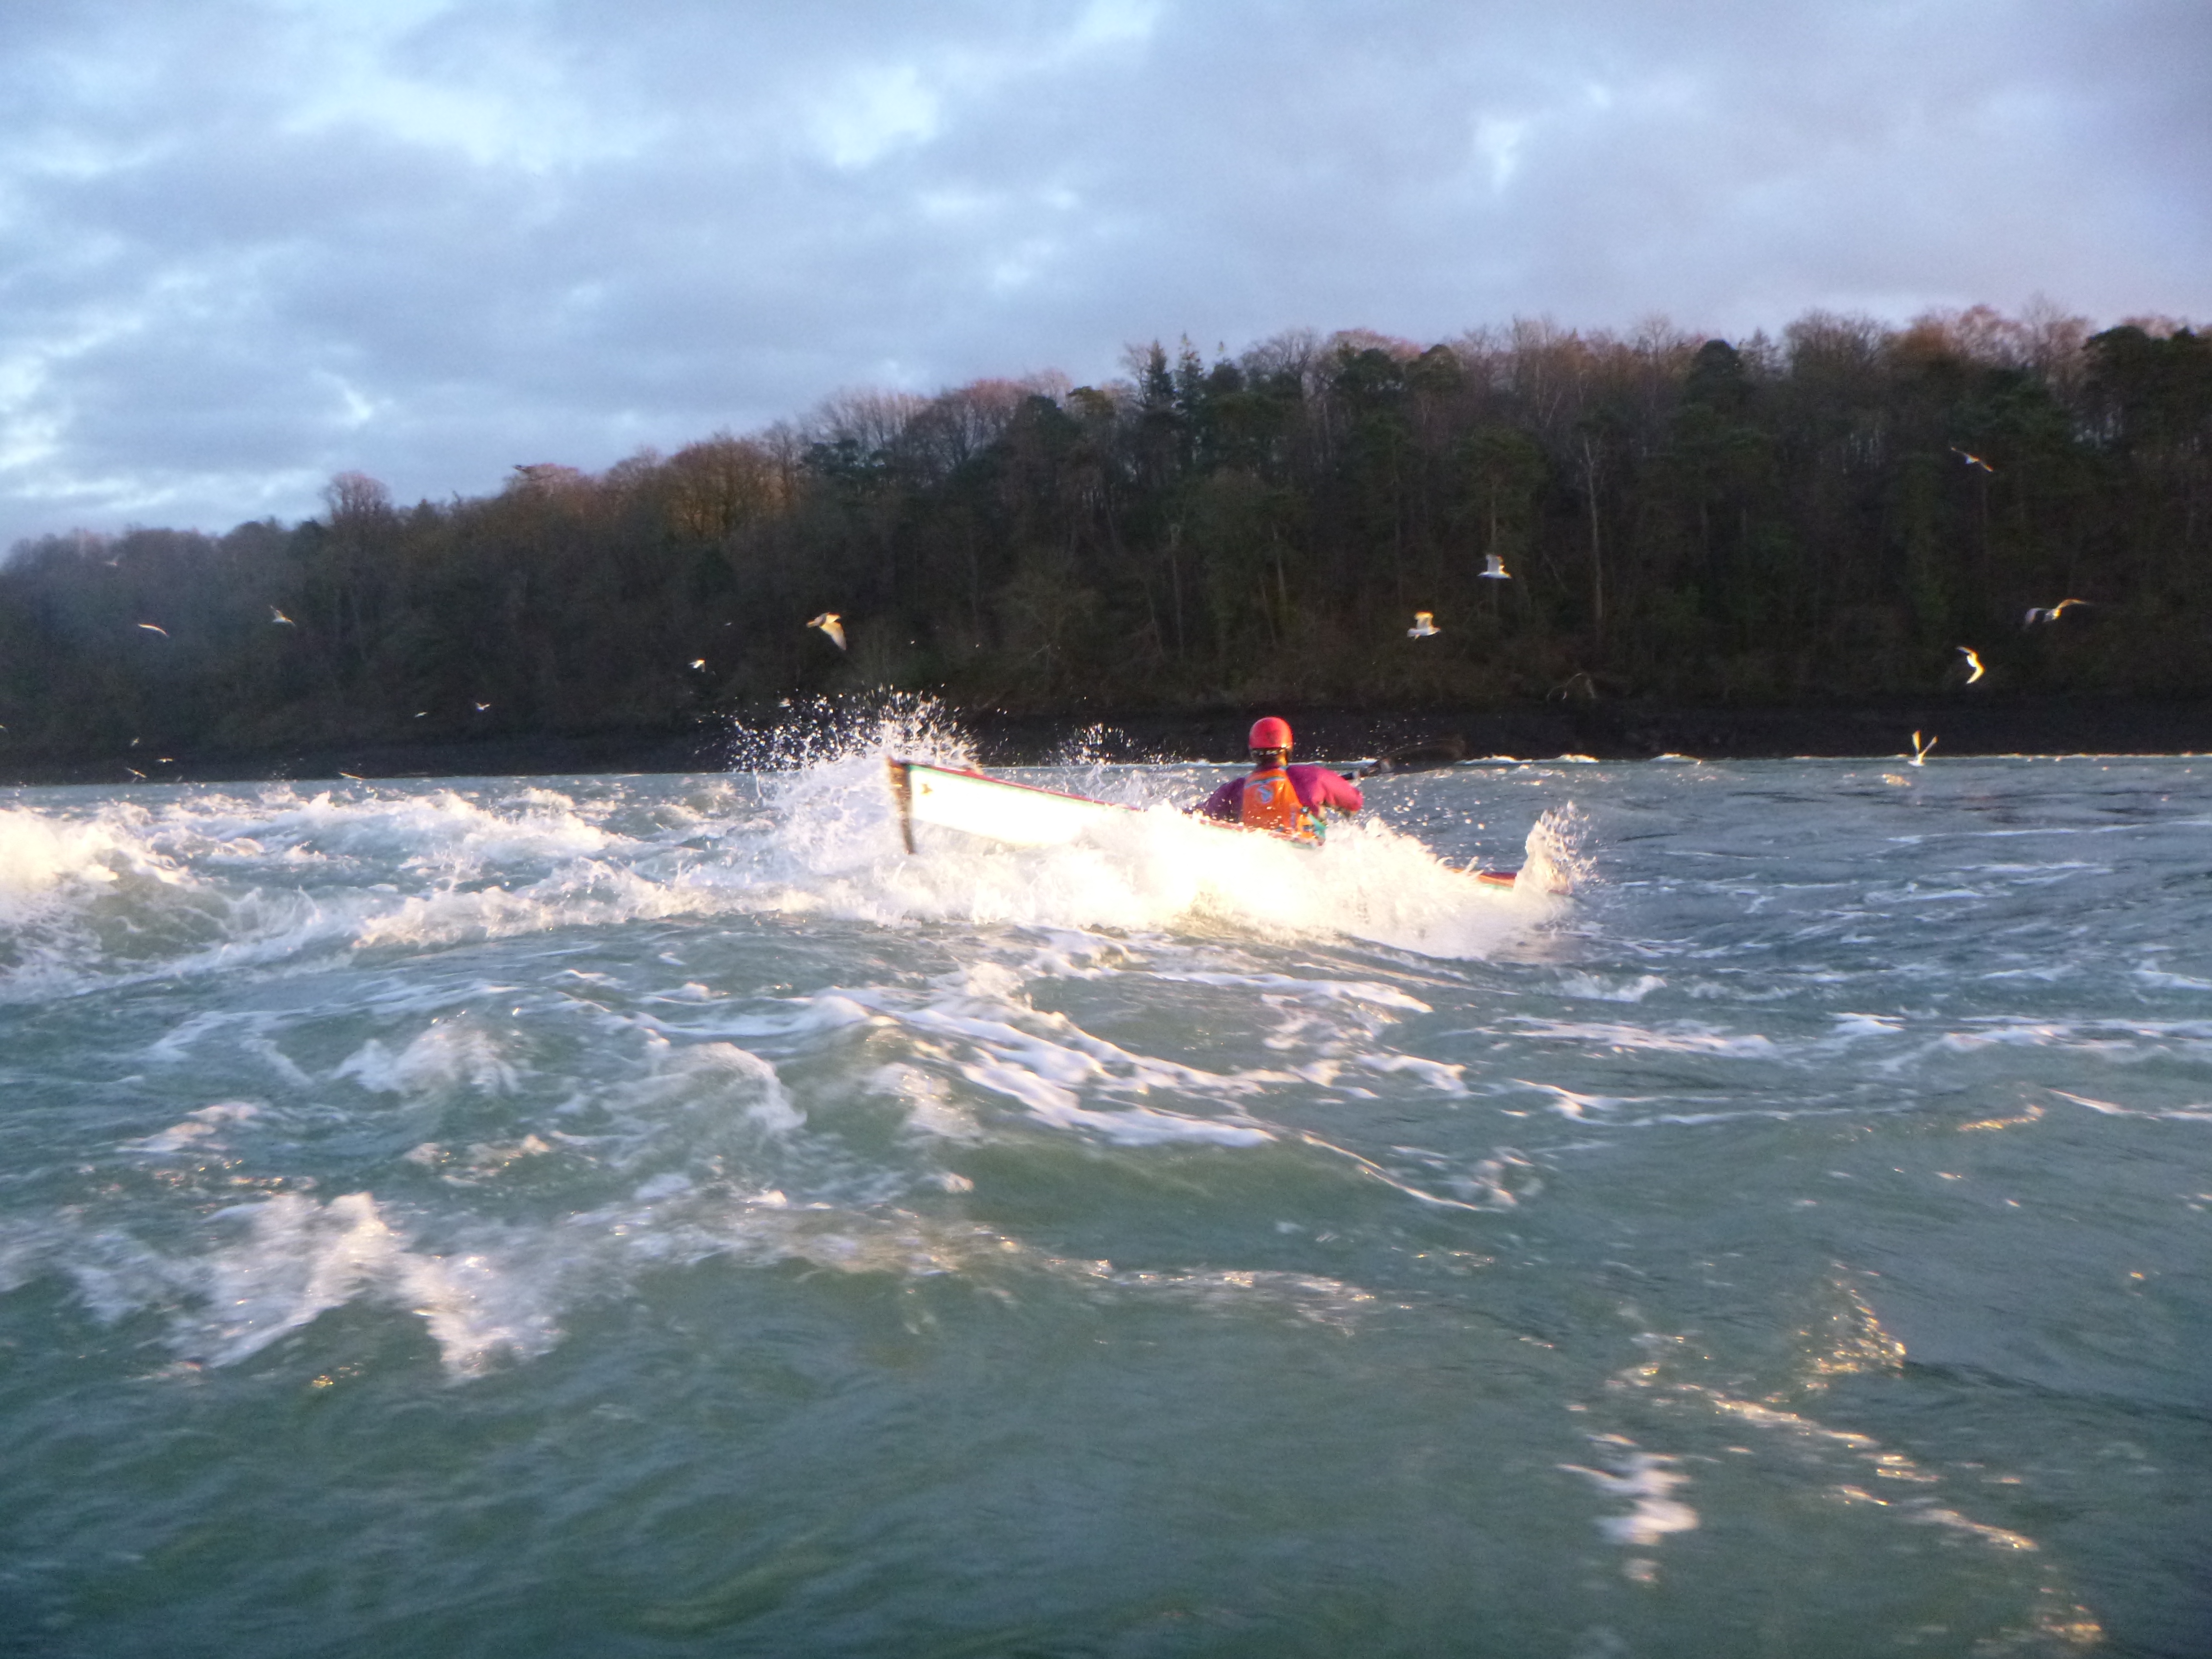
The fast movement of water through the confines of the Swellies means we can find a number of waves here to surf. There are surfable waves on both the flood and the ebb. While you won’t find the world’s largest waves here, they are fun. They range from 1ft to max of 4ft on the largest spring tides. There is plenty of variety and challenge to keep you entertained.
All the waves have different characteristics, and while some work well for short boats (slalom boats and playboats) there is also plenty of sport to be had for longer boats too. This guide is written with sea kayakers in mind.
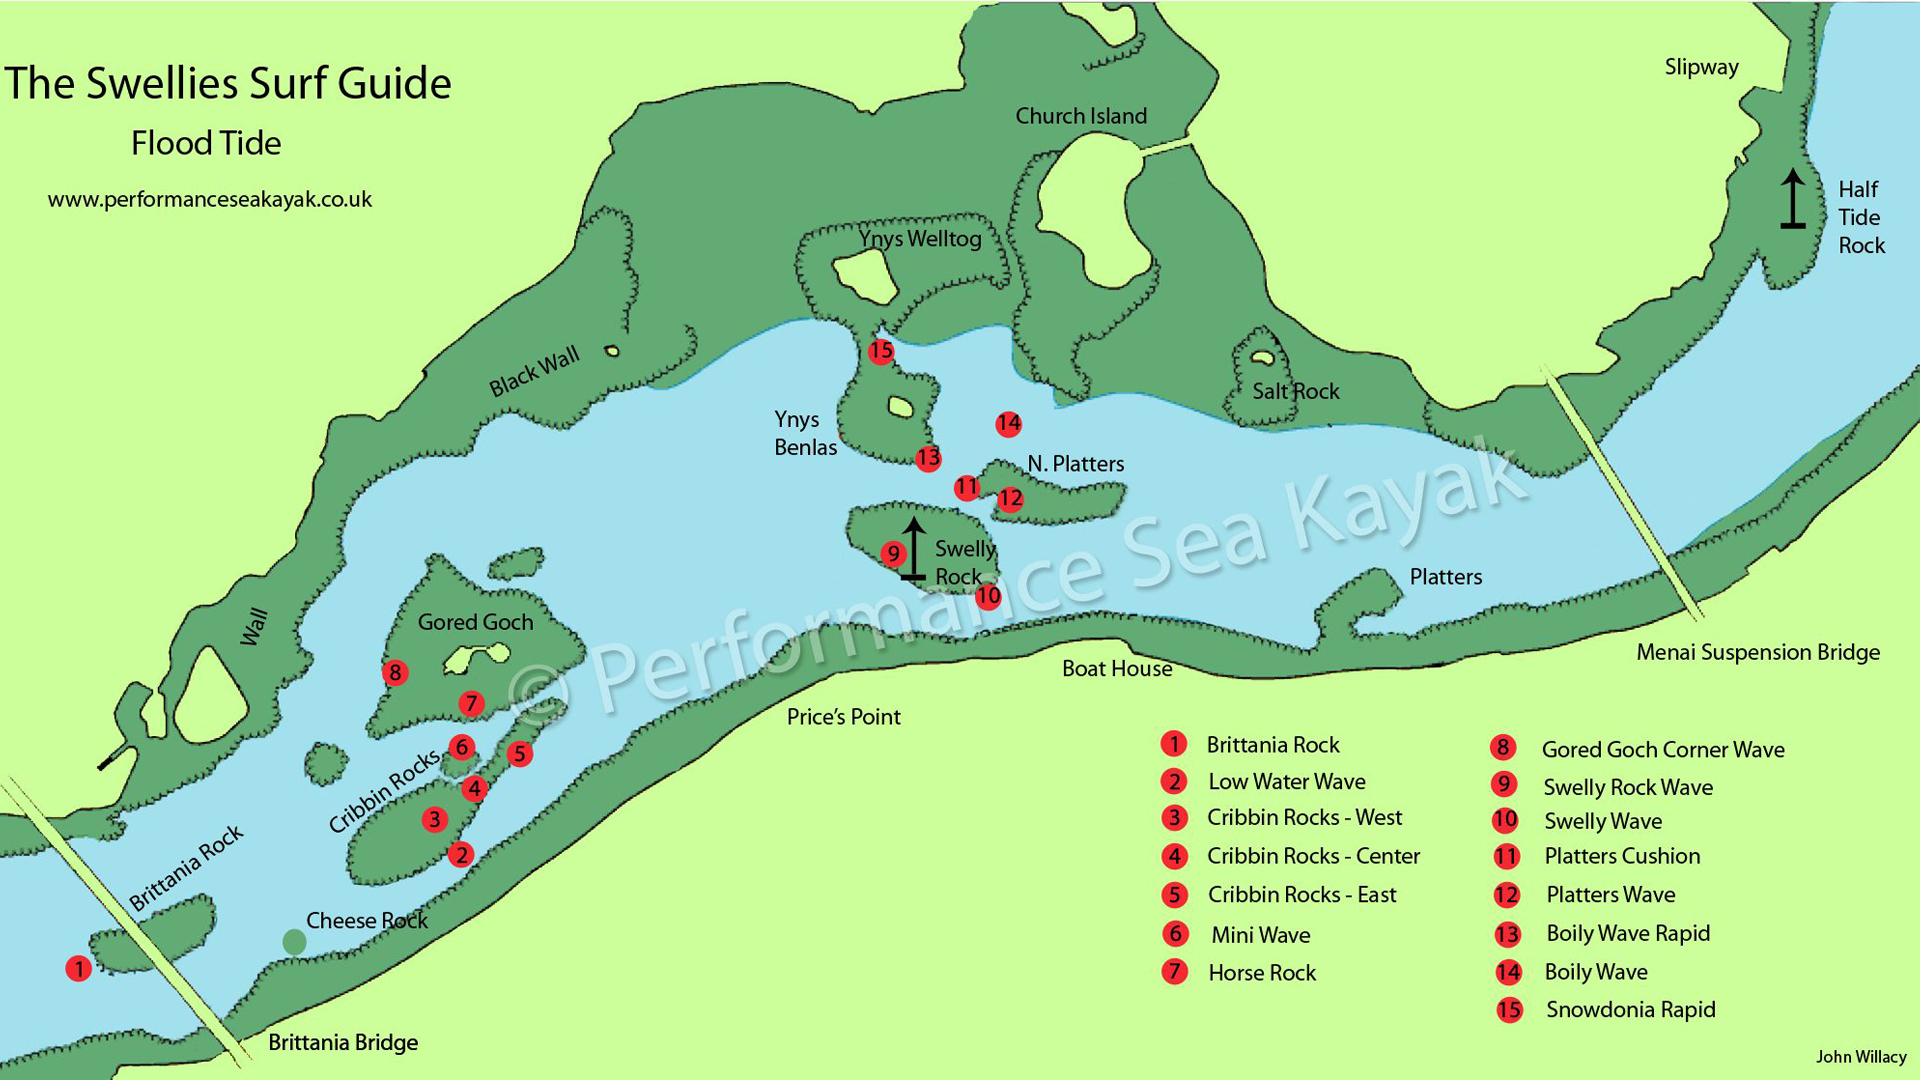
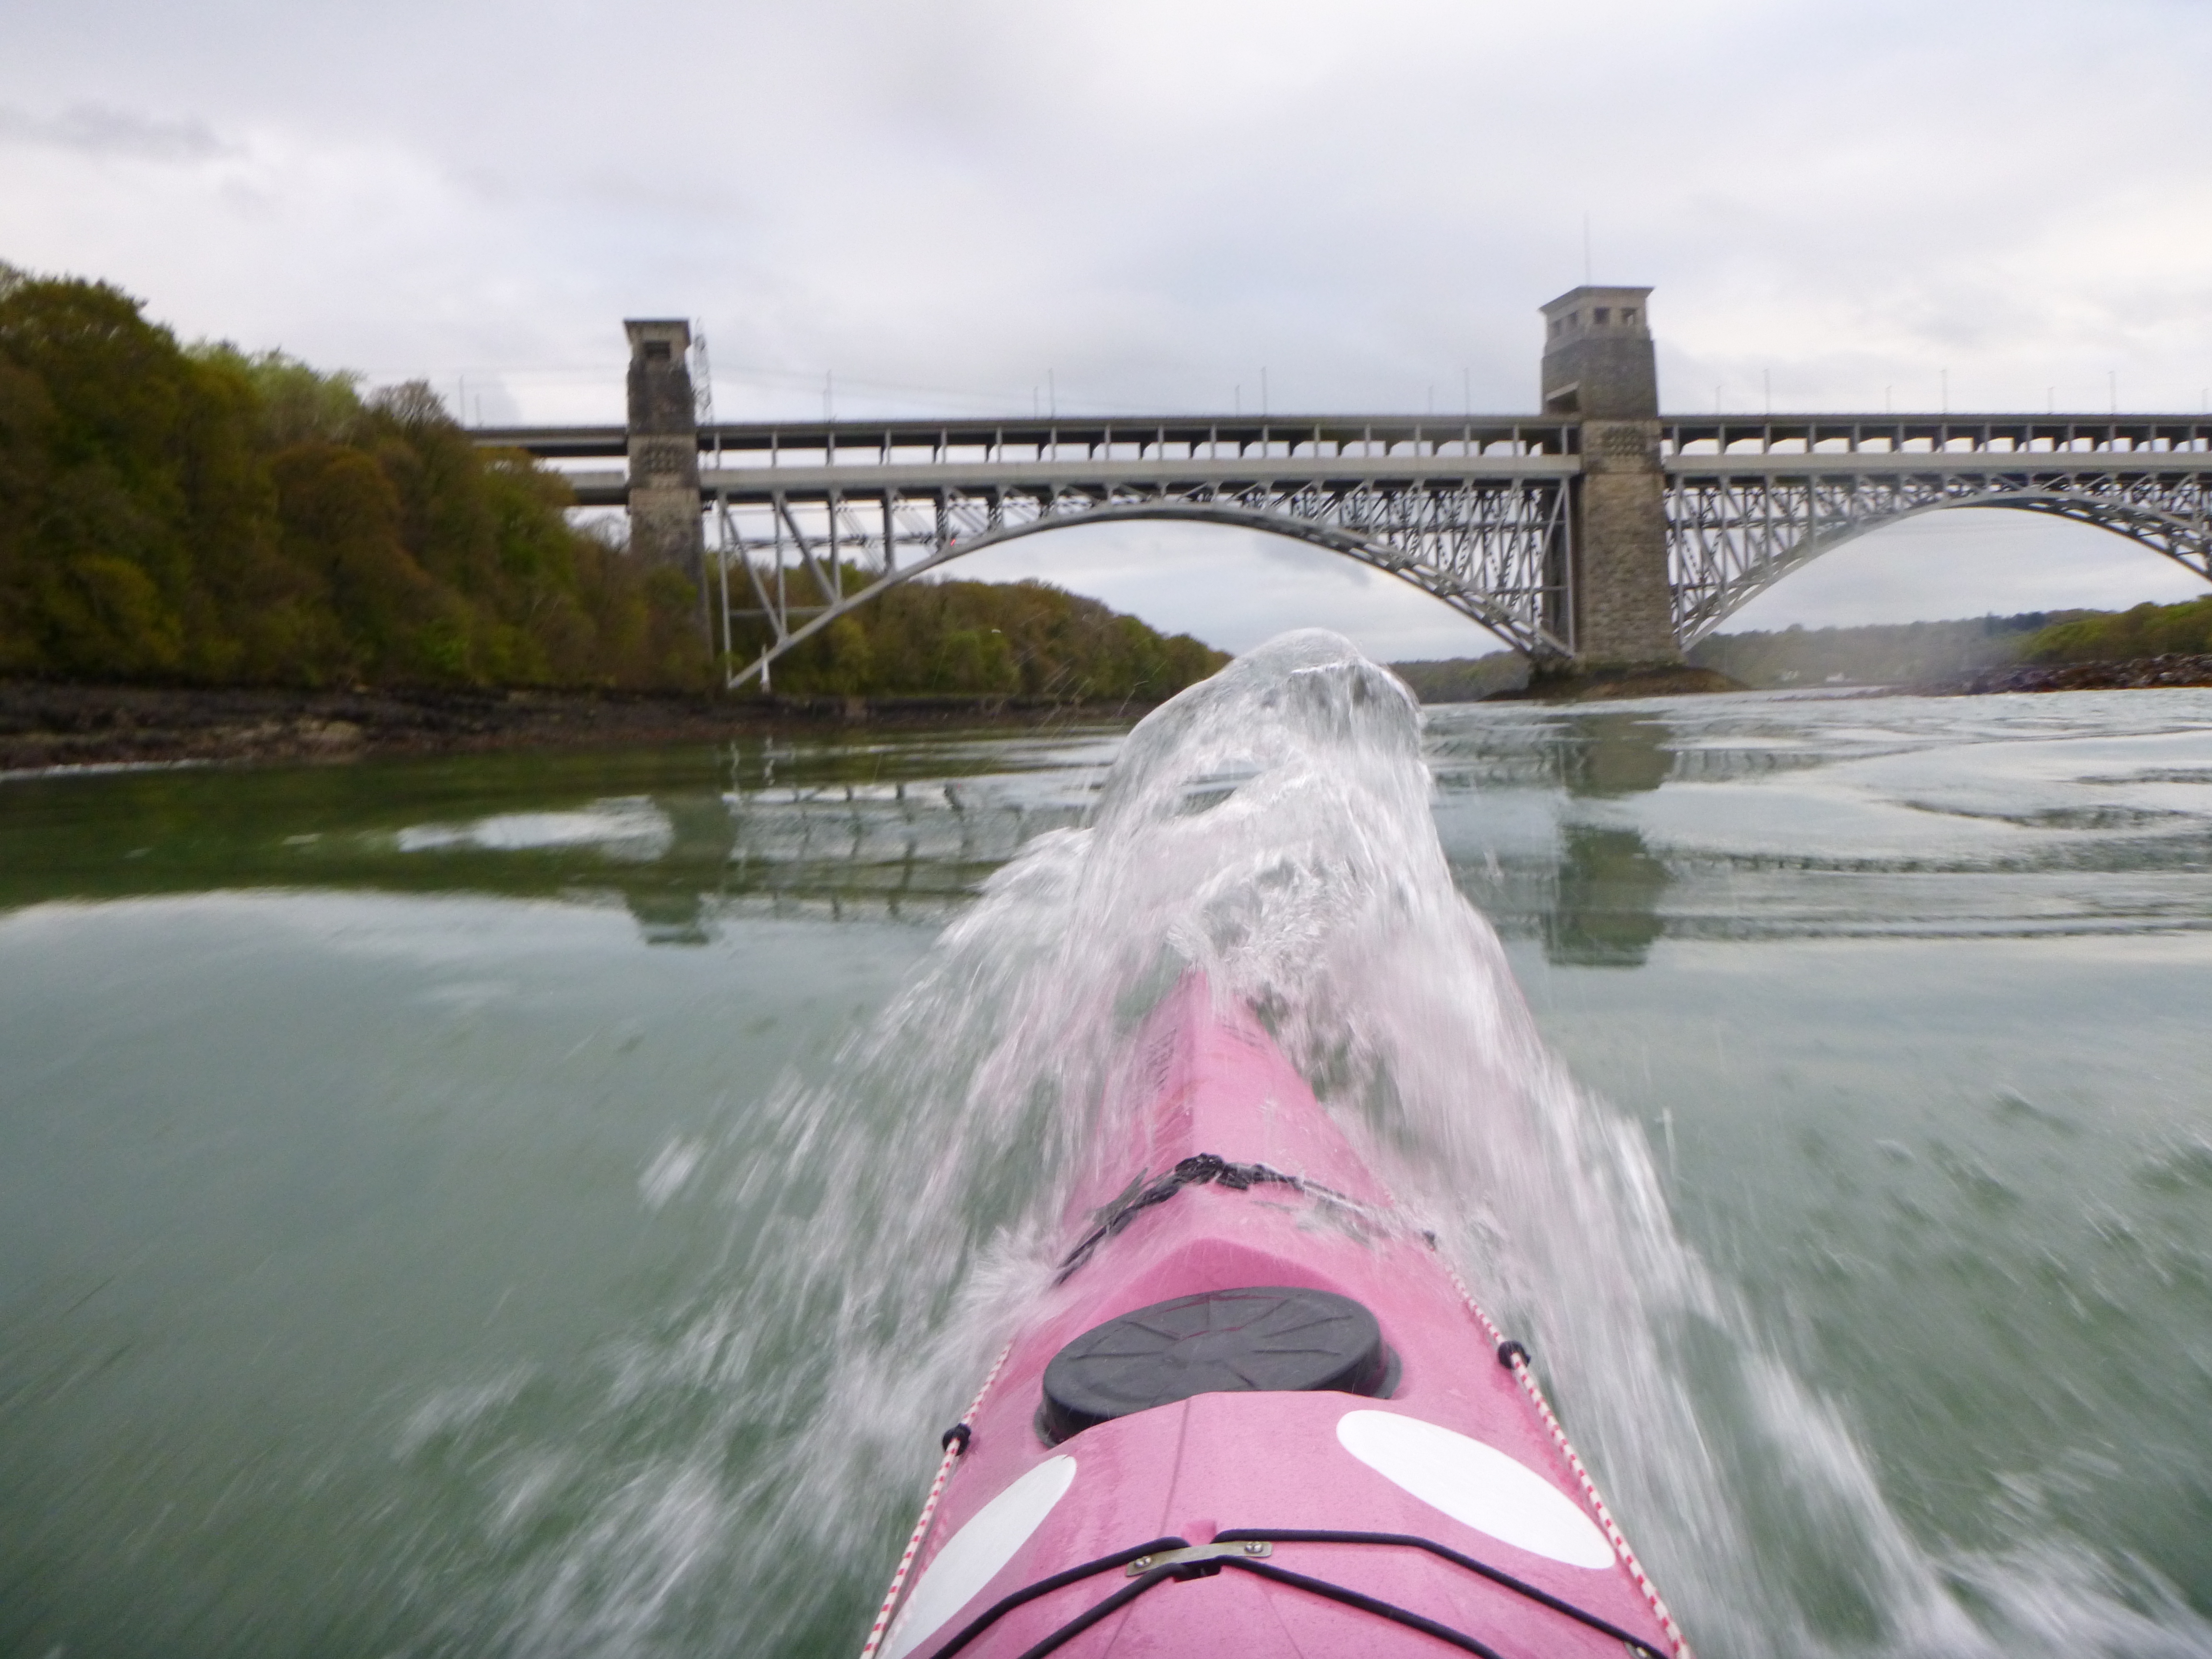
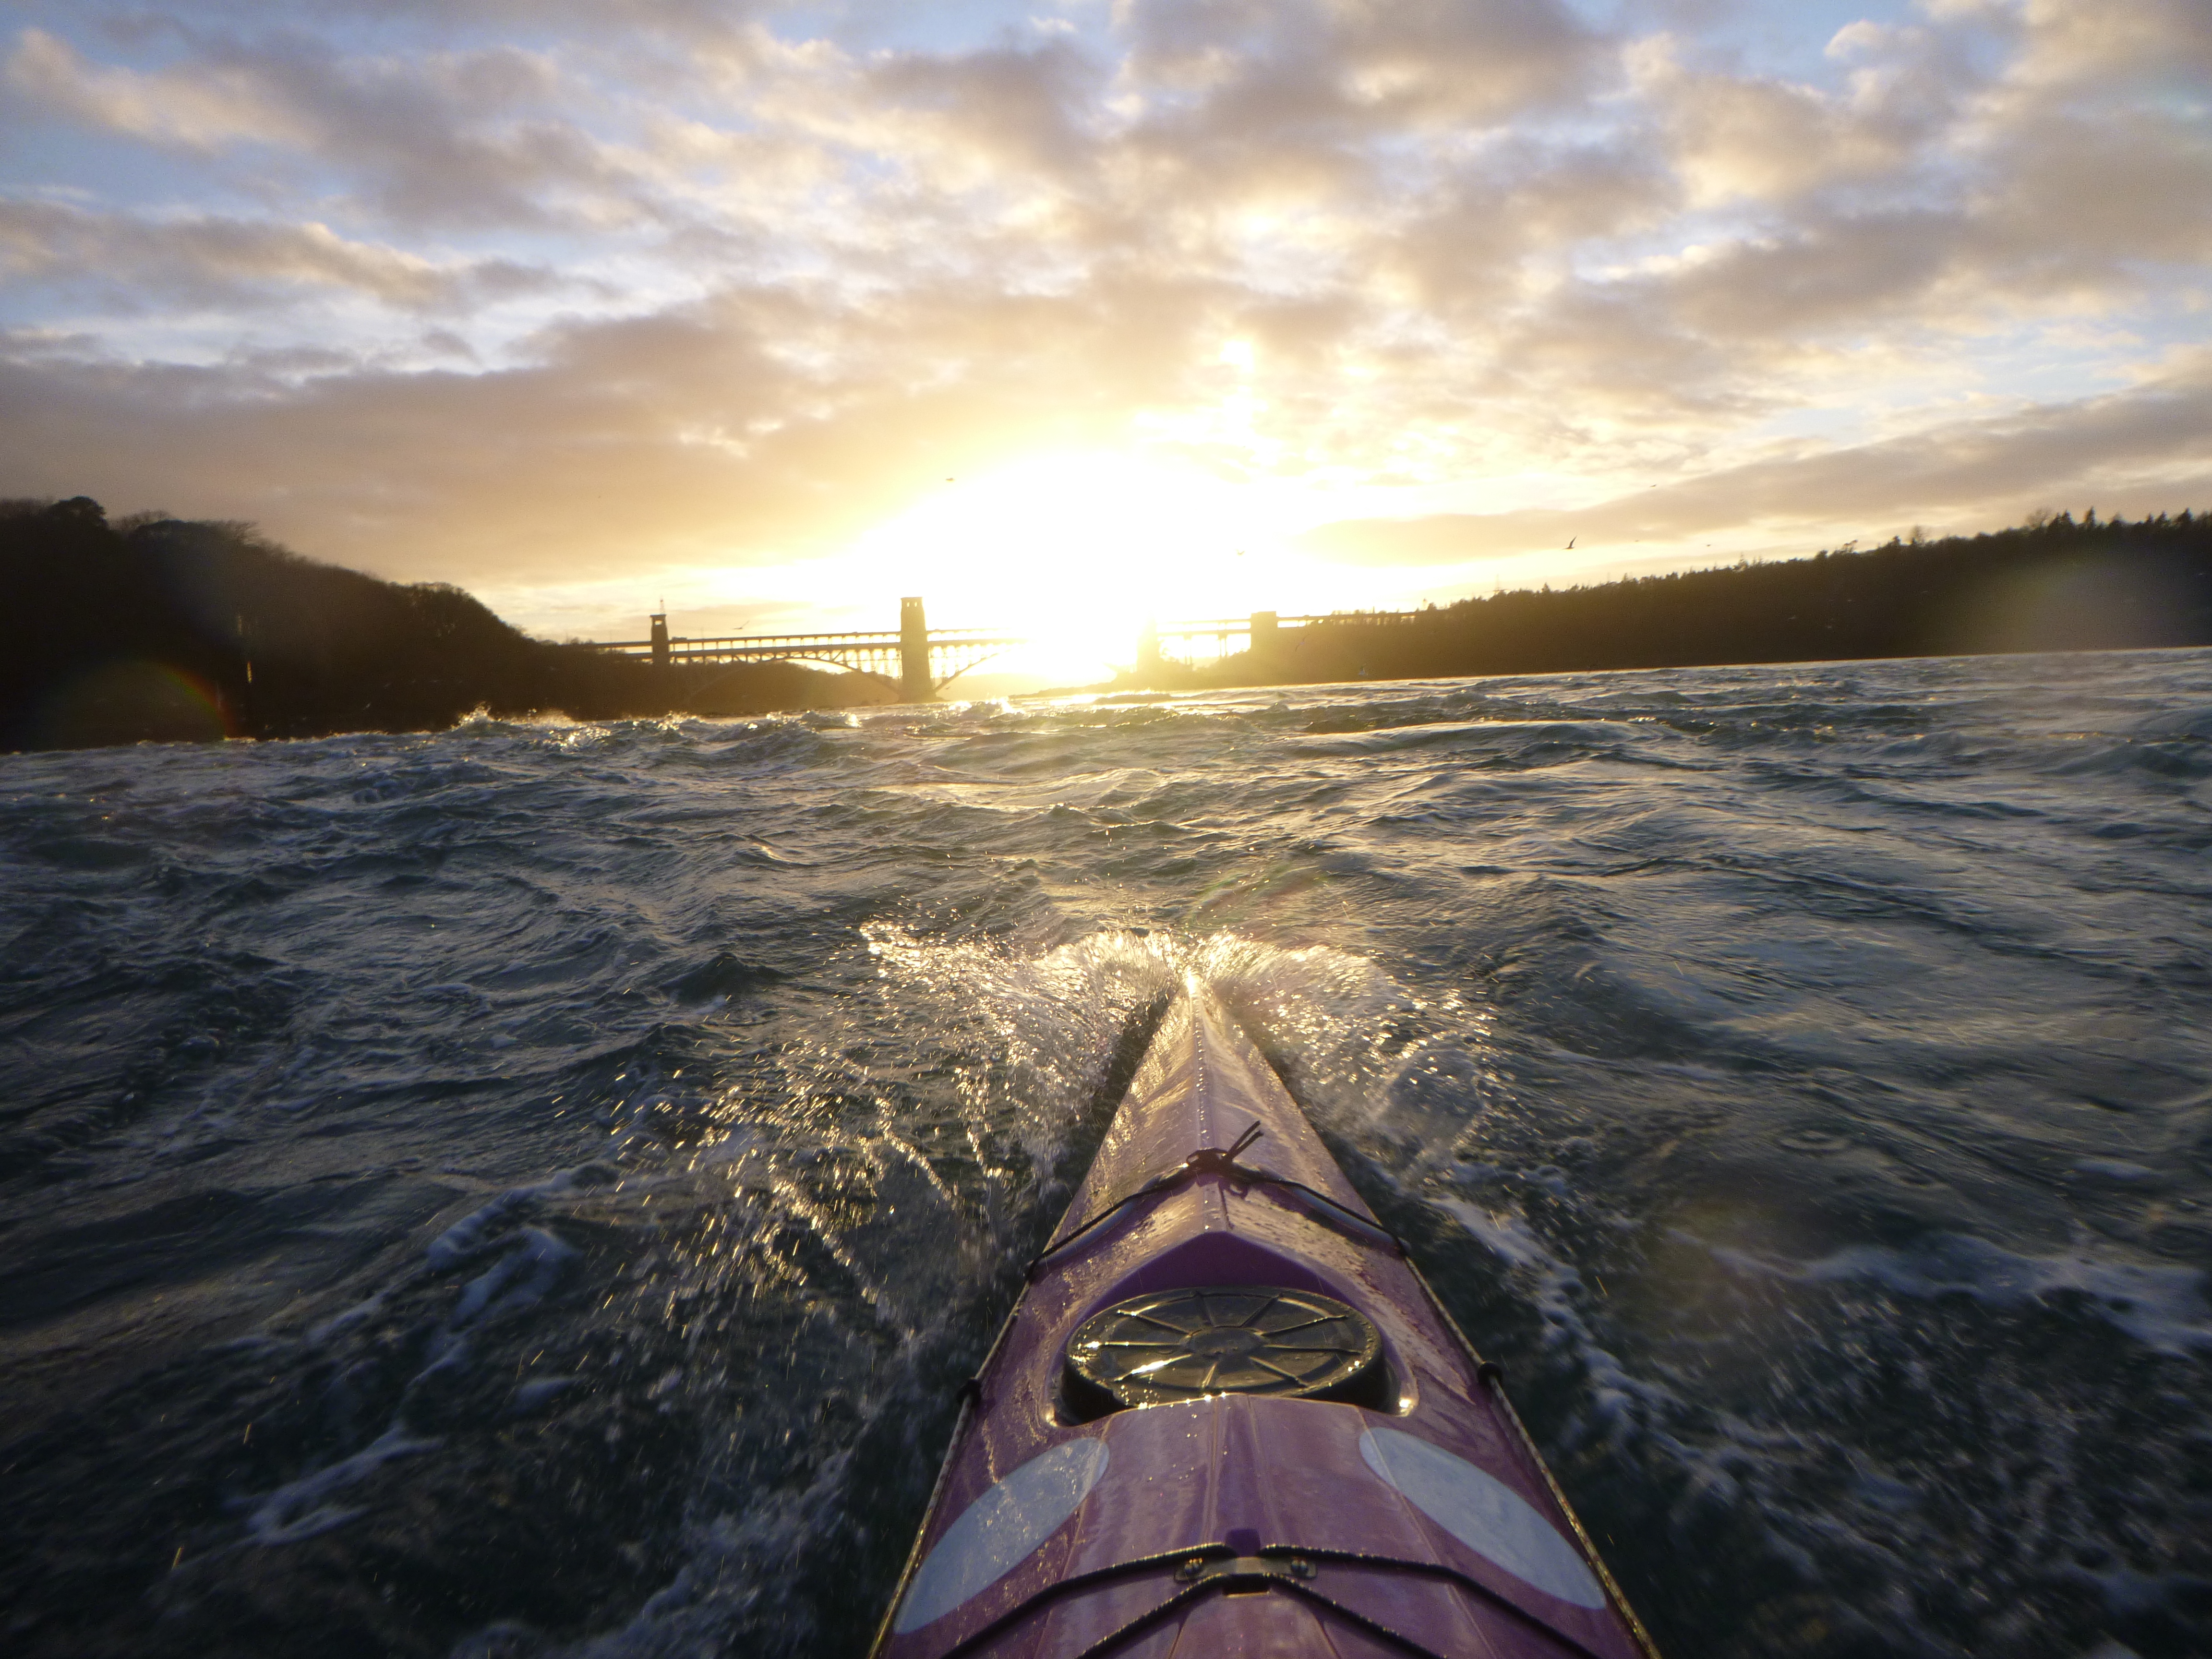
The Swellies
The nature of the Swellies as a narrow tidal channel means that the flow rate and water depth are constantly changing. This in turn means that the waves are also evolving constantly. The waves form, grow and then fade, as they do new areas come on line. Rocks appear and disappear as the water level changes to keep you on your toes, meanwhile flows and channels form and change.
Whatever wave you have, the one thing you can rely on is that it will change, and fairly soon. If your wave is not there, hang around for a few minutes, it may form again… On the other hand, never squander a good wave – sooner or later it is going to fade!
The waves on the flood tend to be longer lasting and a little more forgiving than those on the ebb. While waves form on both neaps and springs, there is much less surfing sport to be found on neap tides. On the larger spring tides the water has a certain power and the waves can be dynamic and in some cases a little intimidating.
From the start to the end of your time on the water, conditions will vary greatly here, providing a wide opportunity for learning, challenge and fun. Enjoy!
Safety
All watersports carry an element of risk; this risk is magnified on moving water. Standing waves are formed as moving water is deflected by sub-surface obstacles, these obstacles (usually rocks) are often close to the surface and are obvious hazards.
The Swellies is an active sailing channel too, with craft of all shapes and sizes transiting – including regular high-speed ribs. Be aware and keep out of the way. Other hazards include: marker posts, buoys, moored craft, submerged and low-hanging trees, rocks (plenty of) and even fish traps etc.
It goes without saying that helmets and buoyancy aids should be worn at all times. Carry the relevant safety kit, including a method to raise the alarm.
Know your limits: we need to be frank and honest in our abilities and make sure we are safely capable of what we are attempting. Be aware of the increased risks of paddling alone.
Carry out an informed and detailed risk assessment before you venture onto the water, and ensure you use it.
This guide provides nothing more than a few locations where you may find waves to try, and a few ideas on what to expect.
IT IS NOT A SAFETY GUIDE TO PADDLING THE SWELLIES.
It cannot cover all eventualities and does not aim to provide a detailed explanation. Do your homework before paddling.
The Surge
The flow rates within the Swellies oscillate at a micro level within the tide cycle. That is, the speed of flow increases and decreases noticeably over a short, regular cycle of roughly six minutes (on the flood). This is apparent on both the flood and the ebb.
It has significant effects at certain parts of the flood, though it is less significant on the ebb. On the flood the surge can cause some waves to build from nearly nothing to full wave height and then to fall back again over the surge cycle. Not only is it an intriguing and impressive phenomenon, as paddlers we can also make use of it to allow us an easier approach onto some waves or choose the size of wave we want.
Terminology
N = North, S = South etc.
HW = High Water, LW = Low Water (referring to local unless stated)
HWLP = High Water Liverpool (uses Liverpool Gladstone as a refernece port)
LHS = Left Hand Side, RHS = Right Hand Side
LH/RH descriptions are given as if sitting on the wave and facing upstream.
WW = White-water
‘Feeds’ – a sideways displacement along the wave.
Height figures give anticipated largest wave heights – these are approximate and will vary day-to-day.
‘Washes Out’ – when increasing water depth causes a wave to flatten out.
* = the asterix indicates the ‘main’ surf waves on the flood.
Wave height:
-
- 1 ft – top of the wave reaches the bottom of my B.A
- 2 ft – reaches shoulder height
- 3 ft – top of head height
- 4ft – you are looking up to it.
Locations
BB= Brittania Bridge
GG=Gored Goch Island
MB=Menai Bridge (town)
Telford Bridge=Suspension Bridge
1. Brittania Rock
Location: Immediate upstream side of Brittania Bridge
Description: A very small wave forms on the Bangor corner of the upstream edge of Brittania Rock on the flood. Later there may be a mirror-image wave on the Anglesey corner also – however this is a little more rocky and less defined.
These waves are surfable at times, the Bangor one more so. However they are very small and not really worth the effort; I have included them here for no more than ‘to-complete-the-picture’ really. If you are paddling up from Menai Bridge, every wave you’ve paddled by is better. Save your energy.
Height: <1ft
Runs from: LW to mid-flood.
Good For: Both waves have an eddy.
Bad For: Too small
I like… nothing really.
2. Low Water Wave (aka Cheesey Wave)
Location: About 300m downstream of Brittania Bridge, in the Main (Bangor) Channel – across from the upstream end of Cribbin Rocks.
Description: This wave is a little gem. A nice, green wave that doesn’t really dump or break.
It stretches out from the Bangor shore to about 2/3rd the way across the channel, to give a fast and smooth ride. However it is relatively rare; it only runs around LW and needs a large spring tide. The bigger the tide the bigger the wave. On faster flows a useable second wave forms just behind. On anything less than a spring tide it is not really useable.
At LW on the biggest tides the water moves fast here.
Height: 1-2ft
Runs from: Close before LW to a little after. It washes out early, before mid-tide.
Good For: An easy, fast surf.
Bad For: The eddy (on the Bangor shore) is small and scruffy.
I like…it for the 30 minute surf I’ve had there.
3. Cribbin Rocks – West End*
Location: Upstream end of the Cribbin Rocks reef, facing towards the Anglesey shore.
Description: A small 1-1 ½ ft wave that forms as the water runs over the end of the reef. It is rocky early on but produces a surfable wave, extending parallel to the reef, a little later. As a short wavelength wave it perhaps surfs well in a slalom boat, but still works for a sea kayak. A small stopper/white wave forms on the RHS – it goes green as you move a little further out. There is plenty of space in the eddy below and to the side; however this has a boily eddy line which can be a little tricky and the flow direction can make positioning a long boat a little clumsy.
Height: 1-1 ½ ft
Runs from: After LW to before mid-flood
Good For: Easy surf practice.
Bad For: The boily eddy line just below.
I like… it as a warm-up.
4. Cribbin Rocks – Centre Chute*
Location: Centre section of Cribbin Rocks reef.
Description: A small, narrow and steepish wave, formed as the water runs through a gap in the centre section of the reef.

Early tide it is rocky and confined, less than 2m wide. As the level rises and rocks cover, the wave widens and flattens out a little. Early on there is not really enough room for long-term sea kayak interest, but things get a little better late on. The early wave does give a gentle challenge for the slalom paddler working on bow control.
There is a roomy eddy below and to the LHS.
Height: 1-1 ½ ft
Runs from: Close after LW to mid-flood – forms and fades a little later than the Cribbin West wave.
Good For: Precision practice, early tide.
Bad For: Limited appeal.
I like… it gives a variety of interest when linked with the other Cribbin waves.
5. Cribbin Rocks – East End
Location: Downstream end of Cribbin Rocks reef.
Description: Another small wave that forms as the flow runs over a slight drop at the downstream end of the reef.
Mostly it is just over a boat length wide. Like the west wave it is green for much of its length but forms a small stopper on the RHS which can extend full width at times – this can give a gentle hold at certain levels. It is quite a short wavelength wave so sea kayaks may find their bow close to the barely-hidden, sub-surface rocks.
It works well in slalom boats, where it gives a good exercise in (short) upstream-blade crosses. However an upstream flip will be barnacle rocky.
Very late in the tide (on Springs) the rock pinnacle (on the RHS) finally covers to form a V and then a small, dumpy wave (Pinnacle Wave) that surfs a little.
Height: 1-1 ½ ft
Runs from: After LW to mid-flood (late flood for the Pinnacle wave) – forms and fades later than the other Cribbin waves. It runs as the other Cribbin waves are washing out.
Good For: A little more dynamic than the other Cribbin waves. A small but useful exercise in upstream-blade crosses.
Bad For: Hidden rocks in the drop – not a good place for an upstream flip.
I like… it for off-side surfs in the C1.
6. Mini Wave
Location: In the middle of the channel between Cribbin Reef and Gored Goch island – roughly half-way between the downstream (E) end of Cribbin and the upstream end of Gored Goch.
Description: A small wave formed by a close sub-surface rock. Mini Wave is narrow with a slight reverse horseshoe to it, this feeds on the outer edges. The wave also has a lazy dump to it, while the rock forms a scruffy eddy a couple of metres downstream that never quite meets up with the wave.
On neaps the whole affair is gentle, but just about surfable – though at times you wonder if it can really be bothered. It’s ok for a bimbly surf on a sunny day if you are nearby. On springs things become faster and a little more demanding, and now the dump can make things a little wet. It’s never a big, steady surf, though it’s worth a go just for the practice.
It does make a good aim point/mini-sanctuary for crosses between GG and Cribbin.
Height: 1ft-ish
Runs from: After LW to mid-tide or so, depending on neaps/springs. There’s only a wave once the rock is covered.
Good For: A bit of a technical challenge on springs.
Bad For: It never really gets going – don’t get too excited.
I like… it for a bit of technical challenge.
7. Horse Rock (aka Pour-over Wave or Slot-Rock)
Location: Just below the upstream end of Gored Goch island, on the Bangor side – about 30m upstream of the fish trap wall.
Description: A caravan sized rock, a few metres out from Gored Goch, is the cause of this wave.
Early on the rock is dry. As depth and flow increase, the water splits and drops away from the upstream end of the island to flow over a 2-3ft drop early on. As the water rises this forms small and narrow, offset waves that later join to form a broken horse-shoe wave. As the level fills it becomes a smooth and gentle surf on neaps. On springs a fast, lumpy and slightly broken wave forms. Faster, more dynamic surfing on bigger springs.
This wave is constantly changing throughout the flood, and can seem inconsistent from day to day.
Height: 1-2ft+ (on larger tides)
Runs from: After LW to late tide, depending on neaps/springs.
Good For: OK surf at higher flows but can be hit and miss on getting the timing.
Bad For: Rocky and ill-defined at early stages. Can be dumpy and unhelpful at times on larger springs.
I like… it… somedays.
8. Gored Goch Corner Wave
Location: Upstream end of Gored Goch on the Anglesey side.
Description: As the flow splits at the top of the island it finds itself pushed out and around a rocky section.
This forms a small drop as the water runs over an uneven ledge, creating a small, diagonal wave which runs roughly parallel to the main flow in the channel. The LHS of the wave is often white, turning to green as you move further out.
The wave is always slightly broken and staggered. It is a narrow wave that never takes you far from the rocks. The angle means that as you surf along the wave you are actually moving a little up-channel too. Diagonally out and slightly upstream of the end of the wave is a small flat second wave that can be linked to, in order to climb the rapid.
Early on the wave is little more than a gradient with a ripple, later on the wave becomes more defined but the flow becomes faster too. The wave is always a little awkward and unhelpful; it never really makes for a relaxing surf but gives a technical challenge.
On springs it can be quite fast here and the wave is surfable it can be a little unhelpful. On neaps things are much more accommodating. It’s only a very small wave (<1ft) on neaps, with a limited surf just to the RH end of the wave.
Height: 1-1 ½ ft
Runs from: Through to after mid-flood.
Good For: Practicing an awkward surf on a broken, angled wave. And climbs.
Bad For: Clumsy and awkward much of the time. If you go in upstream, then rocks, blade, body and bonce are likely to become closely acquainted.
I like… it as a way to climb around the top of the island.
NOTE: If you are climbing this section later in the tide be aware of the vents in the fish trap wall. These form a life-threatening hazard even when covered – stay well clear!
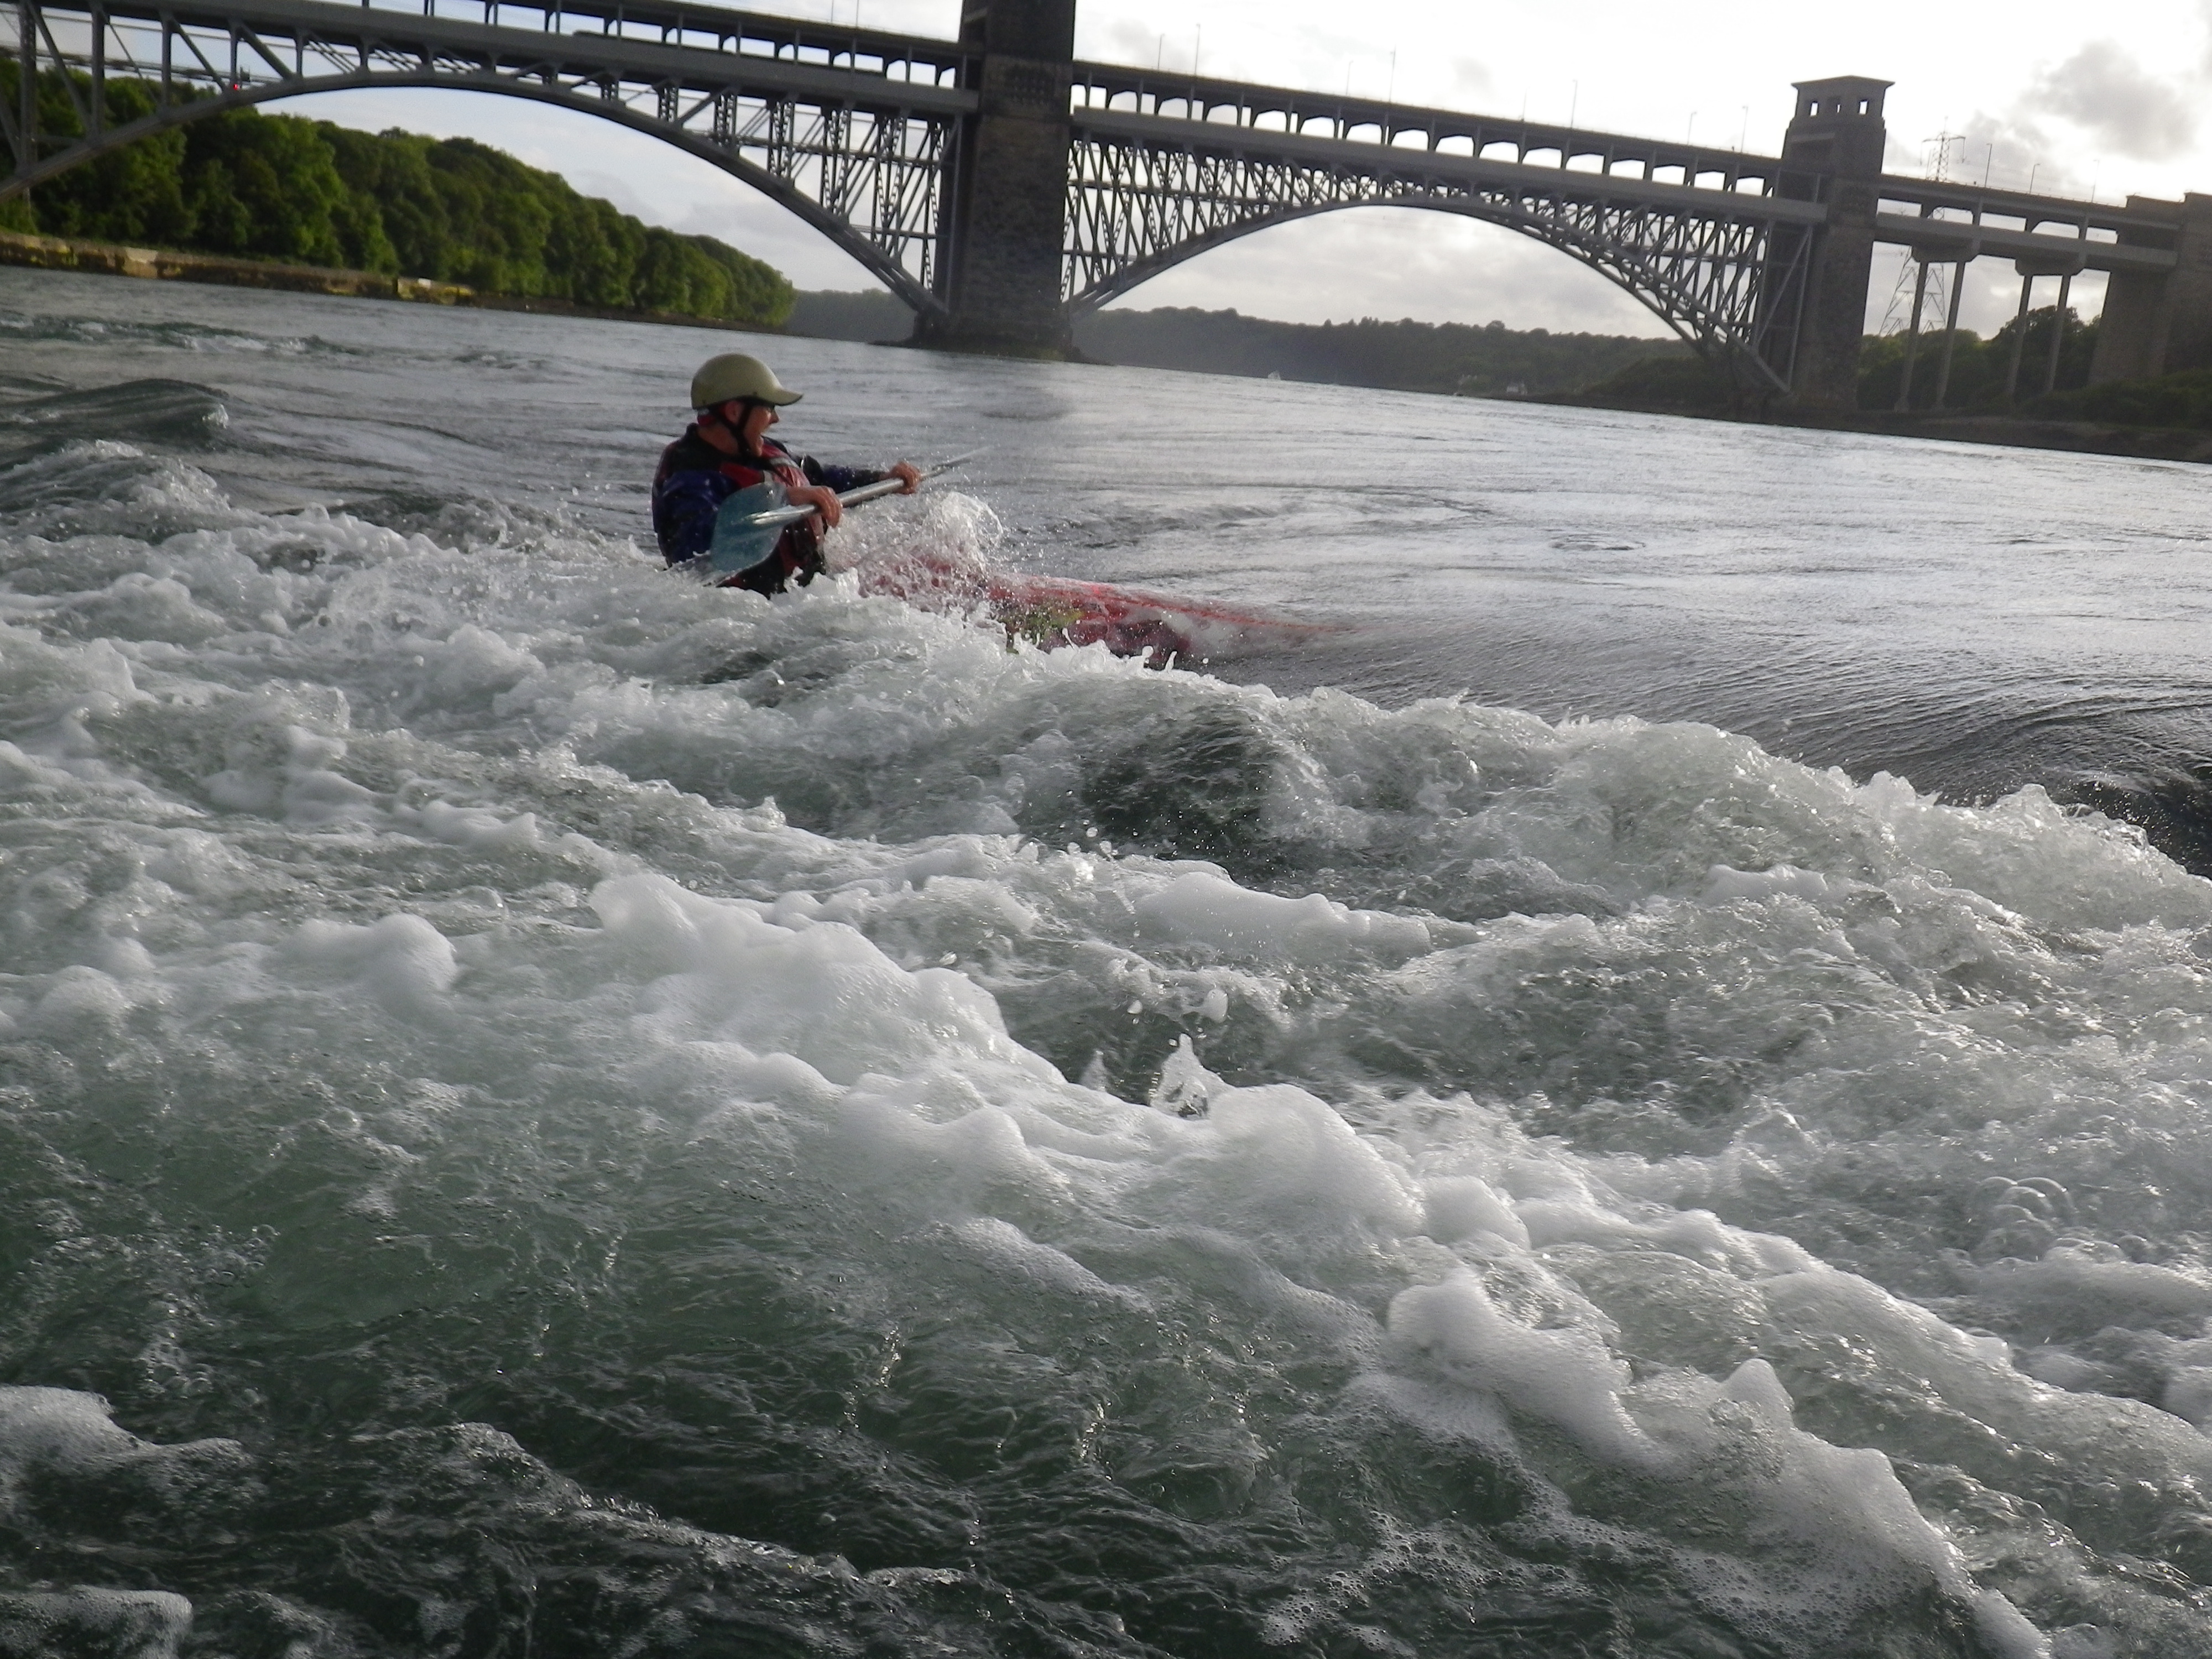
9. Swelly Rock Wave*
Location: On Swelly Rock, immediately to the N side of the Cardinal post.
Description: Along with the Swelly Wave (aka Main Channel Wave) this is the more popular and better surfing of the waves in the Swellies.
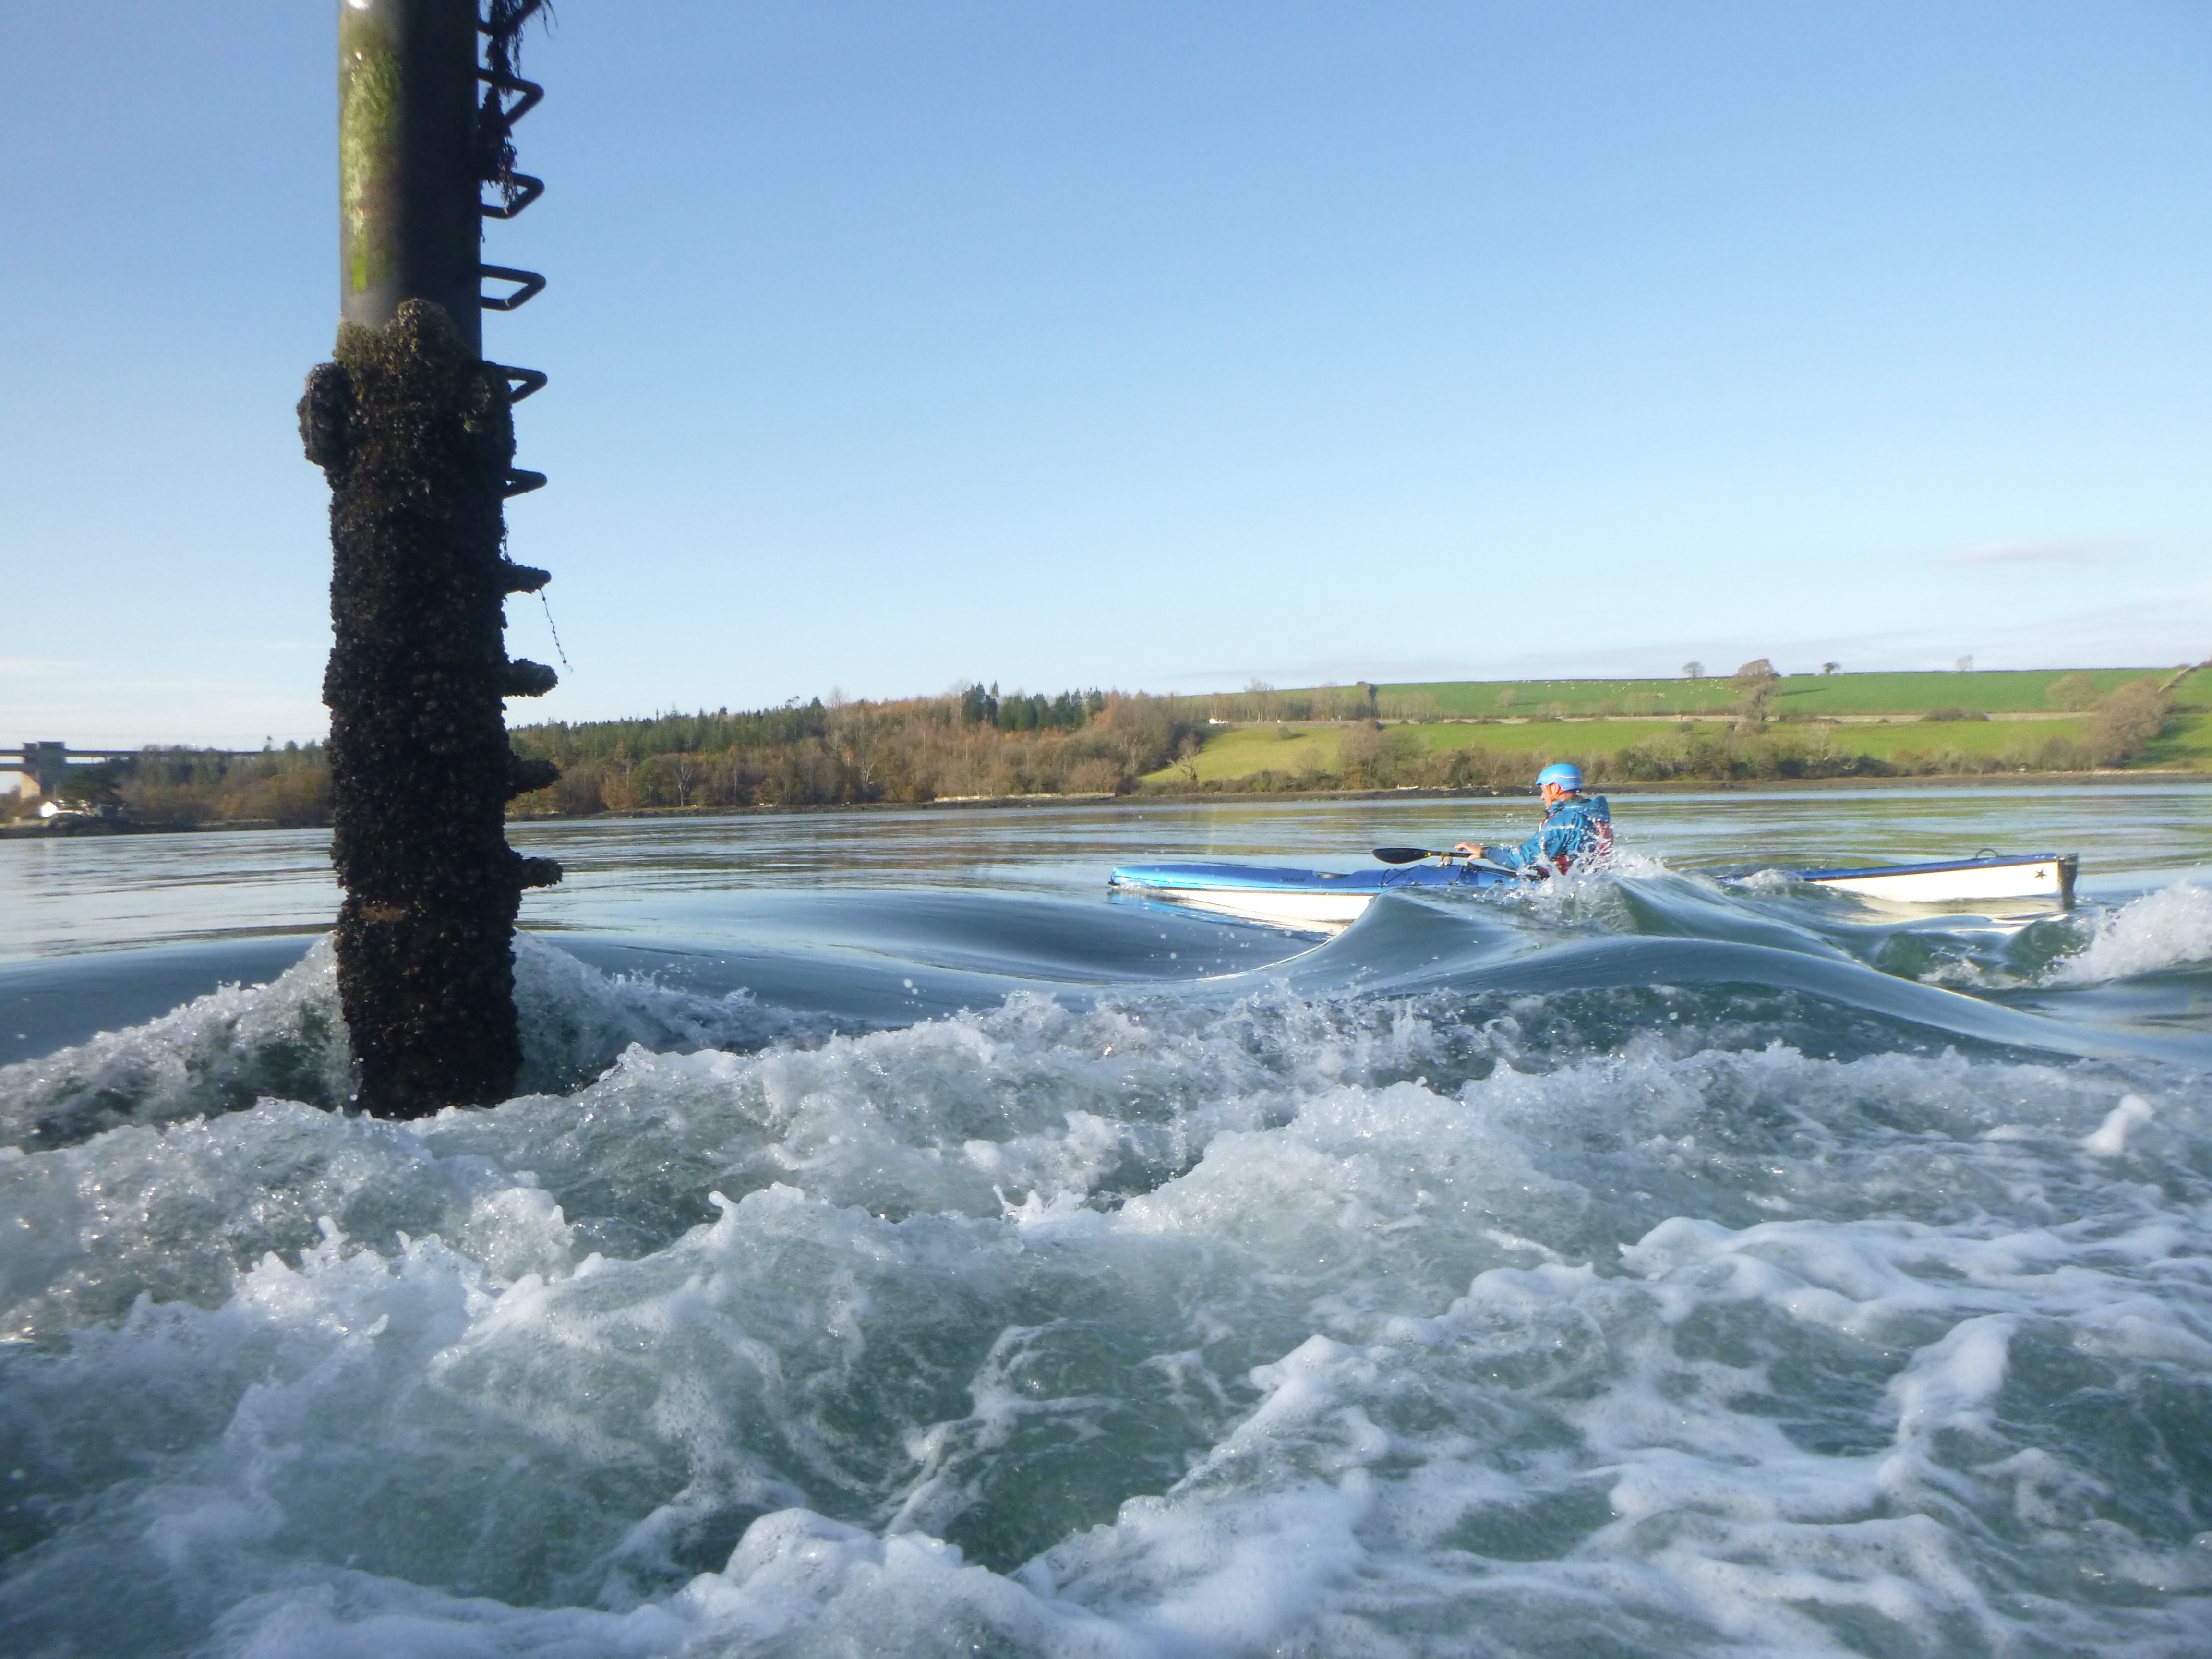
It is usable on anything other than gentle neaps, with good surf from about 9.3m upwards. It gives a variety of conditions and different characteristics throughout the tide. Starting off as little more than a rocky pour-over, this wave progresses into a small steep wave, through a flat surfing stage, and later into a larger green wave, with a breaking shoulder. On larger tides, an intimidating holding hole will form on the LHS.
The wave you get is very dependent on the strength of the tide and timing within that tide, and also by the weather conditions.
The main wave really starts to become usable as the concrete plinth (foundation of the post) begins to cover. Before this a small, confused looking rapid may form. In the centre of this there is a flattish section can provide a nice and surprisingly smooth surf before the main wave comes into play. Earlier than this and you really only have a rocky trickle and a pour-over. Be patient and take in the view. The wave will come…
Early stages and the rock causes a small and narrow, dumpy lump a couple of metres out from the post. This feeds quickly either way and needs constant input to stay on – it can be a bit of a pain. Later this lump forms the breaking part of the wave. As the wave grows move another metre or so out and you will find smooth, green peace and quiet.
On the biggest tides the characteristics change somewhat; everything becomes louder, faster and more powerful. Early on there may be a significant pour-over that forms an intimidating and unpleasant hole. Avoid.
Later as the washes through the surfable wave comes on line, to give the larger wave of the Swellies. It breaks on the LHS and goes green as you move further out – with a good shoulder between.
Late in the tide, especially on springs, it can become a challenge to get onto the wave, as the narrow eddy from the post starts to wash out. Wait and watch the wave for the fade. When the noise level starts to increase this is an indication that the wave is about to reform – paddle out to where the wave is going to be – about 3m out from the post. Hold position precisely there and wait for the wave to build beneath you. Move slowly out as the wave allows – now you can surf. Sneaky.
Tip: Stay high up the eddy at all times – daydream and you will find you have a long, tedious paddle back up – which is tiring and makes timing the wave difficult.
On springs the wave will eventually start to wash-out. As the wave fades, a V-wave forms behind the Cardinal post – treat as per surfing ‘The Cardinal’ from the PSK ‘On the Ebb’ guide.
10-15m from the end of the wave and slightly upstream is an extended wave at times – ‘Top Wave’. This is small and flatter but surfable and makes a good exercise to link the two.
A second and even third wave may form behind the main wave. On the biggest tides they are fast and short and can be a little ‘surgy’ – but still make a useful ‘second chance’.
Note: A good W/SW wind pushing behind a large spring tide makes for impressive conditions here. Though on the whole I think the best surfs may be had on just below-biggest springs (high 9s).

Height: 1-3ft+ Maybe 4ft now and then.
Runs from: About HWLP -4:30 – best surfing comes online once the Cardinal ‘plinth’ starts to cover.
Good For: A nice variety of year-round surf.
Bad For: Eddy gets small late on. You may be close to the post at certain parts of the tide – See Below:
I like… it as an old friend .
NOTE: PIN HAZARD – AVOID APPROACHING FROM ABOVE.
DO NOT allow your bow to move above the post at any time.
Danger – Stay below.
While this is a regular surf spot, there is a significant chance of pinning/entrapment at times if even part of your boat is upstream of the post – with a possible fatal outcome. The wave can always be gained from below – there is no need to drop down onto the wave. Be aware that later on the wave moves level with the post.
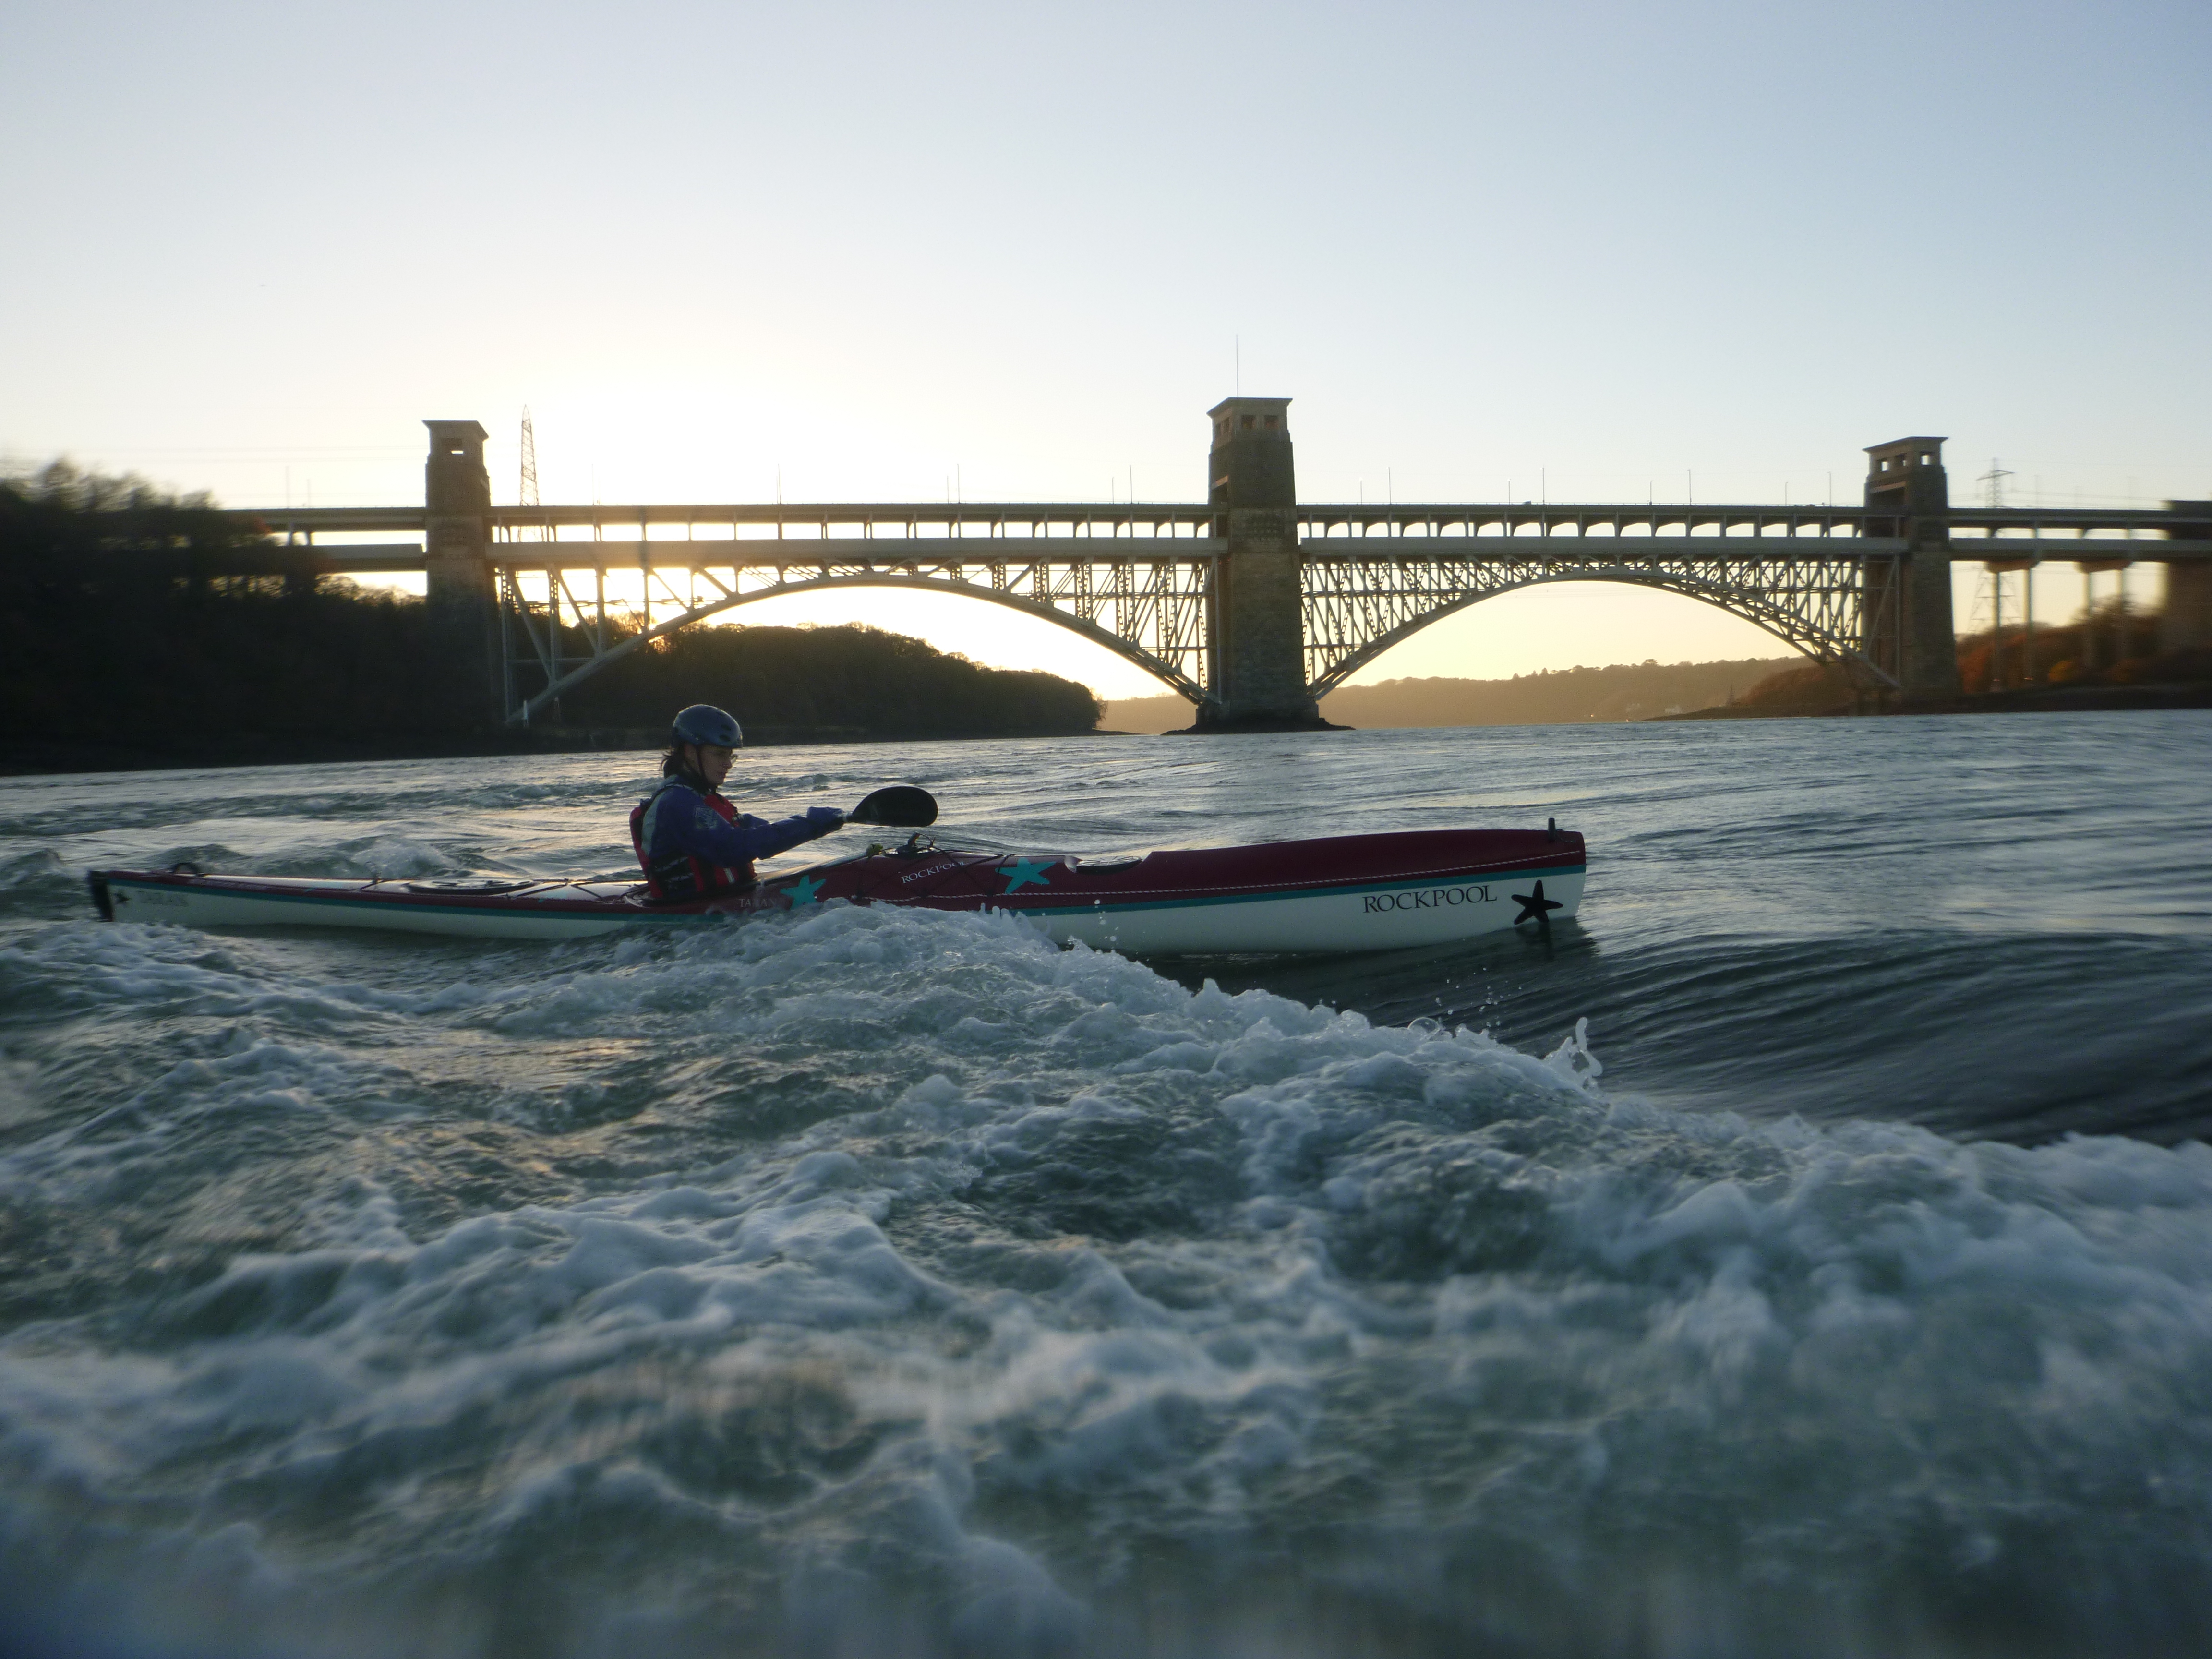
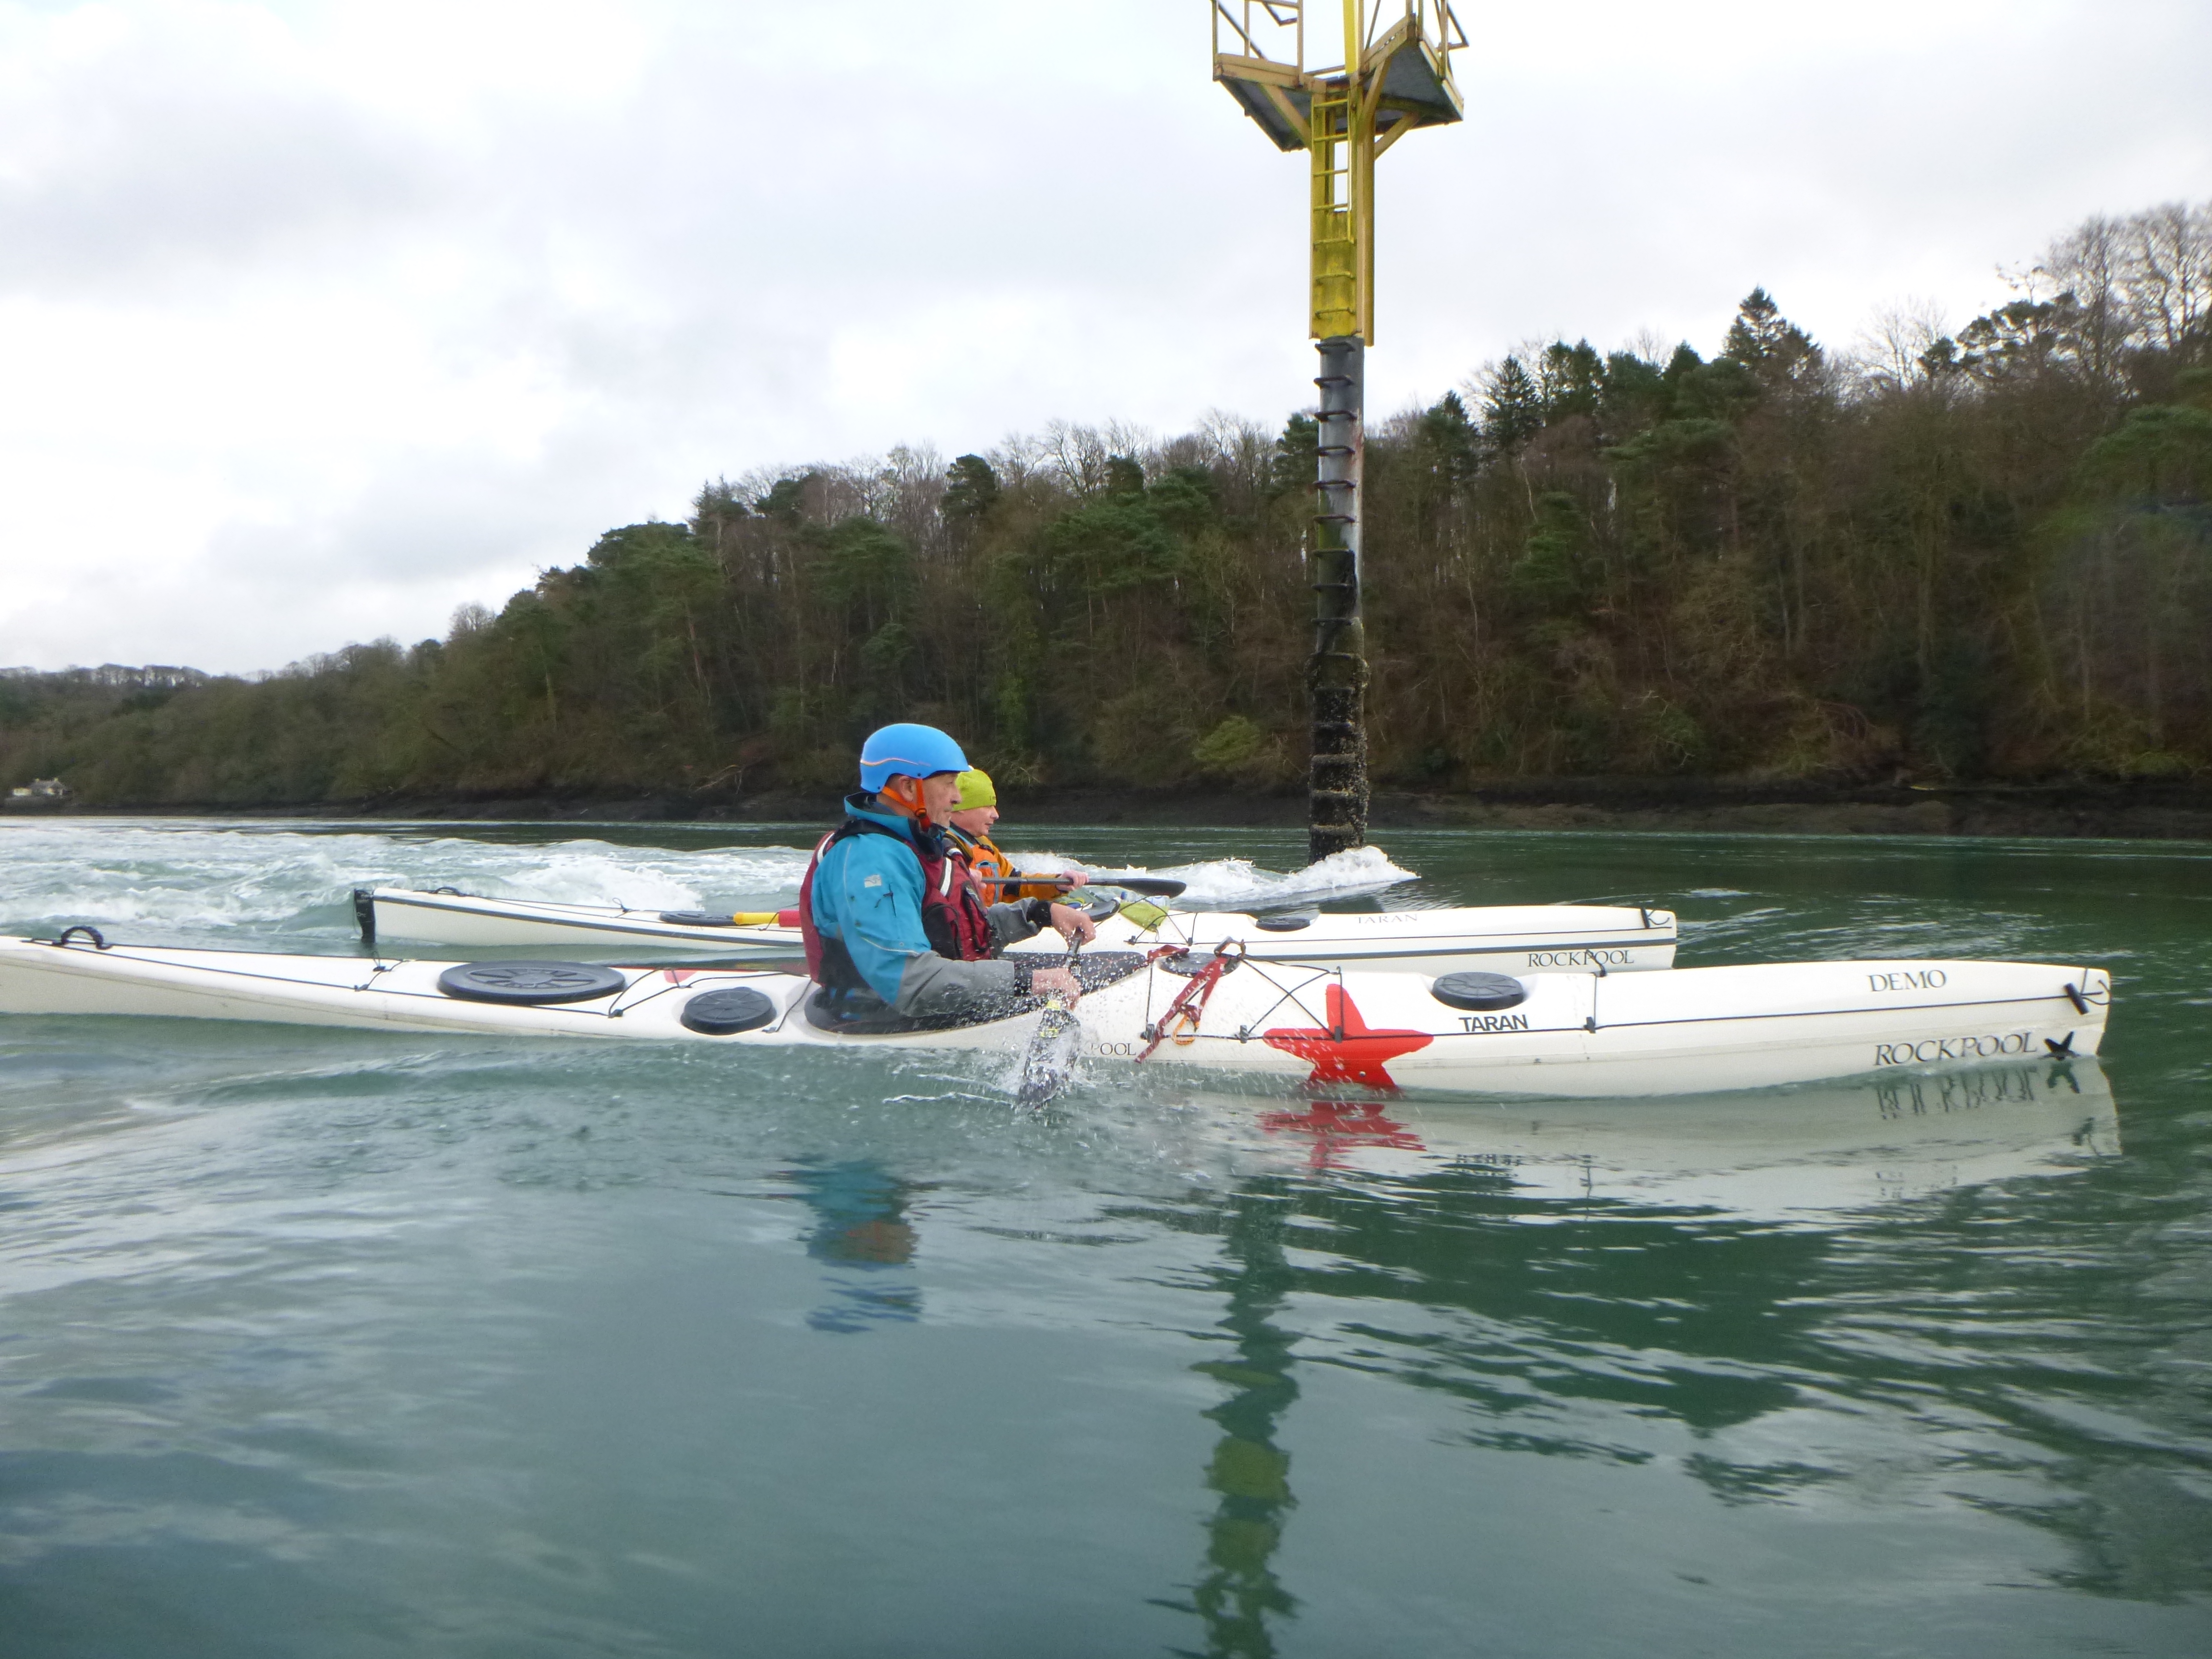
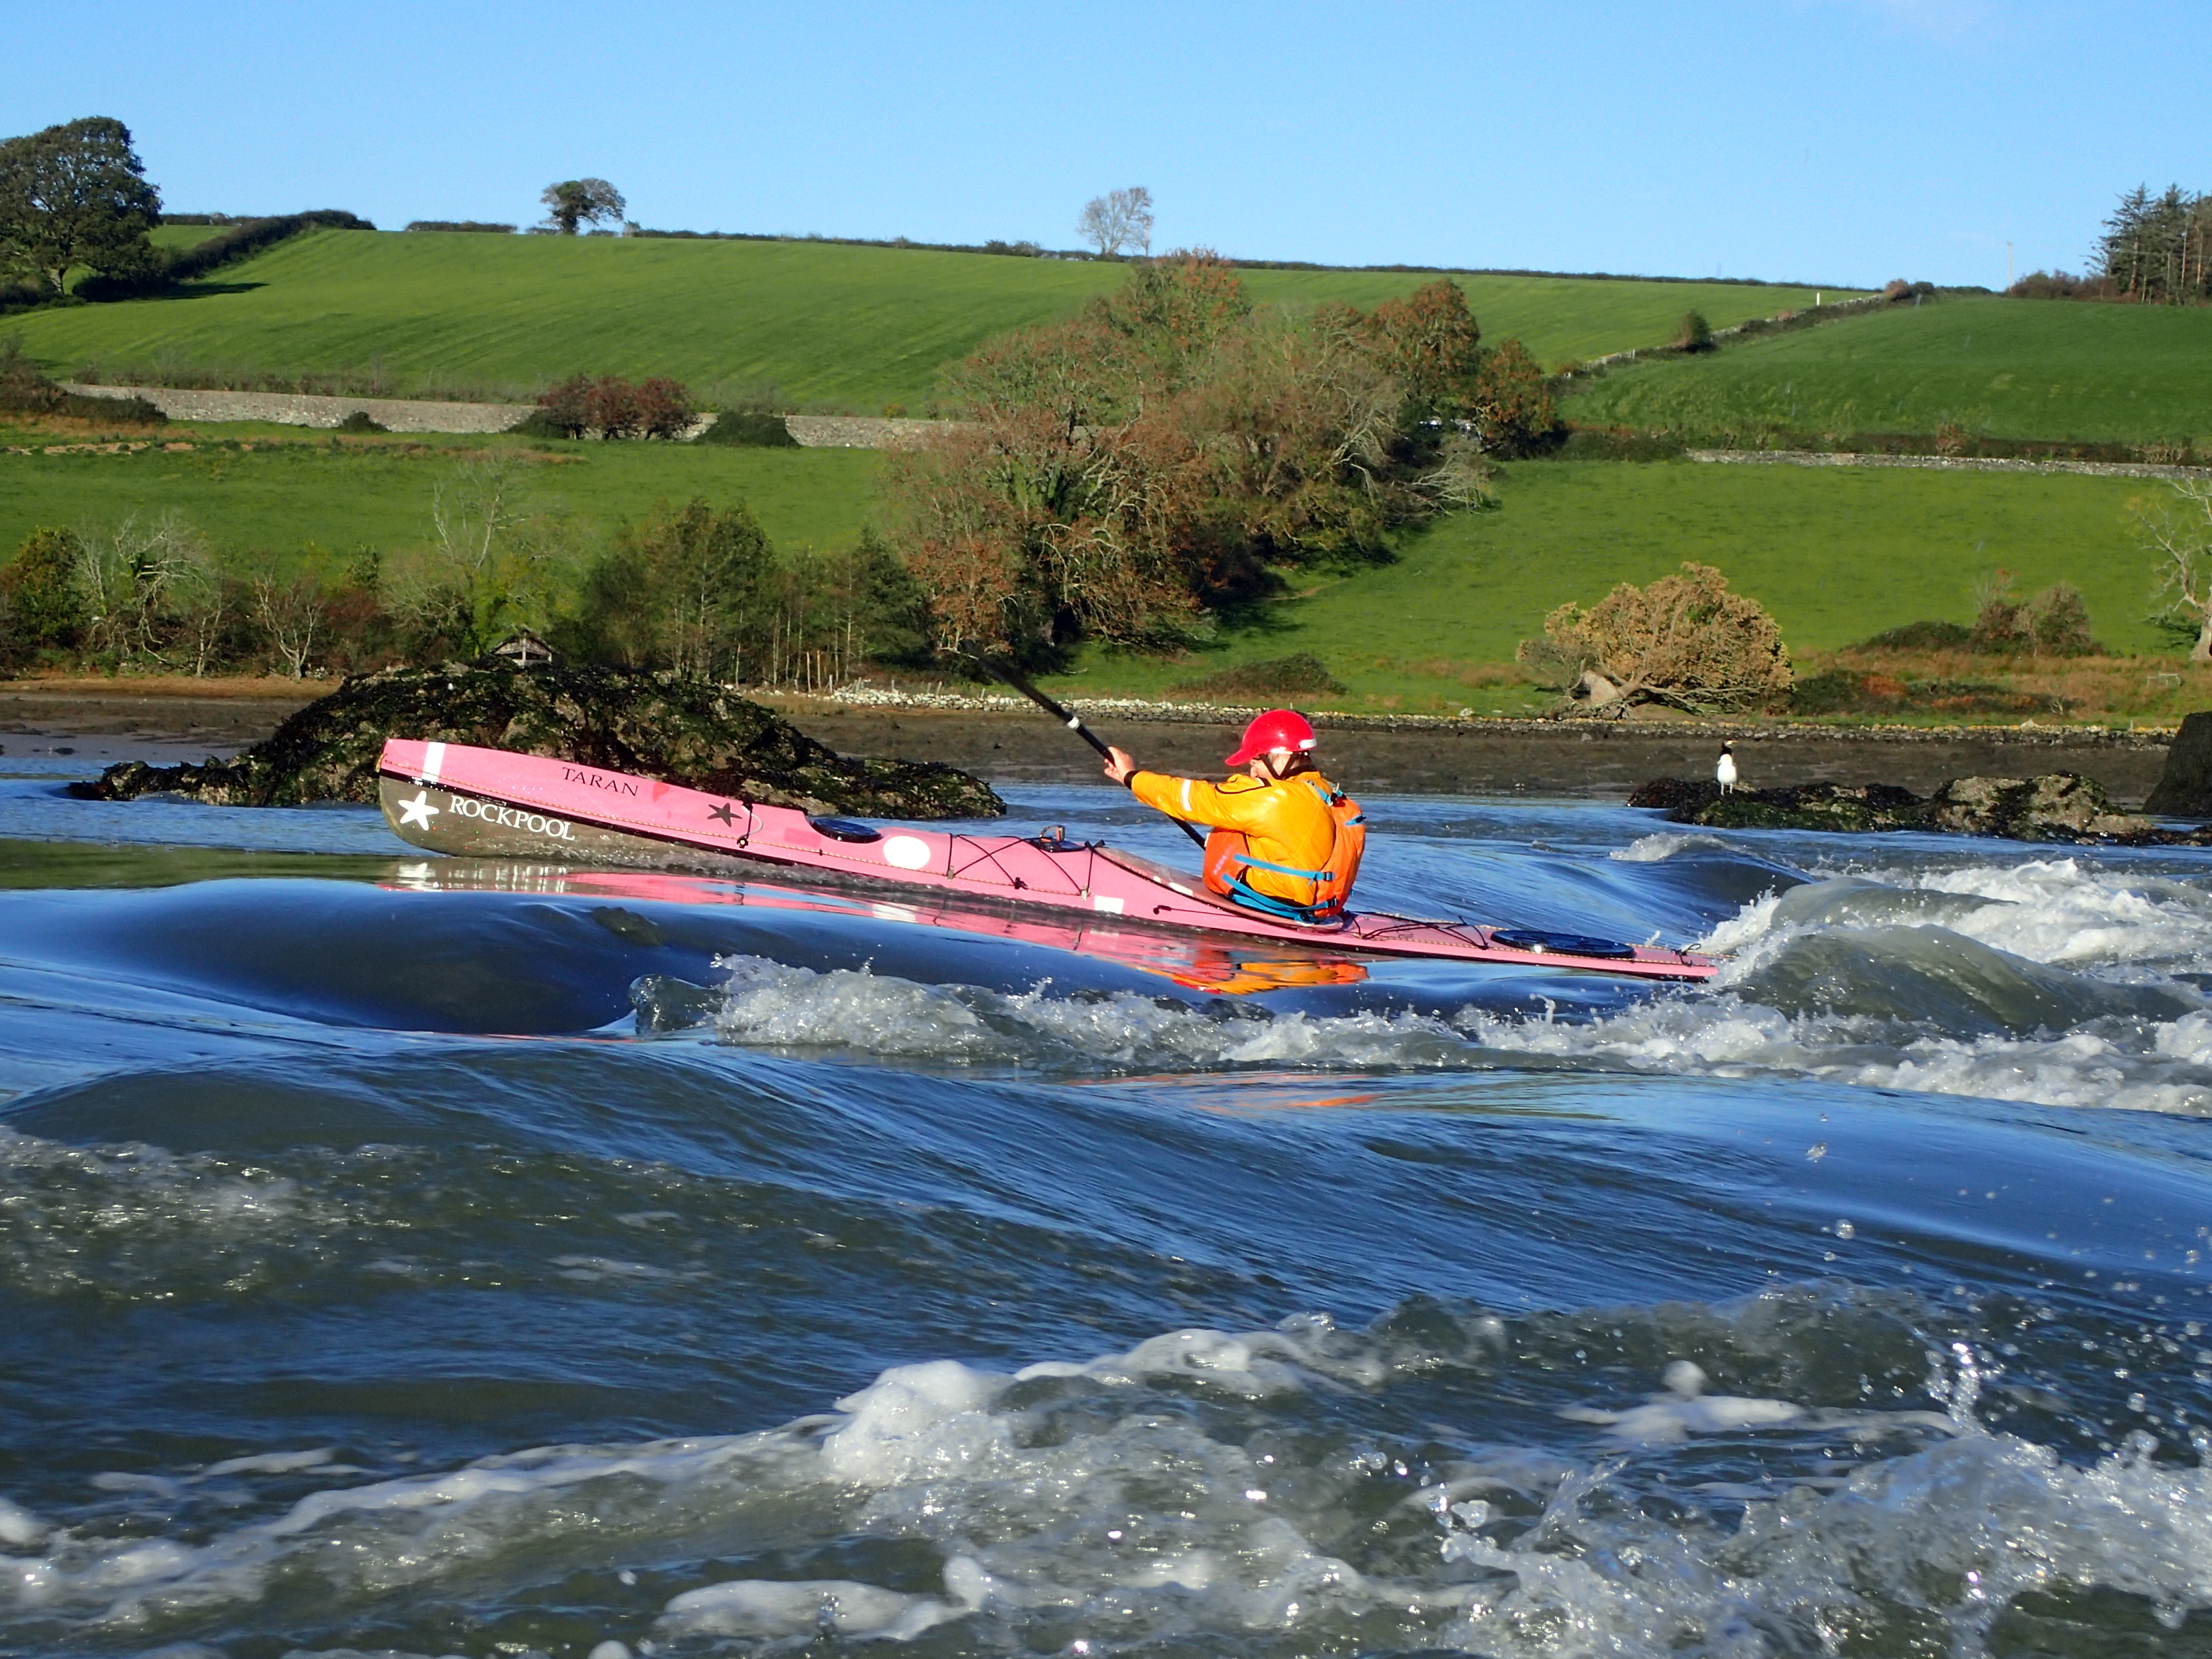
10. Swelly Wave (aka Main Channel Wave)*
Location: In the main channel 100m downstream (Bangor side) of Swelly Rock.
Description: The classic Swelly Wave.
This wave forms on the Anglesey side of the main channel, it forms from close before LW. The wave sits on the edge of the large eddy and stretches out to mid-channel – gently fading as it does. At LW you can see the rock that forms the wave beneath your bow. On neaps it is a gentle, fairly flat green wave. As the flow increases the wave gets steeper and larger and will start to break on the RHS (Anglesey side). This forms enough of a hole to give regular sport to playboats and can provide a challenge for the sea kayaker crossing back to the eddy.
For a sea kayak it is a fast and steep, dynamic surf on the RHS – tapering into a gentle green wave as you move further out.
Immediately behind the wave in mid-channel there forms a powerful, dumpy boil which can be awkward and intimidating on larger tides. This is avoidable on either side however.
As the wave becomes larger the RHS becomes an active surf, needing constant input and trim; while out in the middle, it is always smooth and relaxed – though just above that boil.
On the faster flow of the largest springs, the channel forms a rapid from just below the Cardinal down. A variety of smallish surfable waves form, though the Swelly Wave is always the largest. A rock just above the waterline on the Bangor shore gives a useful reference point for the main wave, if you are not sure which is the right wave.
In a sea kayak the eddies on the Bangor shore are a viable option also, and the easiest way to climb above the rapid.
This wave washes out before the Swelly Rock wave comes online. If you are prepared to wait for a little while you can paddle both in one session.

Height: 1-3ft+ (4ft now and then)
Runs from: On the flood from close before LW. Washes out before early mid-tide.
Good For: A smooth fast surf and more dynamic moves in a short boat.
Bad For: The boily dump below. It can also get busy in the summer months.
I like… it for a summer’s night social.
NOTE: Be aware that at LW this channel is the only viable option for craft to transit the Swellies. Sat in the trough of the wave you are barely visible from downstream and fast craft do transit through. Keep an eye out, and if you are still there at dusk or dark you should be showing an obvious light.
11. Platters Cushion
Location: Mid channel between Swelly Rock and Ynys Benlas. On the immediate upstream of the hidden North Platters; roughly level with the downstream end of Ynys Benlas.
Description: An almost completely flat cushion, hovering immediately above the drop onto the platters. Each side of the cushion drops away and feeds quickly outwards. However it is surfable if you position centrally and accurately. This requires precision paddling and good awareness to hold position – it makes a useful training exercise. Don’t drop over onto the platters early on though, you may scratch something.
Height: <1ft
Runs from: On the flood close after LW. Similar timings to Swelly Wave. Requires Spring tides – the bigger the better.
Good For: A challenging test of precision and positional awareness.
Bad For: Like all cushions, placed in an awkward, potentially harmful position.
I like… it for a precision test.
12. Platters Wave
Location: In the channel between Swelly Rock and Ynys Benlas. On the Bangor end of the drop caused by the hidden North Platters, immediately below on the Bangor side of the Platters Cushion.
Description: As the water falls away from the cushion, there is a small green , slightly curved wave on the Bangor side of the feature, caused by the drop. This is a fast, smooth though small wave, but it needs a little planning to get there. There is no eddy here: you need to make a challenging ferry from the Swelly Rock eddy (or from the top of the Benlas eddy) It is a relatively easy surf once you are on, but unforgiving if concentration slips – you’ve got to go all the way around again!
Close after LW on bigger springs it forms into a slightly staggered wave across much of the width of the now-hidden Platters. This can be used to feed onto Boily Wave from the Bangor side.
Height: 1-1 ½ ft
Runs from: On the flood close after LW. Similar timings to Boily Wave. Requires Larger Spring tides.
Good For: Paddling with a little thought and good awareness.
Bad For: If you miss it, it’s a long way around to go again…
I like… it for a making you think and pay attention.
13. Boily Wave Rapid
Location: In the channel between Swelly Rock and Ynys Benlas, upstream of Boily Wave (see below).
Description: A set of 2 or 3 small 2ft waves that run across the channel, in a slightly staggered manner. Positioned out from Ynys Benlas towards the upstream edge of the North Platters. They are only really useable on the early part of a big spring flood and demand decent ferry glide skills to make the required precision crossing across fast flow.
Use the eddy close on the S side of Ynys Benlas to gain height, and then it’s a fast ferry glide to catch the top wave. Take what comes after that.
Height: 1-2 ft
Runs from: On the flood close after LW. Requires large Spring tides.
Good For: To a rare challenge.
Bad For: Comes and goes quickly, can be a little hit and miss.
I like… it for soemthing different.
14. Boily Wave*
Location: In the channel between Swelly Rock and Ynys Benlas, slightly downstream of Ynys Benlas.
Description: A fairly narrow (2m), steep wave with a slight horseshoe formed in a hollow. It sits well out in the flow.
This is a fast, dynamic wave that needs pretty much constant inputs. At lower levels it is a fairly steady surf but the narrow width and water speed means any mistakes usually involve a trip back to the eddy. As the flow rate increases, the wave lifts, steepens and increases in speed, while vigorous boils drop down through the wave. Constant inputs and quick reactions become the norm – it is never a relaxing surf.
At highest flows there is a 2nd-option wave just behind, though this comes and goes a little.
The slight horseshoe nature of boily wave means that it feeds on both edges.
This wave almost feels alive. As the surge starts to come through it seems to throw more and more at you in order to kick you off – laughing at you as you go!
Height: 1-2ft+ (maybe 3ft at times)
Runs from: On the flood from LW to early mid-tide, better on larger springs.
Good For: One of our favourites, it just makes you work for it.
Bad For: It always wins.
I like… it for an ‘it-won’t-be-long-until-you-lose’ challenge.
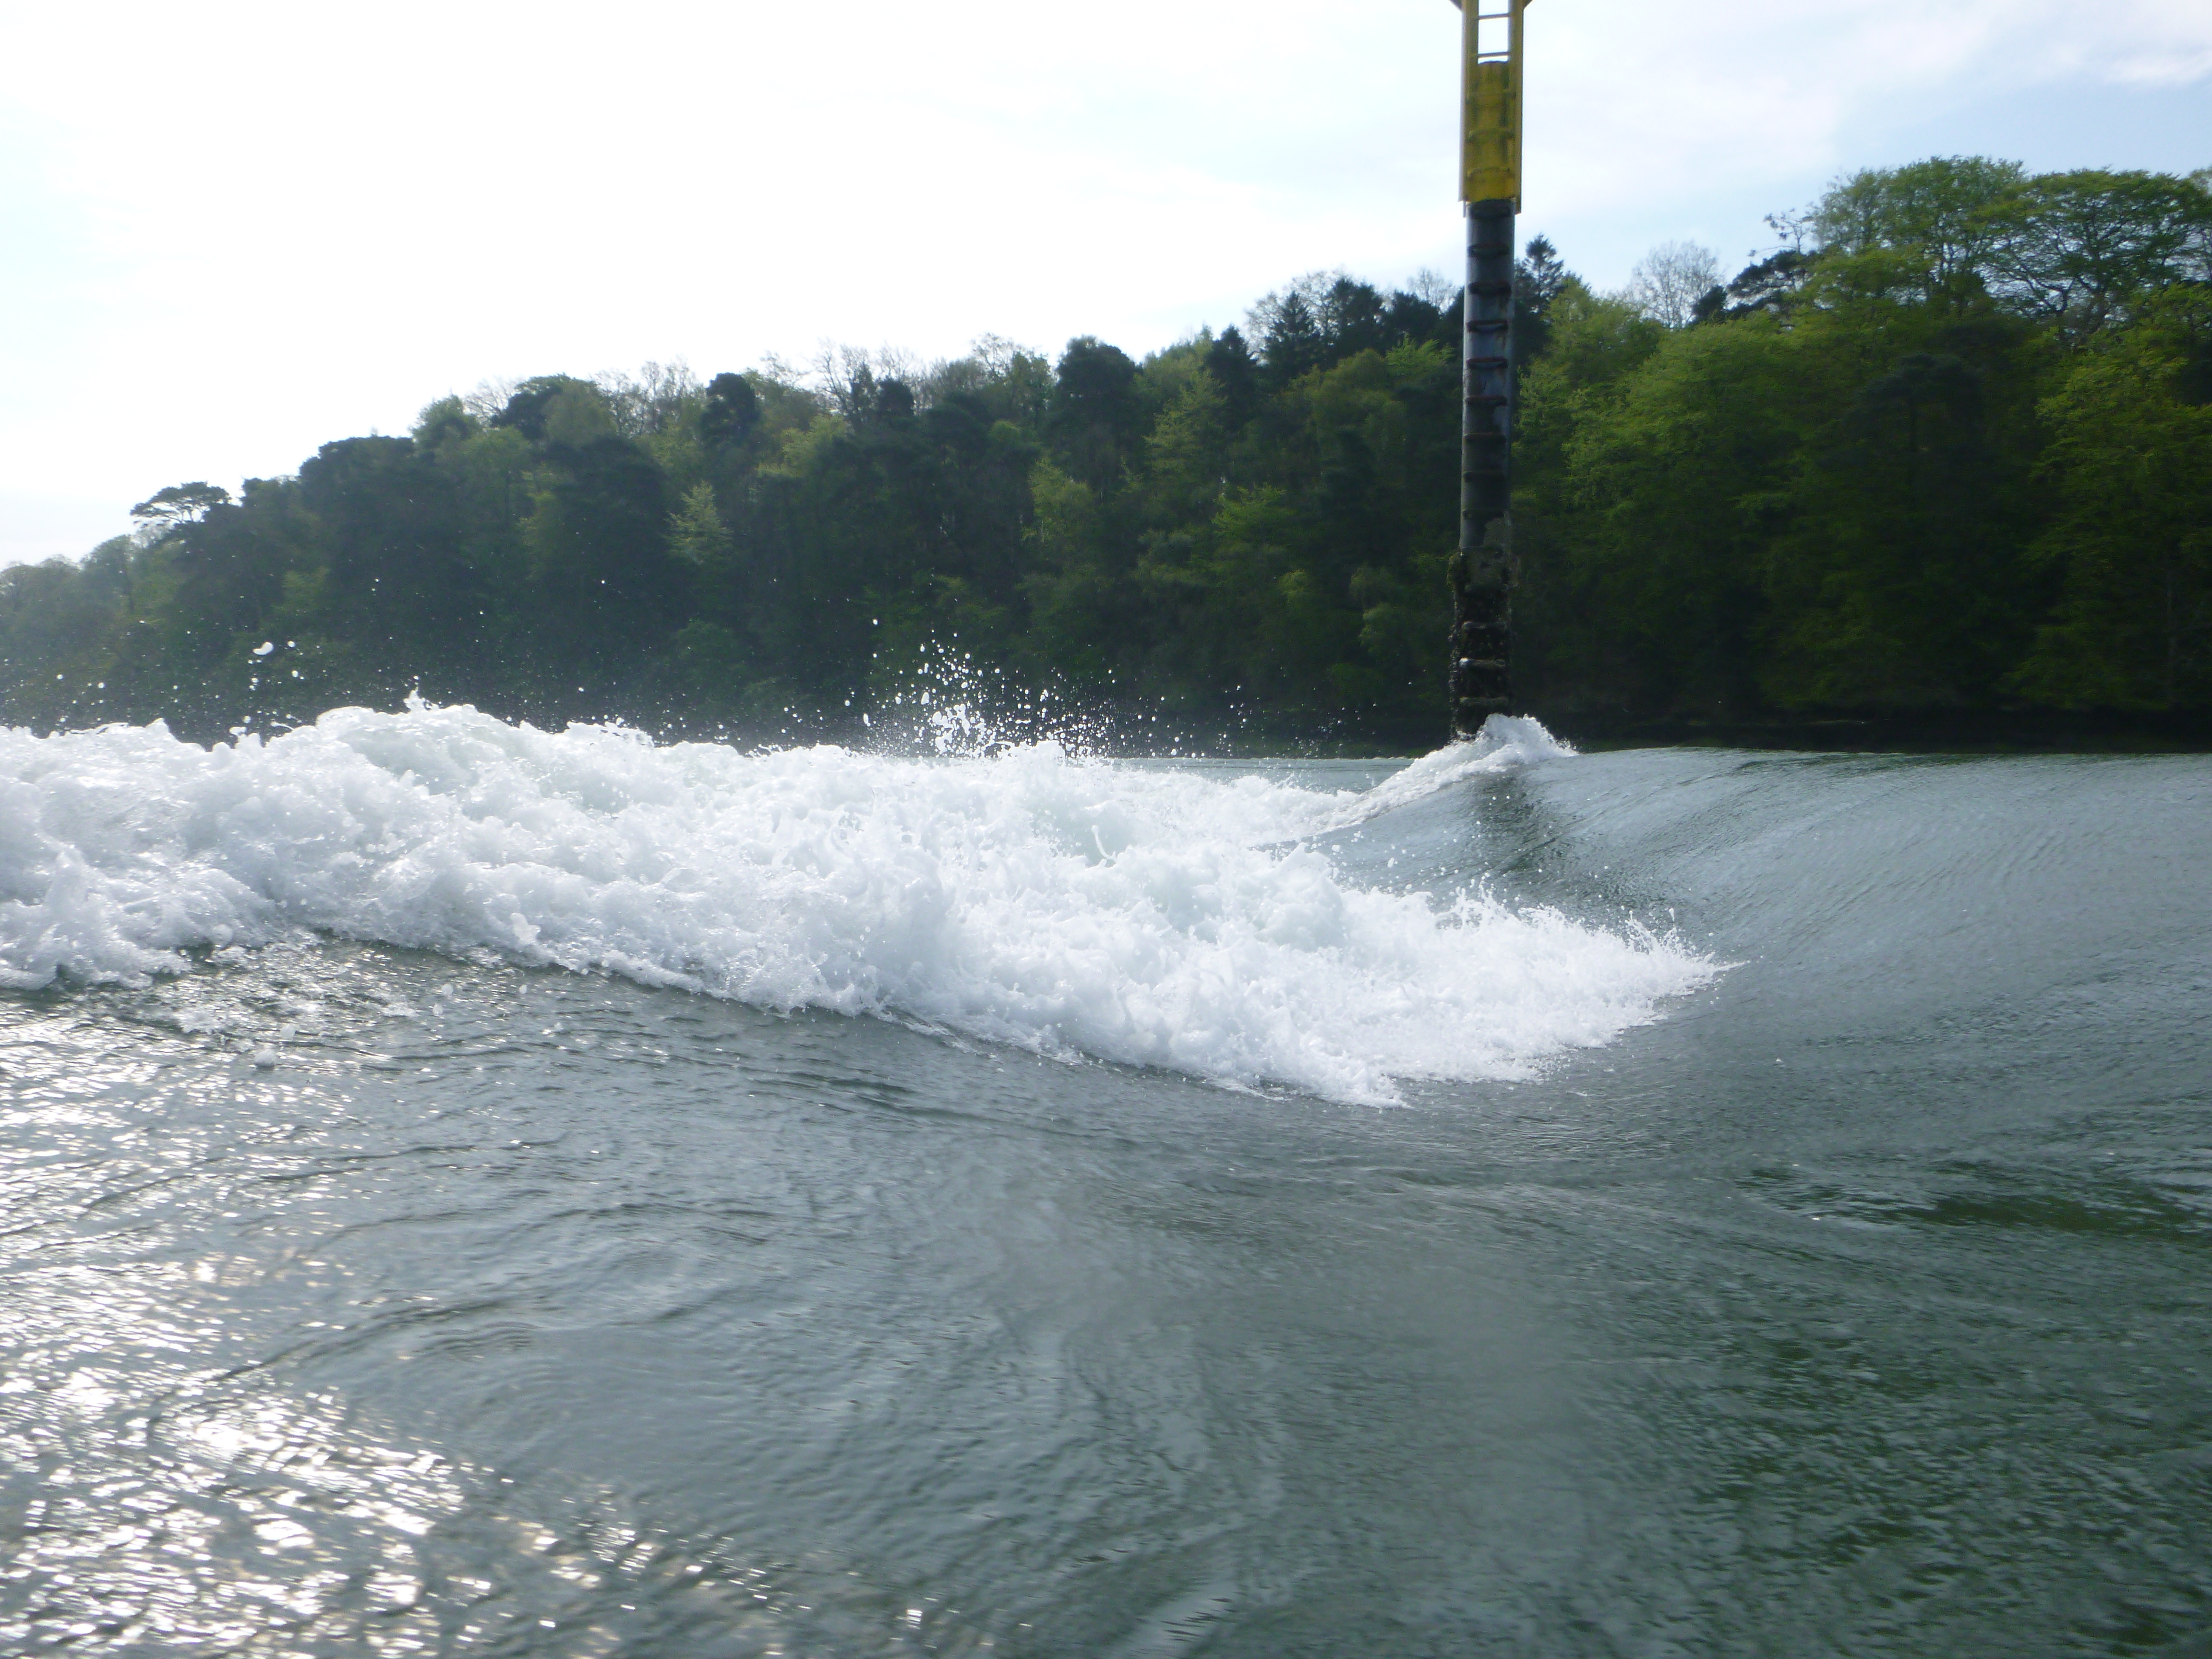
15. Snowdonia Rapid (aka Benlas Rocks)*
Location: N side of the Swellies, between Ynys Welltog and Ynys Benlas.
Description: A rocky reef that joins the small island of Ynys Benlas with the larger Ynys Welltog.
The reef is dry at LW local but then covers to give a small rapid with a collection of channels and small waves that vary throughout the tide. It washes out by mid-tide (approx HW LP -3:00) As the water level rises the character of the rapid changes significantly. At low-levels, there are paddle-breaking/boat-scratching rocks throughout the rapid.
Arrive too early and it is just a rocky trickle, but as the tide lifts a small wave forms on the LHS side of the rapid (Bangor side). This varies with the tide: it can be shallow early on, then forms a small white wave before changing into a small green wave. This can make a nice gentle surf, though on larger springs it can be quite dynamic.
At times the flows run at an angle here and so the wave can feed a bit. The easy eddy on the Benlas side is large and close by.
Next the mid-channel wave comes on line. This is further across, towards the centre of the rapid. Initally a small pour-over this washes through in to a 1-2ft+ wave, that can become quite lively on larger springs.
Nothing much happens on the Anglesey side, though a couple of eddies means that this channel can provide a fairly strightforward climb back up the rapid. (If you can’t make it then you can always paddle around the back of Ynys Welltog to make the climb, if the rocky channel is flooded sufficiently).
Snowdonia Rapid is a useful spot for practicing various white-water skills – crosses, climbs, break-ins/outs, ferry glides and surfing of course. It is gentle on neaps, but surprisingly powerful on large springs.
Note: Seals have been known to haul out on Ynys Belas – do not disturb them! Birds also nest on Ynys Welltog – avoid any disturbance there also!
Height: 1-2ft+ generally
Runs from: On the flood after LW – washes out towards mid-flood.
Good For: A fun little surf spot, that is also good for practicing WW skills.
Bad For: Rocky at times.
I like… it for a good moving-water training venue.
The Swellies provides a good selection of small to mid-range WW tidal-playspots, with a number of fun waves. There is plenty here to provide you with fun and adventure. Enjoy!
John Willacy