
Though this guide is based on extensive Menai Straits paddling experience, we are still learning and to that end this guide is a work in-progress, it will continue to evolve. Check for updates – JW
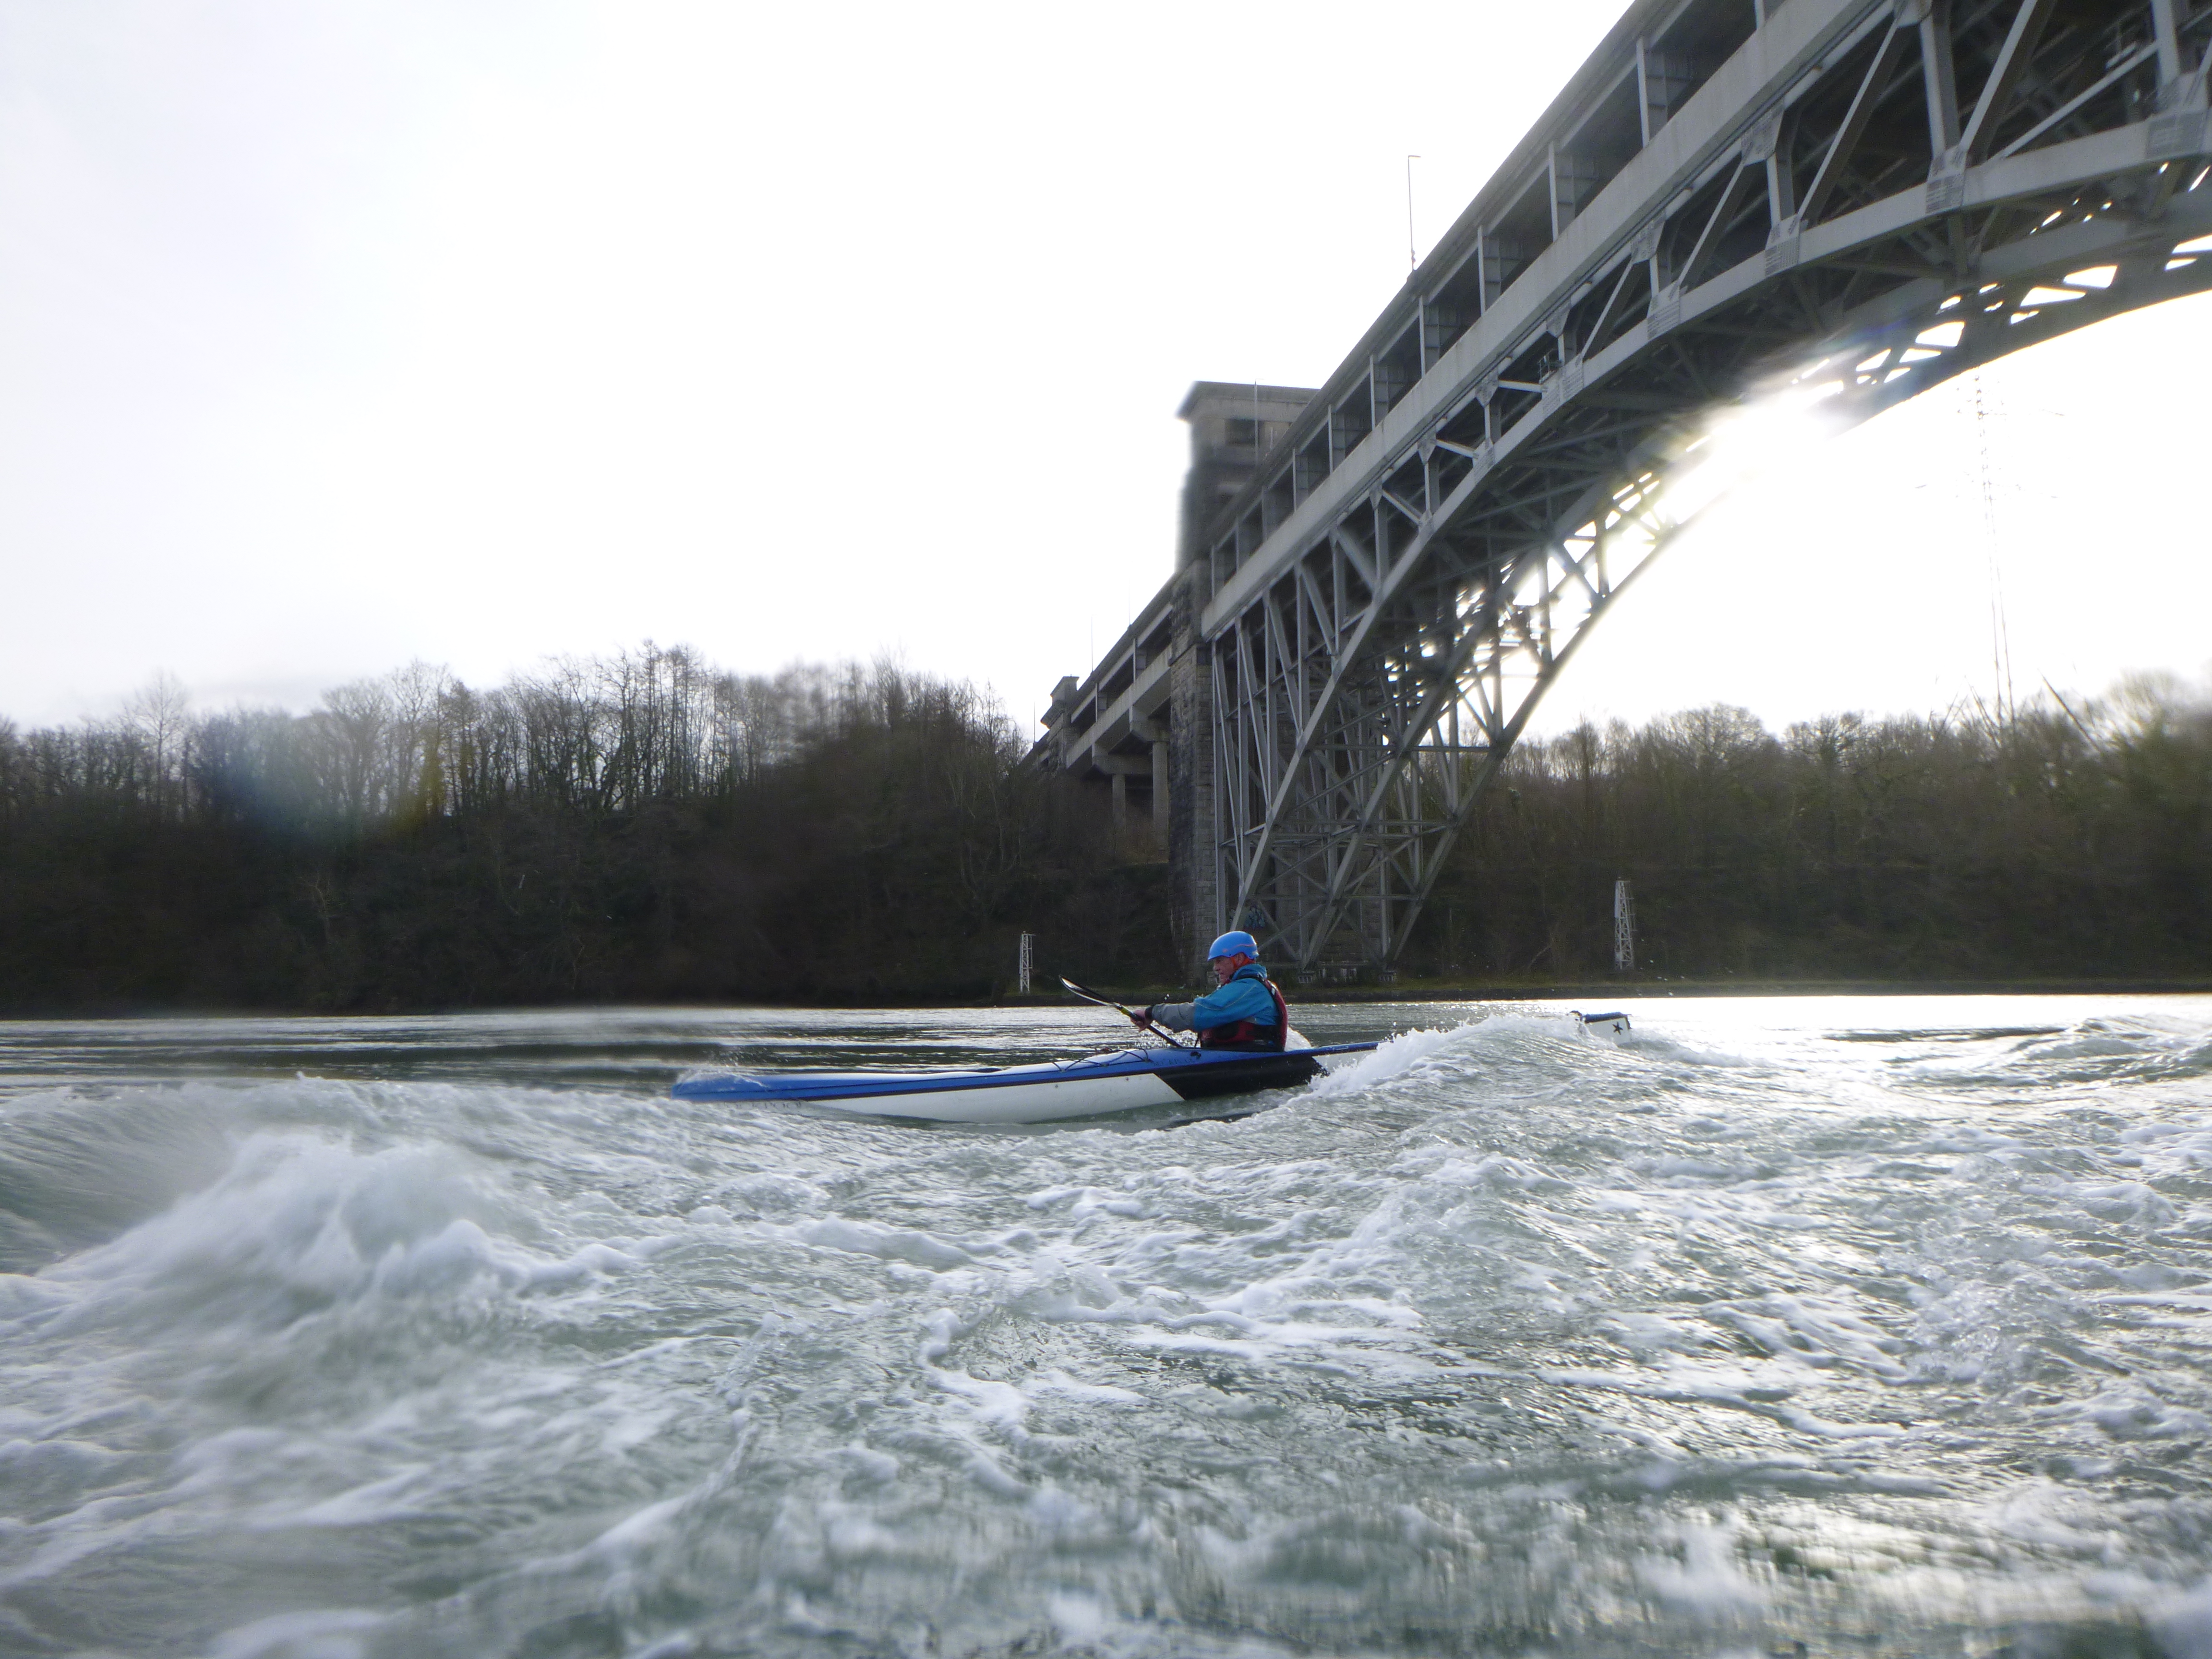
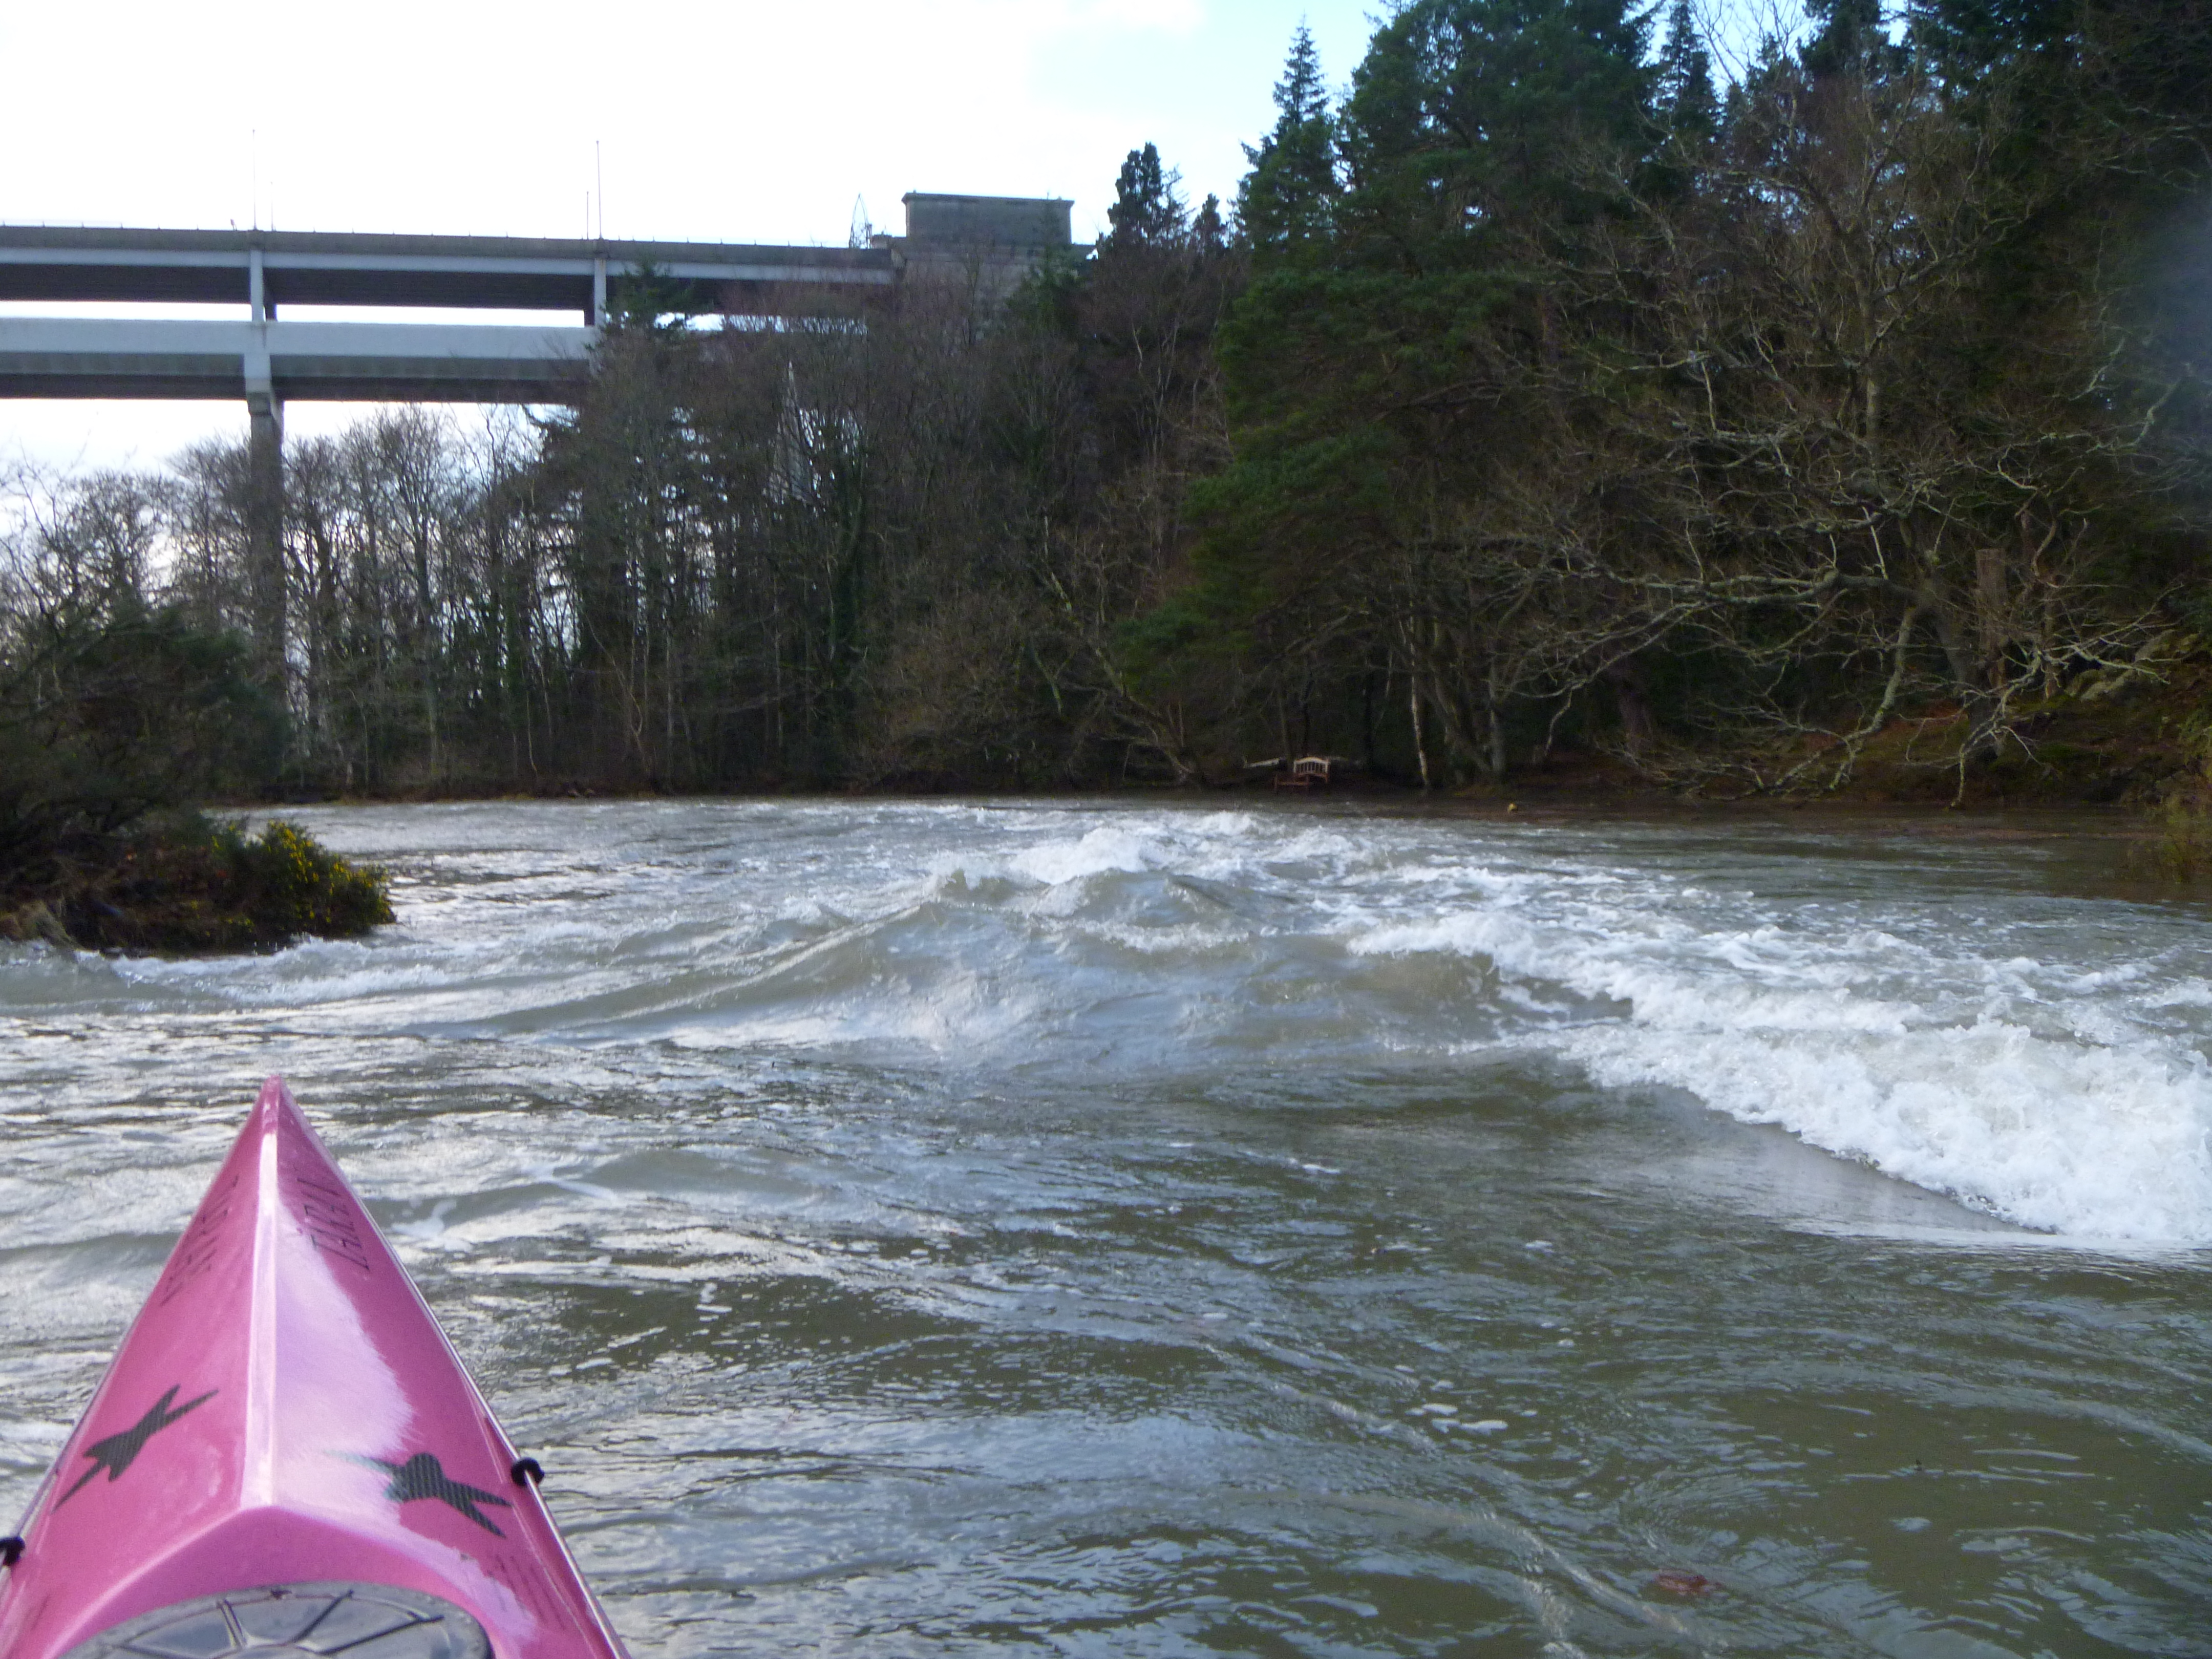
There are numerous waves in the Swellies, some to be surfed on the flood, others on the ebb. While none of them are the largest of waves, they range from 1ft to around 4ft on a big tide, there is enough variety and challenge to entertain most people. On the whole the Ebb waves are narrower and less forgiving than the Flood waves, however there is still plenty of sport to be had!
Whilst some of the waves work well (or better) for short boats (slalom boats and playboats) this guide is written with sea kayakers in mind.
The nature of the Swellies as a narrow tidal channel means that the flow rate and water depth are constantly changing. This in turn means that the waves are also changing throughout; they will grow and wash out, rocks will appear or become covered, the power of the water will literally flow and ebb. Whatever wave you have, the one thing you can rely on is that it will change, and probably fairly soon. If your wave is not there, hang around for a few minutes, it may form again… On the other hand, never squander a good wave! It’s only going to get smaller.
Even with extensive paddling hours on the Menai Straits, we still are discovering new things. This guide will be updated as-and-when to reflect that.
From the start, to the end, of your time on the water, conditions will vary greatly here, providing a wide opportunity for learning, challenge and fun. Enjoy!
Note: If you are launching at Menai Bridge, the gravel trailer park by the slipway floods at High Water from mid-springs up. Beware!
Safety
All watersports carry an element of risk; this risk is magnified on moving water. Standing waves are formed as moving water is deflected by sub-surface obstacles, these obstacles are often close to the surface and are obvious hazards.
The Swellies is an active sailing channel, with craft of all shapes and sizes transiting – including regular high-speed ribs. Be aware and keep out of the way. Other hazards include: posts, buoys, moored craft, submerged and low-hanging trees, rocks (plenty of), fish traps etc.
It goes without saying that helmets and buoyancy aids should be worn.
Know your limits: we need to be frank and honest in our abilities and make sure we are safely capable of what we are attempting.
Avoid paddling alone. Carry the relevant safety kit, including a method to raise the alarm.
This guide provides nothing more than a few locations where you may find waves to try, and a few ideas on what to expect. IT IS NOT A SAFETY GUIDE TO PADDLING THE SWELLIES. It cannot cover all eventualities and does not aim to provide a detailed explanation. Do your homework before paddling.
Terminology
N = North, S = South etc.
HW = High Water, LW = Low Water (referring to local unless stated)
LHS = Left Hand Side, RHS = Right Hand Side
LH/RH descriptions are given as if sitting on the wave i.e facing upstream.
‘Feeds’ = a sideways displacement along the wave.
Height figures give anticipated largest wave heights – but will vary.
Wave height: 1 ft – reaches the bottom of my B.A, 2 ft – shoulder height, 3 ft – top head height, 4ft – looking up to it.
Locations
BB= Brittania Bridge
GG=Gored Goch Island
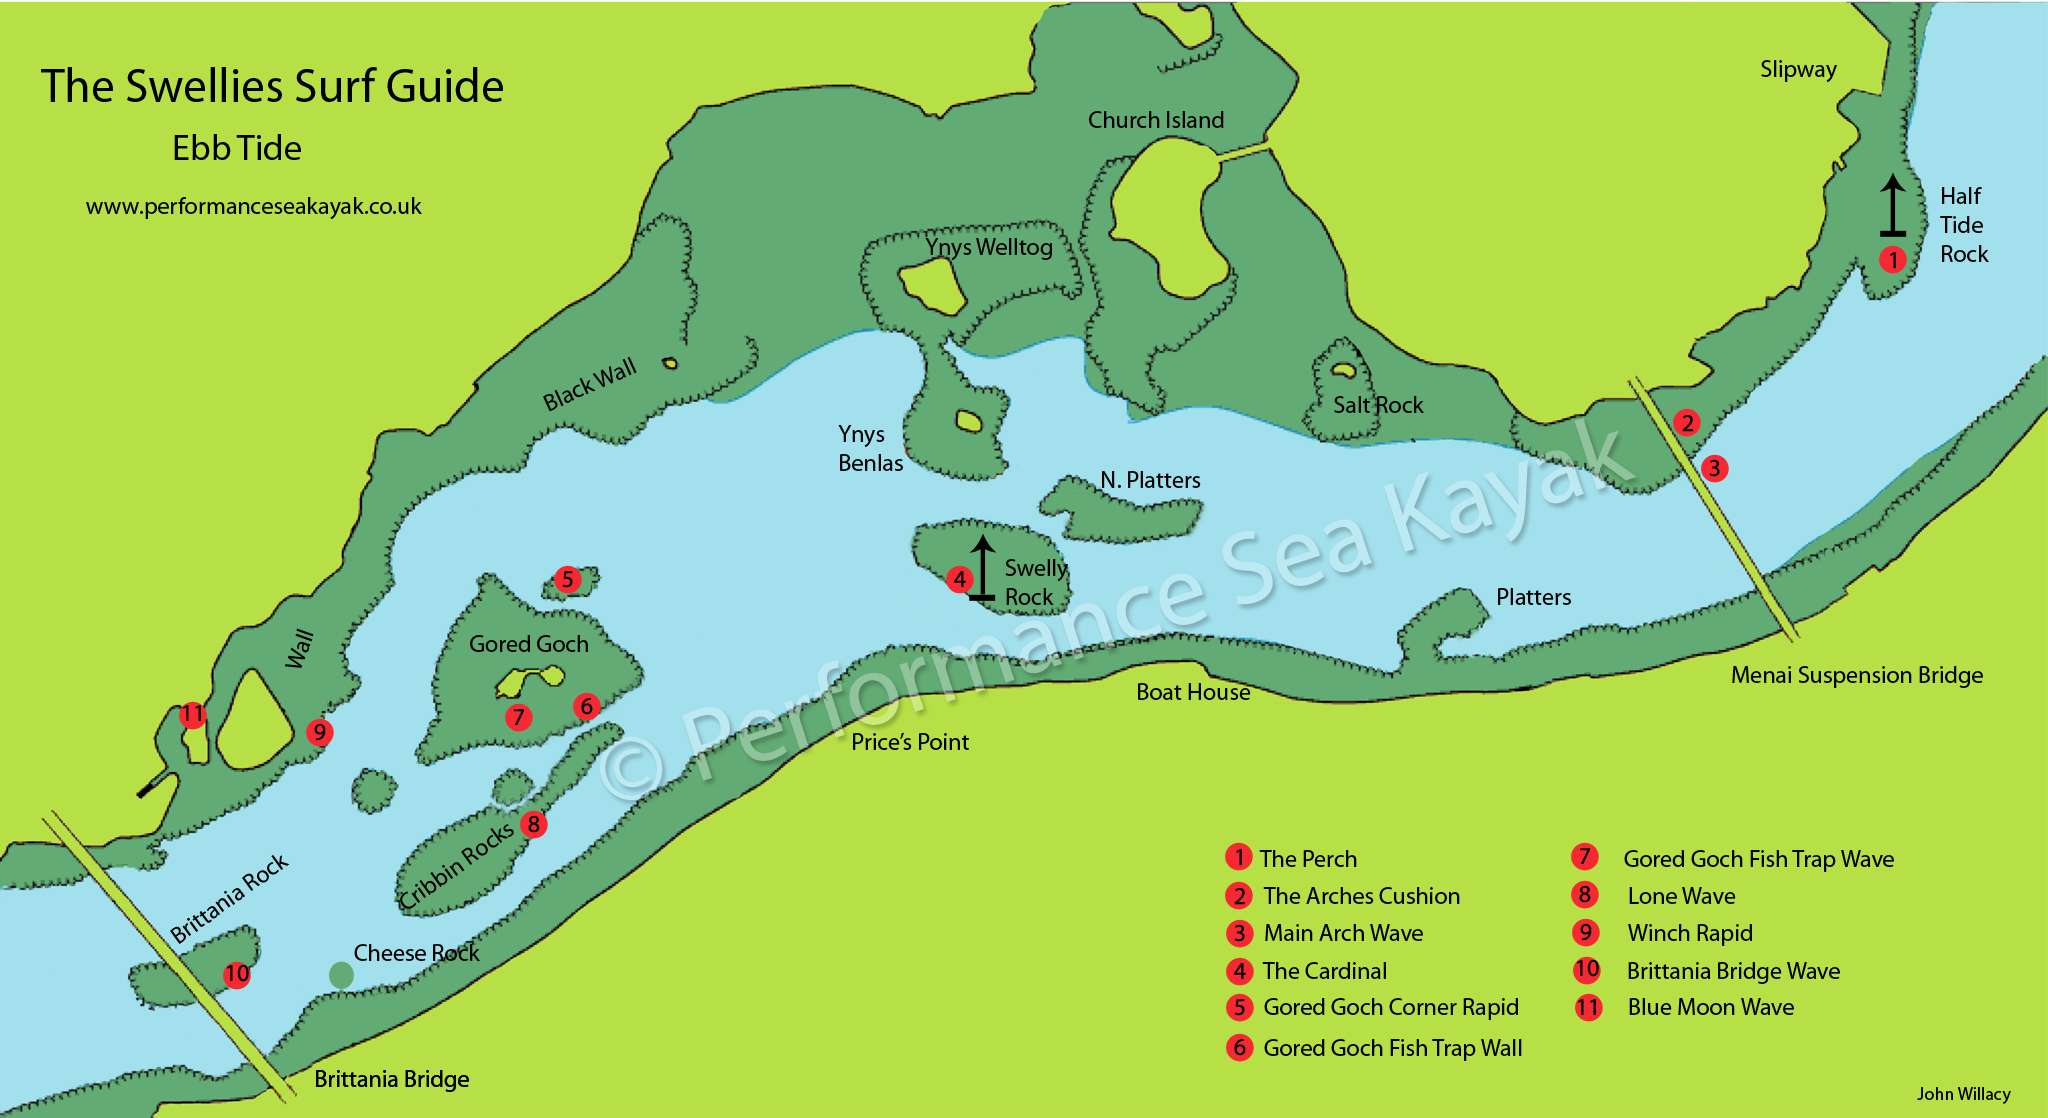
1. The Perch (aka Half Tide Rock)
Location: 150m S of Menai Bridge slipway
Description: A large green wooden post with a cone on the top.
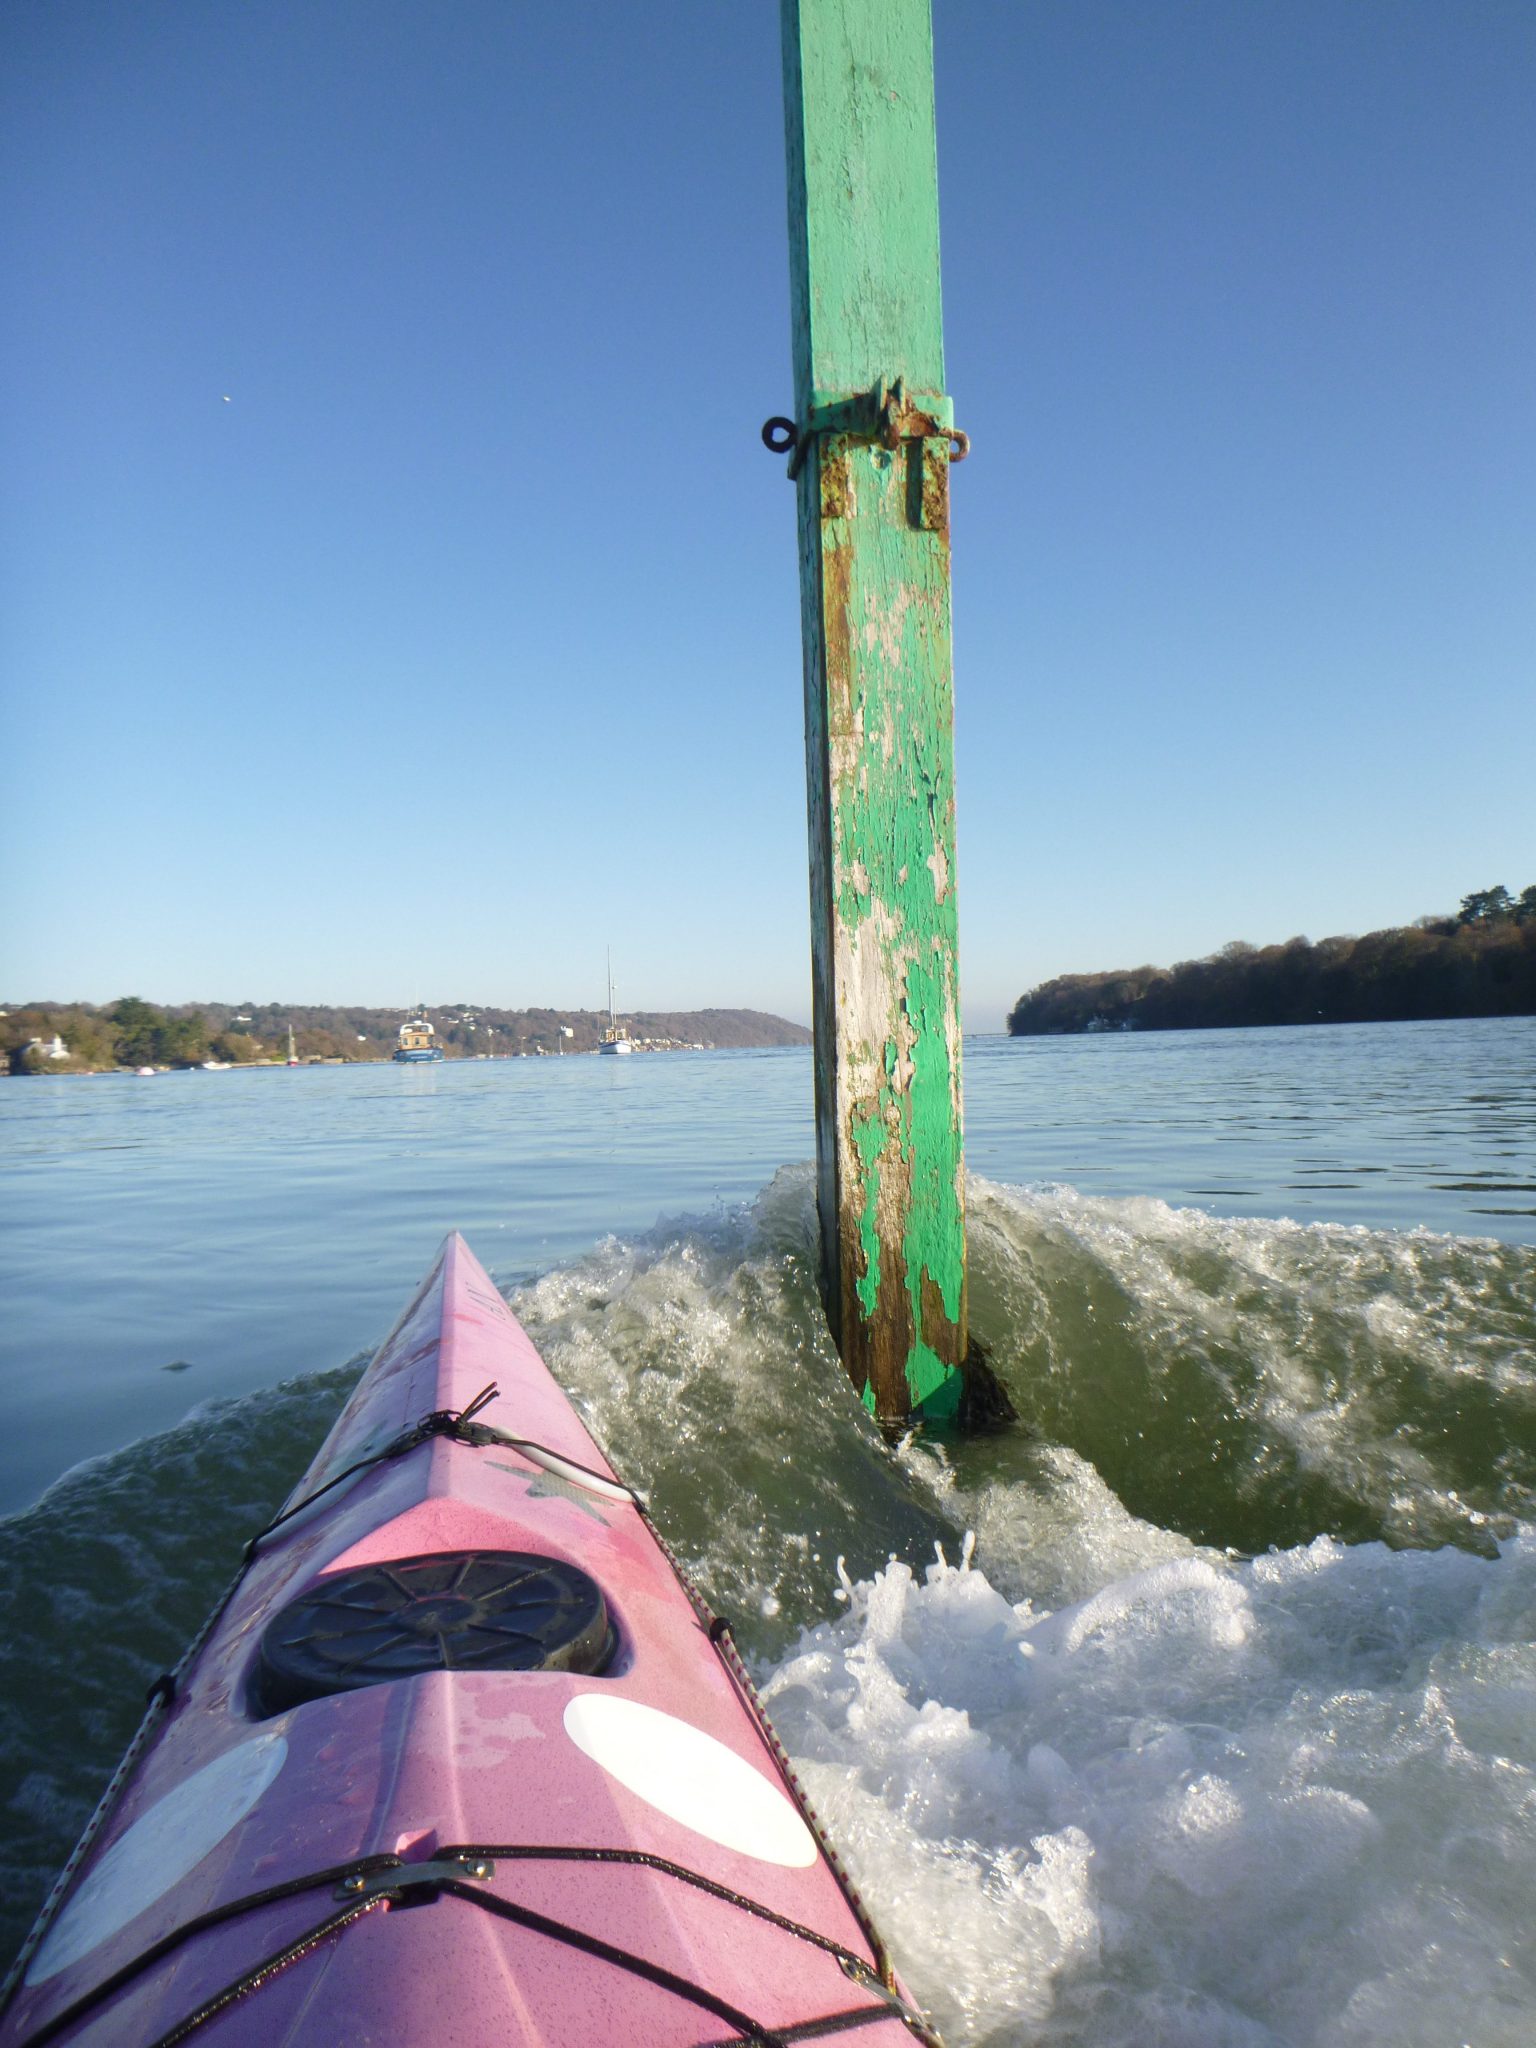
At lower flow rates there will be a small 1 boat eddy below the post; as the flow rate increases a small, white V-wave forms off the post. Each side can be surfed, though the RHS is a little easier – with enough room (just) to fit one boat on each side of the V. The eddy below post can hold only one boat, directly below the post. There is an easy eddy directly across on the Anglesey shore for respite. Try not to knock the post down.
Height: 1ft
Flows from: Close before HW to mid/late-ebb
Good For: Intro surfing practice. This is an easy surf, requiring a little precision but not much more.

Bad For: Paddling very close to a significant obstacle. (See note below.)
I like… it for a gentle warm-up surf.
NOTE: KEEP WELL CLEAR WHEN UPSTREAM OF THE POST. DO NOT allow your bow to drift above the post at any time.
While this is a regular and straightforward surf when below the post, there is a significant chance of pinning/entrapment if even part of your boat is upstream of the post – with a likely fatal outcome. Danger – Stay below.
2. The Arches Cushion
Location: Immediately above the stone pillar between Arch 2 and 3 (counted from Anglesey shore) of Suspension Bridge.
Description: ADVANCED: A very small and flat cushion that is formed by the pillar between Arch 2 and 3.
Forms on the ebb close before HW and fades later as flow rate drops. This is a very small cushion, very close to the stonework. It has a disarming tendency to feed into Arch 3. As the level drops the gap into the arch becomes increasingly narrow and rocky. This is advanced paddling – get it wrong and it’s rather dodgy. (There is also a slightly smaller cushion between Arch 1 and 2.)
Height: <1 ft
Flows from: Close before HW to mid-ebb. Becomes increasingly difficult and dodgy as flow and depth drop off.
Good For: Advanced precision work and micro-transits.
Bad For: Very close to stonework. Significant pin hazard on corner of pillar. Danger.
I like… it for focusing the mind.
3. Main Arch Wave (aka High Tide Hole, Suspension Bridge Wave)
Location: Upstream corner of the suspension bridge island (Pig Island) on the Bangor side.
Description: A 1-2 ft diagonal wave immediately to side of bridge pillar. A short and somewhat awkward surf, that feeds outwards. At higher flow rates a usable, and smoother, second wave forms. On large Springs, the top wave may form a white , holding hole, sometimes used by playboats.
There is an easy, though constantly moving eddy to LHS. However, the boily eddy line can be challenging at higher flow rates.
Height: 1 – 2 ft

Flows from: Close before HW to mid-ebb
Good For: Tricky wave practice. Needs constant and active input to stay on this wave.
Bad For: Boily + confused eddy line can make rolling tricky.
I like… it if I’m in the mood.
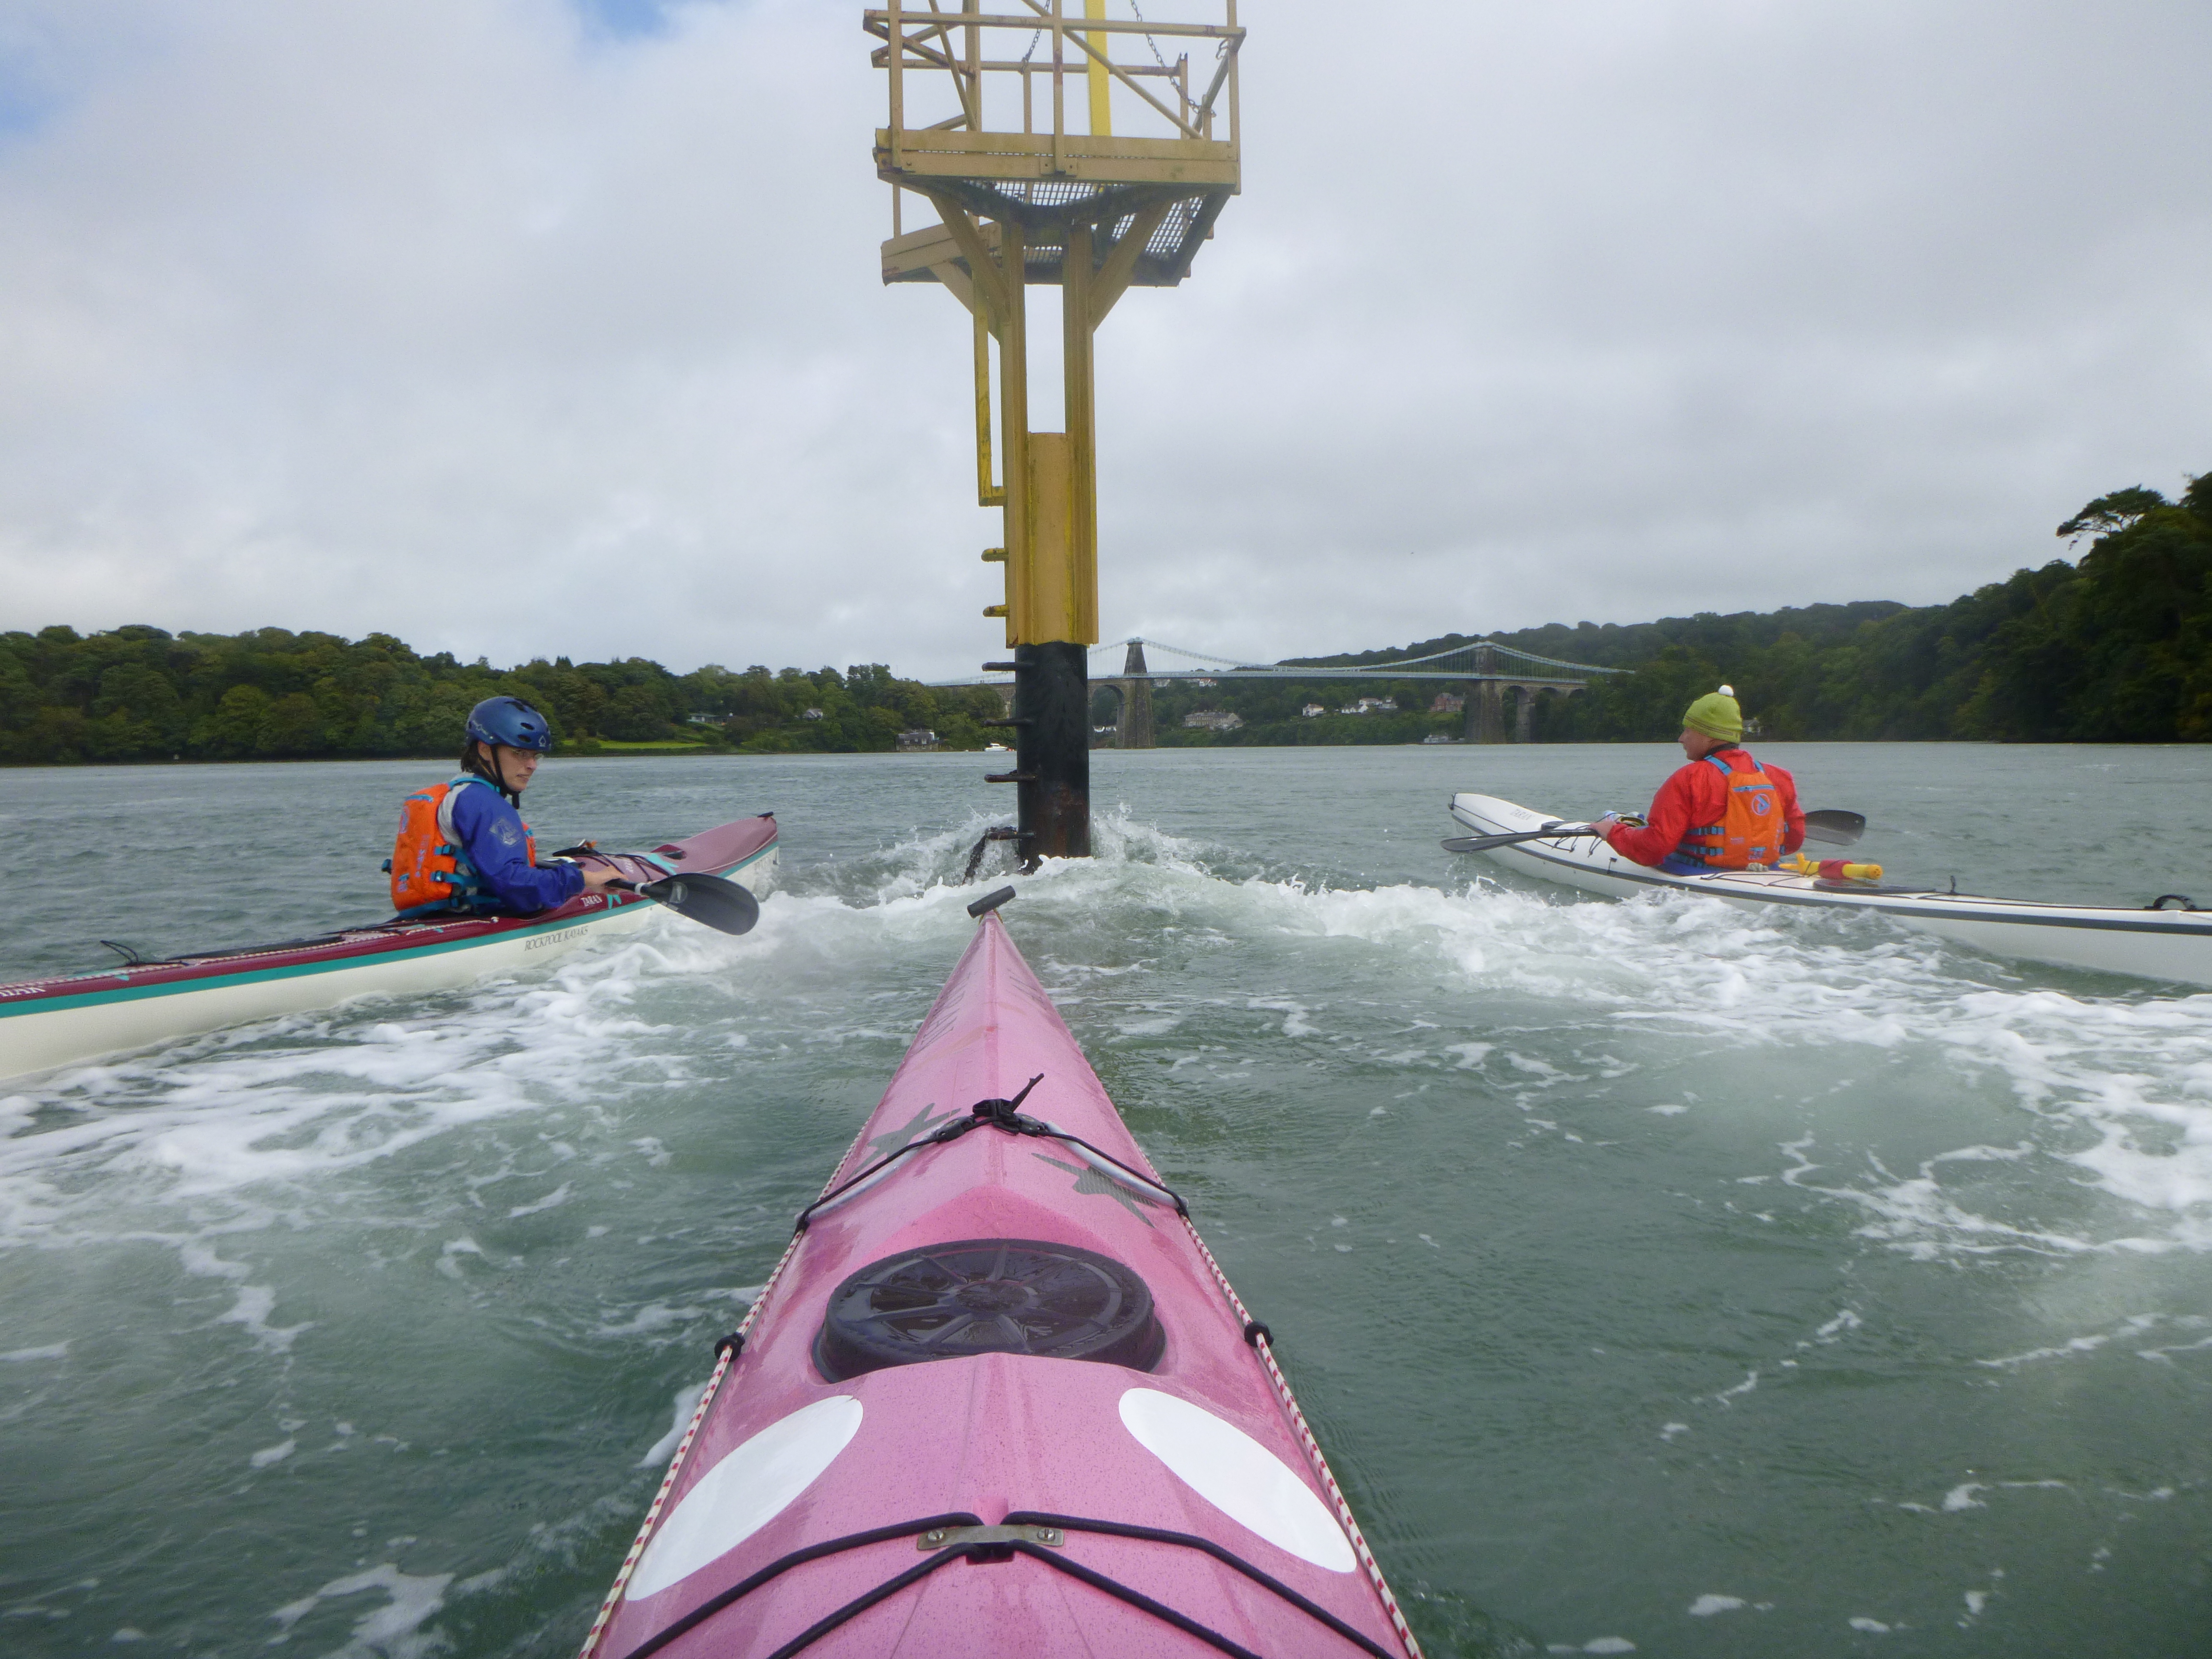
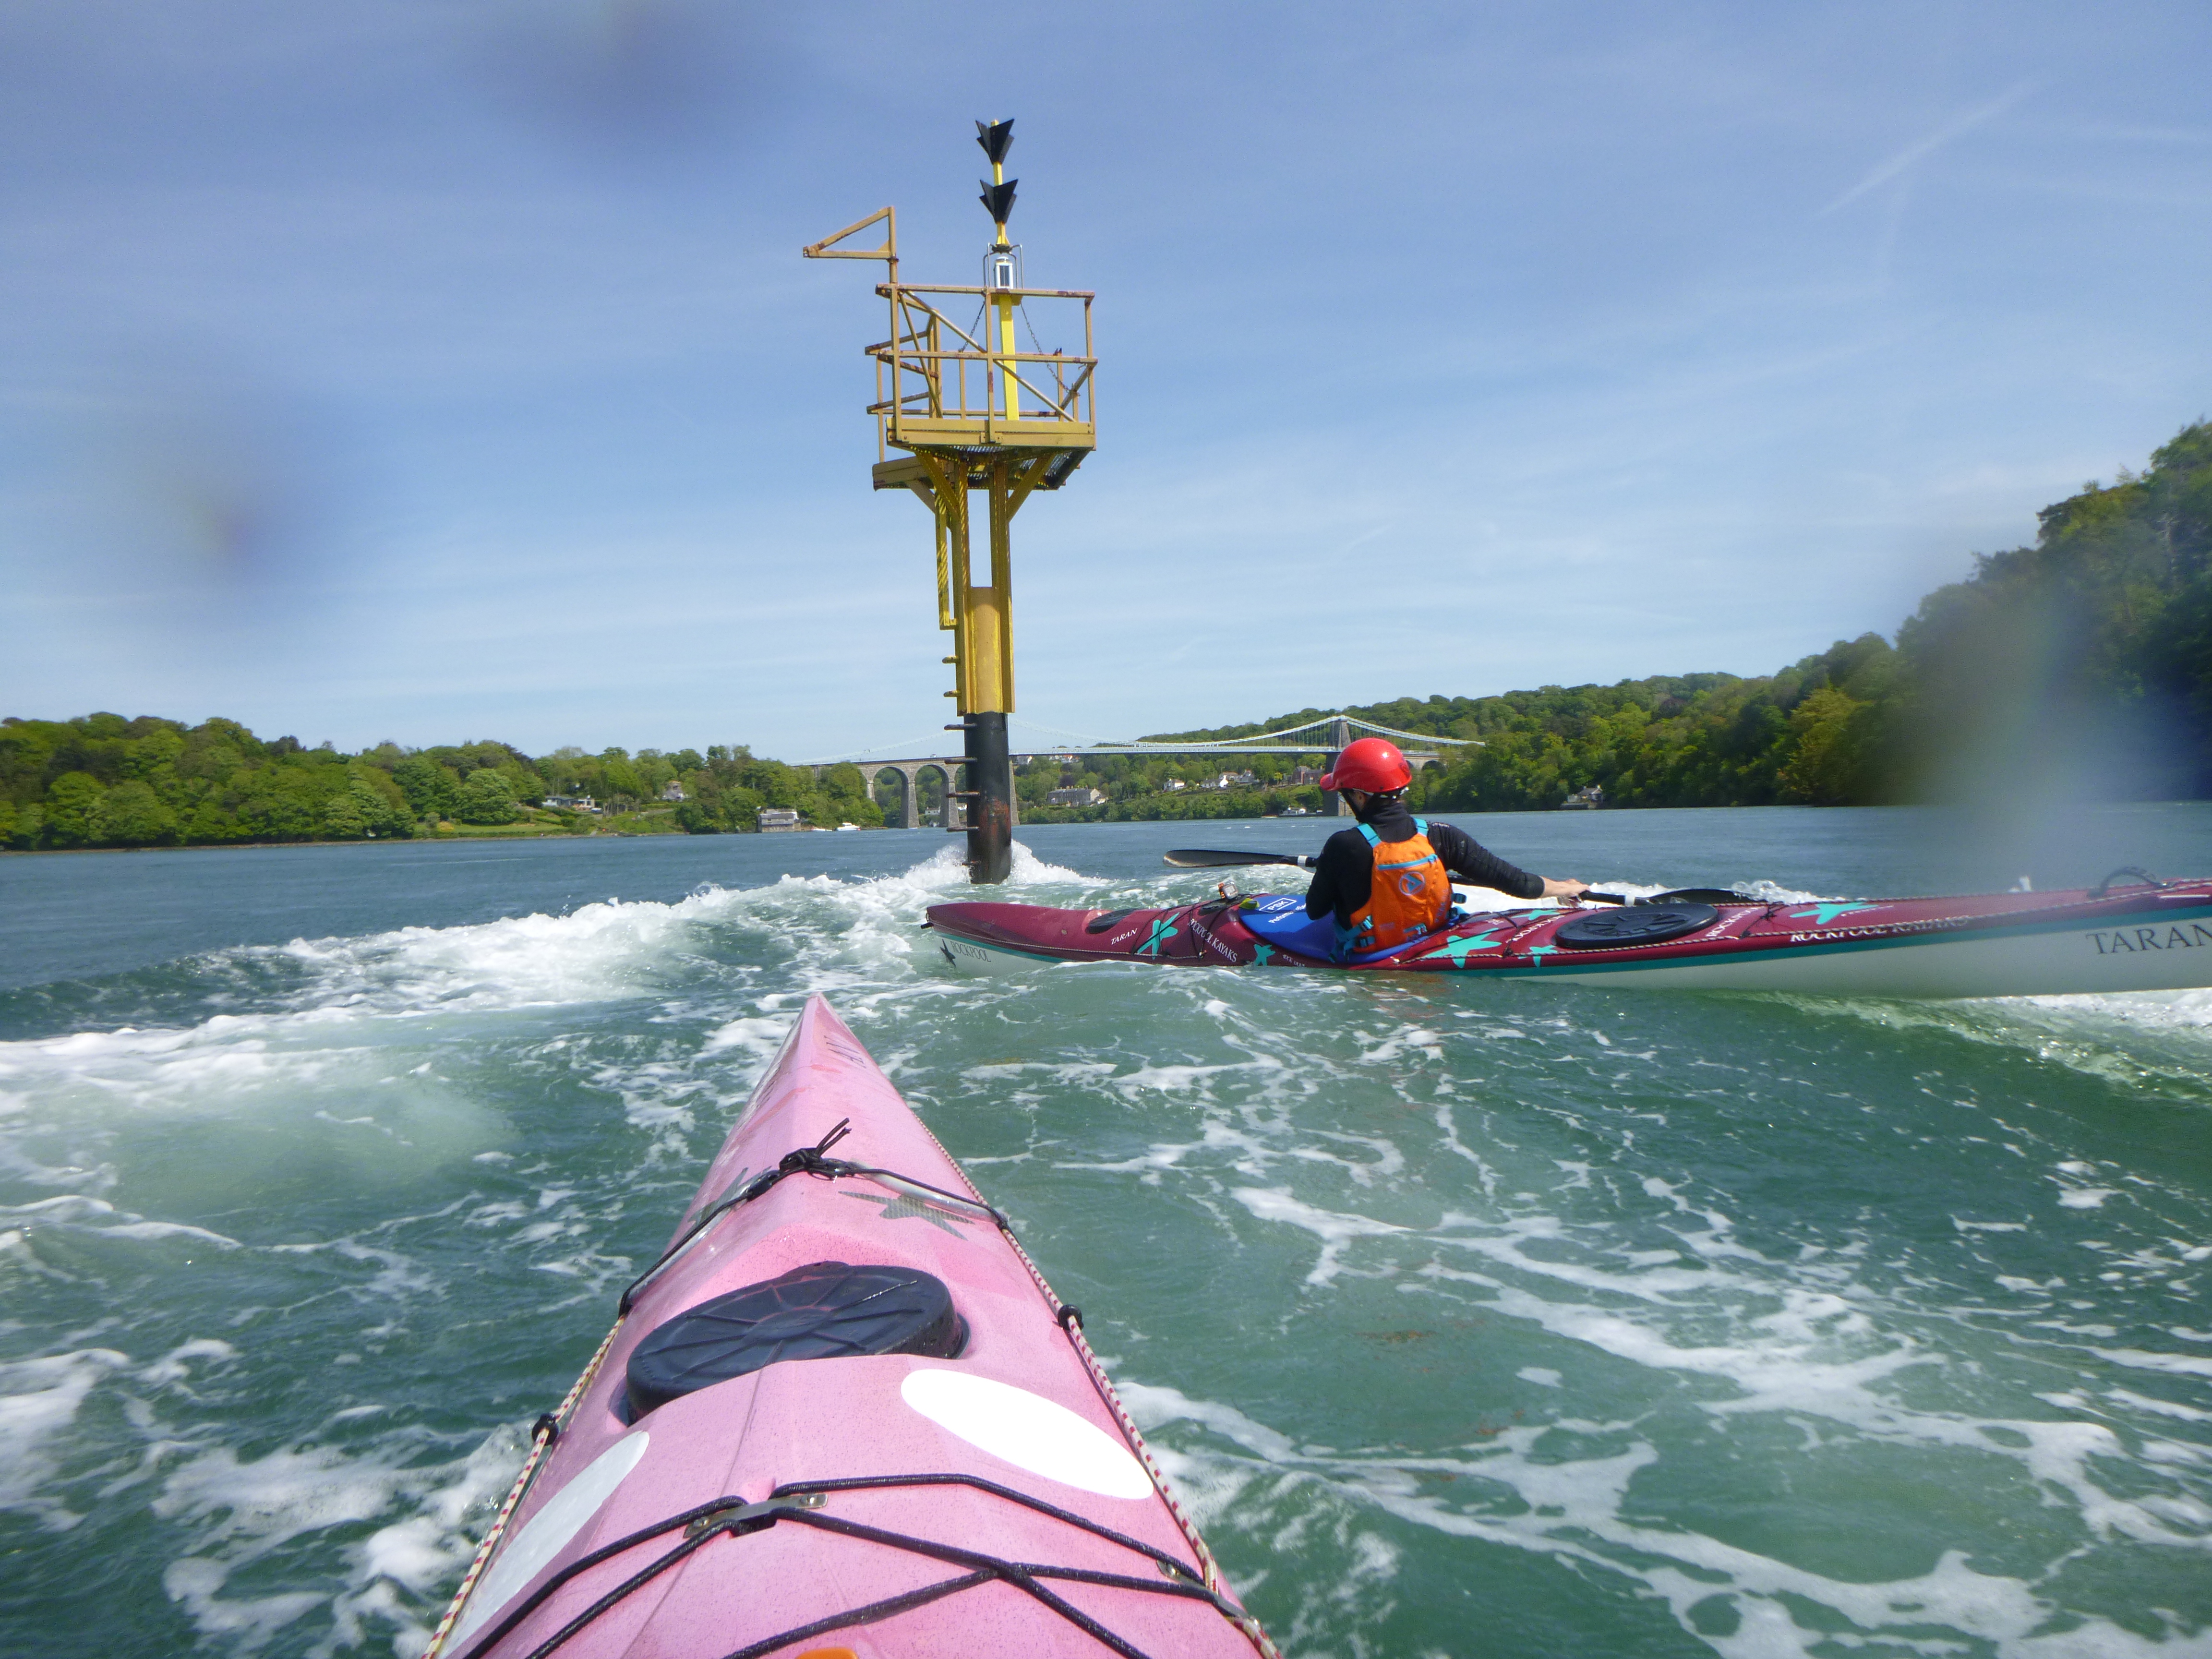
4. The Cardinal (aka The Post/ Cardinal Marker etc)
Location: Swelly Rock
Description: A large black and yellow S Cardinal Marker post midway between the Bridges. A white V-wave forms off this post. Low flow rates, early in the tide, give a one-boat eddy behind the post, and as the flow rate (quickly) increases this starts to form a V-wave. It is an easier surf on the RHS. Feeds both in and out.
At higher flow rates this will form a very fast and demanding white V-wave. Quite chunky on the fastest flows.
A second, perpendicular, square wave forms immediately below the V, this gives a fast but easy surf if placed centrally. Feeds on both edges.
Height: 2ft on faster flows.
Flows from: Close before HW to late-ebb for V wave. 2nd wave starts later and fades earlier.
Good For: Everything from an easy surf, to a demanding, fast challenge.
Bad For: Paddling very close to a significant obstacle.
I like… the fact that it surfs easier with a little upstream lean.
NOTE: KEEP WELL CLEAR WHEN UPSTREAM OF THE POST. DO NOT allow your bow to drift above the post at any time.
While this is a regular surf, there is a significant chance of pinning/entrapment if even part of your boat is upstream of the post – with a likely fatal outcome. Danger – Stay below.
5. Gored Goch Corner Rapid

Location: Upstream corner of Gored Goch Island on Anglesey (N) side.
Description: A small rapid that forms as flow rate picks up on ebb. Has a number of small waves depending on flow rate. At lower flows gives a small and fairly easy wave. As rate increases the wave grows and another one or two waves come online. Can be ‘surgy’ at higher levels and top wave has an increasing tendency to feed outwards as flow rate picks up. There is a good eddy below on the GG island side.
Height: 2ft+ on biggest tides
Flows from: Close before HW to late-ebb.
Good For: Gives a mix of options over a wide range of tide flows, but often a little unhelpful.
Bad For: Feeding.
I like… it best on big tides when there is a fast green wave. Remainder of the time it’s usually a bit clumsy.
NOTE: At the top of the rapid there is a small, scruffy perch. This marks the upstream end of the fish-trap wall. Stay to the N of the post. Do not paddle between the post and the cottage, this is the entrance to the fish-trap!
6. Gored Goch Fish Trap Wall
Location: A submerged wall running roughly parallel to the S side of GG island.
Description: This rocky submerged wall provides a small drop that forms a length of small, faulty waves and gaps below the wall. On the whole the flow runs over the wall at an angle, making much of the waves an awkward surf. On lower tides things the rocks are barely submerged early on. Later on there is a confused and feeding series of waves that don’t really live up to initial promise.
There may be a surfable wave around halfway down, though the confluence of the angled flows tends to make things somewhat awkward on the whole.
At HW the first wave to come online is at the downstream end of the wall. Initially this forms as a small L-shaped hollow that is an easy surf – ‘Dumpy’. As the flow rate increases it widens and smooths as it grows faster. Before long it steepens and starts to dump, hence the name . This wave provides a fast and somewhat dynamic surf – but as it grows it becomes boisterous and unhelpful. Late in the flood, as the level drops, it smoothes and then becomes short and steep as the rock nears the surface. It is the first to form and last to fade here.
Angle Wave
After HW there is small wave that forms immediately on the upstream (RH) end of Dumpy – Angle Wave. This makes for an interesting diagonal surf. Get the sweet-spot and you can sit here nicely, get it wrong and you faff around for ages not getting anywhere. It works ok on smaller spring/larger neaps but is more fun on bigger springs – though it can be awkward to get out-and-on-to when things are flowing fast.
Height: 1-1 ½ ft — 2ft for ‘Dumpy’ on bigger tides
Flows from: Close before HW to late.
Good For: Practising linking of crosses and climbs, but not the best surf spot on the whole.
Bad For: Barely submerged rocks at early/late stages. Avoid dropping over wall. Various conflicting narrow flows can make positioning frustrating at times.
I like… the diagonal surf just upstream of dumpy. A rewarding challenge.
7. Gored Goch Fish Trap Wave
Location: The gap between the Fish Trap Wall and GG at the downstream end.
Description: An easy, square, fairly flat wave that just about spans the gap; though at most levels the wave is only a realistic surf far on the RH end. Go too far right and you will feed into a deeper and steeper L-shaped dumping wave – ‘Dumpy’ – (see Description 7 above.) Slacker water lies downstream with a large and easy eddy on the GG side. This is an easy surf at mid-level, faster flow brings a faster surf, still easy but watch it try to feed you disarmingly slowly (but steadily) into ‘Dumpy’. At highest levels it all starts to smooth out nicely into one fast, but gentle, horseshoe wave.
Beware as water levels drop to low-level: rocks and underwater obstructions come into play. At lowest levels there is a significant obstacle under GG side of channel – the remains of The Fish Trap. Submergence of blade, boat or bonce (inadvertently) in the wrong place may not end well.
Height: 1-1 ½ ft max (2 ft on dumpy wave)
Flows from: Throughout the ebb. Gentle in later stages.

Good For: Pick your timings and you can have either an easy fast surf or a more gentle, slower version.
Bad For: Rocks and obstacles at lower levels.
I like… it for an easy surf to wind down.
8. Lone Wave
Location: Mid-channel about 100m S of Fish Trap eddy.
Description: A small, gently dumping wave sat on it’s own out in mid-channel. Formed by the upstream pillar on Cribbin Rocks. It is an easy surf with an easy drop-in, though it is a bit of a one-shot, mid-flow surf with no eddy. Nearest one is back to GG or the Bangor shore.
Height: 1 ½ft max
Flows from: Close to HW onward, washes out late-tide, depending on springs/neaps. Not much to see on neaps though.
Good For: An easy drop in with a smooth, gentle surf, that has just enough surf, dump and feed to stop you dozing off.
Bad For: Not much.
I like… it for chilling and letting life go by.
9. Winch Rapid (aka BB Corner Rapid)
Location: On SE corner of small island on Anglesey shore – directly E of GG.
Description: A small rapid caused as the flow falls around the corner of the small tree covered island. This diagonal wave is very dependent on flow levels. For much of the time it is a wet surf that feeds and is generally a little grumpy, however at higher flows it can be a nice smooth, fast surf – though it can change quickly. It is surfable but can be frustrating. There is a good eddy immediately below to allow you to sneak up and take it unawares.
Flows from: On the ebb. Higher the flow the better.
Good For: A challenge.
Bad For: everything else.
I like… it for practising challenging climbs.
10. Brittania Bridge Wave
Location: On SE corner (upstream edge) of Brittania Rock – the small foundation island that Brittania Bridge is built upon.
Description: ADVANCED: A 2-3ft drop forms off the upstream edge of the rocks and this forms a number of waves. If the rock is covered then the top wave surfs fine. If the rock is showing then it looks surfable but really only delivers on larger flows – too fast and too flat otherwise. The second wave is then the better option and gives a fast though challenging surf, requiring quick reactions and constant inputs. The sweet spot is very narrow – either side of this and it feeds greatly. Sit a little far out or right in the white stuff (more accommodating than it looks) otherwise it will be a constant and losing battle.
Here you are a couple of boat lengths or so directly above the stonework where the flow leads too and where a rather nasty, boily cushion can form. A capsize or a low drop-off here could lead to a significant pin situation on the corner.
Eddy to the LHS of the wave is variable, depending on the flow. Not always an easy sanctuary.
Flows from: On the ebb close before HW to mid-ebb. Requires Spring tides.
Good For: A challenging test of precision, reactions and transit holds.
Bad For: Dodgily placed above the bridge stonework. Danger.
I like… it for a ‘how-long-before-you-lose?’ challenge.
11. The Blue Moon Wave
Location: Hidden at the top of the back channel between the second of the Brittania Bridge islands and the Anglesey shore.
Description: This a pretty rare wave, only seen at HW on the largest of the Spring tides. Eddies on both sides of the wave, but as this area is dry 99% of the time, it is going to be shallow. The wave is probably half a boat width wide and not the world’s best surf, but worth a go for the novelty value if nothing else. Watch out for submerged posts in the pool above the wave.
Height: 1 ½ ft max
Flows from: Ebb close around HW. Requires largest of Spring tides.
Good For: A change.
Bad For: Frequent surf practice.
I like… the novelty of paddling around the back of the island.
by John Willacy