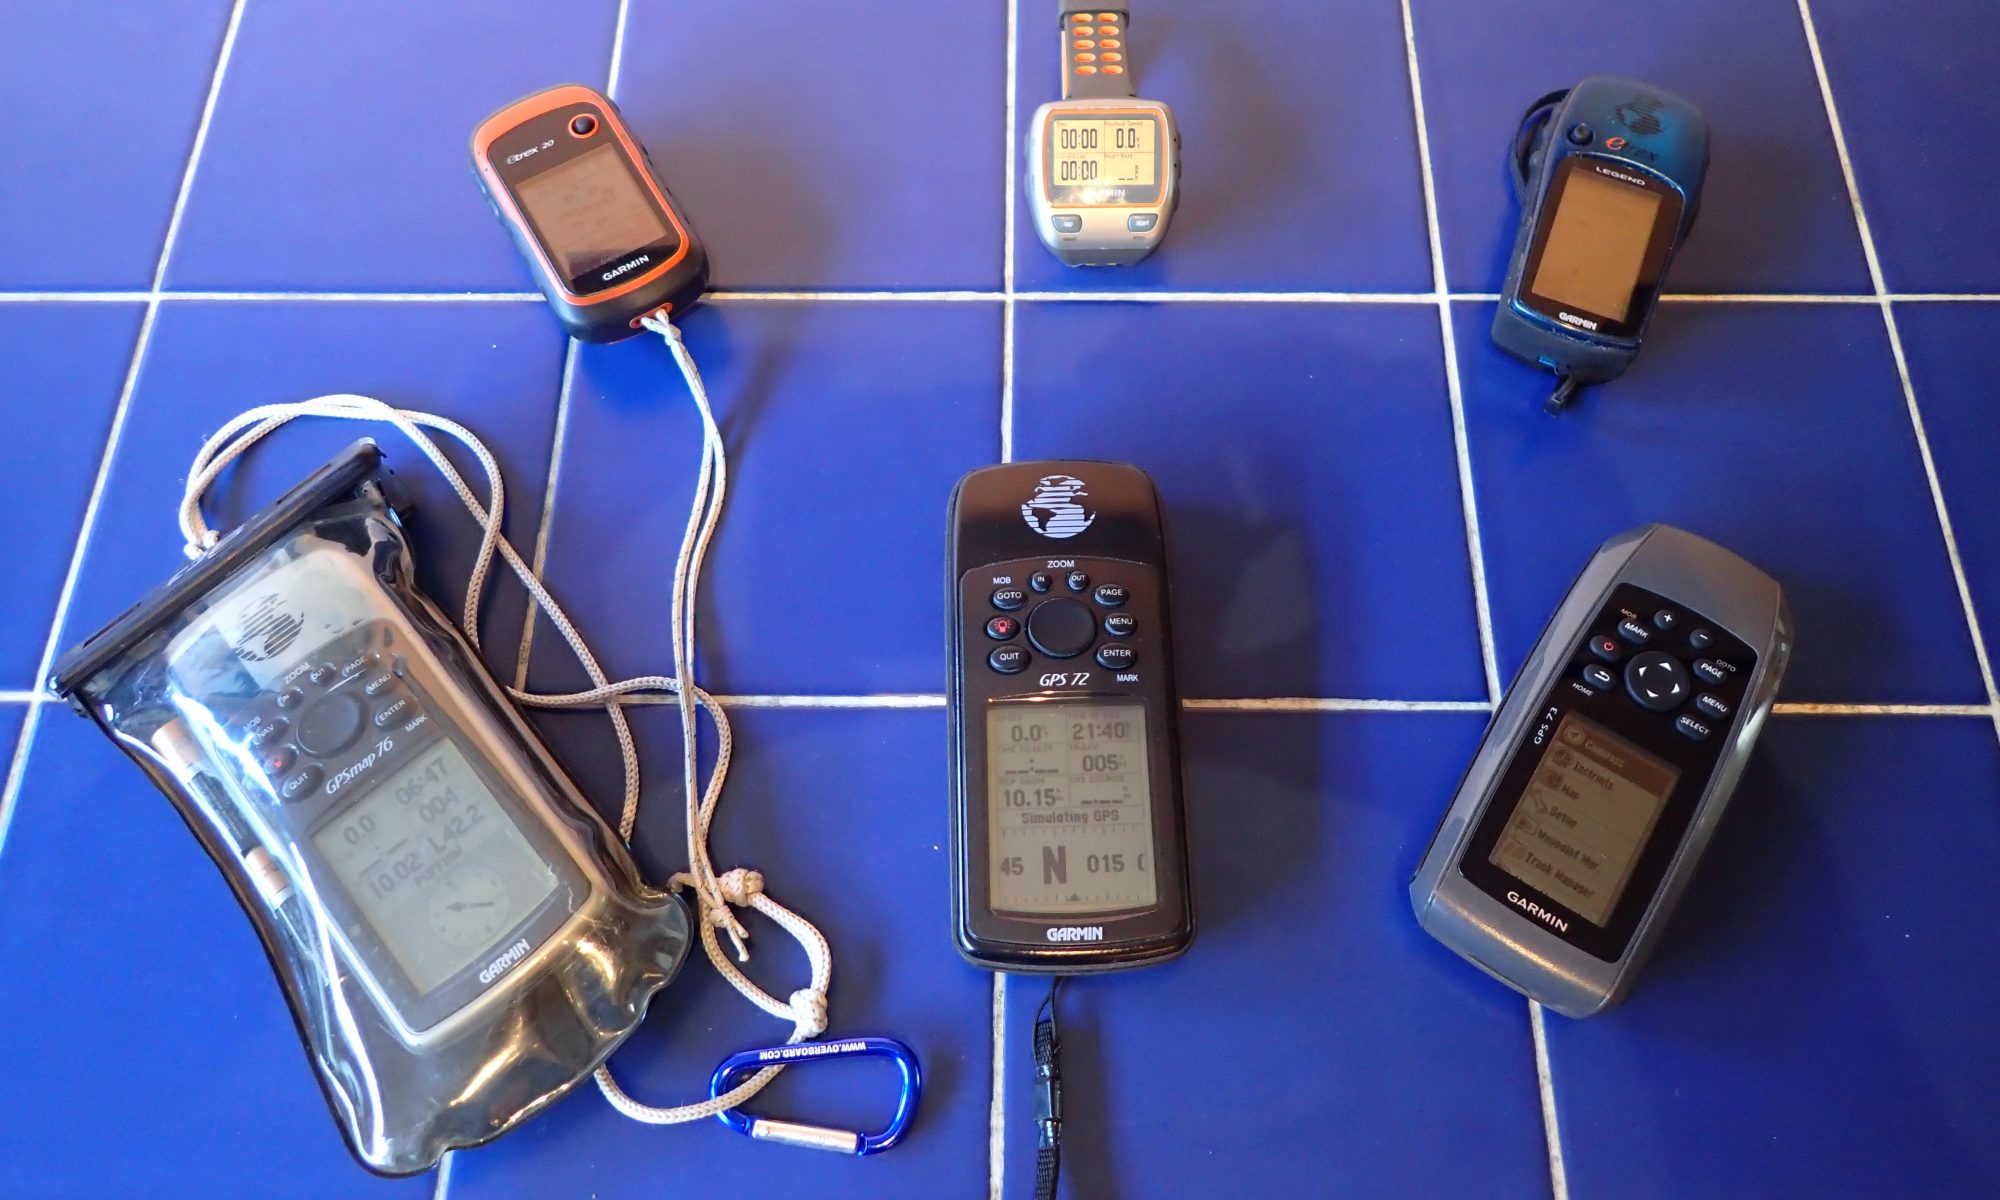
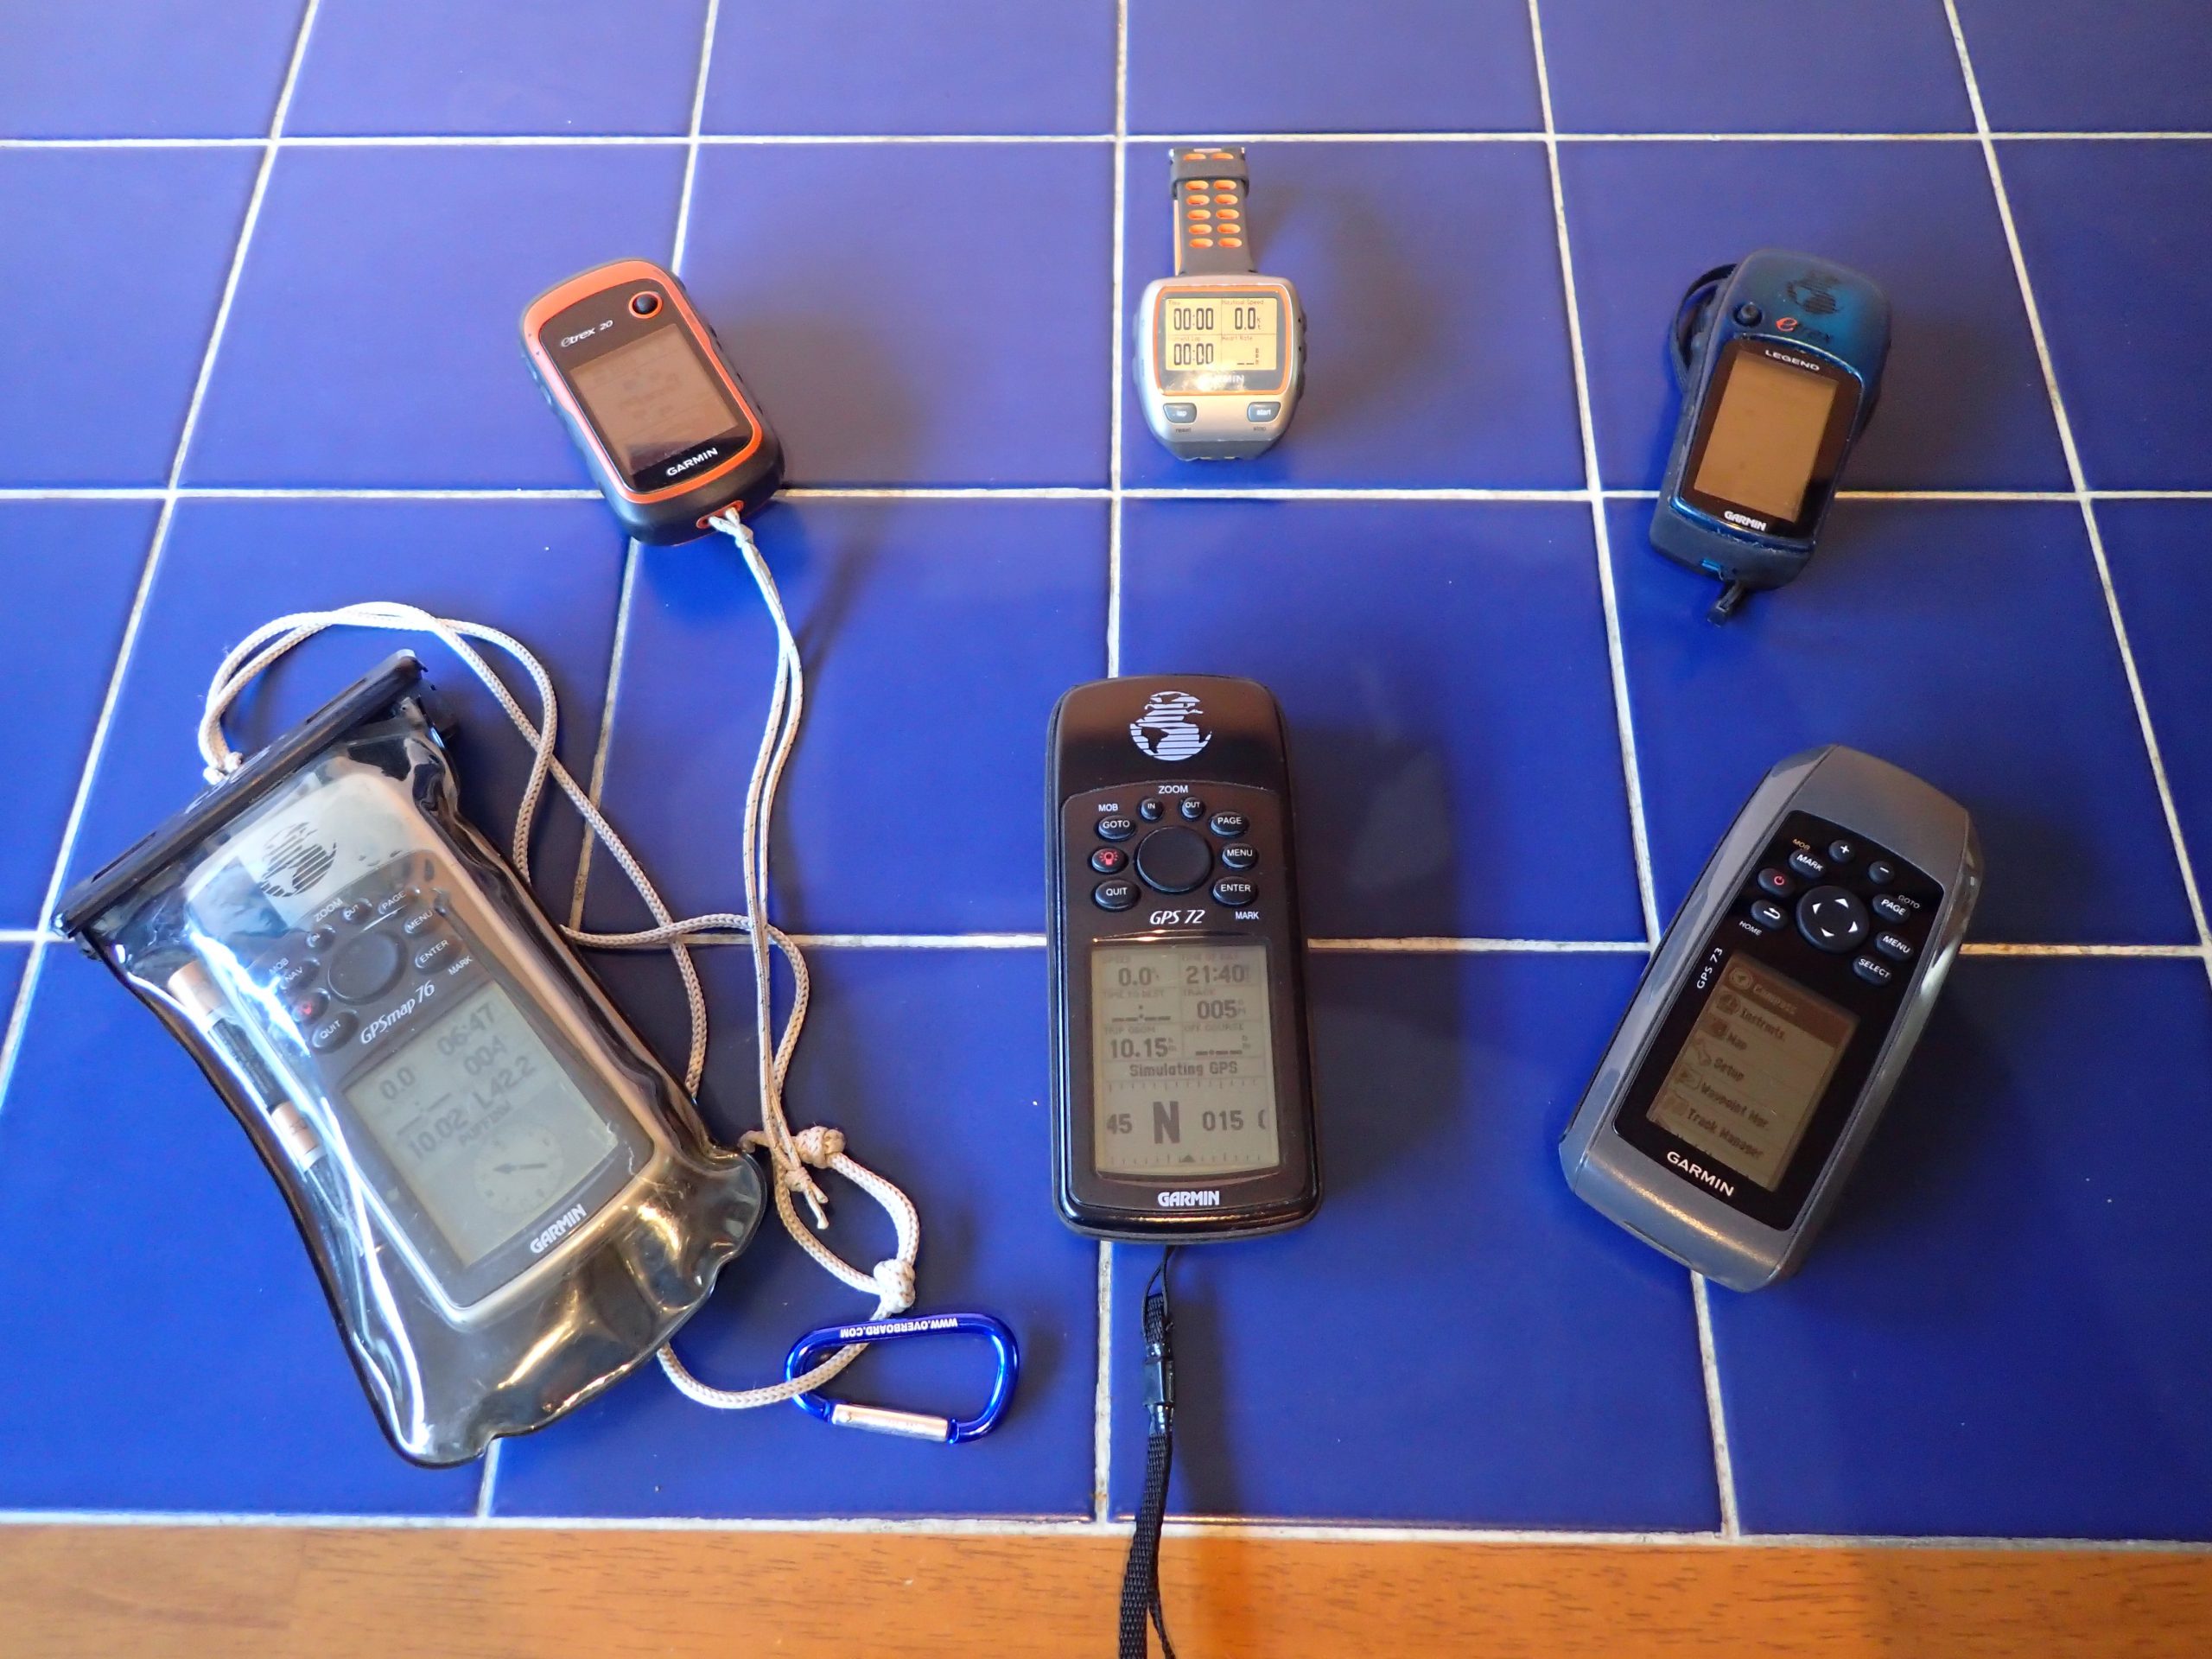
There’s a lot to this one!
For sea kayakers the use of GPS units is rather ‘marmite’ – it’s either love or hate. For a Performance Sea Kayaker you could argue that the GPS is an important, if not essential tool. Some avoid GPS because they’ve always managed without – others avoid because, frankly, they are not sure how it works. So today’s lockdown time is an opportunity to finally defeat the black-magic box.
Begin with the usual routine: A quick clean, external check and insert batteries – so we can have a play around. (You wouldn’t be the sort to store it with batteries fitted of course…)
While the PLB can be seen as bit of a ‘thick brick’ in our pockets, and the VHF sees itself as a rather ‘rufty-tufty’ part of the digital water world – it has to be said that the GPS is of a little more delicate constitution.
If you haven’t got a waterproof case/bag for it – order one now. It stops your screen getting scratched, your buttons gumming up, the darned thing sinking (or floating away) and it even gives you somewhere to stick your spare batteries – all for a few quid online – crack on…
Talking of waterproof – cracks and holes in the battery cover aren’t conducive to a happy long-term relationship.
Concepts
First, it might be worth reminding ourselves of a few basic concepts. Heading, Bearing, Course and Track? Of course, just like ‘Squelch’, we all know what they mean, until someone asks us to explain…
How do they fit into our paddling? Where and when do we use them? Maybe even run through a simple planning exercise. Hint: Heading/Course for Tidal Crossings and Track for pretty much everything else PSK.
And waypoints? Superhappy with 6 figure BNG or decimal Lat/Long? Which way is positive Longitude? Converting Nautical to KM? And so on…
For PSK the most important data we can get from your GPS is ‘Speed’. Speed tells us when we are going to get there, if we are going to get there, what the flow is doing – and hence what the tide is doing (or going to do) – irrespective of what the book says.
But this only works if we know what our ‘Sustainable’ Flat Water Speed is. If we don’t already know that, it is going to be a little tricky to find at the mo. Maybe all that data in our Training or Trip Diary may provide a clue?
Back to the GPS – Dig out the manual. Read it. Keep it nearby.
Press that big red button and stand back – sorry, I think that is from ‘Flares’.
Set-up
You probably find an intimidating number of pointless screens to start with. Learn how to remove them and do a cull. You might feel as if you are losing some important part of your anatomy, but do you really need ‘Fishing and Hunting Data’, ‘Area Calculation’ or the time of Sunrise/Sunset in Azerbaijan? Bin ’em.
Now set up the screens you need:
For PSK paddling I use:
‘Highway’ Screen – Track
‘Compass’ Screen – Heading (using Digital Compass) /Bearing
‘Position’
‘Map’ Screen
and of course, ‘Main Menu’
You can spend all day playing with ‘Main Menu’:
Find how to reset the Odometer, Trip Computer and so on.
Learn how to save ‘Today’s Track’.
How do we move between: Lat/long – BNG – Irish grid etc? Or Statute, Nautical and Metric units?
Can we set the Backlight Timeout? How does it affect the battery life on ‘Continuous’? Try it to find out.
What about UTC and British Summer Time? (Yeah, what about British Summer Time?)
We could ‘Set Alarms’, but then we could just look where we are going too…
And if we stumble across ‘Fishing Data’ – bin it again.
Waypoints ‘n’ Routes
Paddling with a GPS is not like our car ‘Tom Tom’. We set the Route and Waypoints here. So make sure you are confident with entering Waypoints, and how to ‘Nav’ to them later – ‘Find Nearest’ and ‘Find By Name’ are going to become good friends.
Jeez there’s more…
Once we’ve found our friendly little Waypoints it’s good to be able to add them to a ‘Route’ – just a list of Waypoints one after another.
Then we can go – ‘Start Nav’ and move to the ‘Highway Screen’ – this is the Bread and Butter screen for the PSK paddler. Subtle hint that one. Some years I think I spend more time with the ‘Highway Screen’ than I do with The Boss.
Now if we have a Garmin GPS we’ve probably got a ‘Simulator’ mode so we can try all this out. But to be honest it means learning yet another sequence of buttons and all that bollocks. So why not do it ‘for real’? Set yourself a little local Route and go try it out on your ‘One-A-Day’ exercise bonanza. Just don’t hang around when you are pressing the buttons, you may get arrested.
Customise
And once we’ve got the hang of all that (basic?!) stuff – here comes the sneaky bit. Learn how to ‘Customise Your Data Fields’. Each screen should be capable, so have a think what will be useful and give it a go: Speed, Moving Average, Overall Average, Distance To Dest, Distance to Waypoint, Bearing Required, Current Track, Required Track, Off Course, Odom, Time to Dest etc. etc. More straightforward than it sounds, and some of them can be very useful for efficient nav.
You may not squeeze all you desire onto one screen – so maybe spread them across two screens…
Now we’ve kicked the bum out of our 2m social-distancing rules and returned home. It’s time to consider the fun that can be had by connecting the GPS to our PC, to upload and download those Routes and Waypoints. This is very useful for trip planning, but can be extremely why-Bill-Gates-why? frustrating – worth persevering though.
That’s enough.
Points to remember:
GPS is very useful, but it is optional – paper map and magnetic compass are compulsory.
Now put it away and relax – though take the batteries out first…
Heading:
This is where your Bow is pointing relative to North. (Not necessarily your track over ground.)
Bearing:
The direction from you to your waypoint, given in degrees relative to North.
Course:
Your intended path of travel to reach your destination, allowing for tidal drift, wind etc.
Track:
Your ACTUAL path travelled over the ground (not the water!)
by John Willacy
(Originally from the 2020 Covid Lockdown – Things To Do post)