The Taran was designed from the outset as a performance sea kayak for paddling on moving water. To gain the best of that performance in the moving water environment I believe you need a snug fit with good physical contact inside the boat. You want the boat to respond instantly and with accuracy to your edges, leans, pitch trim etc.
Without that connection the boat won’t respond promptly or with finesse to your inputs, nor will you get the full feedback that the boat offers.
So, you require good physical contact with the boat through your feet, knees, thighs, hips and lower back.
As the Taran is a performance boat it has minimal outfitting in the cockpit area – you are expected to tailor it specifically to fit your needs, body shape and paddling style. Everyone is different, and generic fitting won’t cut the mustard here. If you don’t tailor the boat to fit you, you are missing a trick.
However at the same time we have to remember we need to actually paddle the boat, that is we need enough movement to be able to produce a n effective paddle stroke, in order to drive the boat forward. So while we need that snug fit to accurately edge, lean and steer we also want free movement to paddle effectively – it is a compromise. You decide on that level of compromise.
And of course we also need enough room for the comfort required on longer trips and for colder weather clothing. There’s a bit of an art to getting it right. But it is worth the effort: without good padding you are only paddling half a Taran.
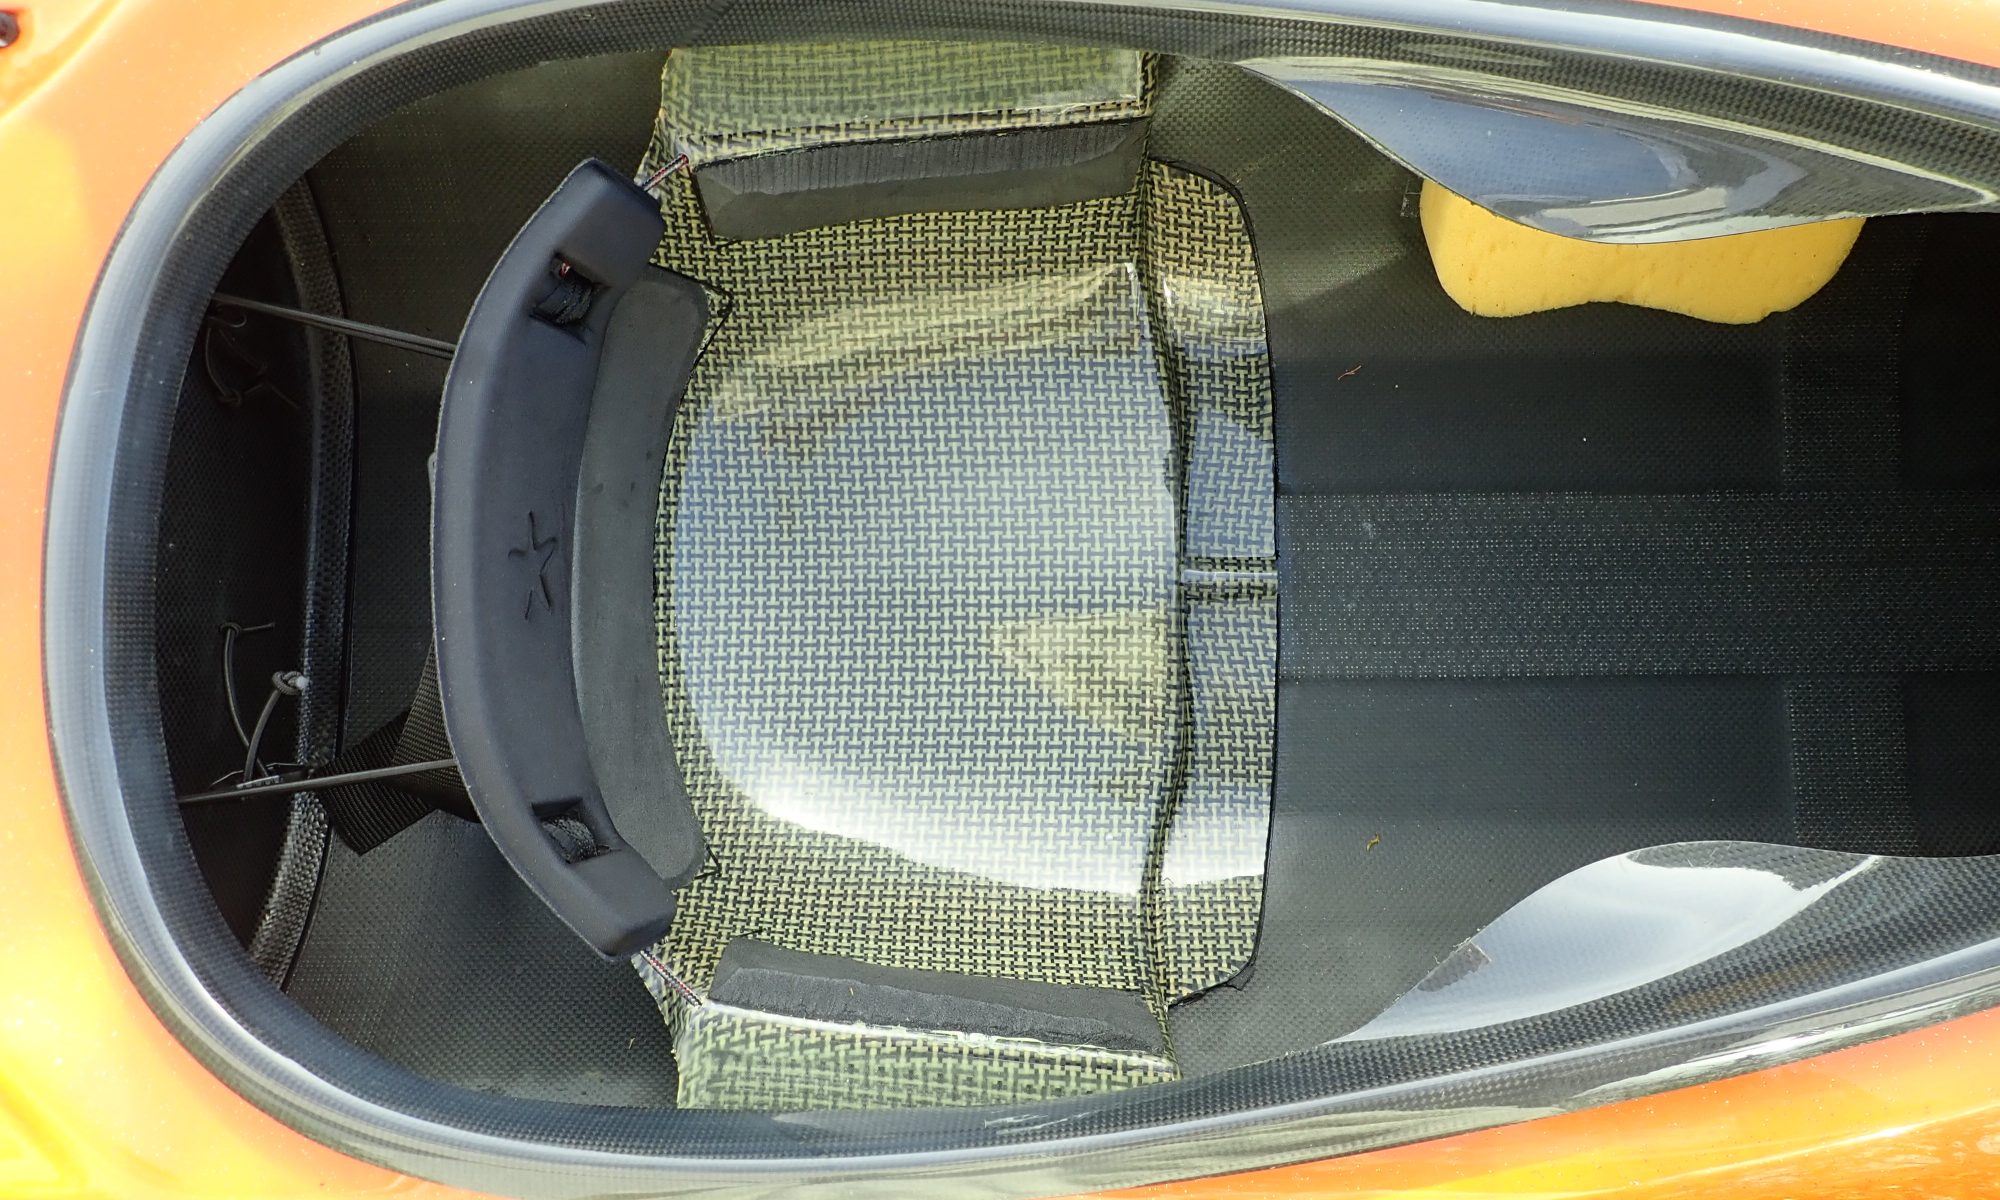
NOTE: This is a quick look at how I pad my boats – everyone does it differently. This is a starting point to work from but you should tailor the fit for your specific needs.
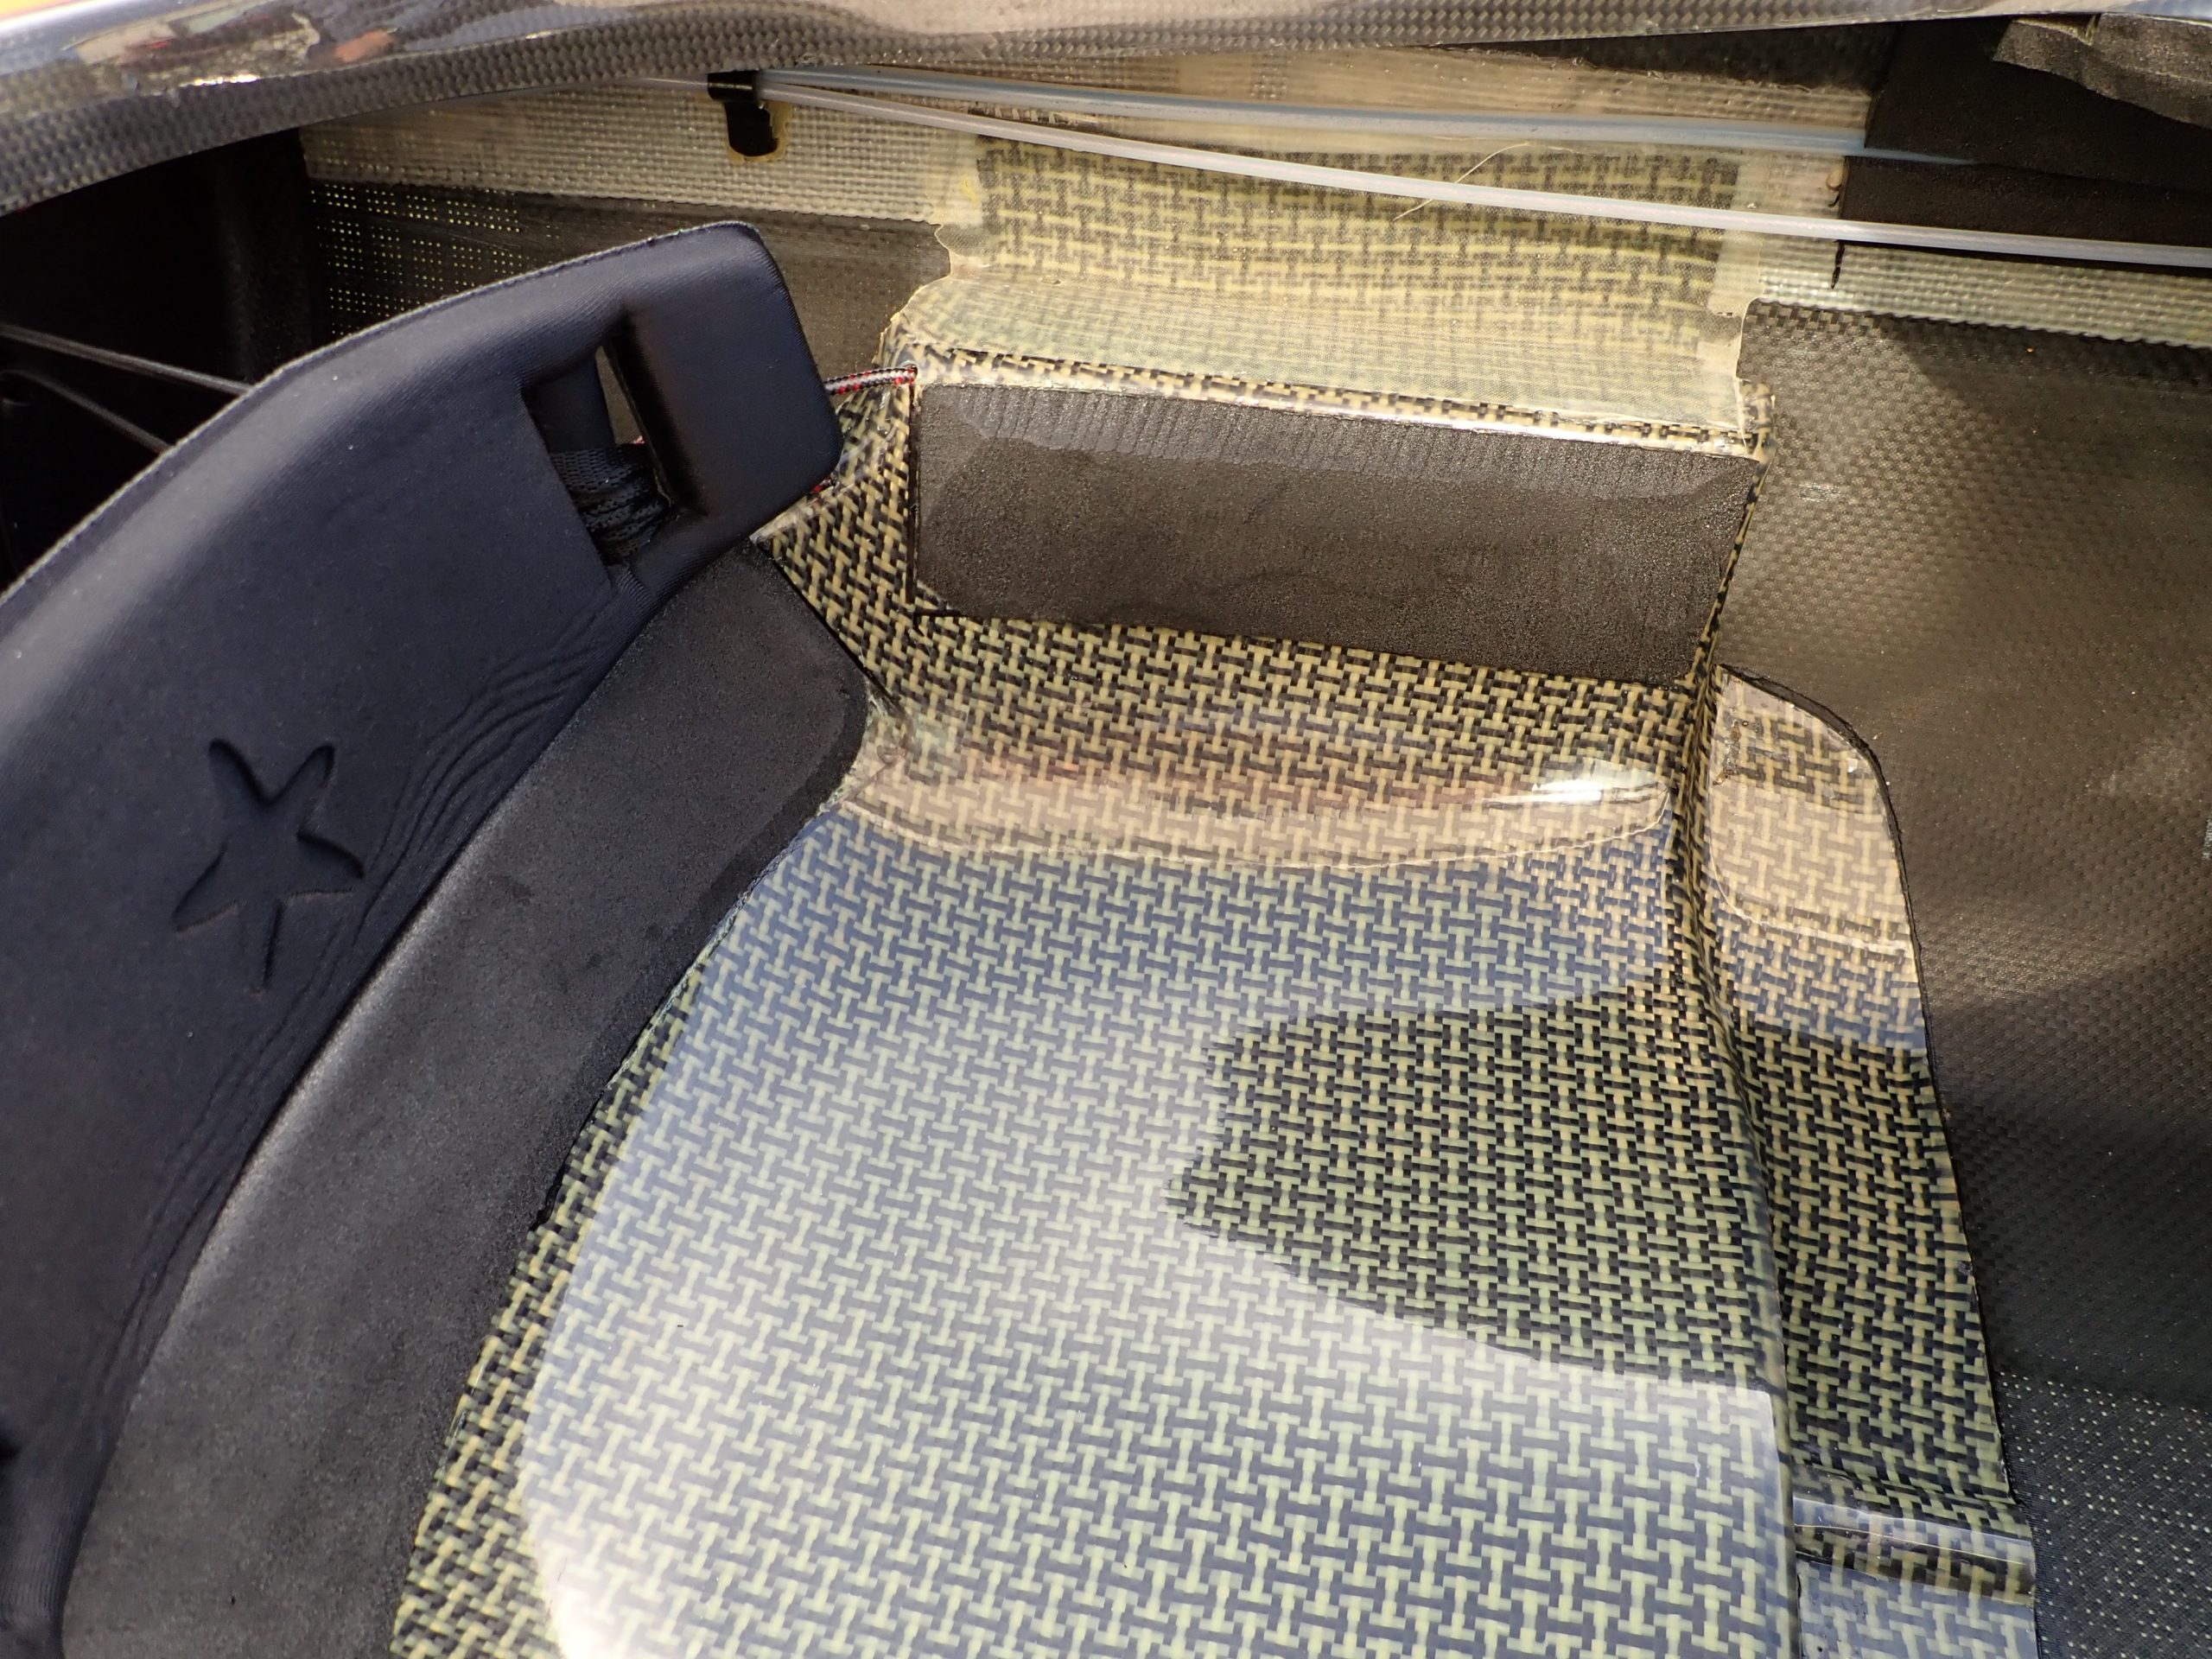
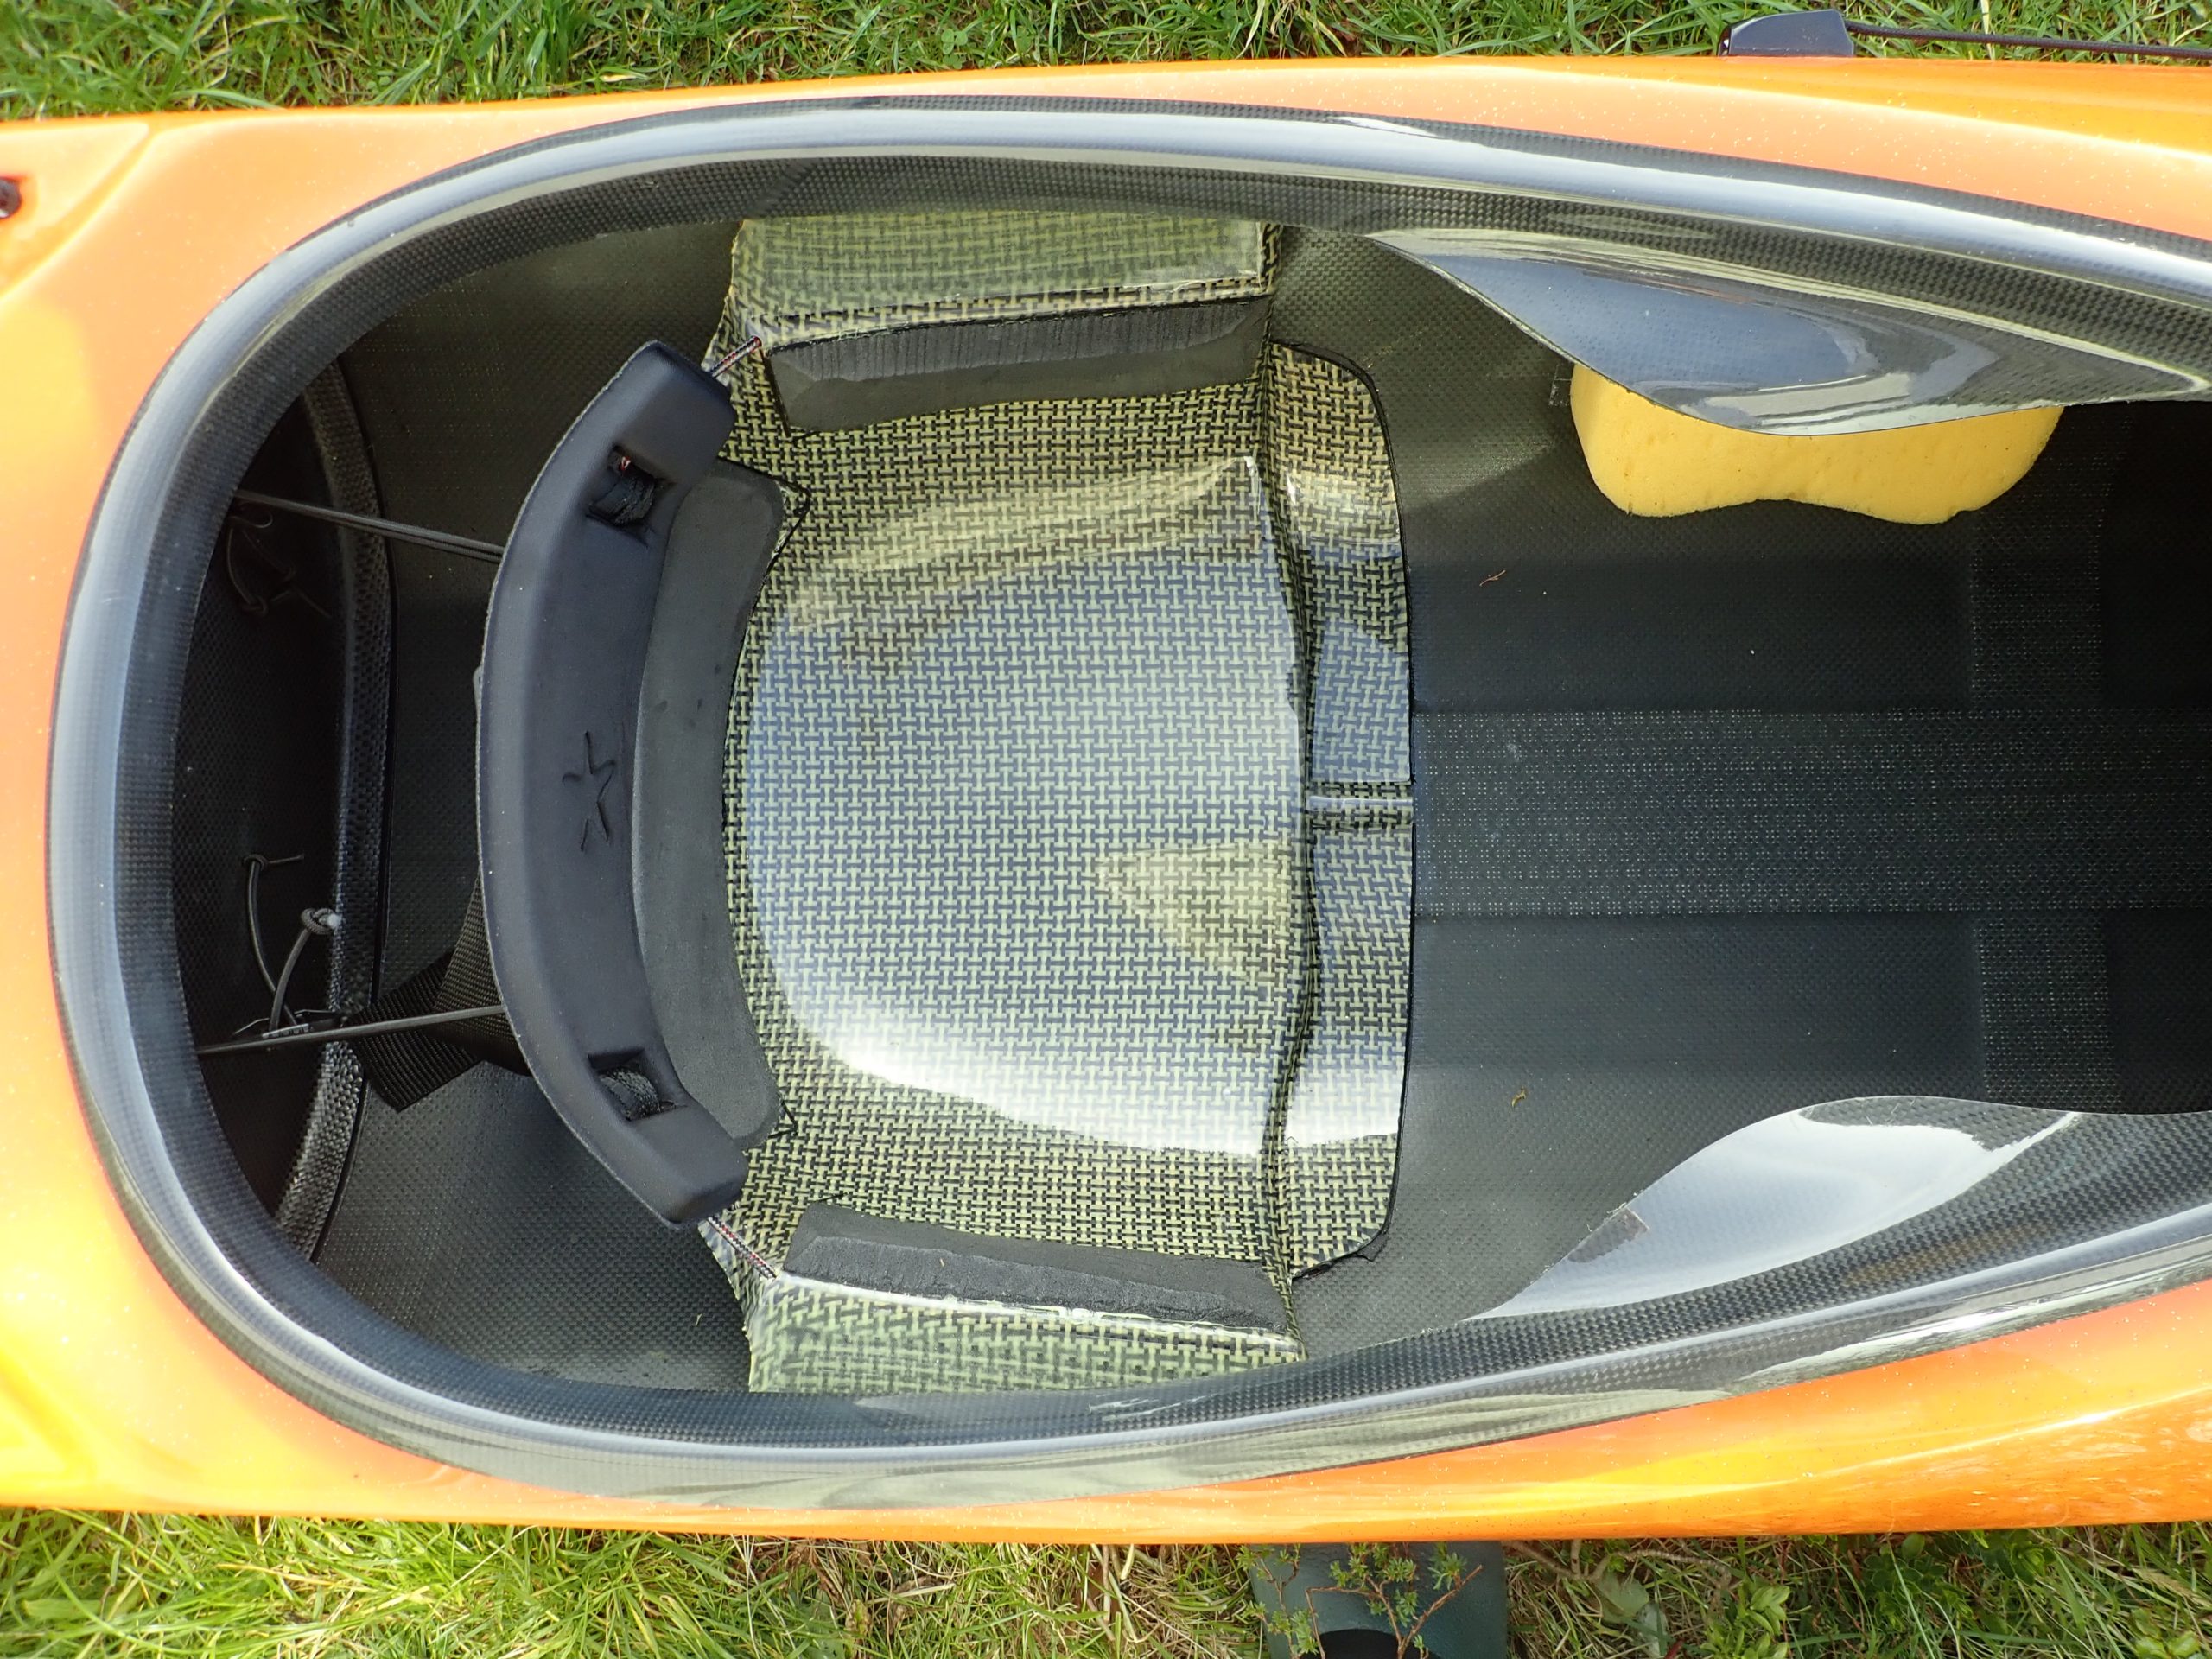
(The seat shown here may be a little different to the one fitted in your boat, but the principal is the same.)
Preparation:
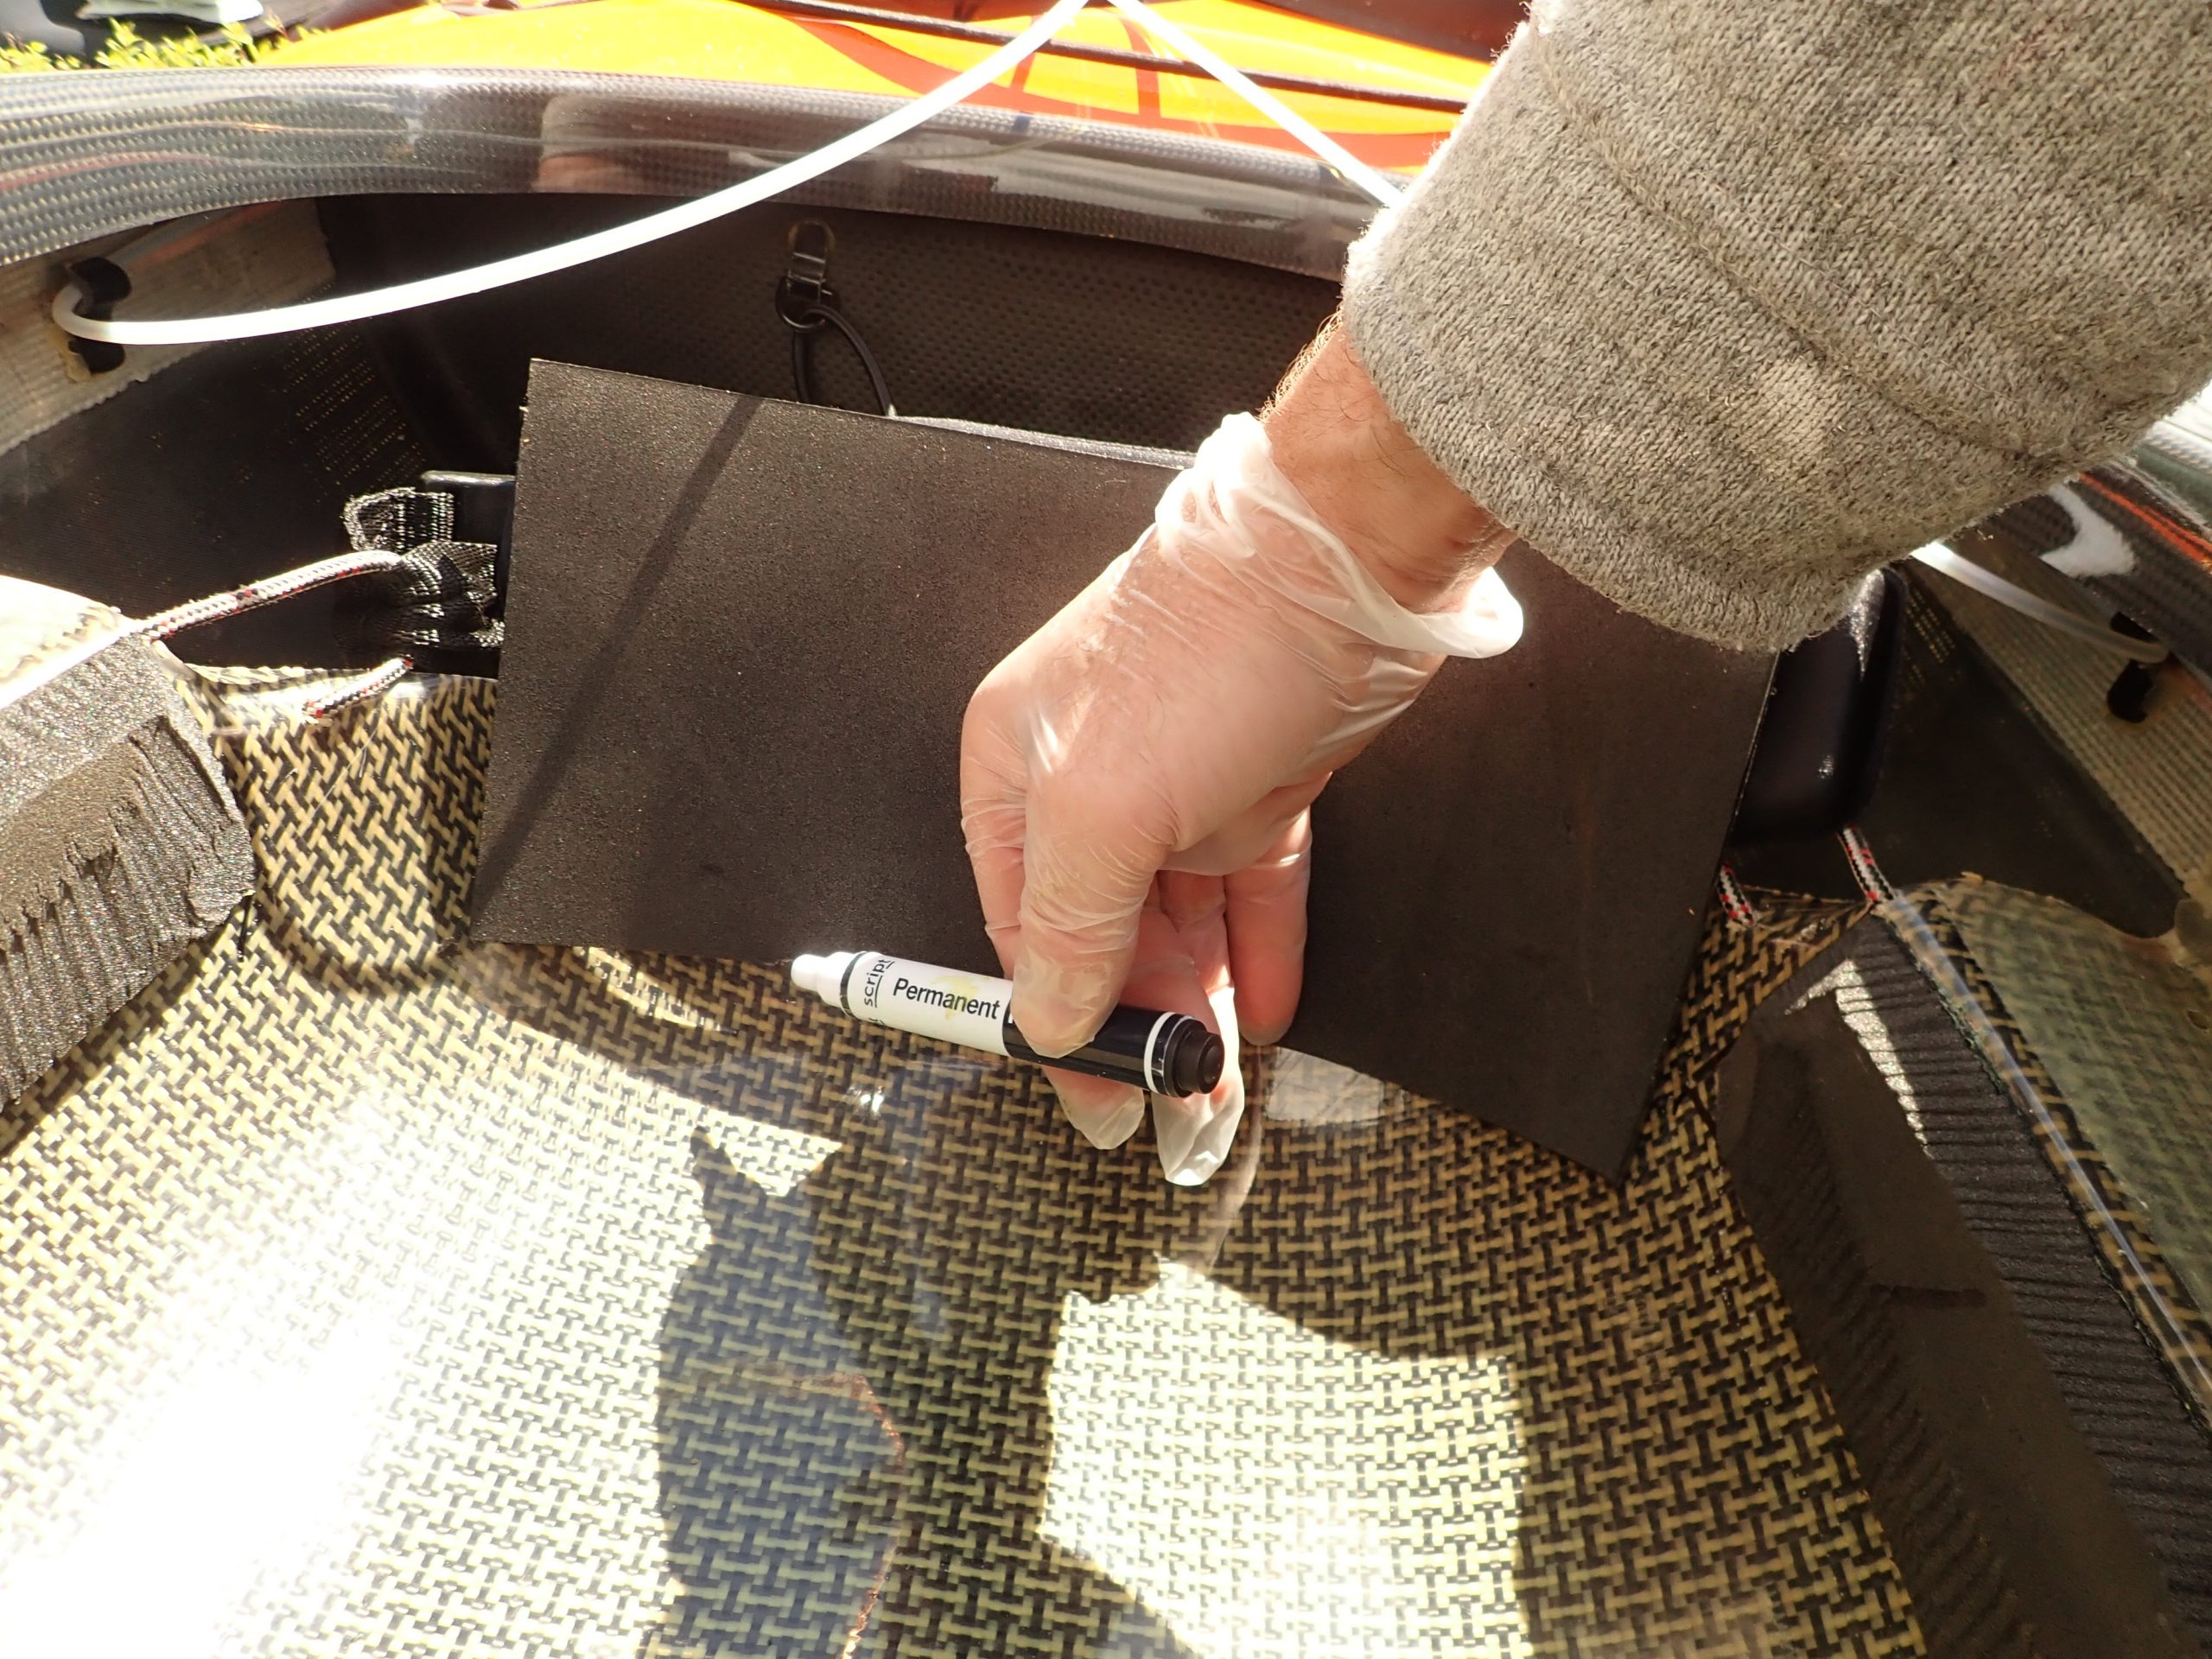
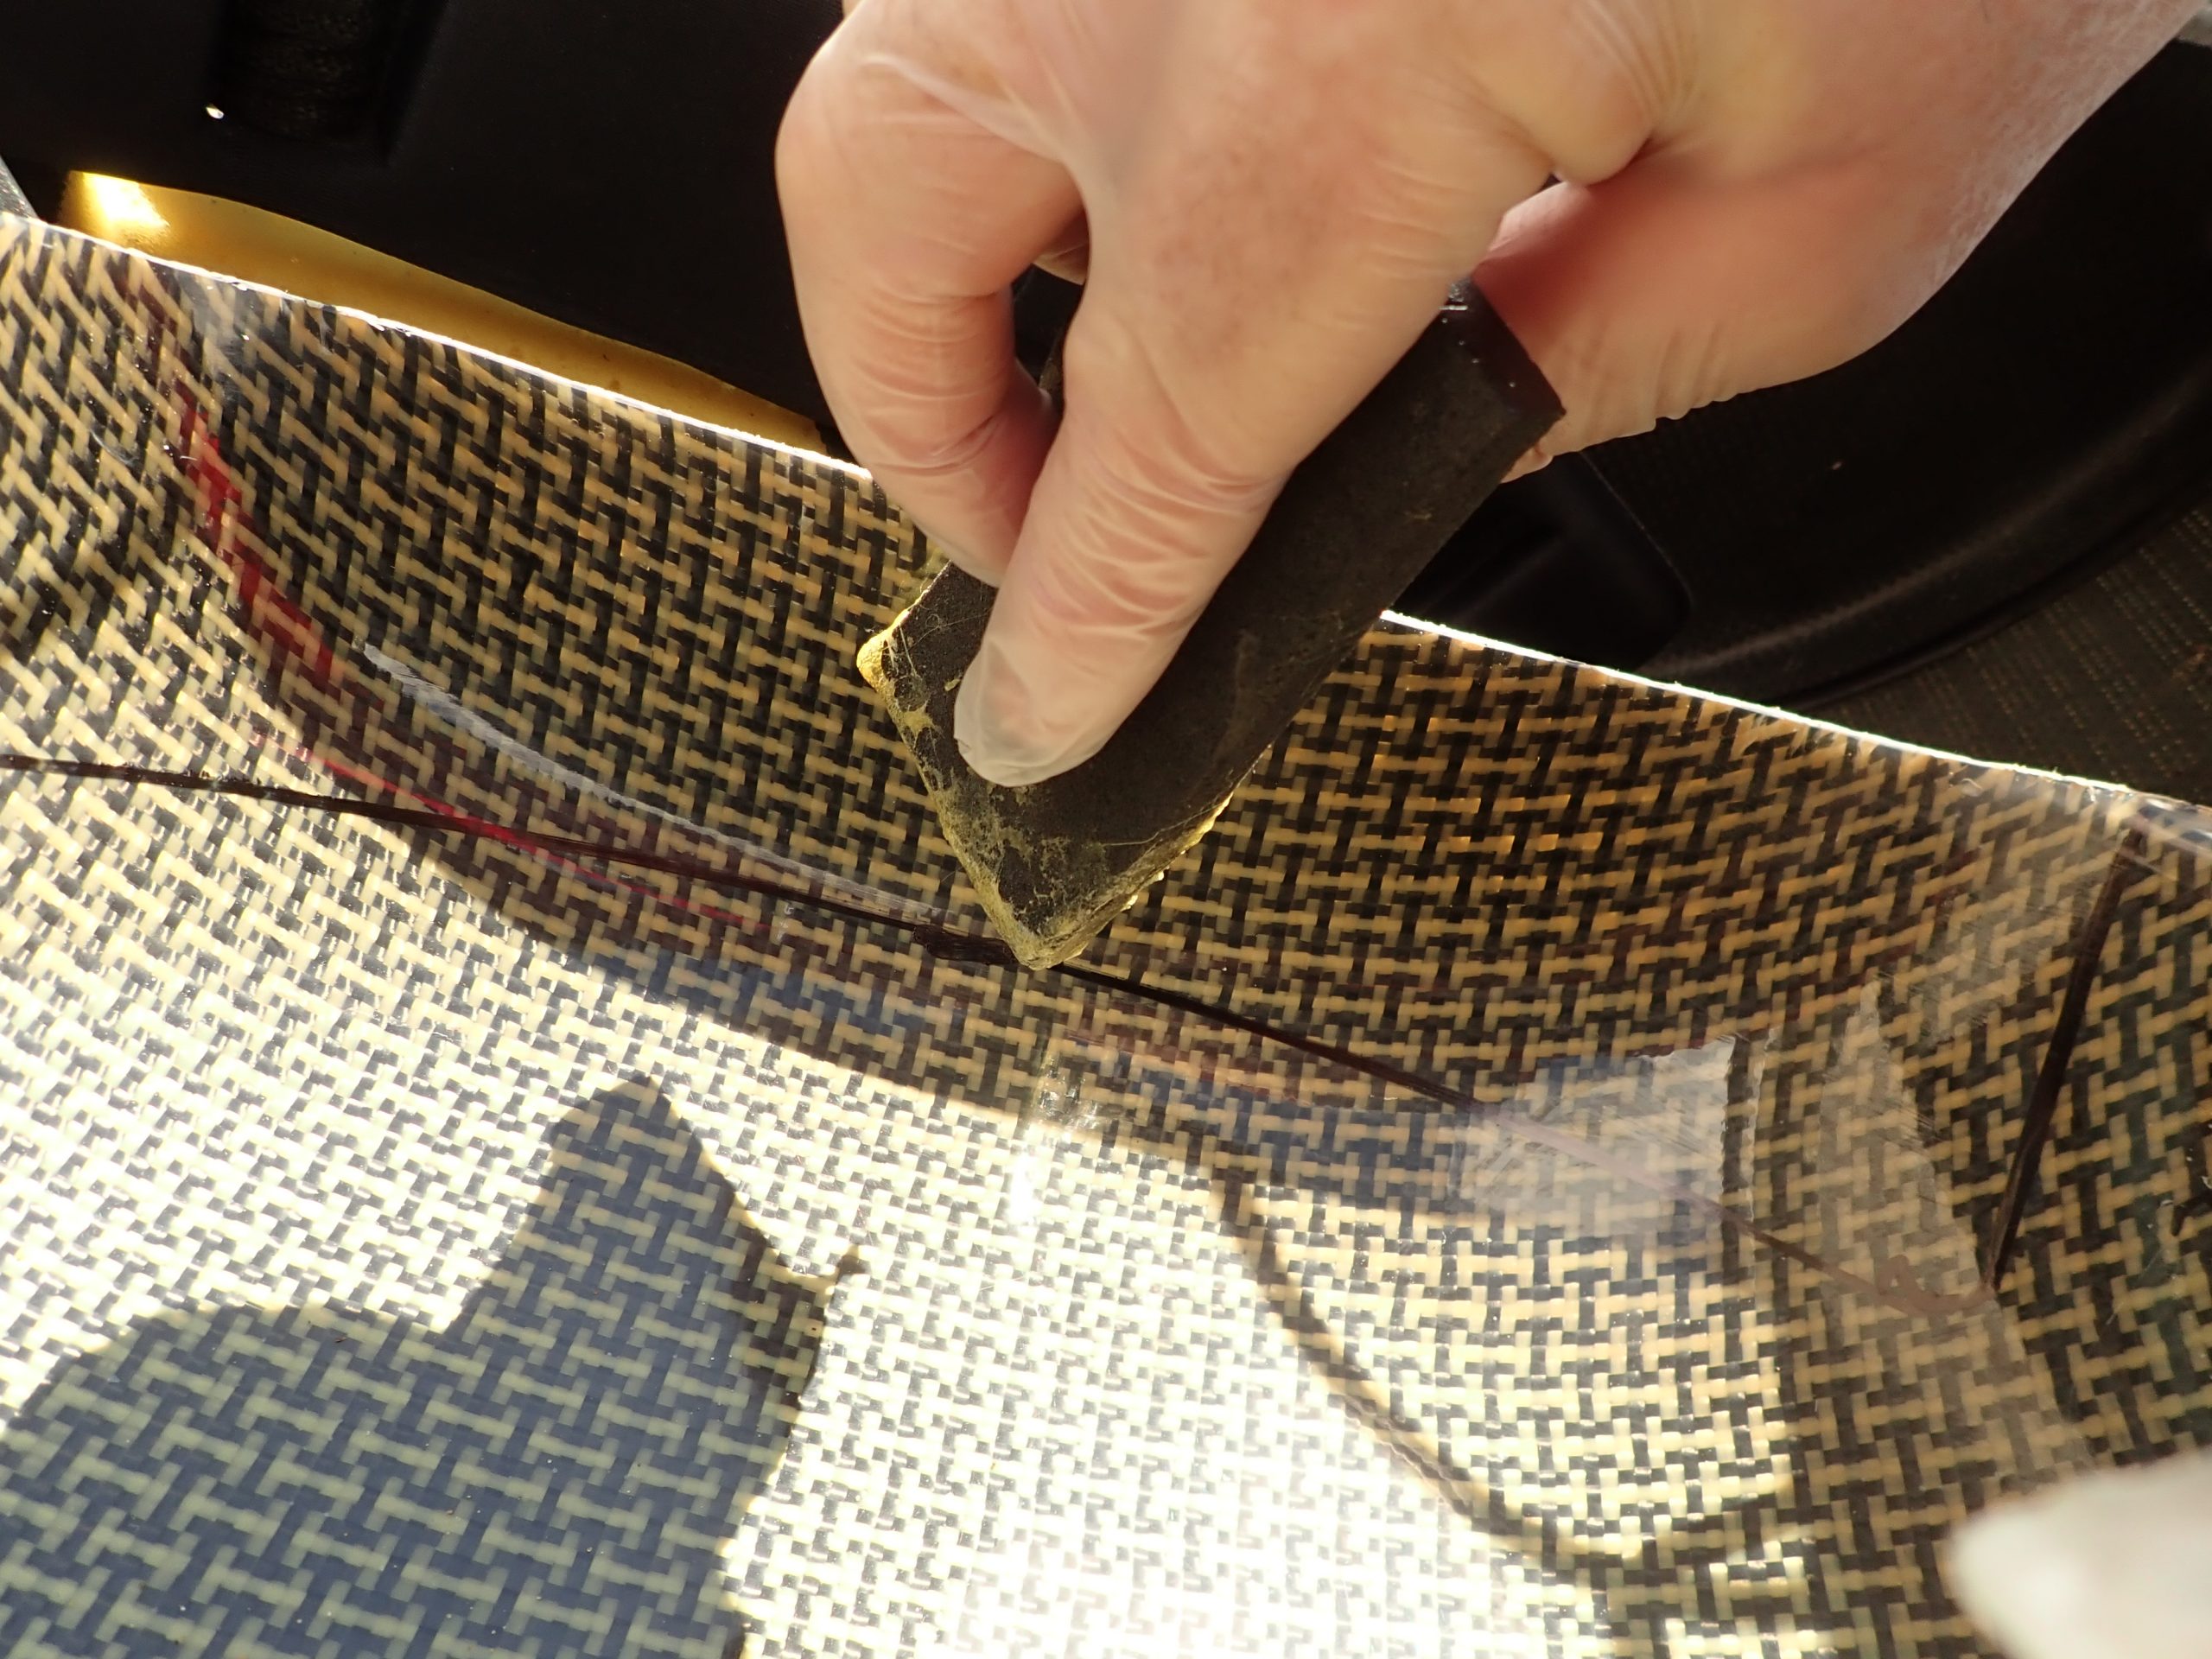
Before you start make sure your boat is clean and completely dry. Wipe it down first and then allow it to dry fully. Don’t skimp on materials or adhesives, the soggy, sweaty cockpit area is a testing environment!
If you fit out your boat correctly it should last the lifetime of the boat, with minimal maintenance.
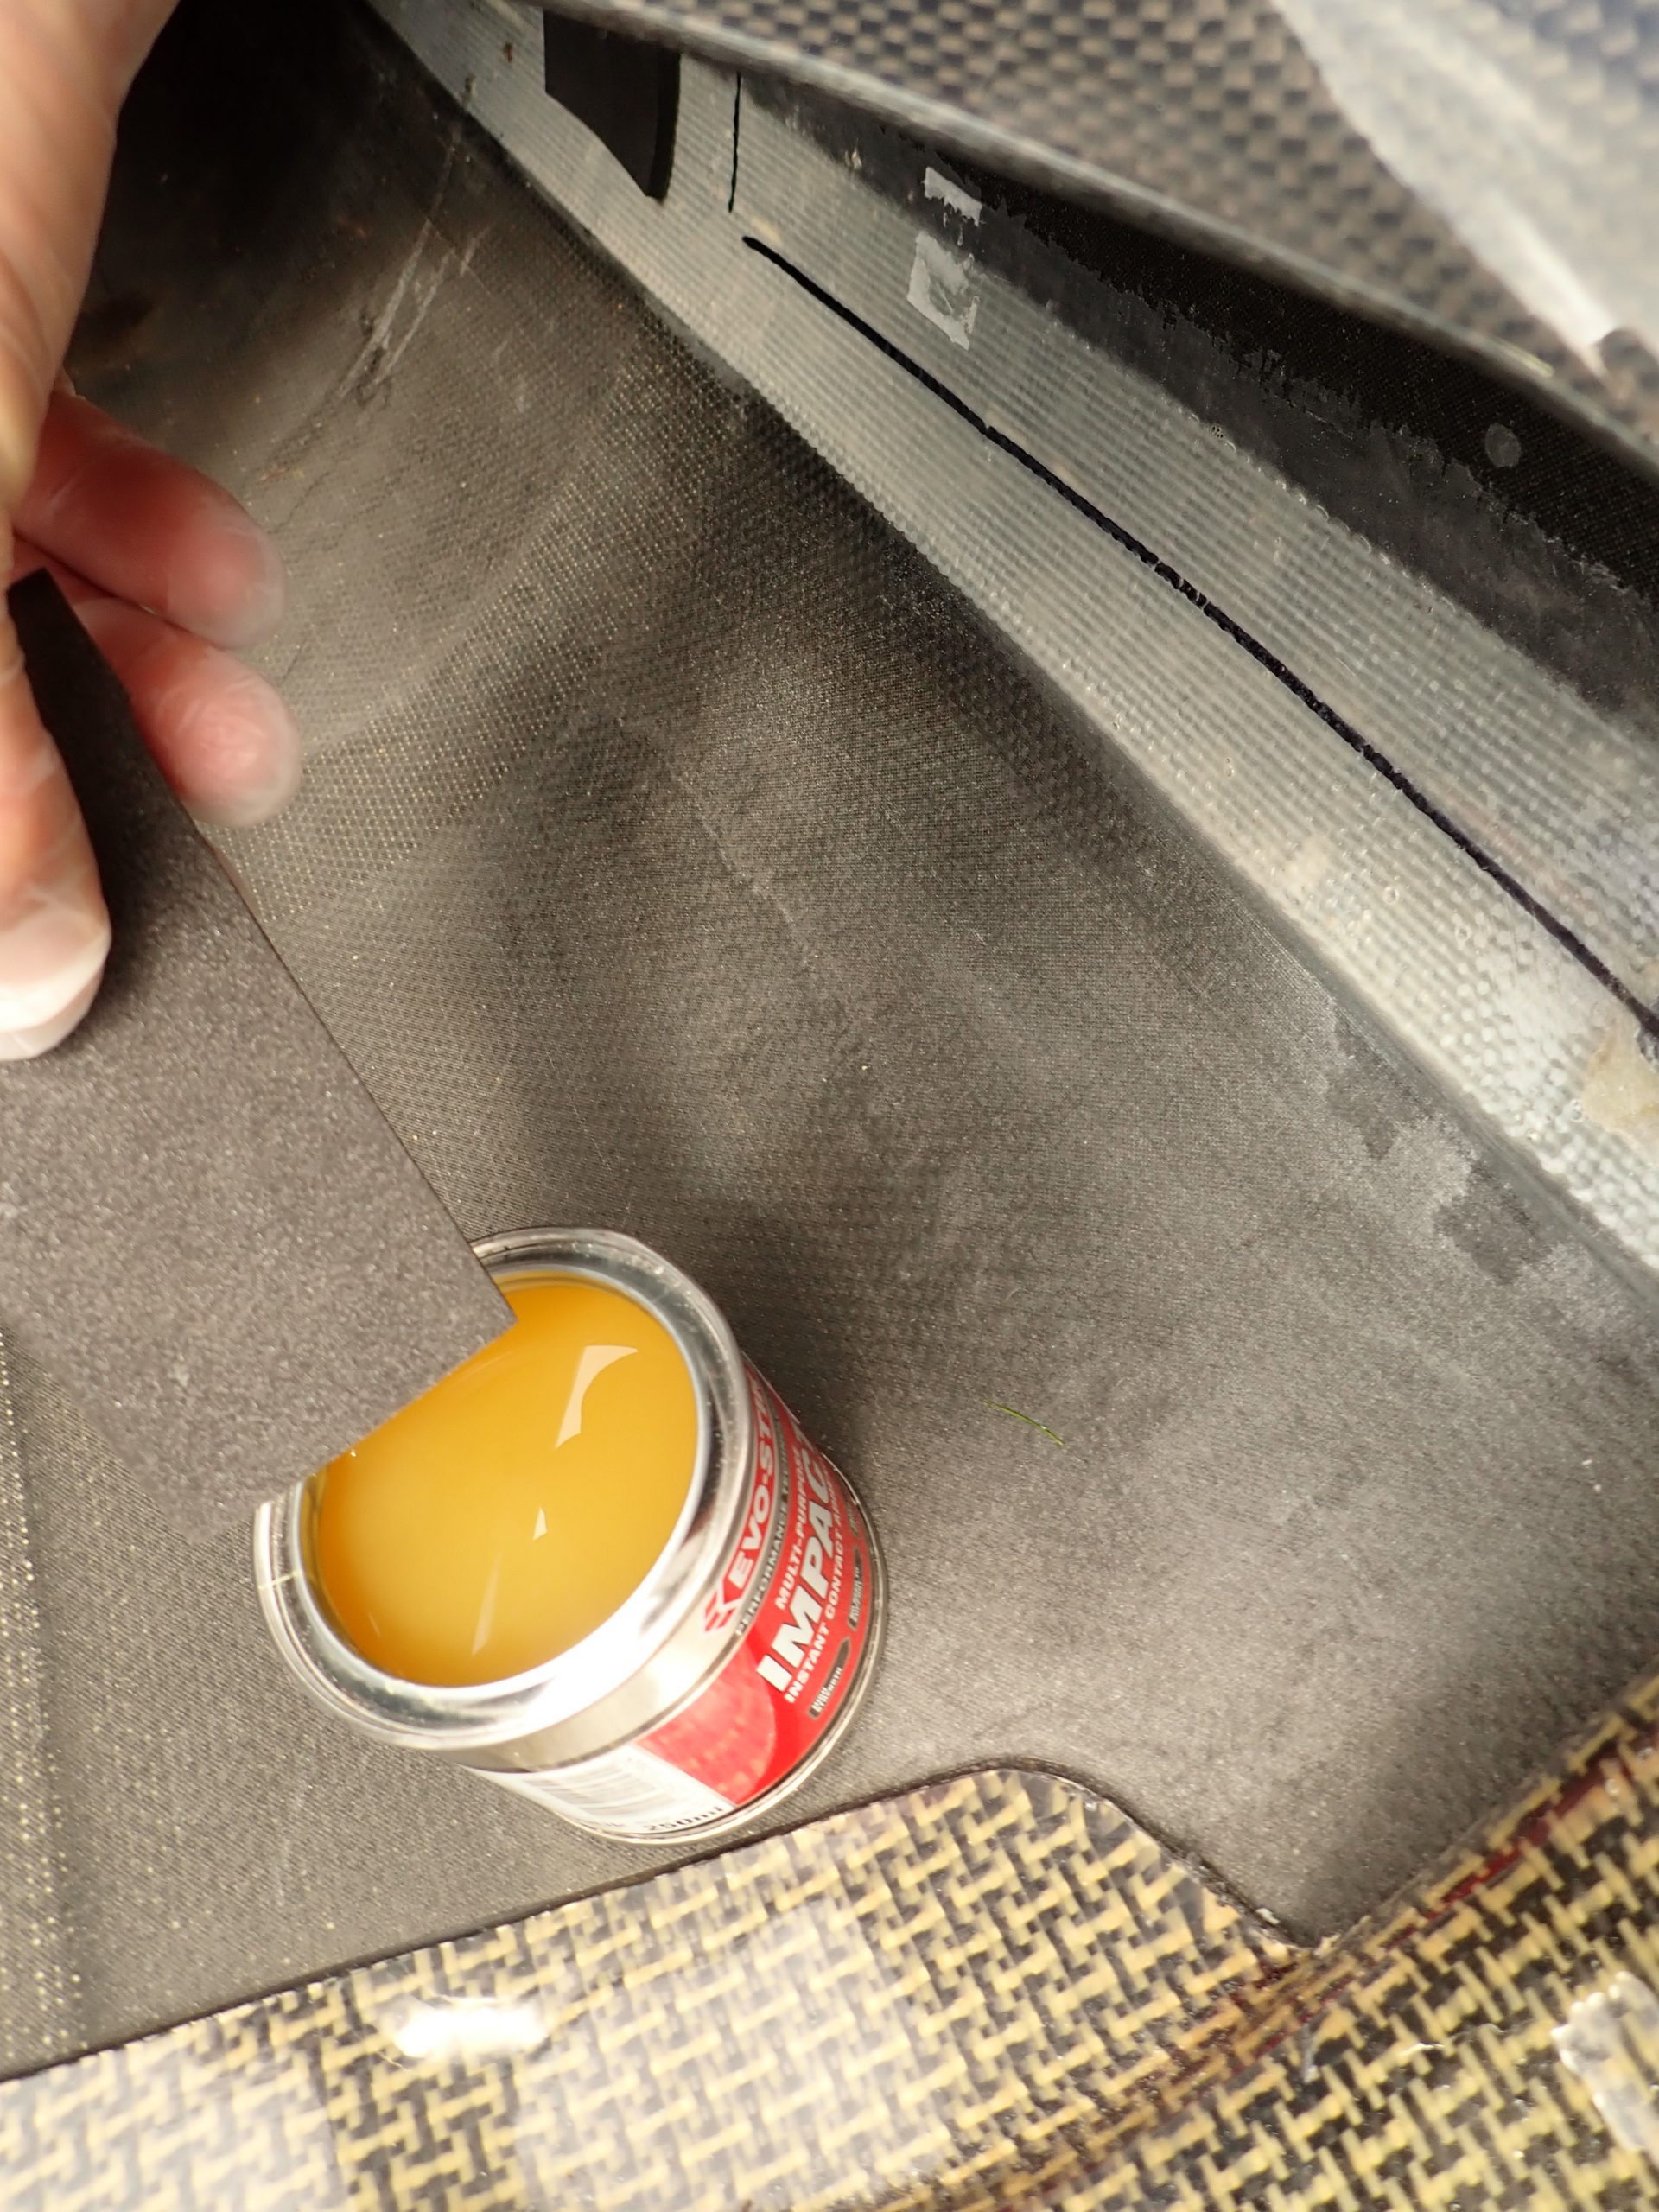
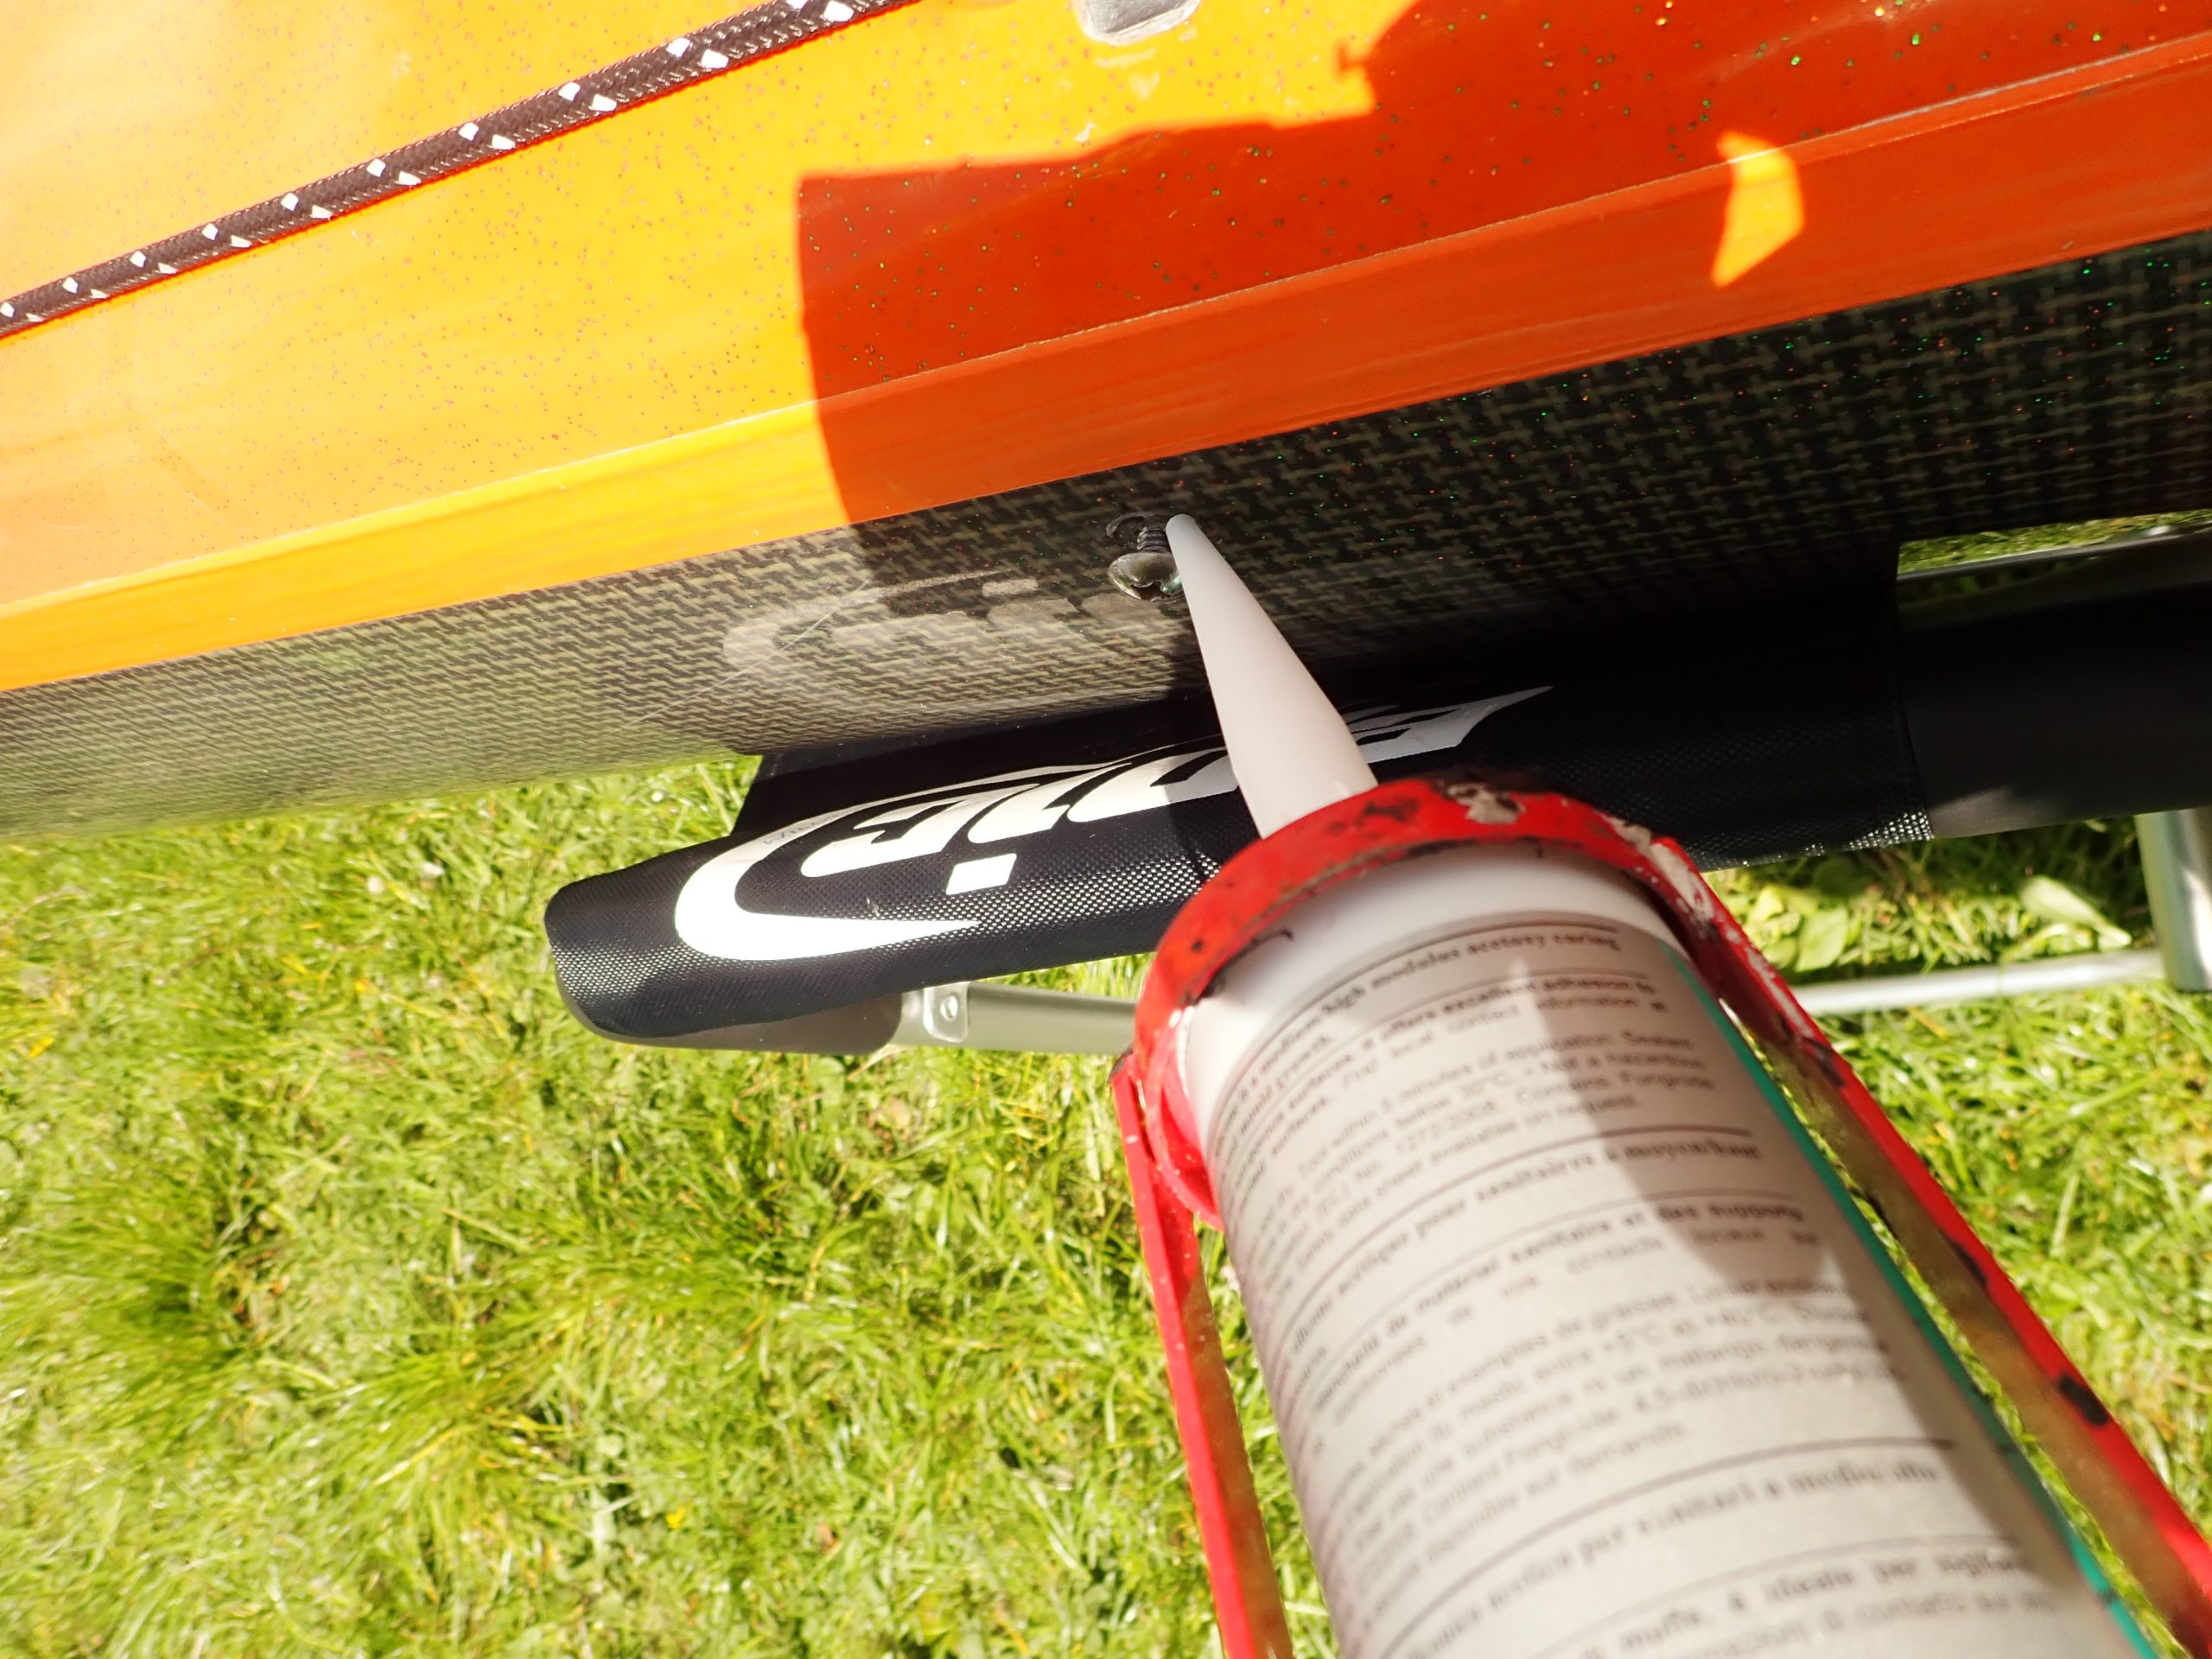
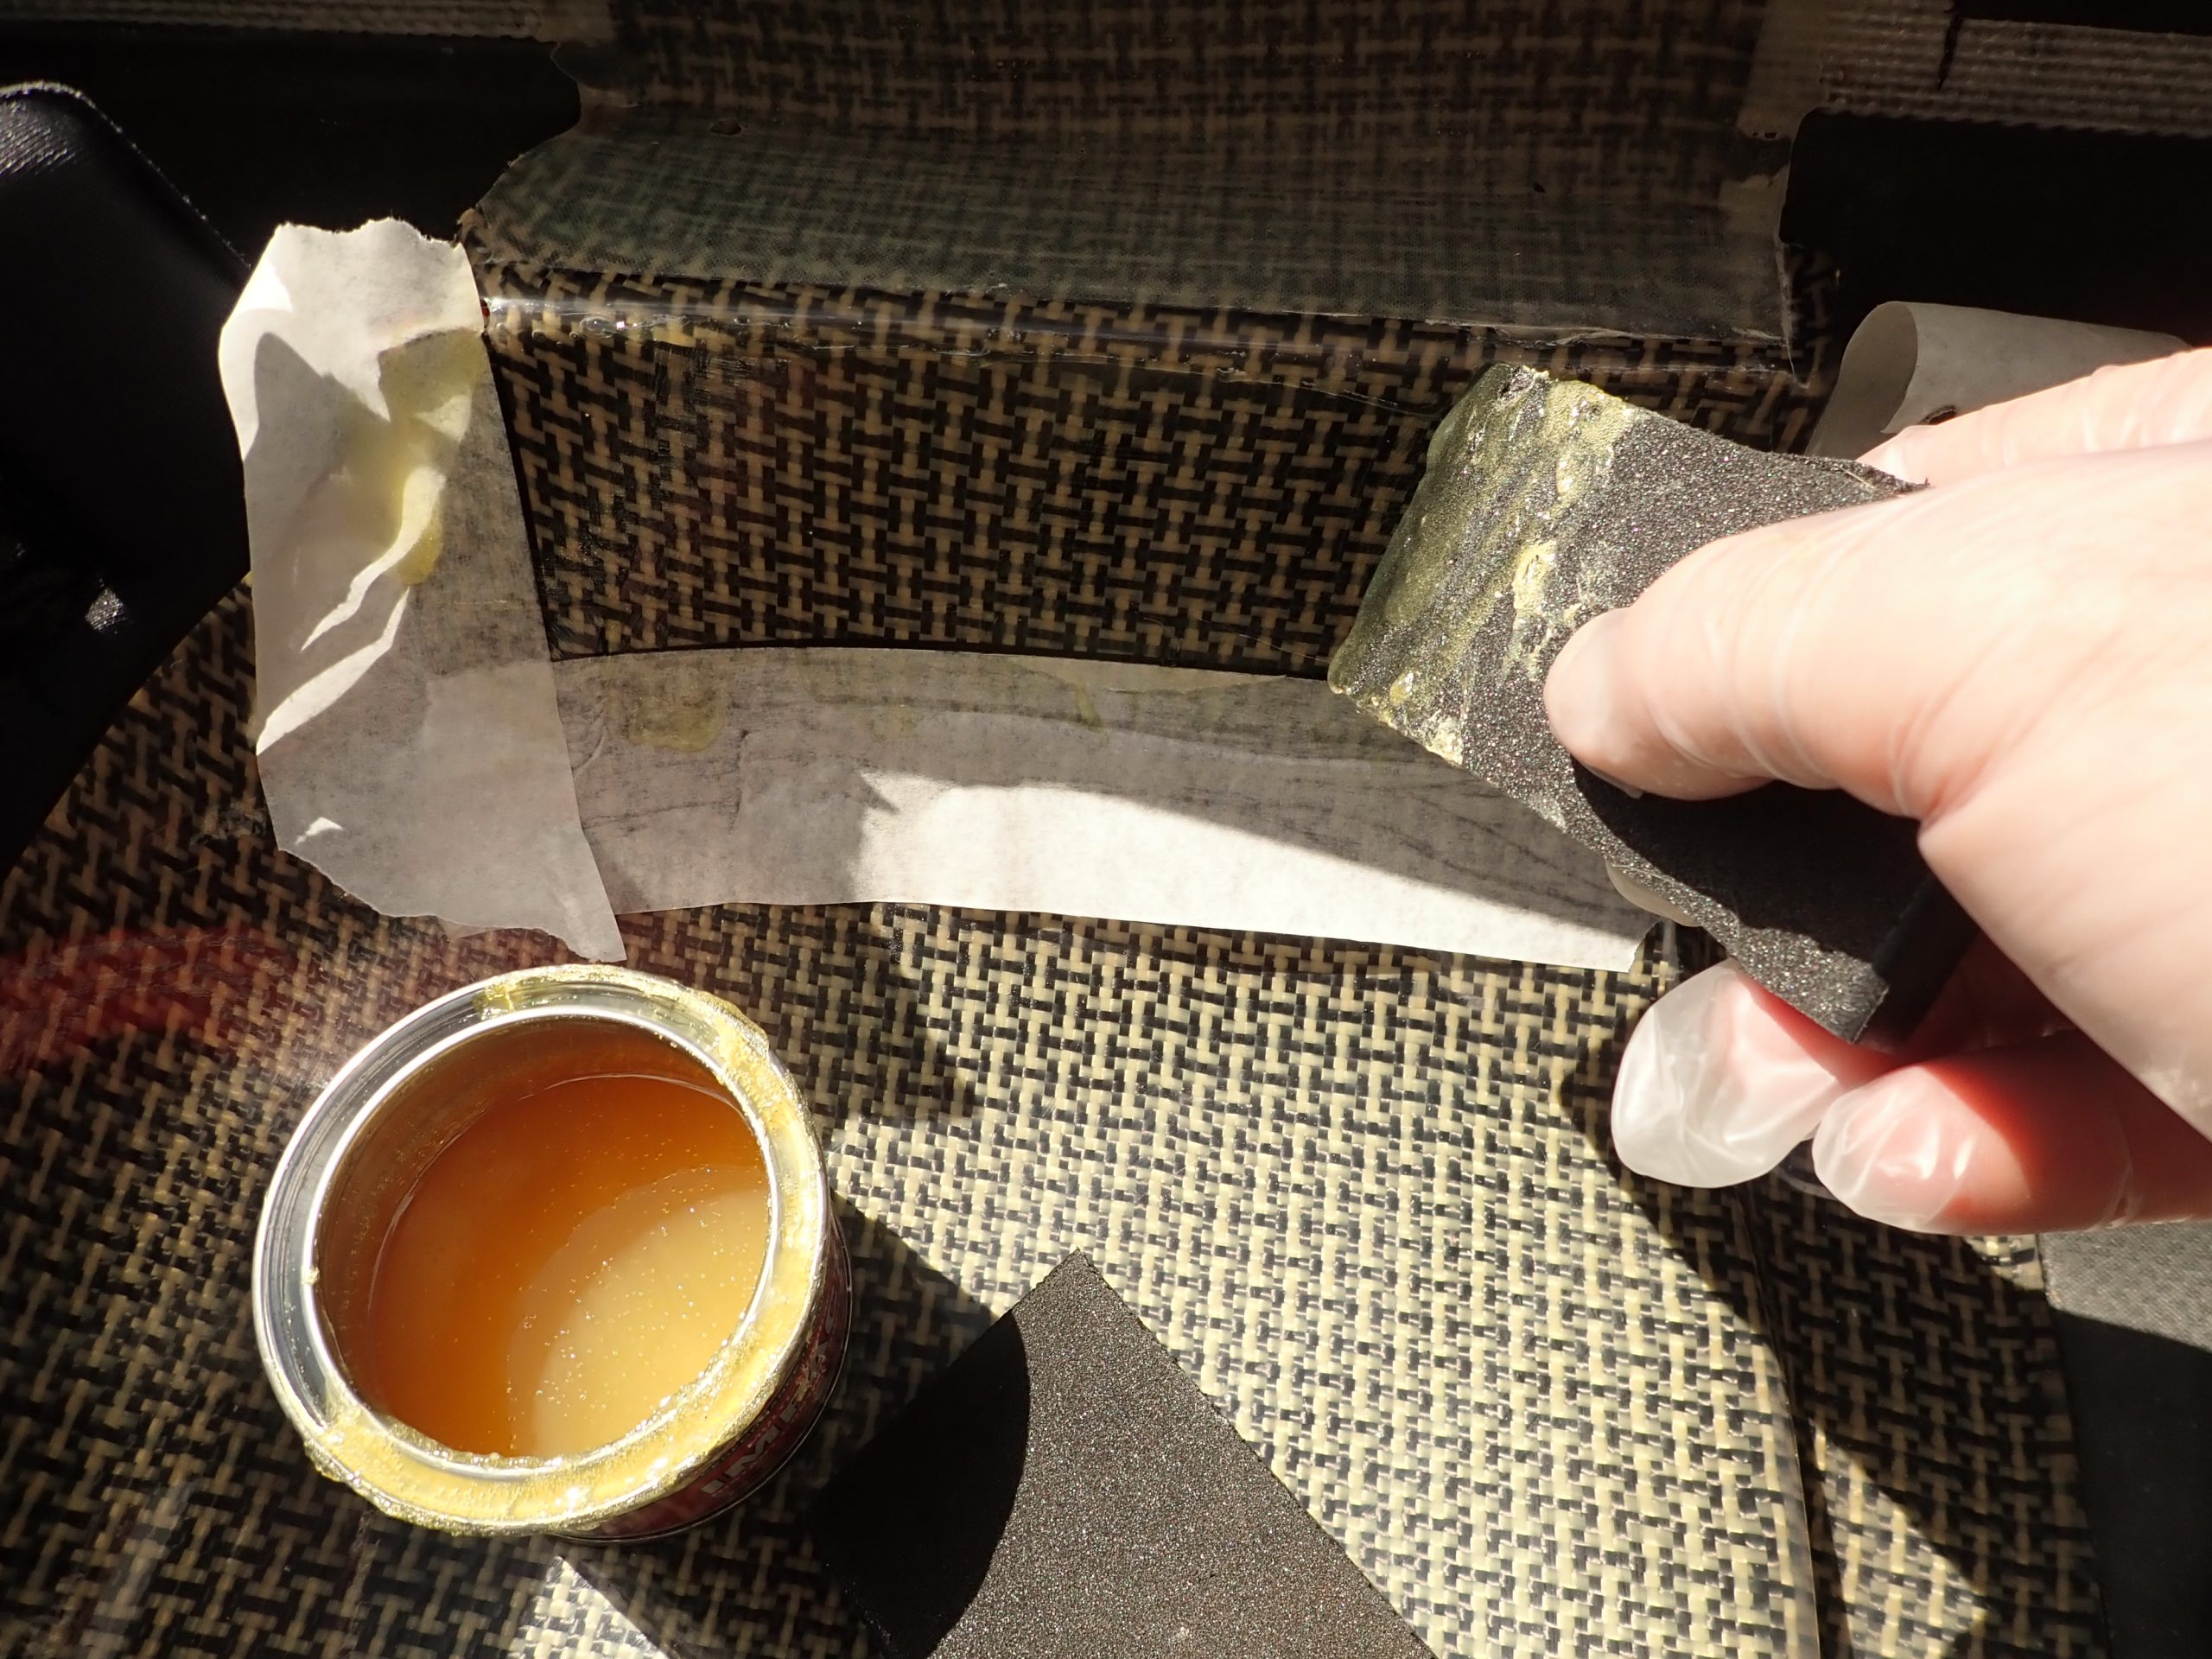
Adhesive:
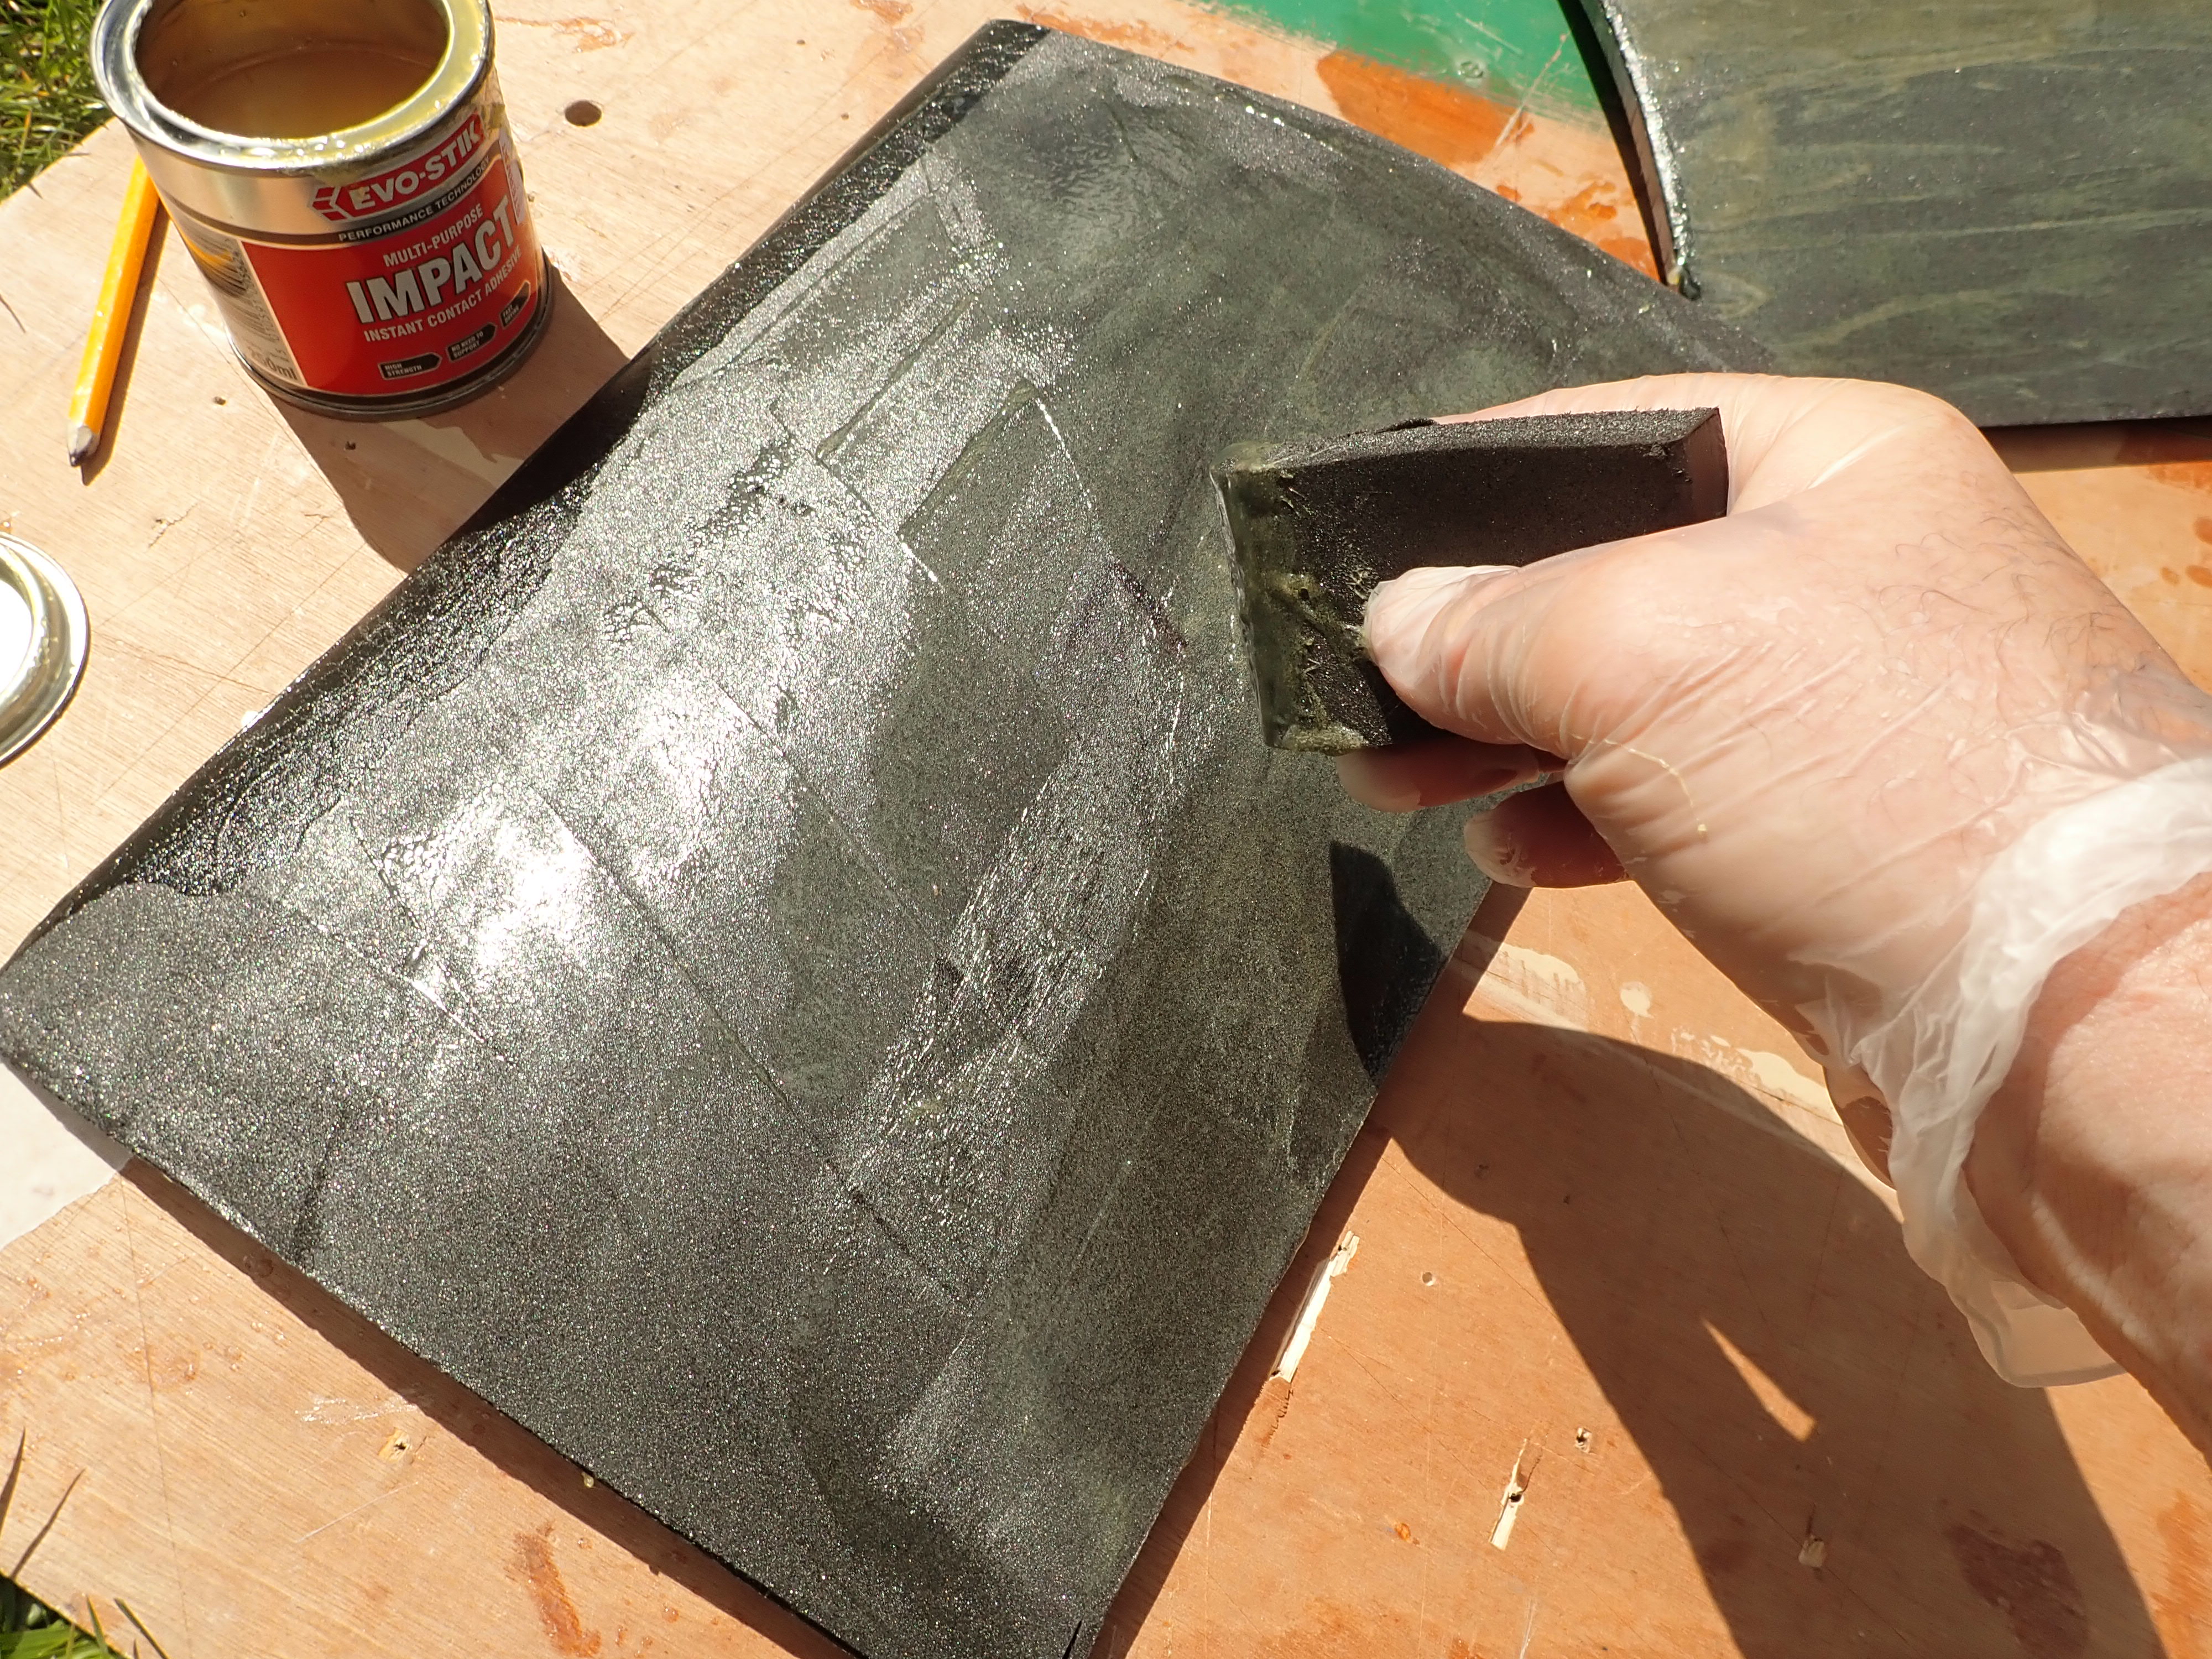
Use a non-water based contact adhesive; in the UK the brand name to use is Evo-stik. There is nothing better for this job.
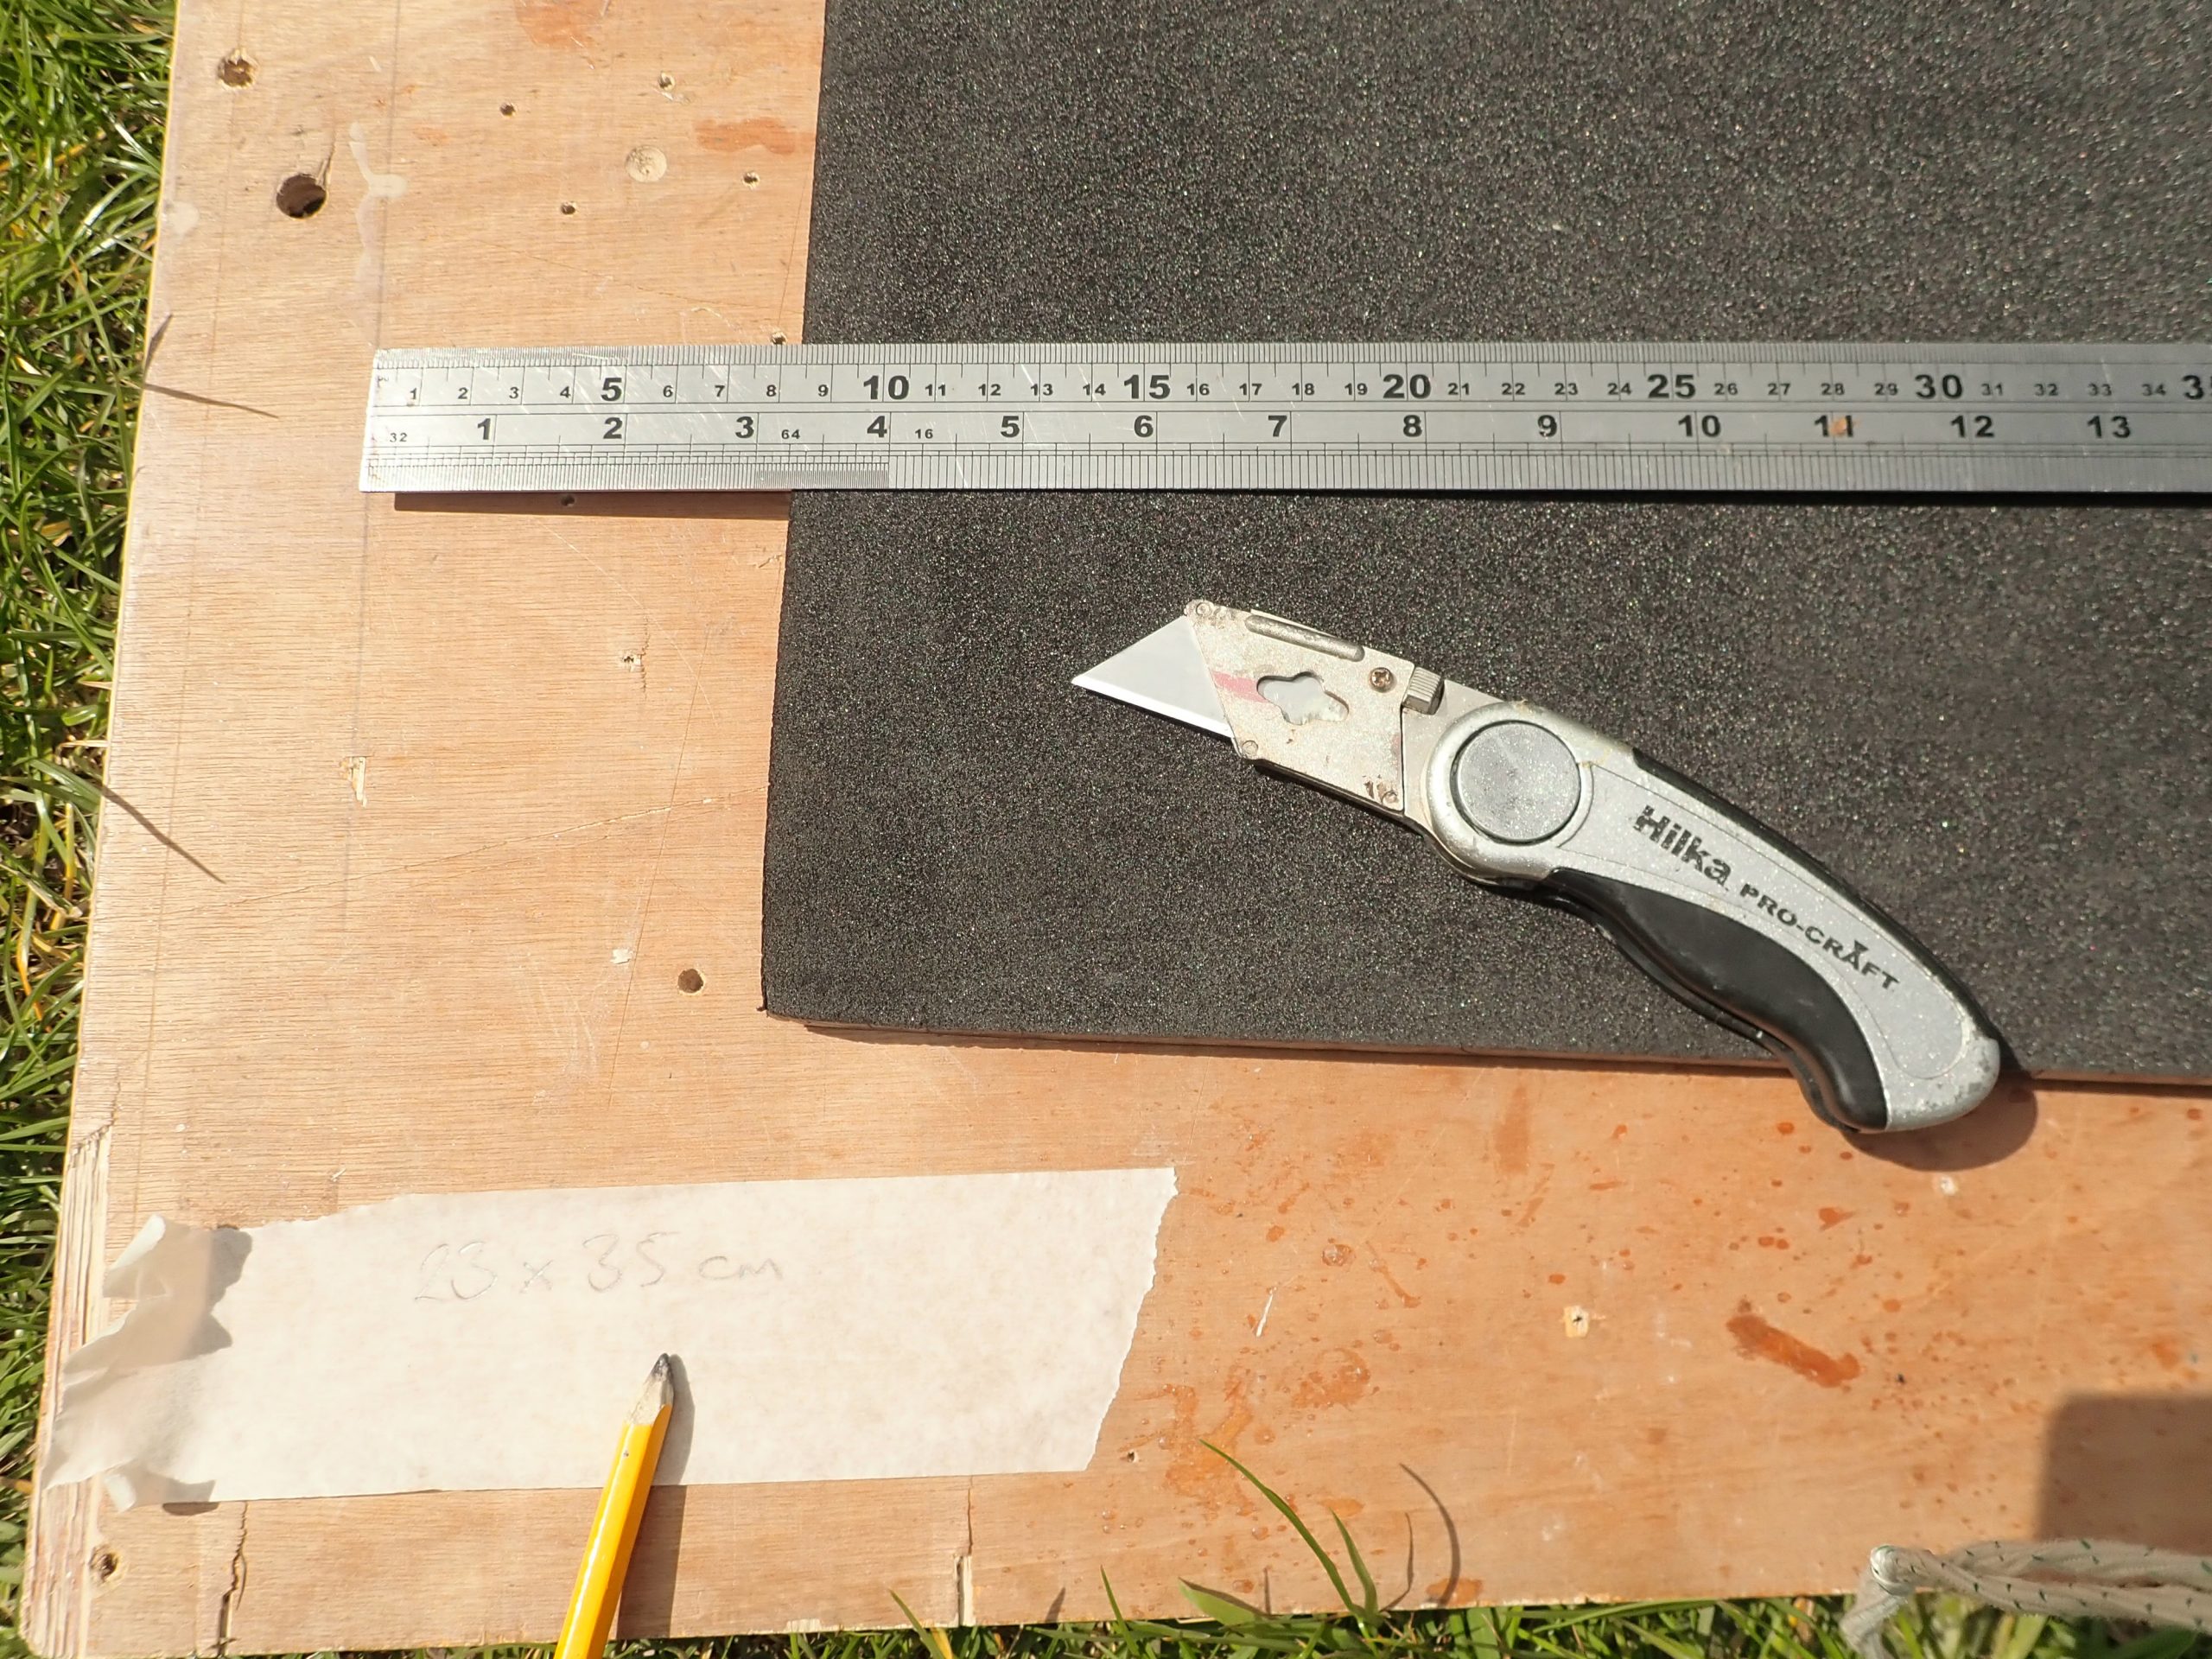
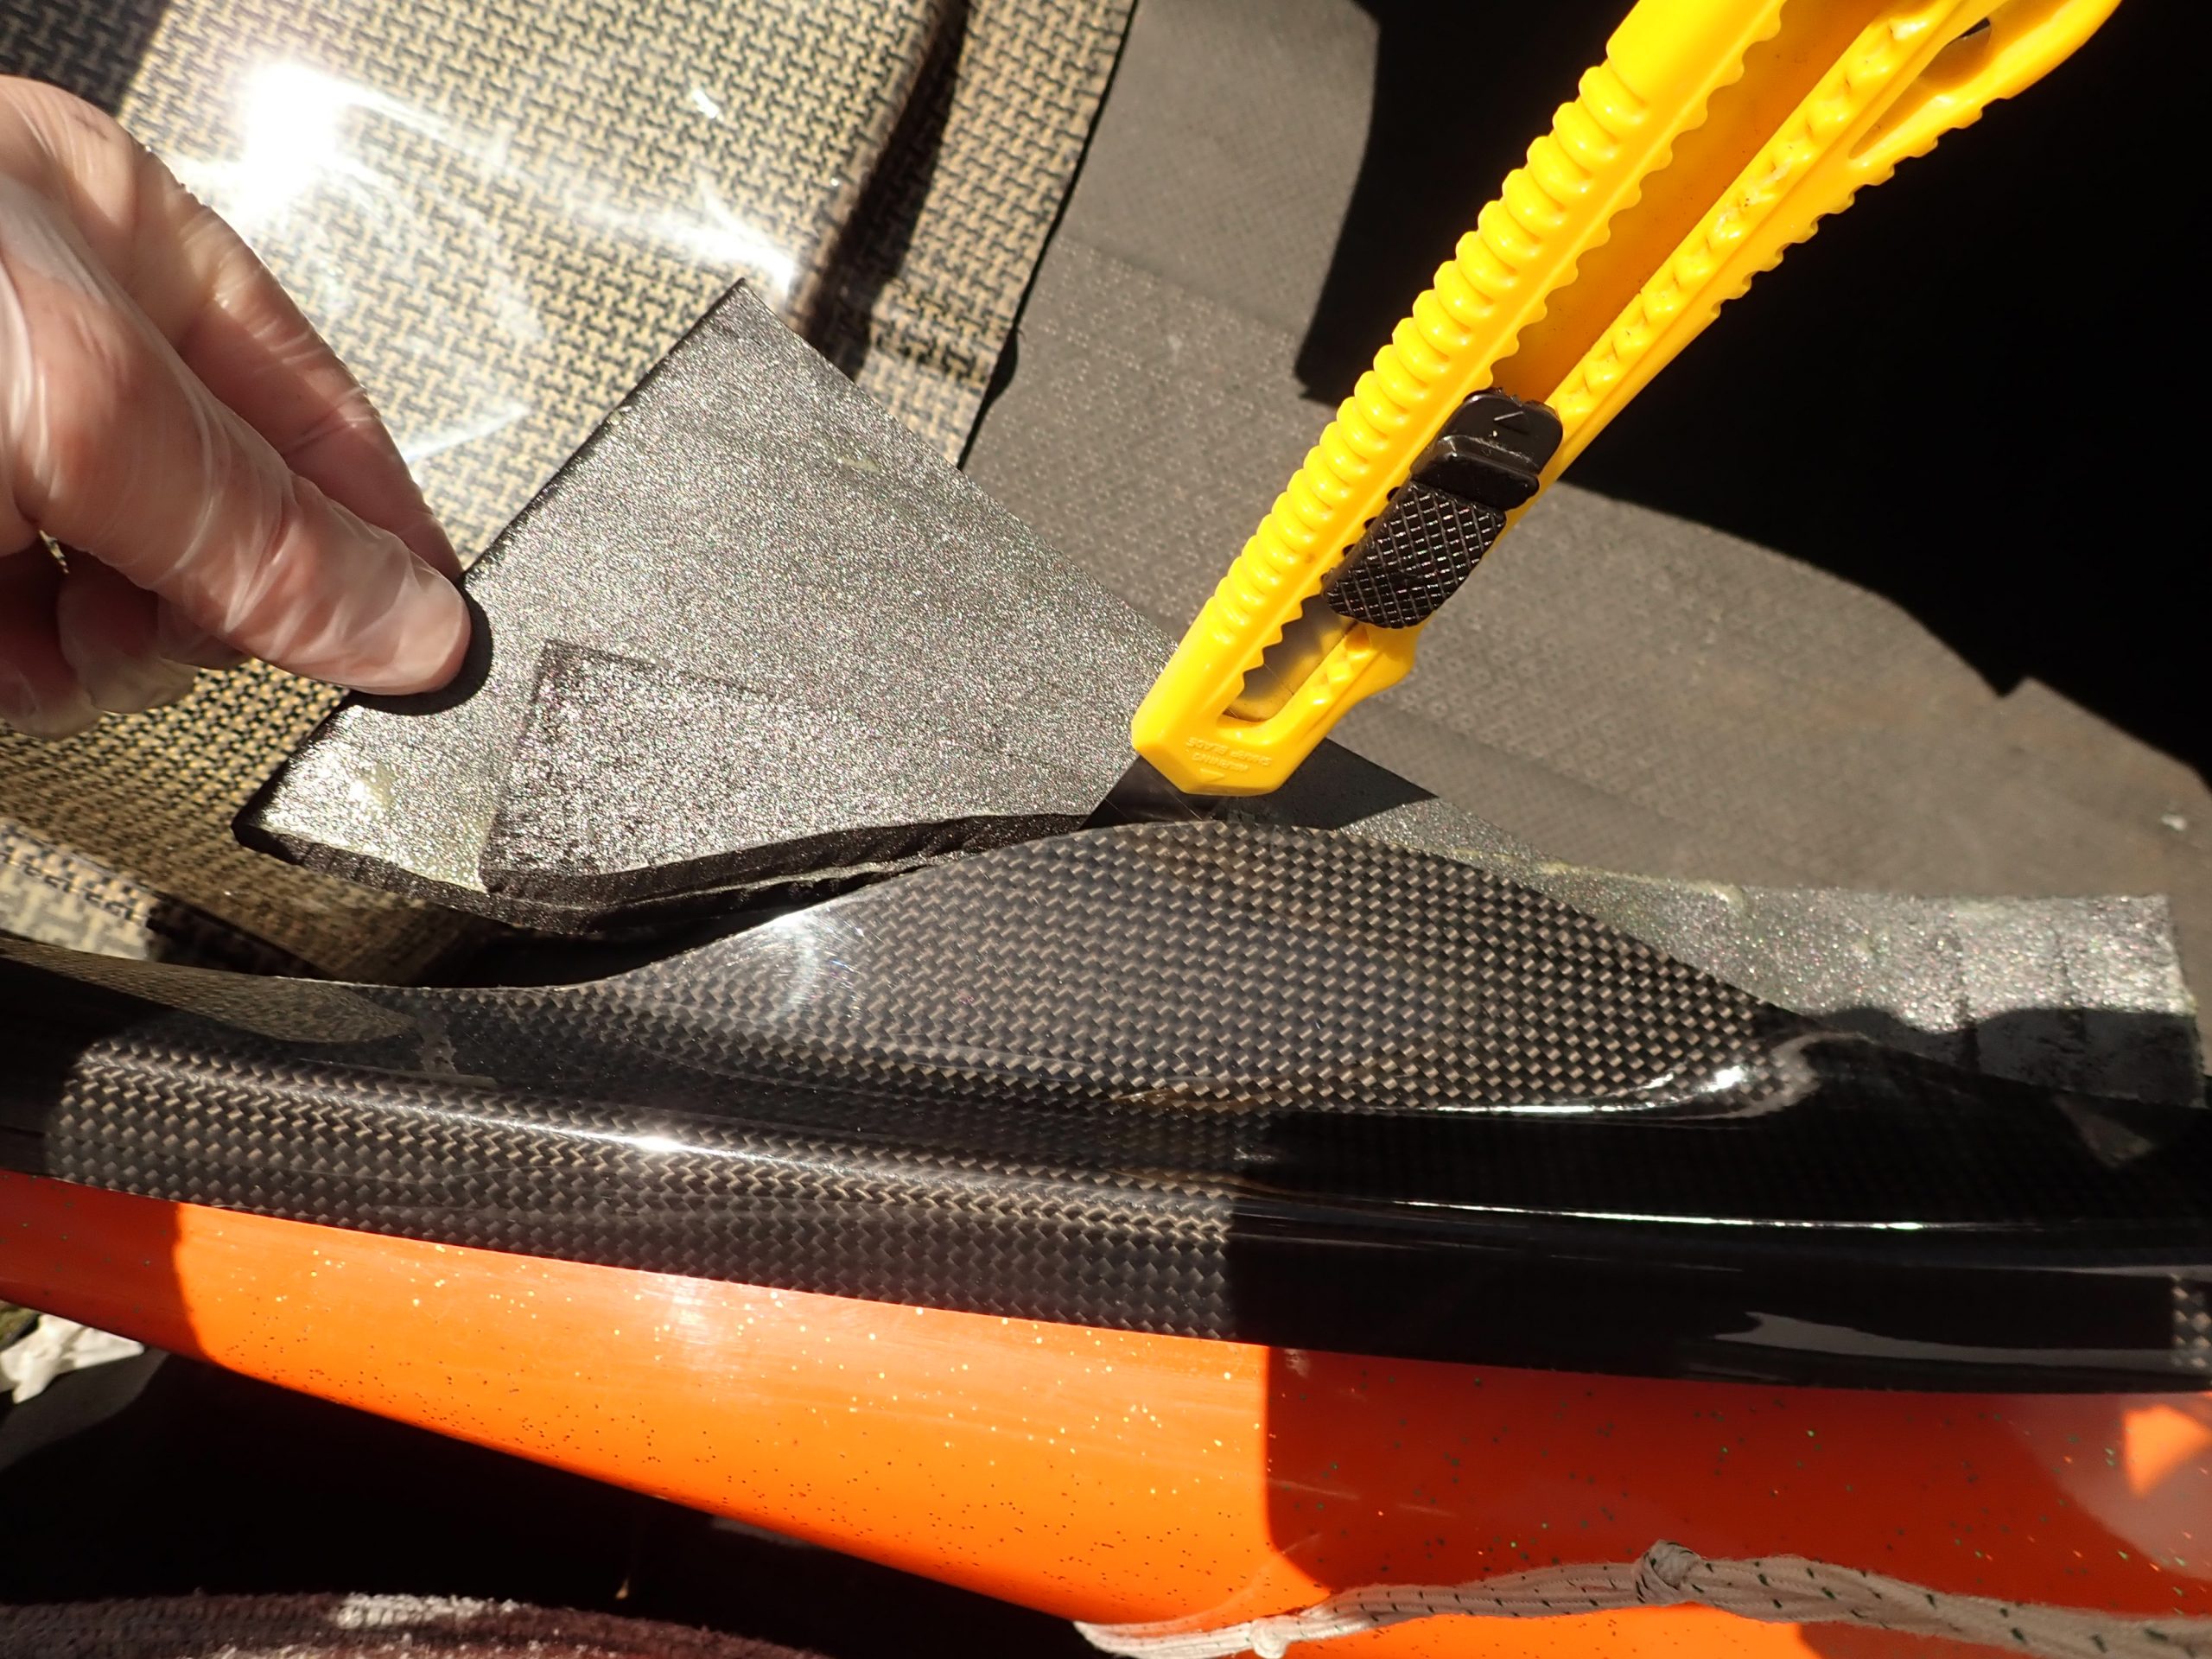
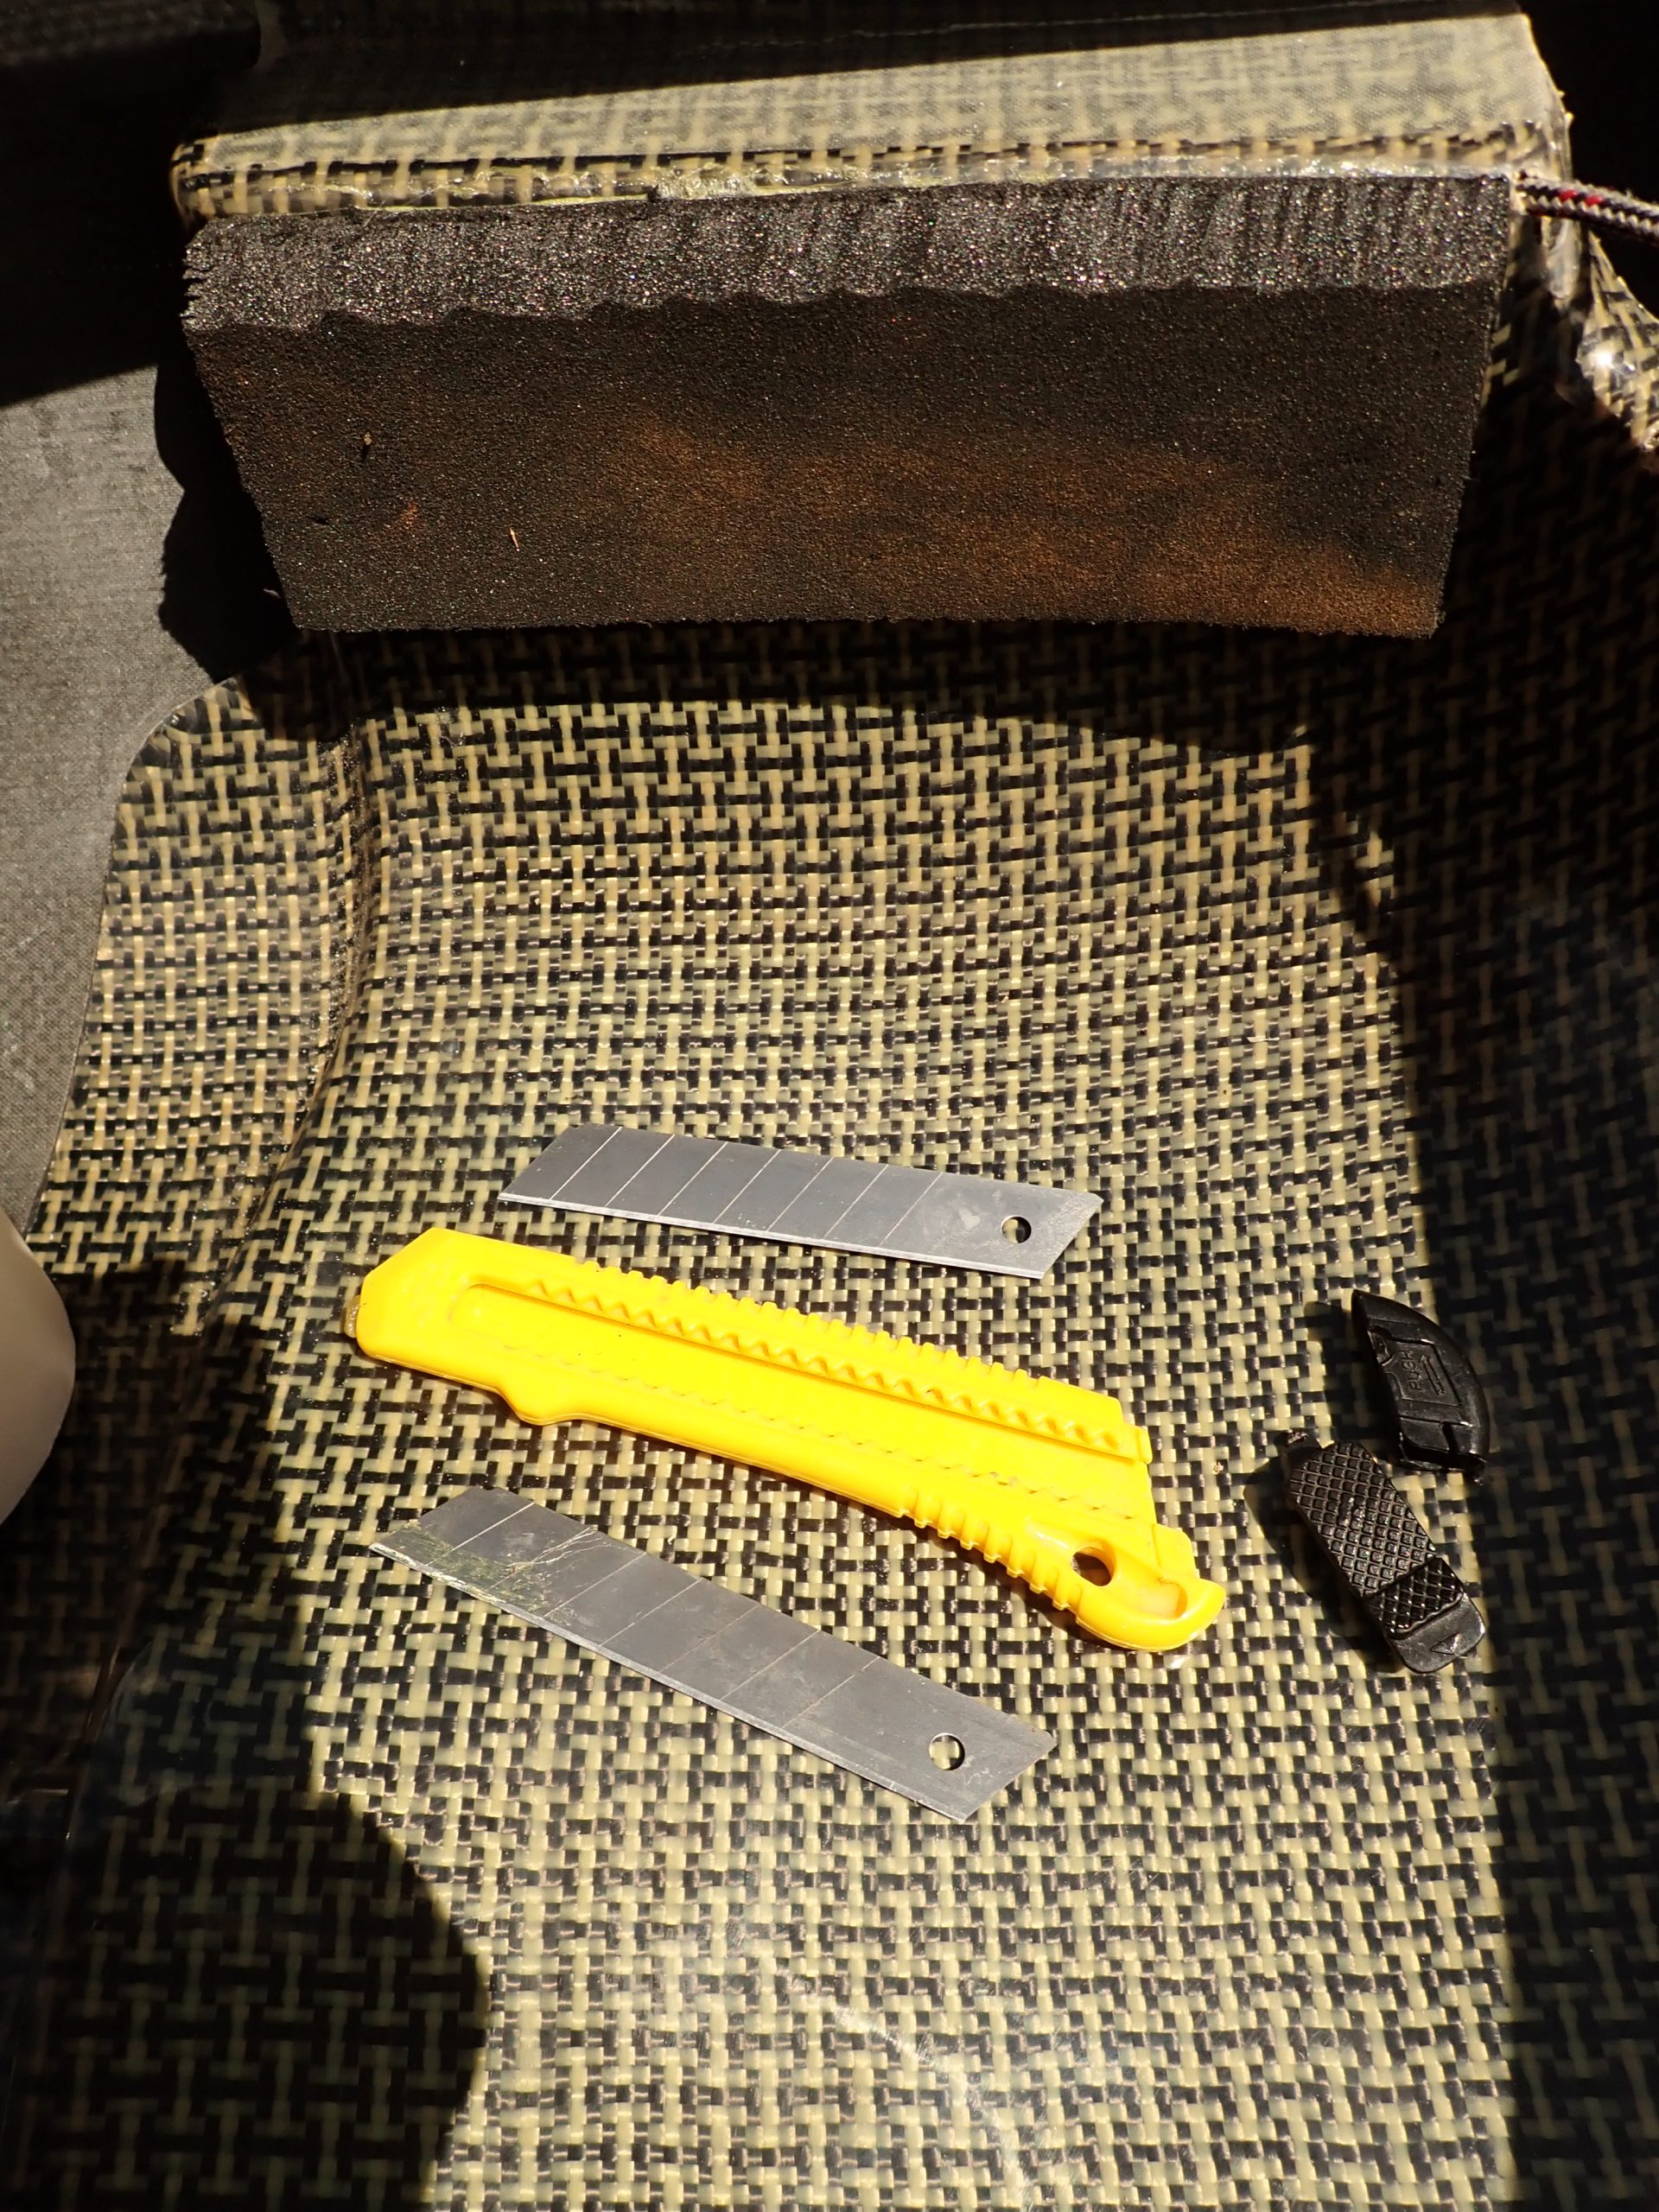
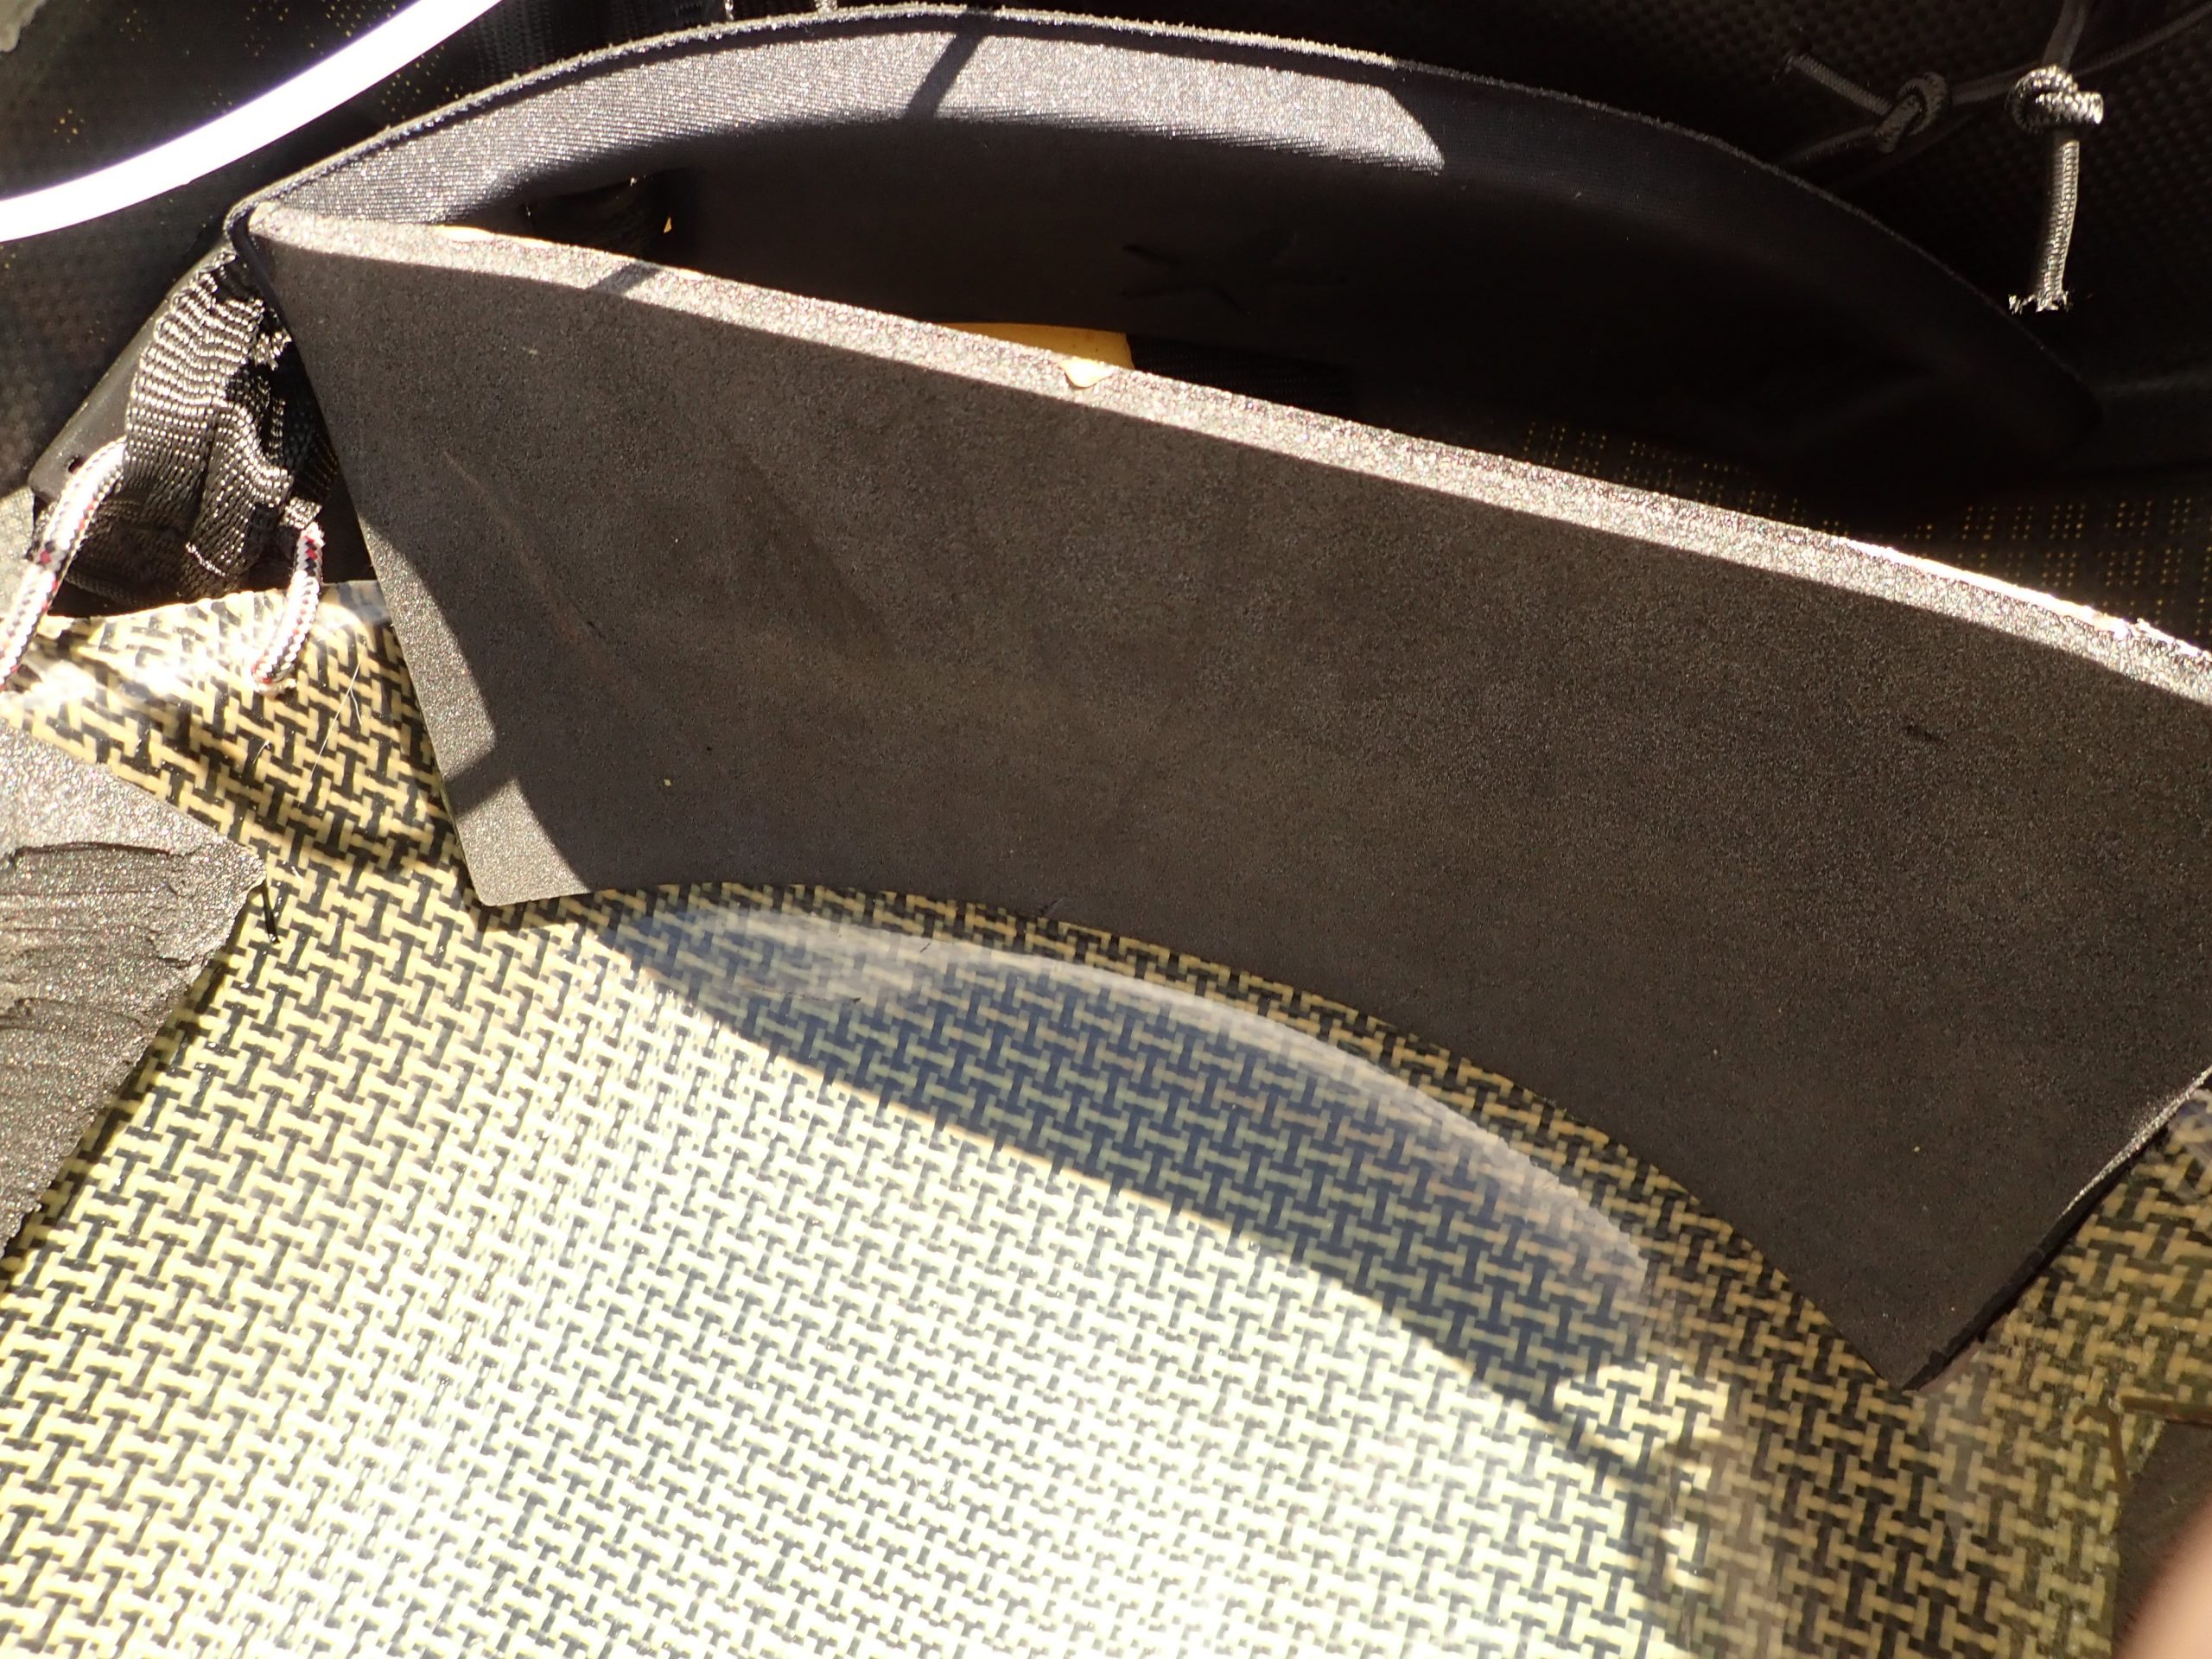
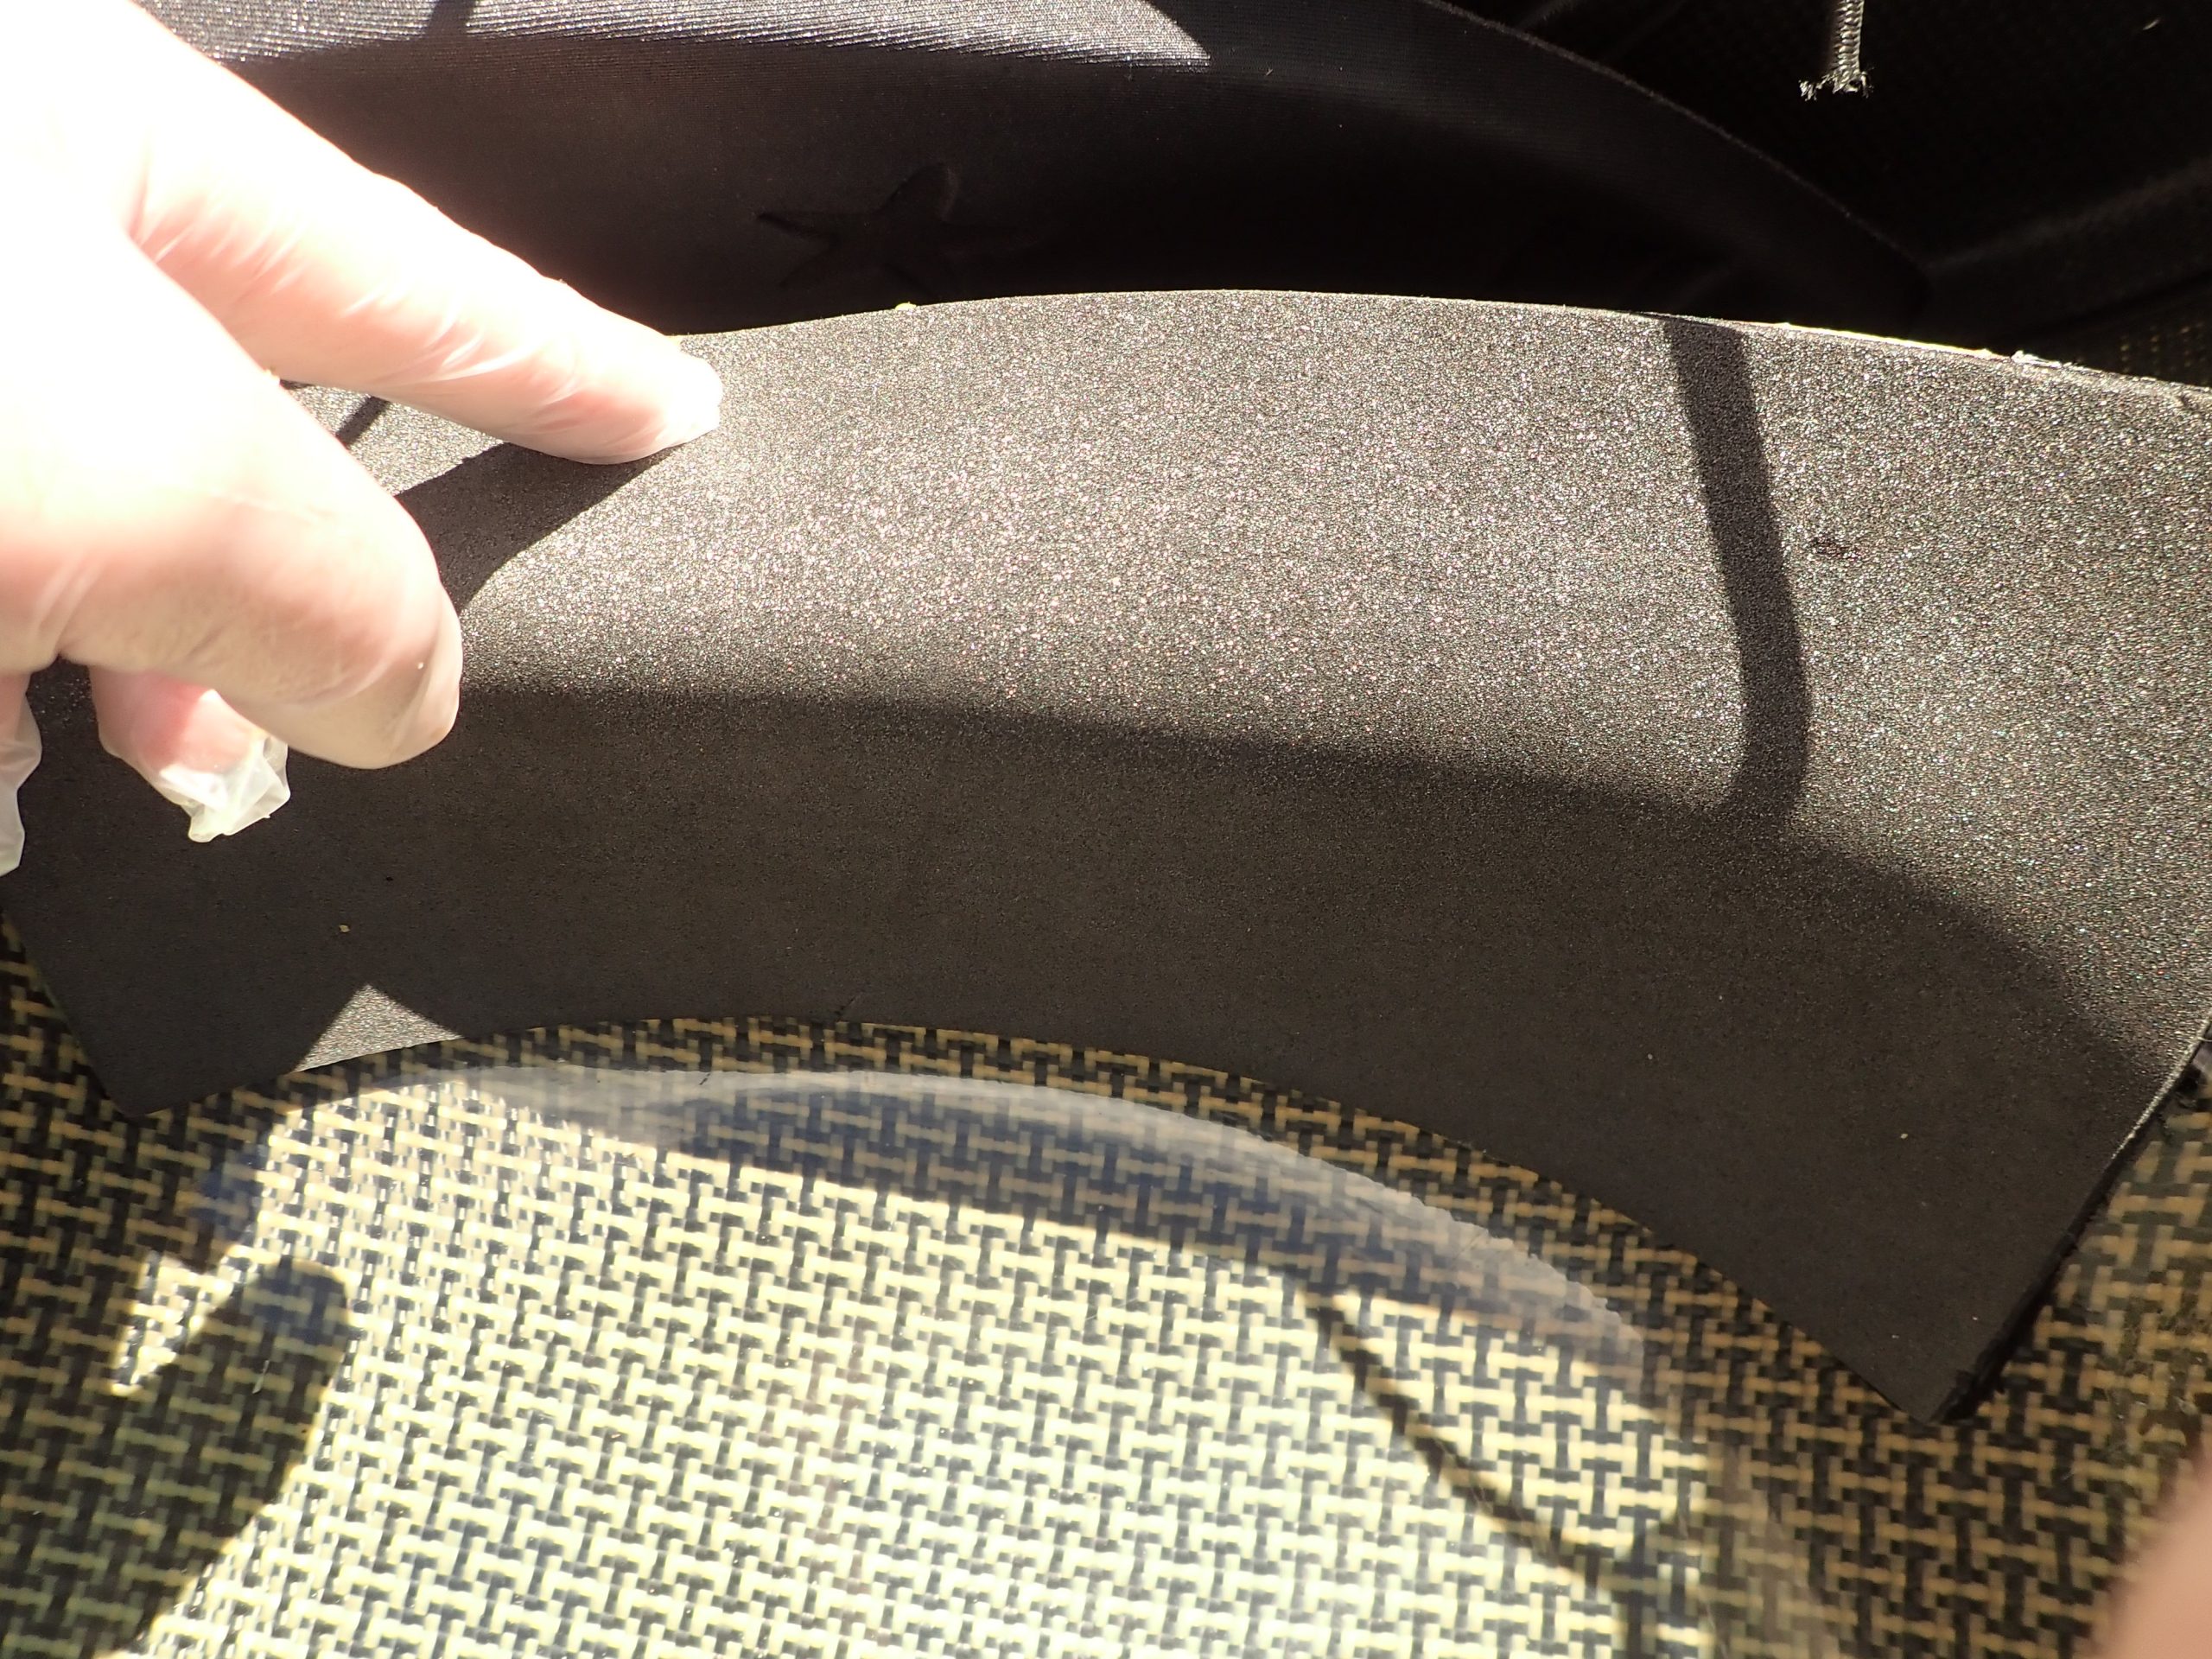
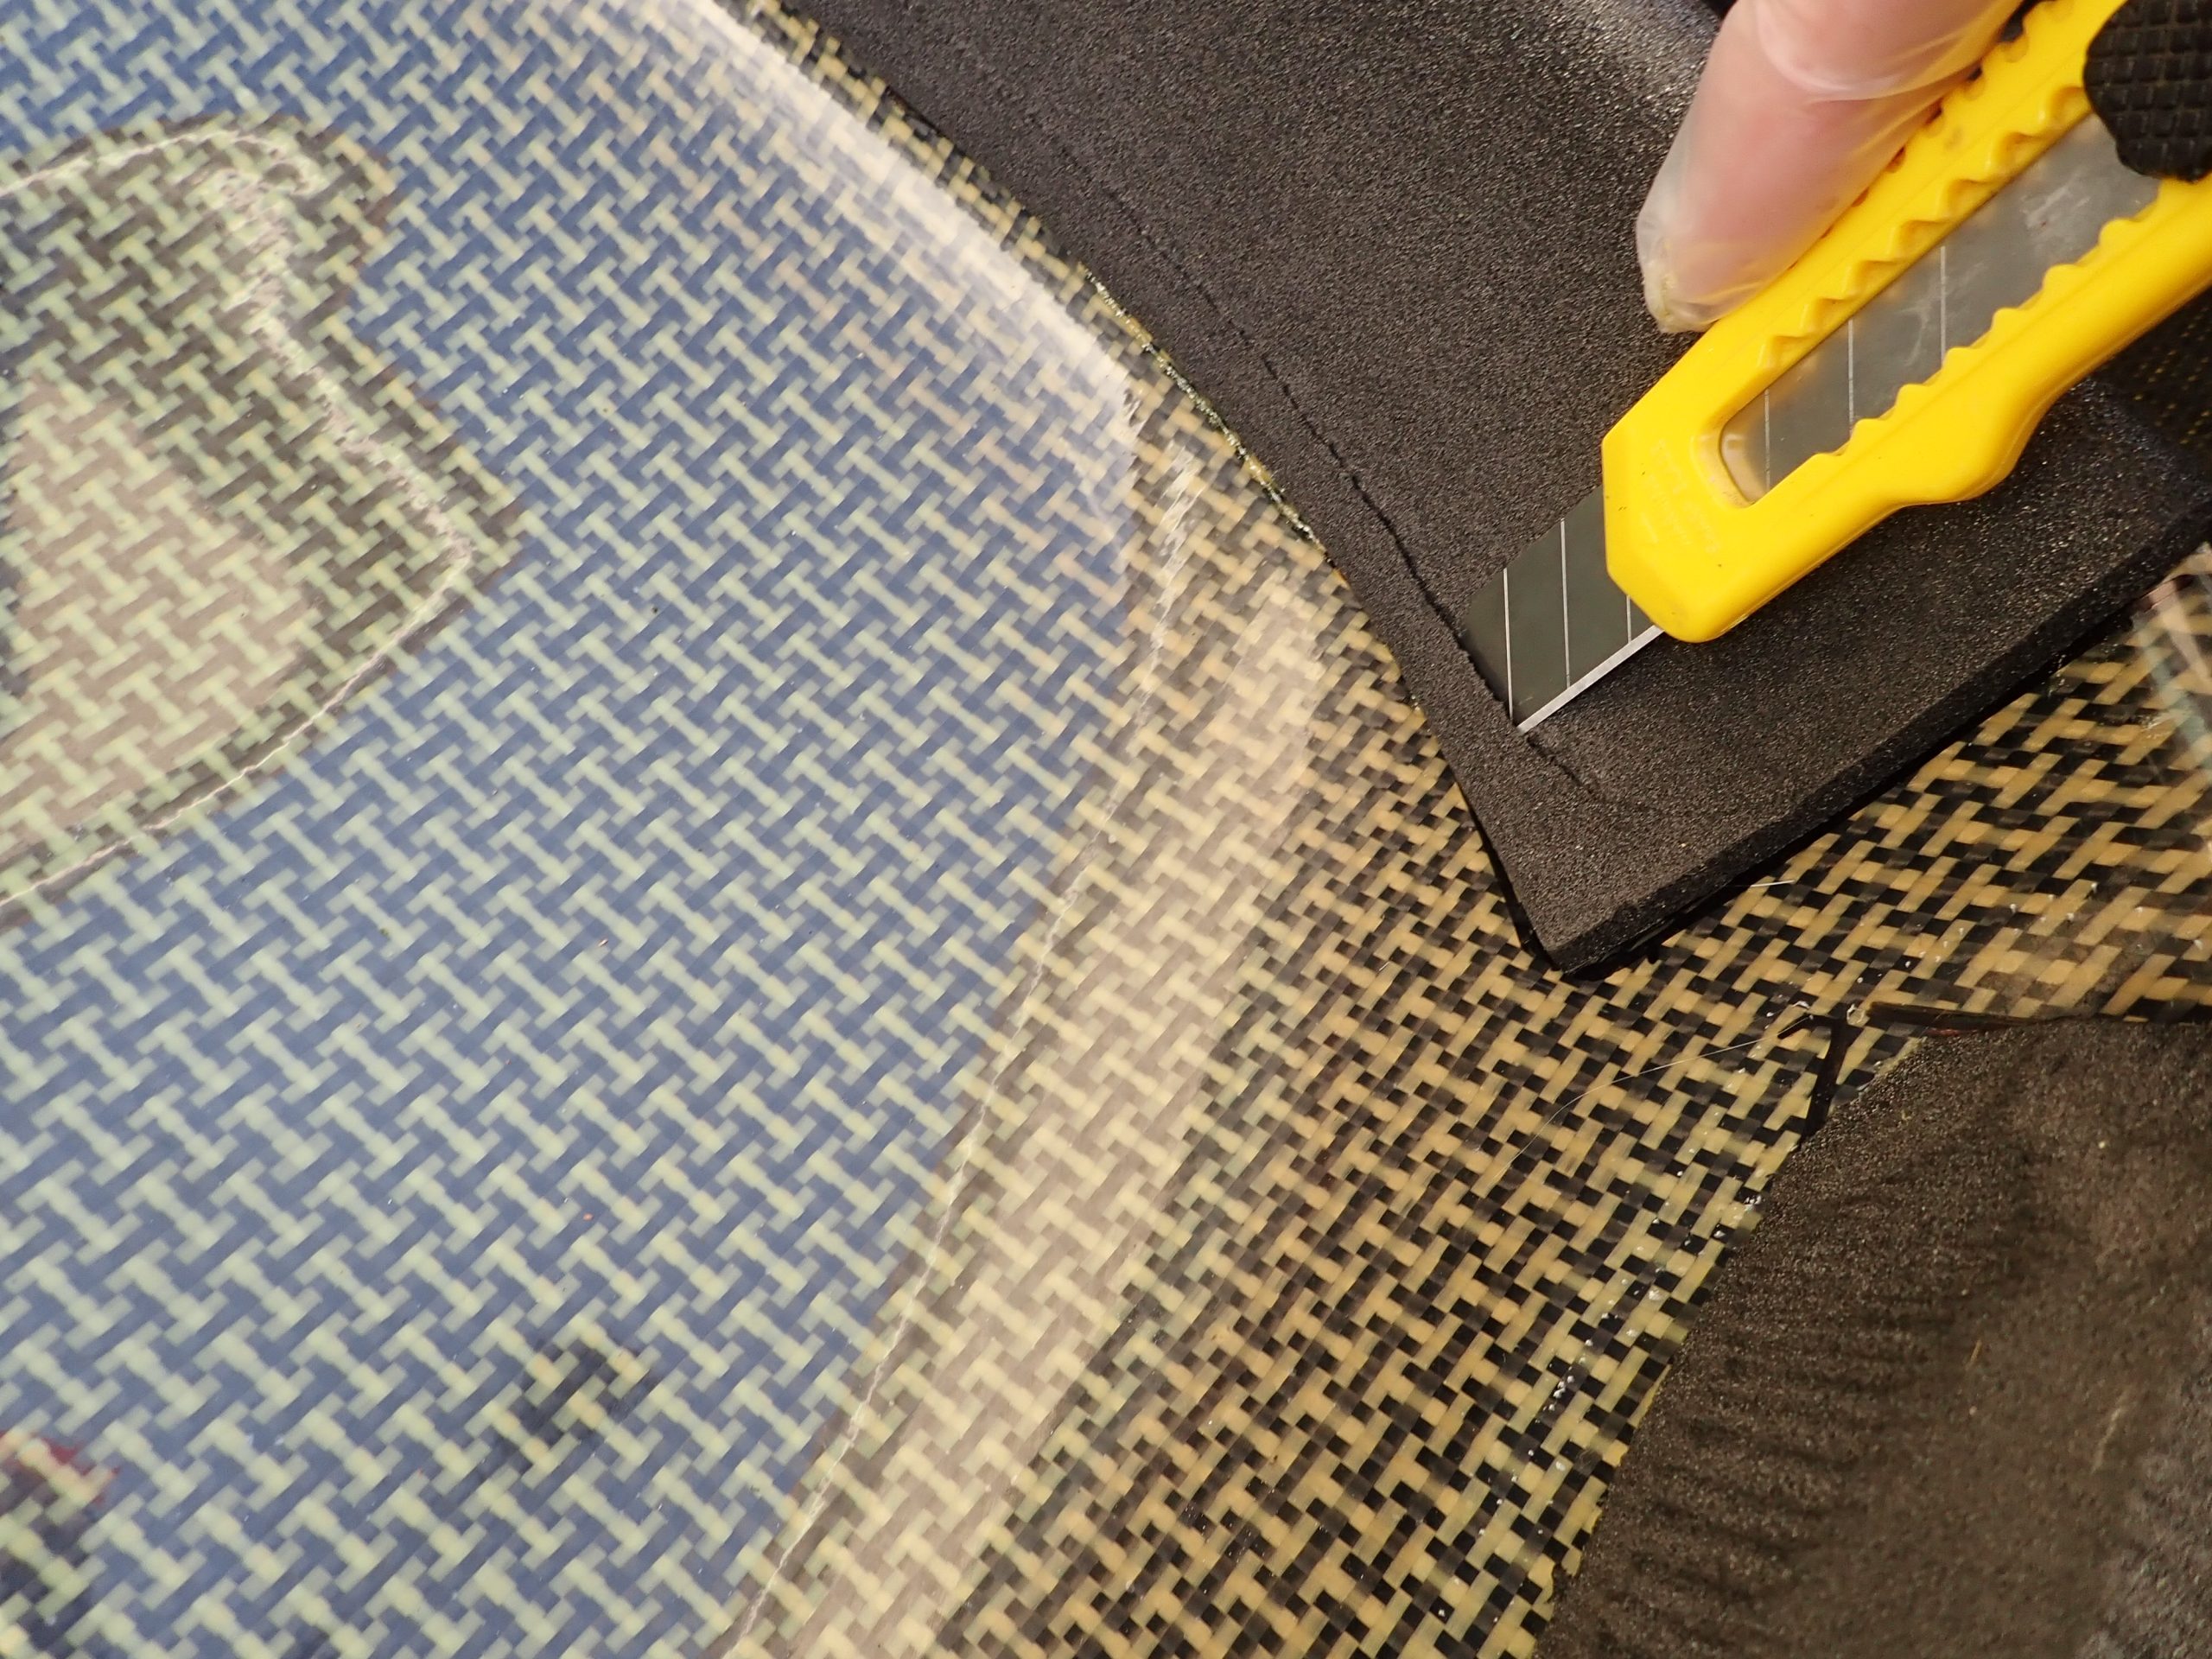
Foam:
I use a quality high-density black foam, this foam does not absorb water and does not deform or compress over time. It also bonds well with the contact adhesive. These are all important characteristics for a decent padding setup. You want a foam rigid enough to transfer your handling inputs but at the same time provides adequate comfort.
I use:
6 mm for the rear pad
10 mm for the thigh pads
17 mm (or greater) for the hip pads
Steer clear of Ethafoam, sleeping mat foam, or the grey foam used in pillar buoyancy – variously between them they deform, compress, hold water or have poor bonding characteristics with the contact adhesive. Don’t waste your time with these – they won’t cut the mustard for serious paddling.
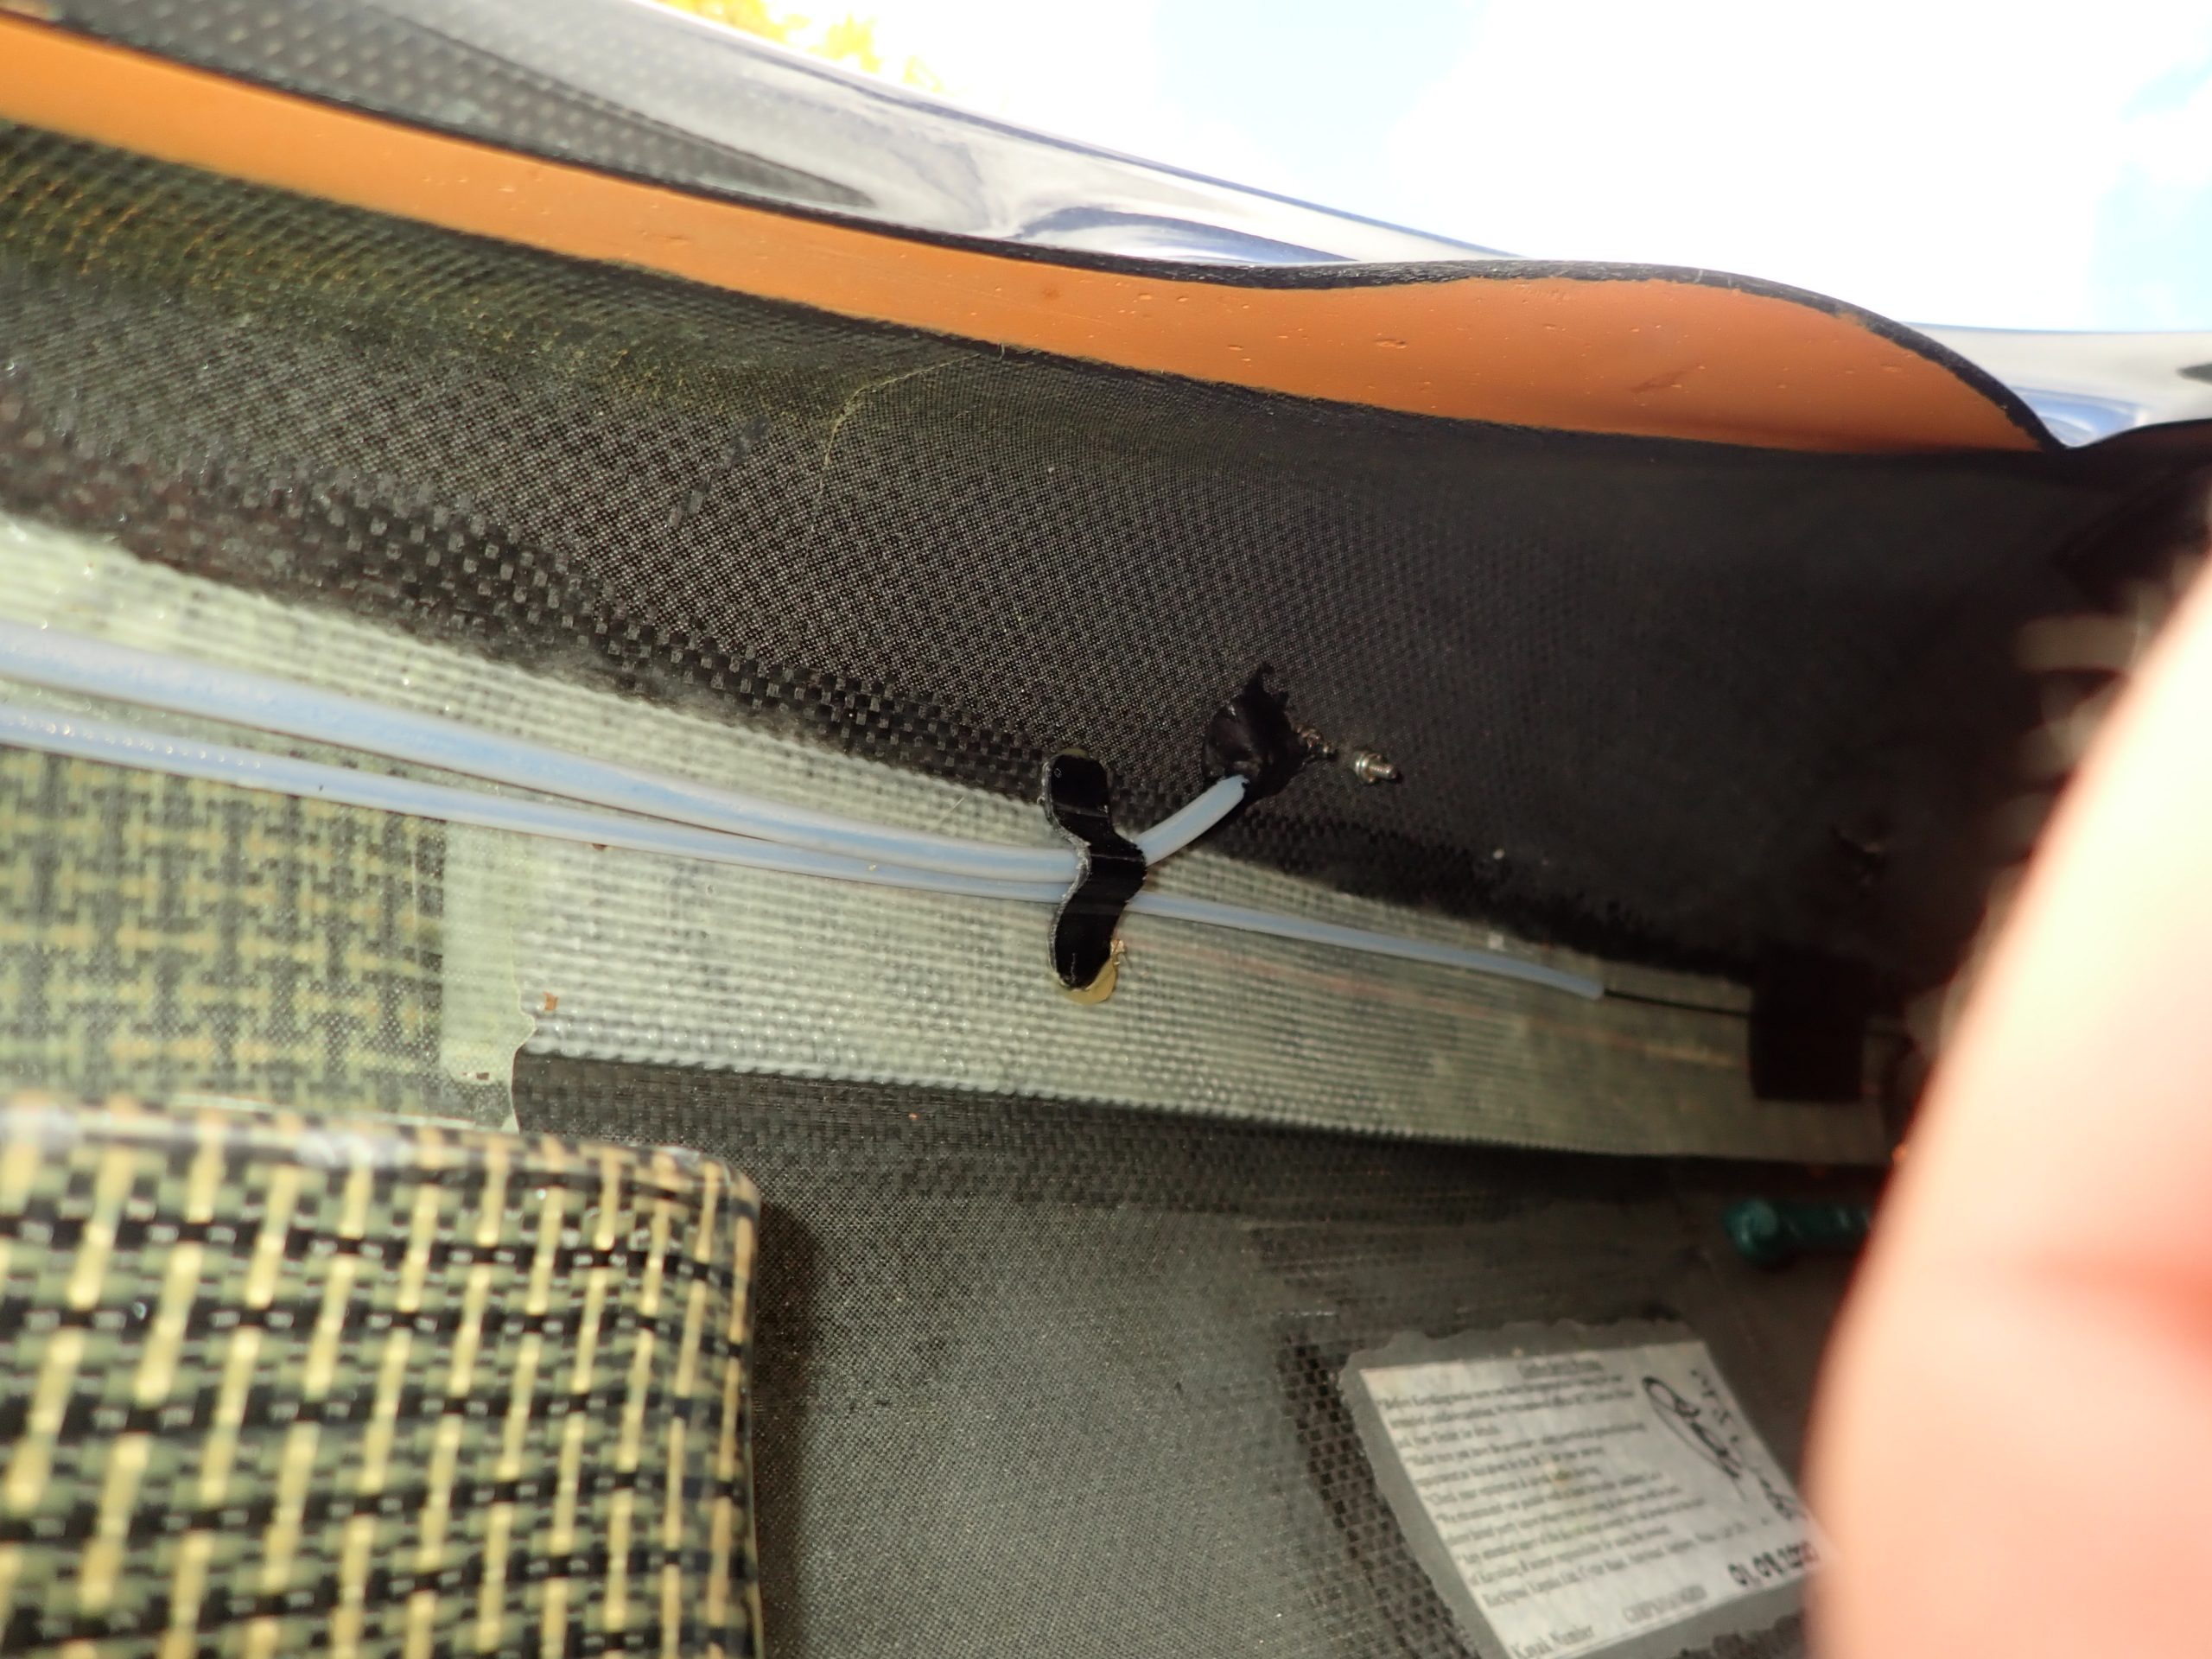
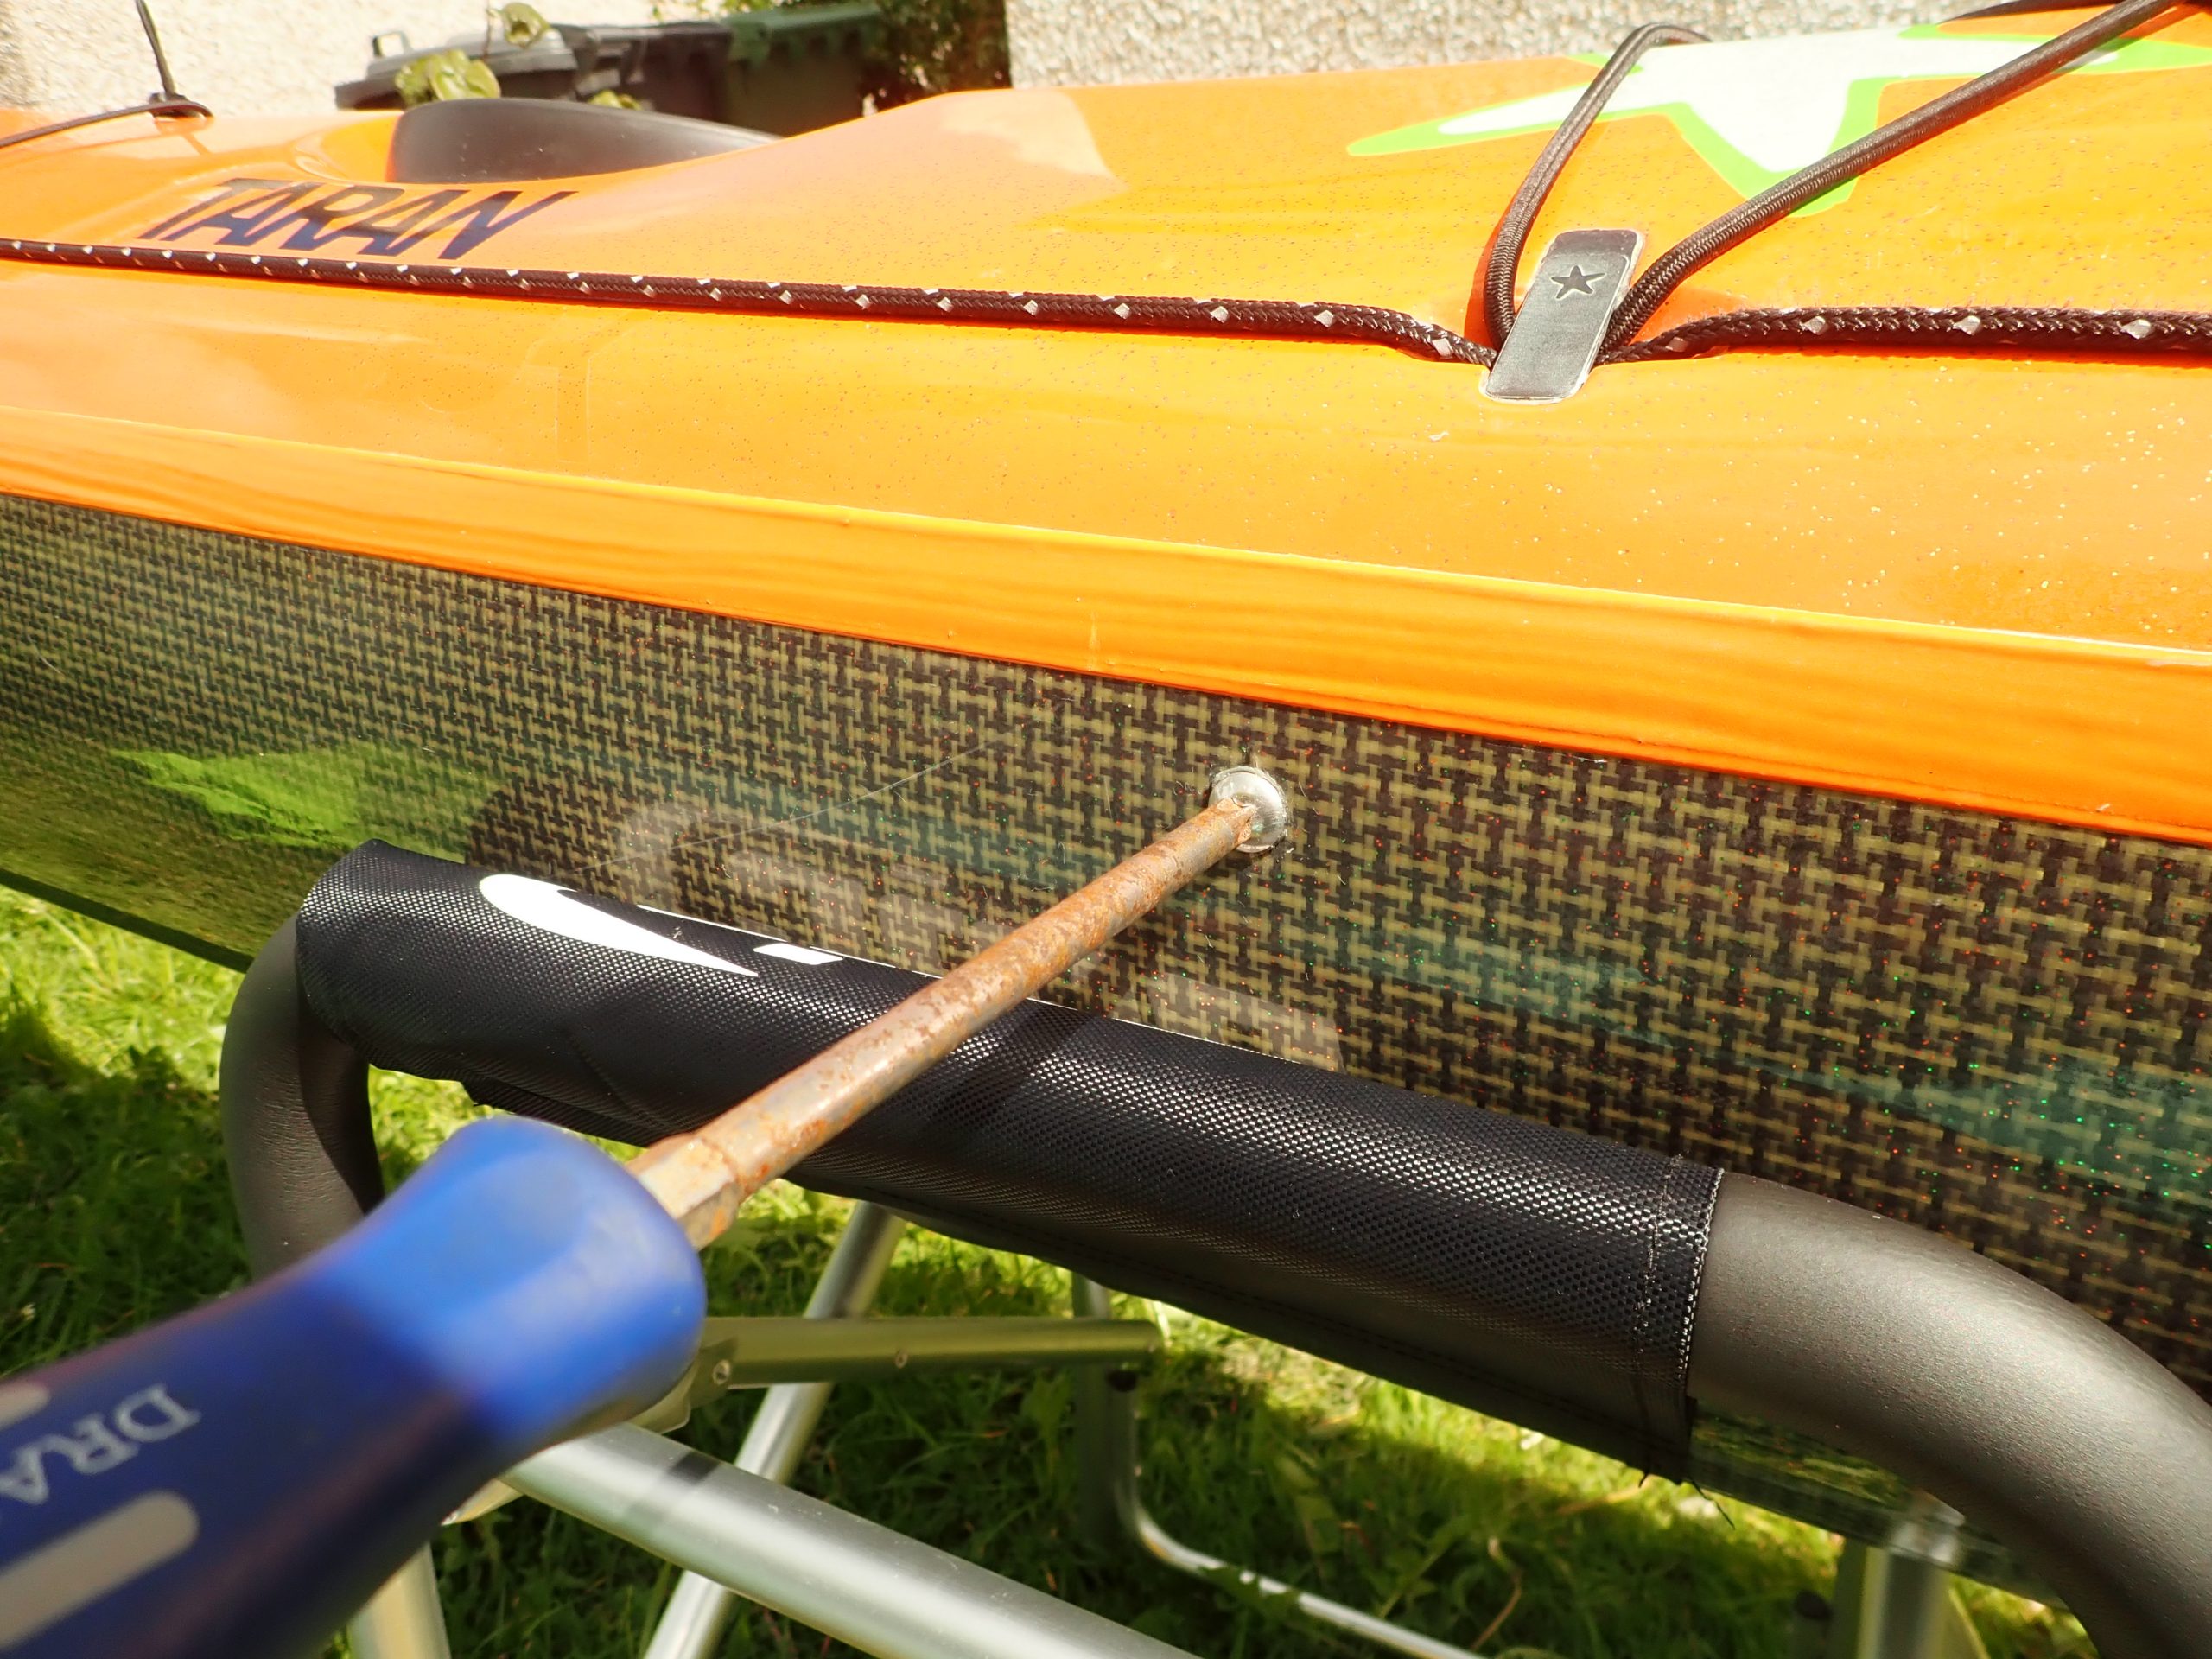
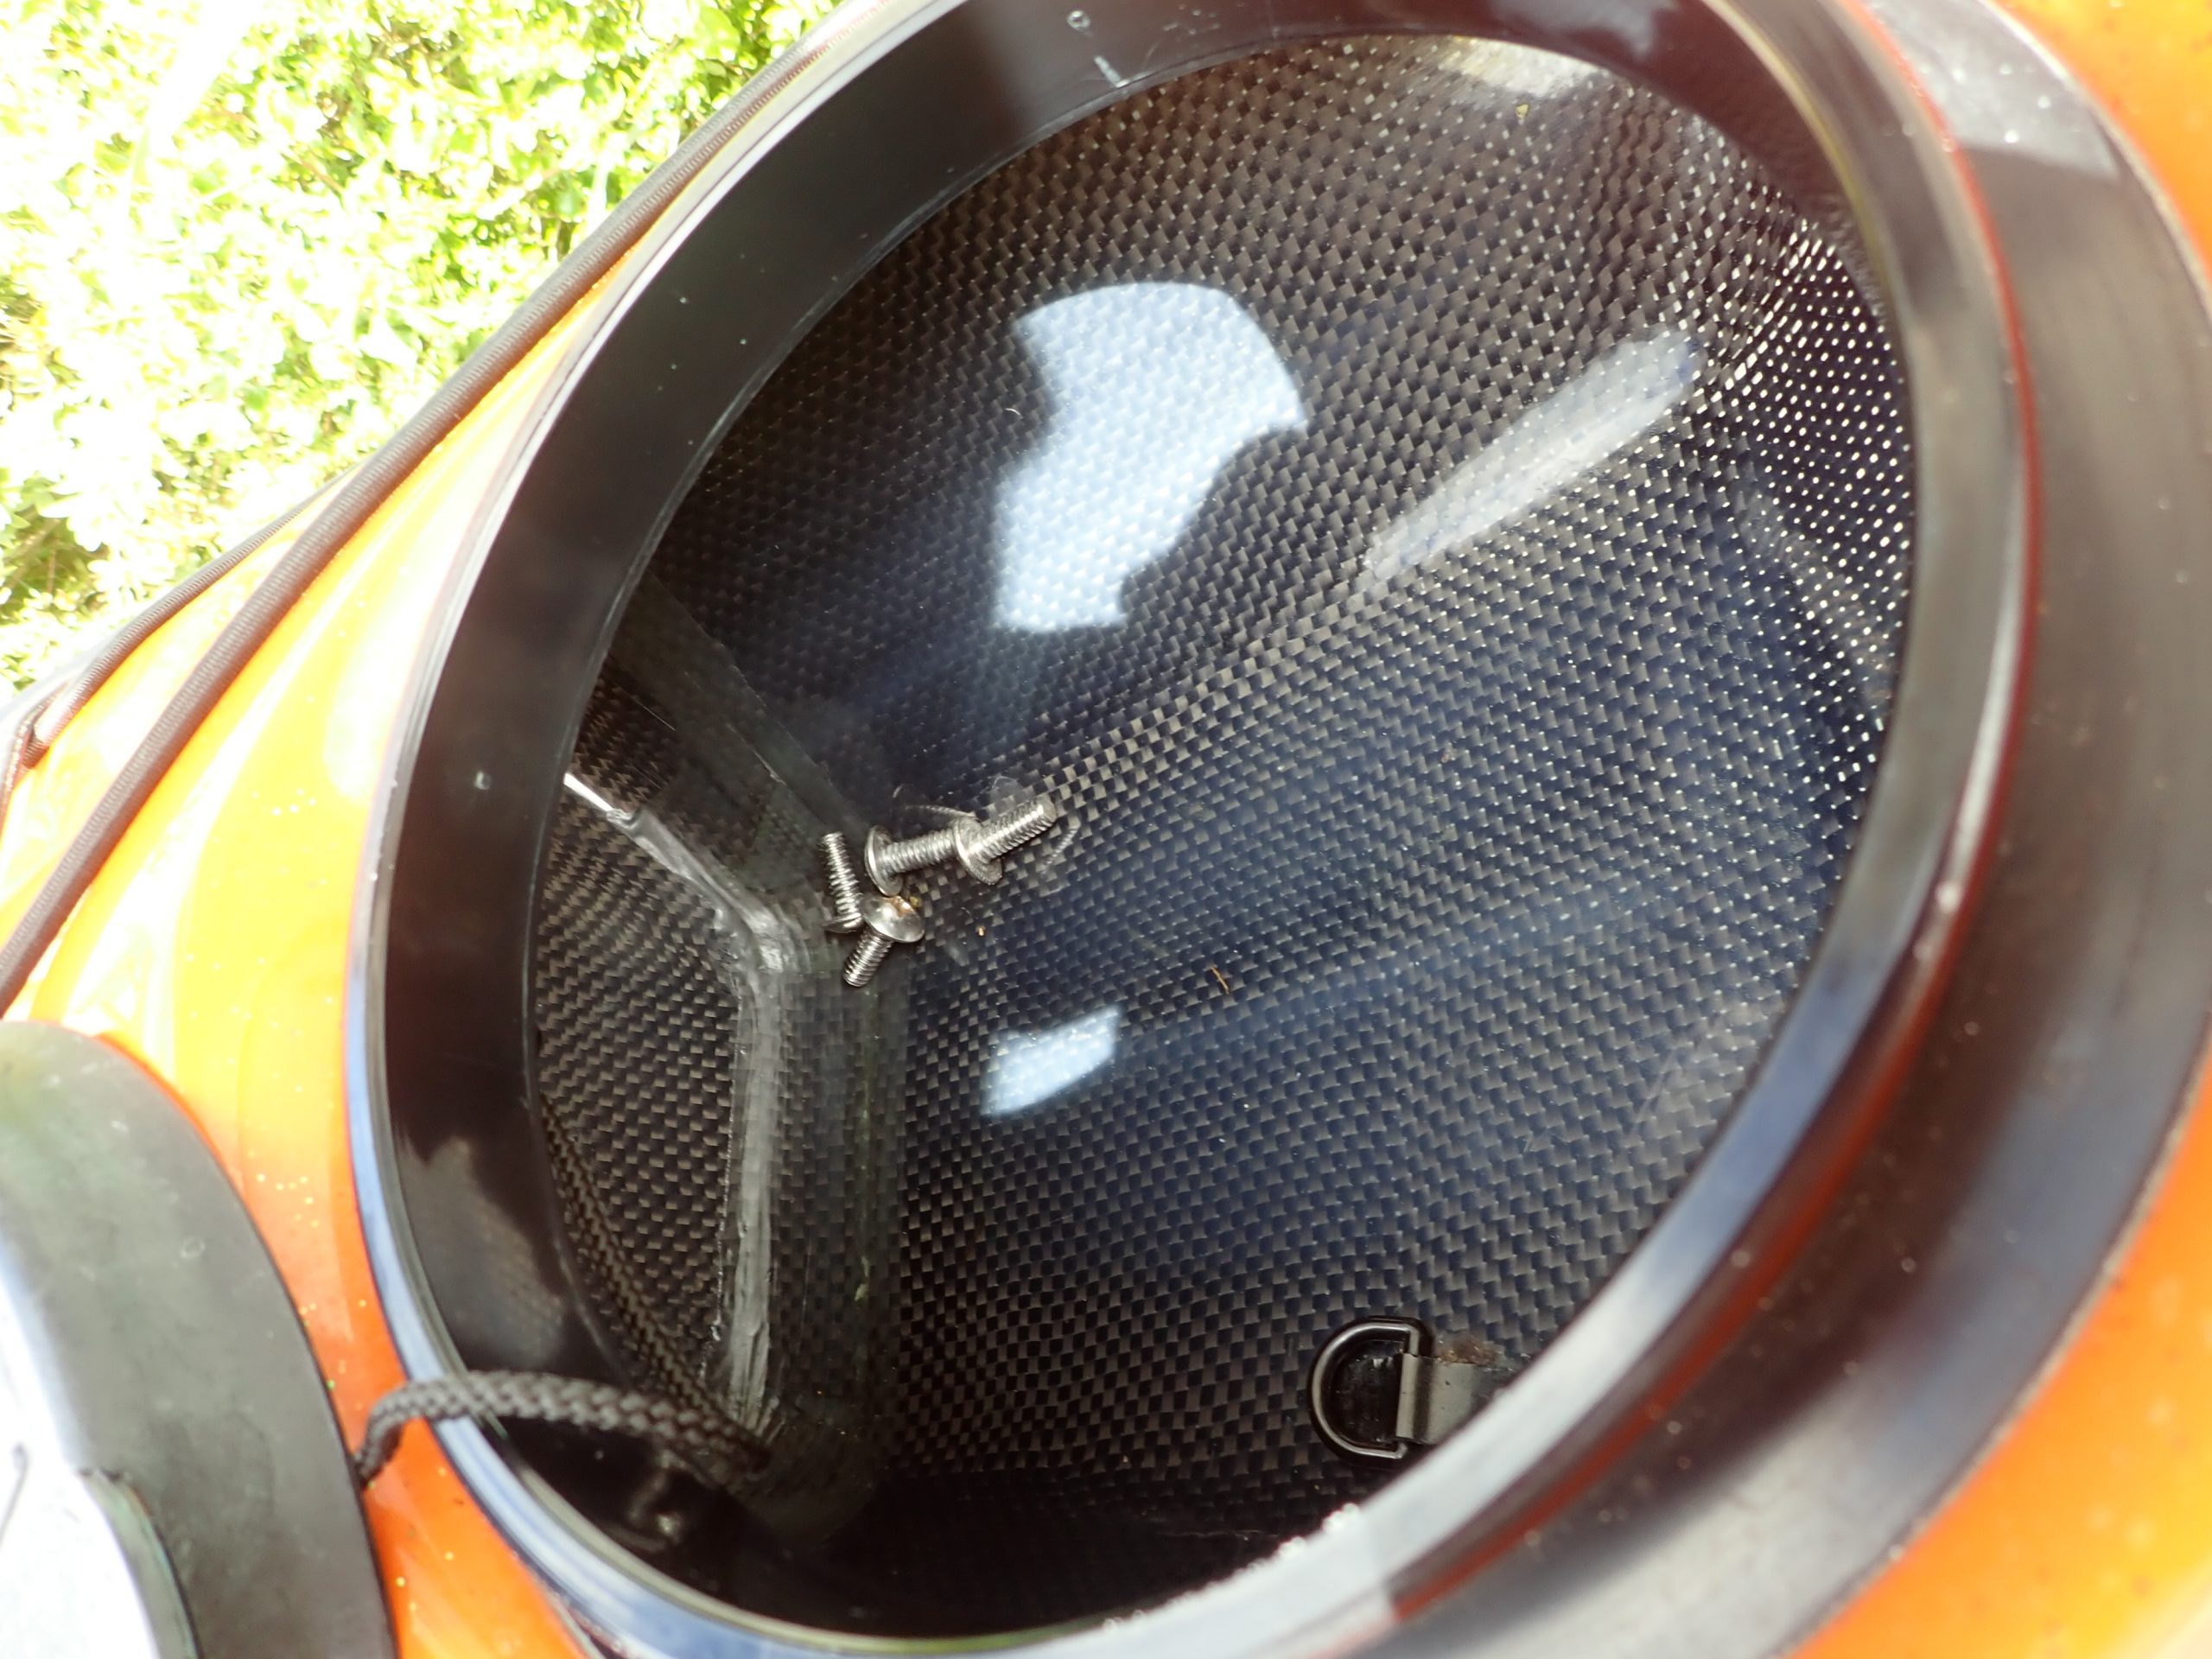
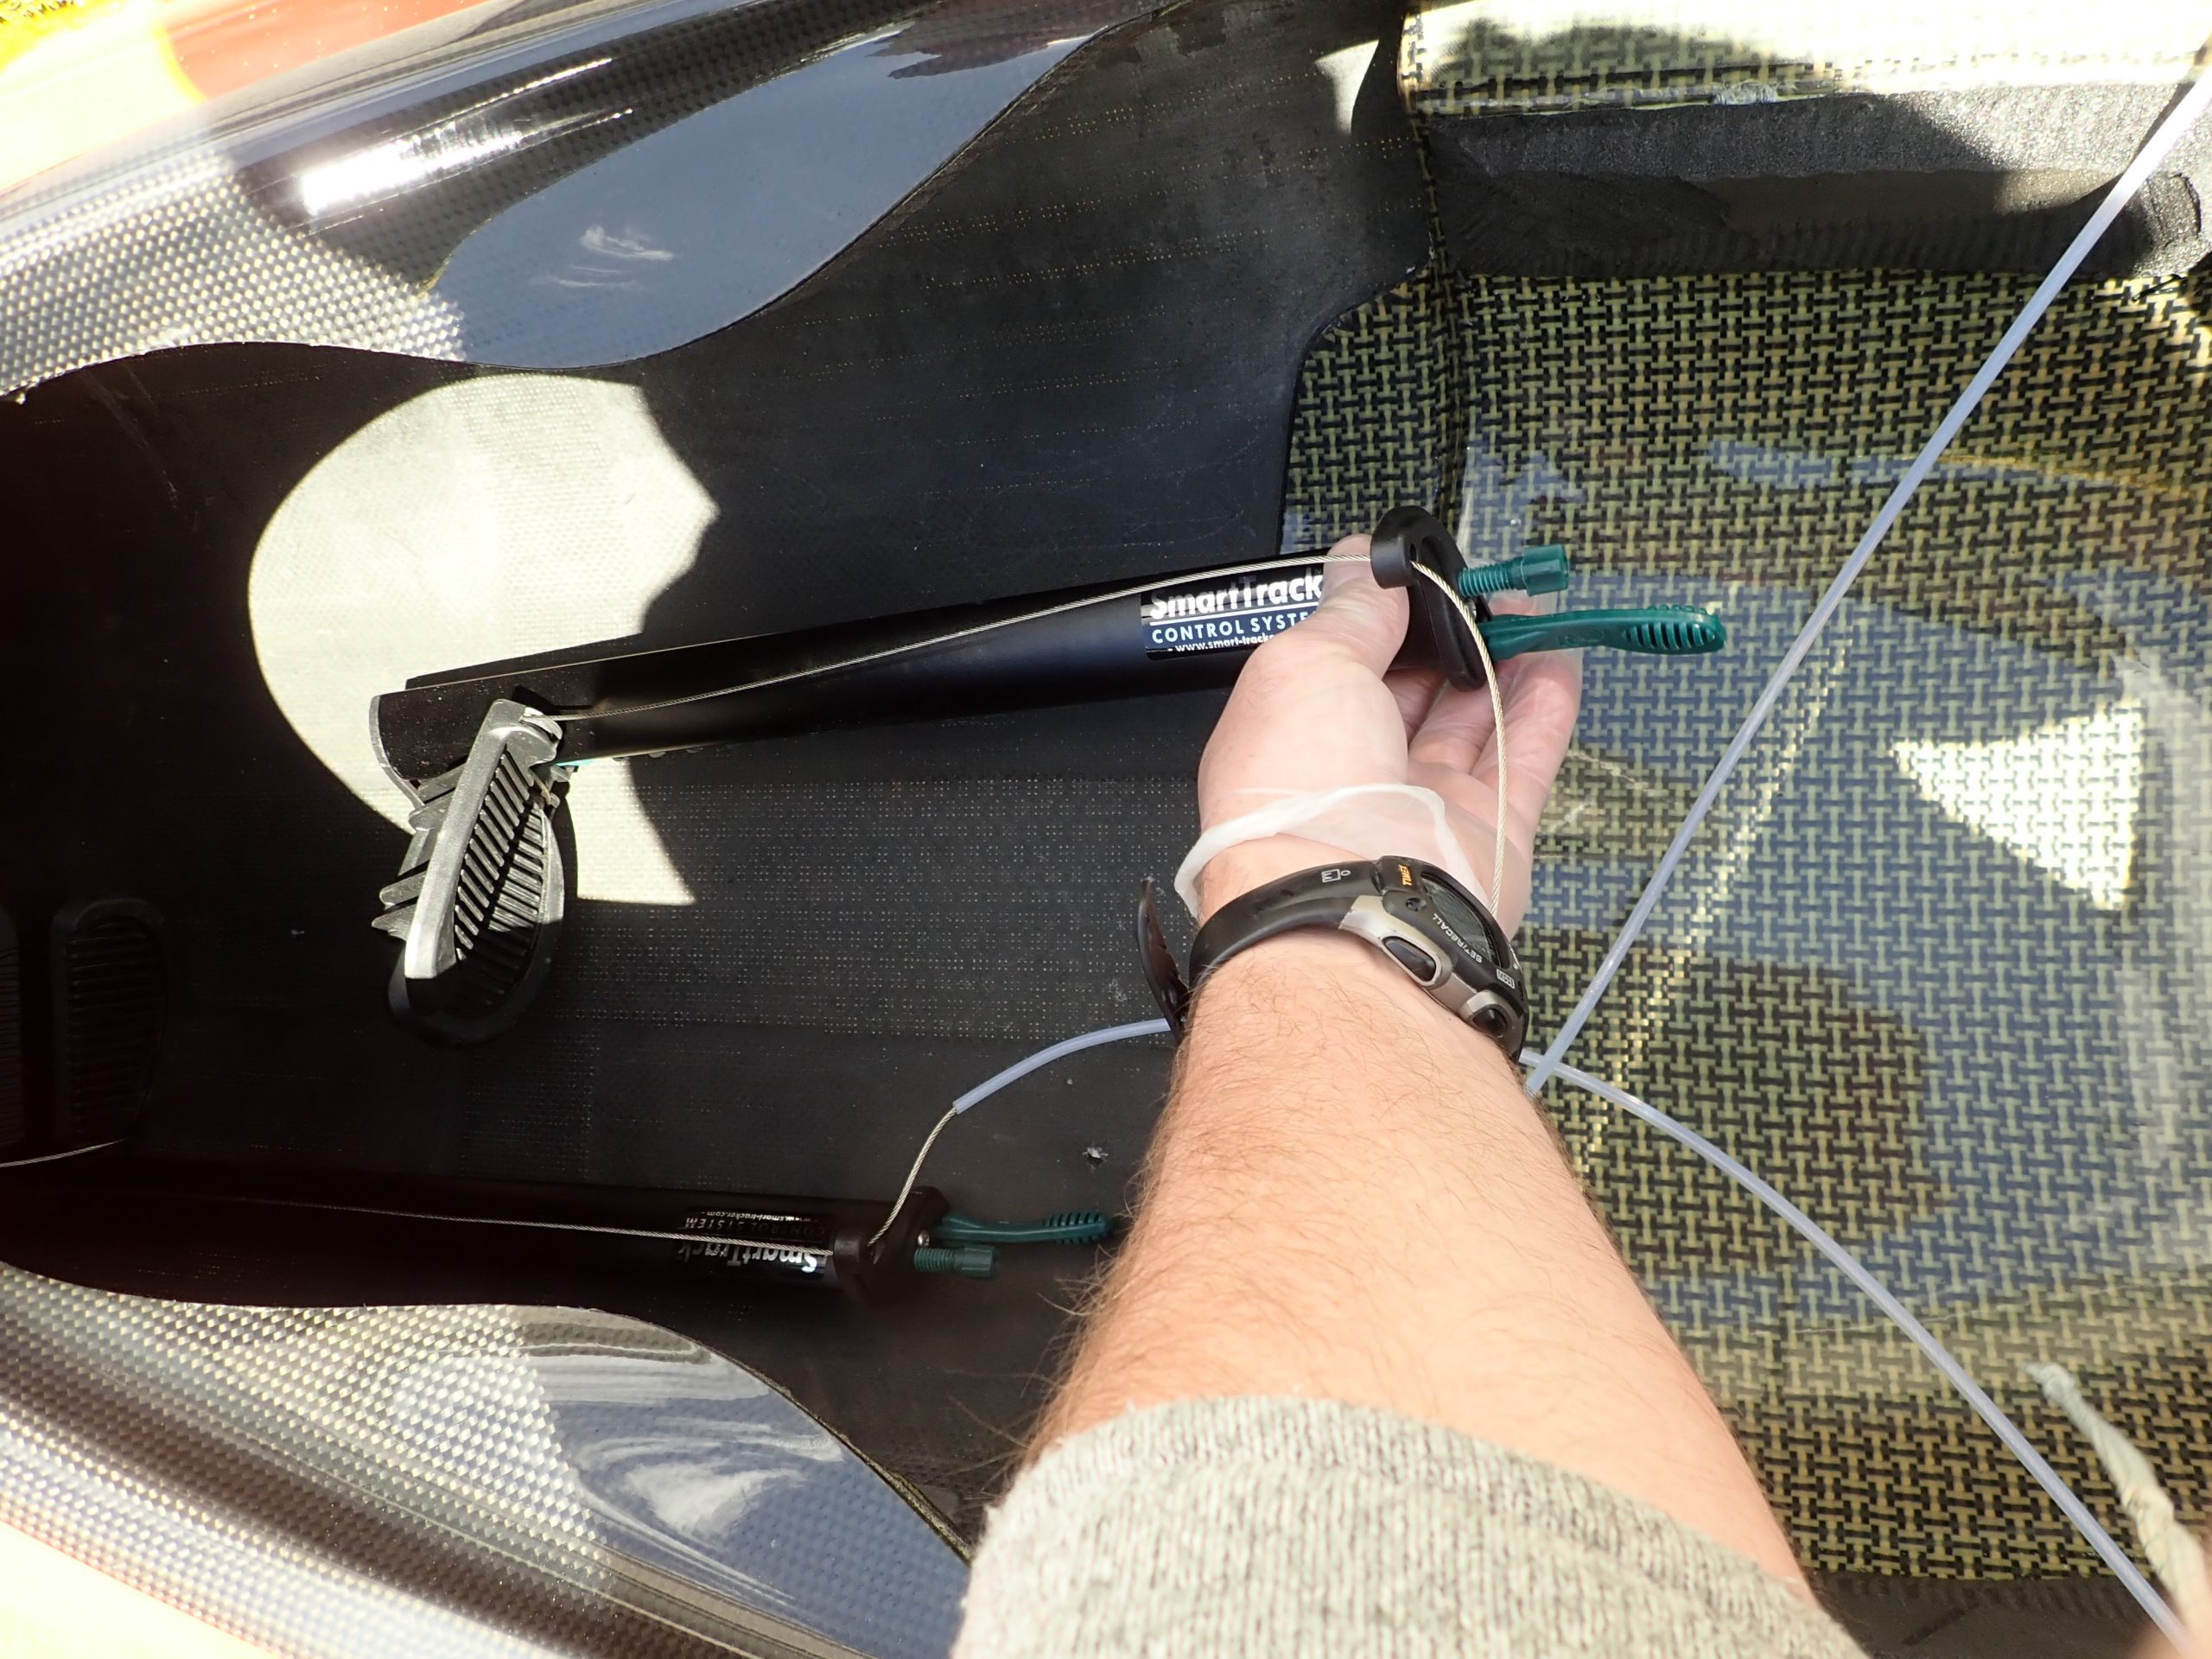
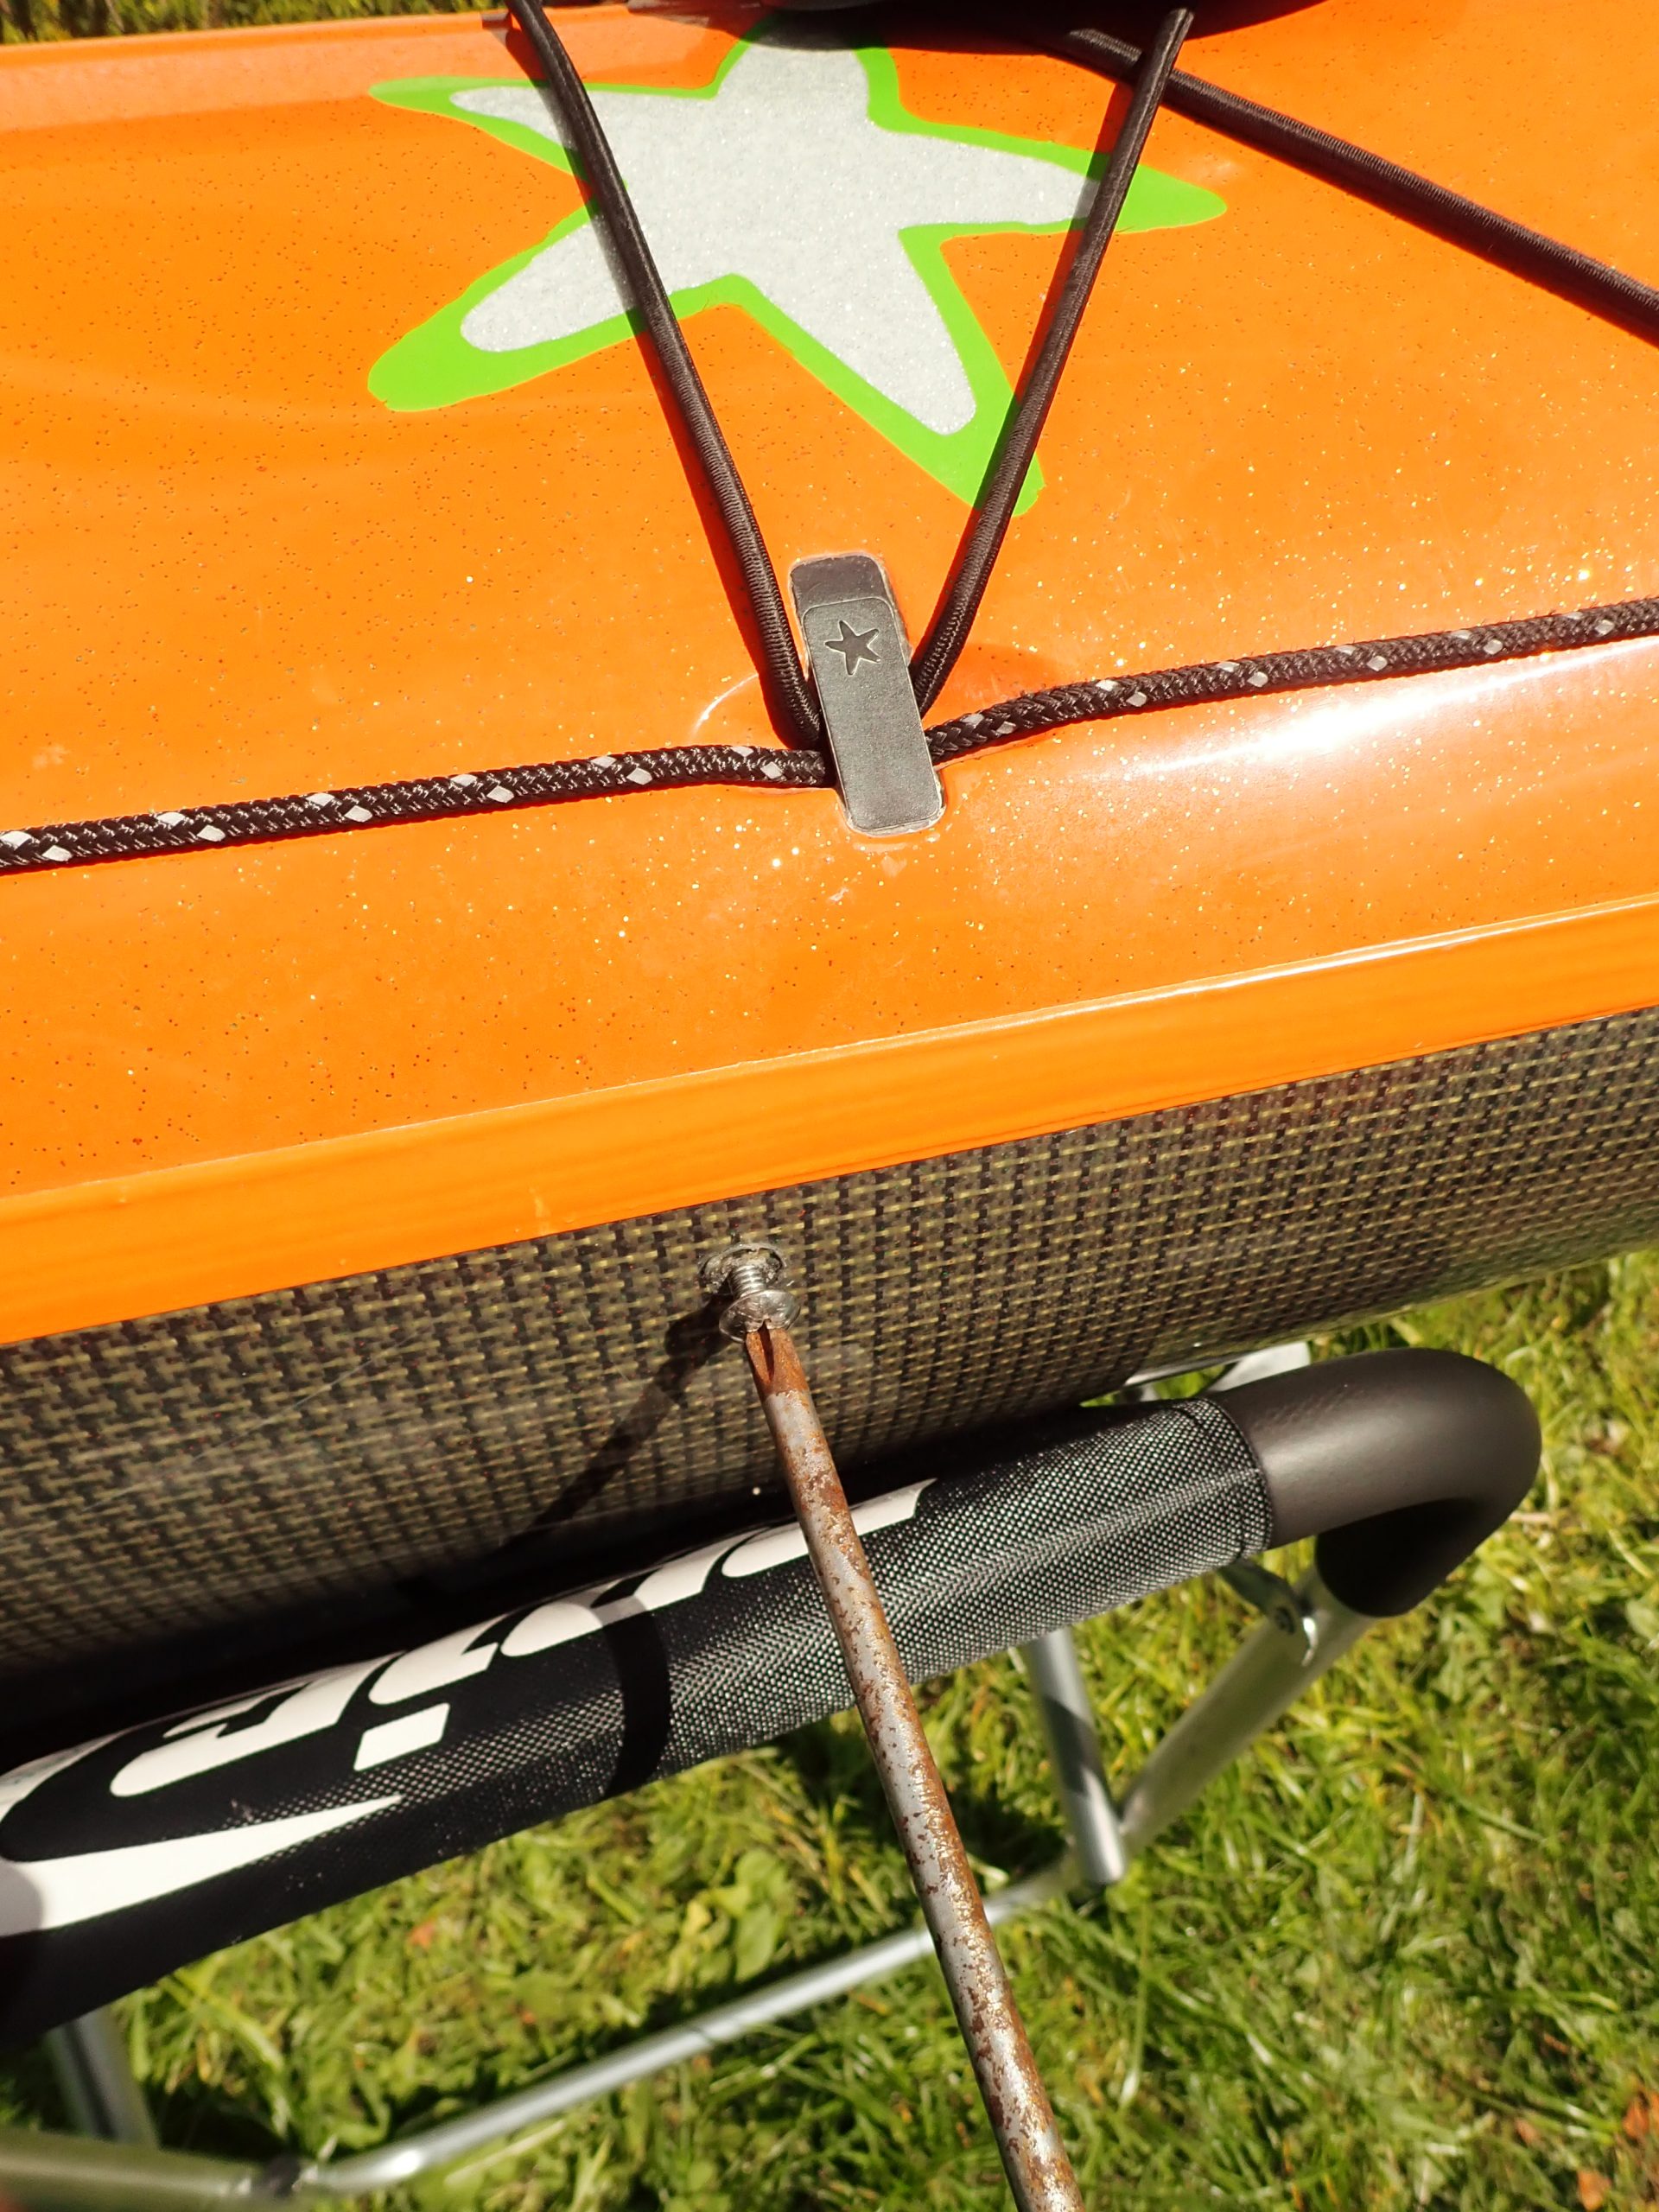
Footrest:
I remove the footrests to gain access to the areas behind where the rudder cables route. It makes life a little easier and saves the rudder cables getting a coating of any stray adhesive. If you have a Smarttrack system fitted, use a large (#3) Phillips screwdriver to remove the footrest machine screws- don’t use a Pozi Drive screwdriver as you may damage the heads.
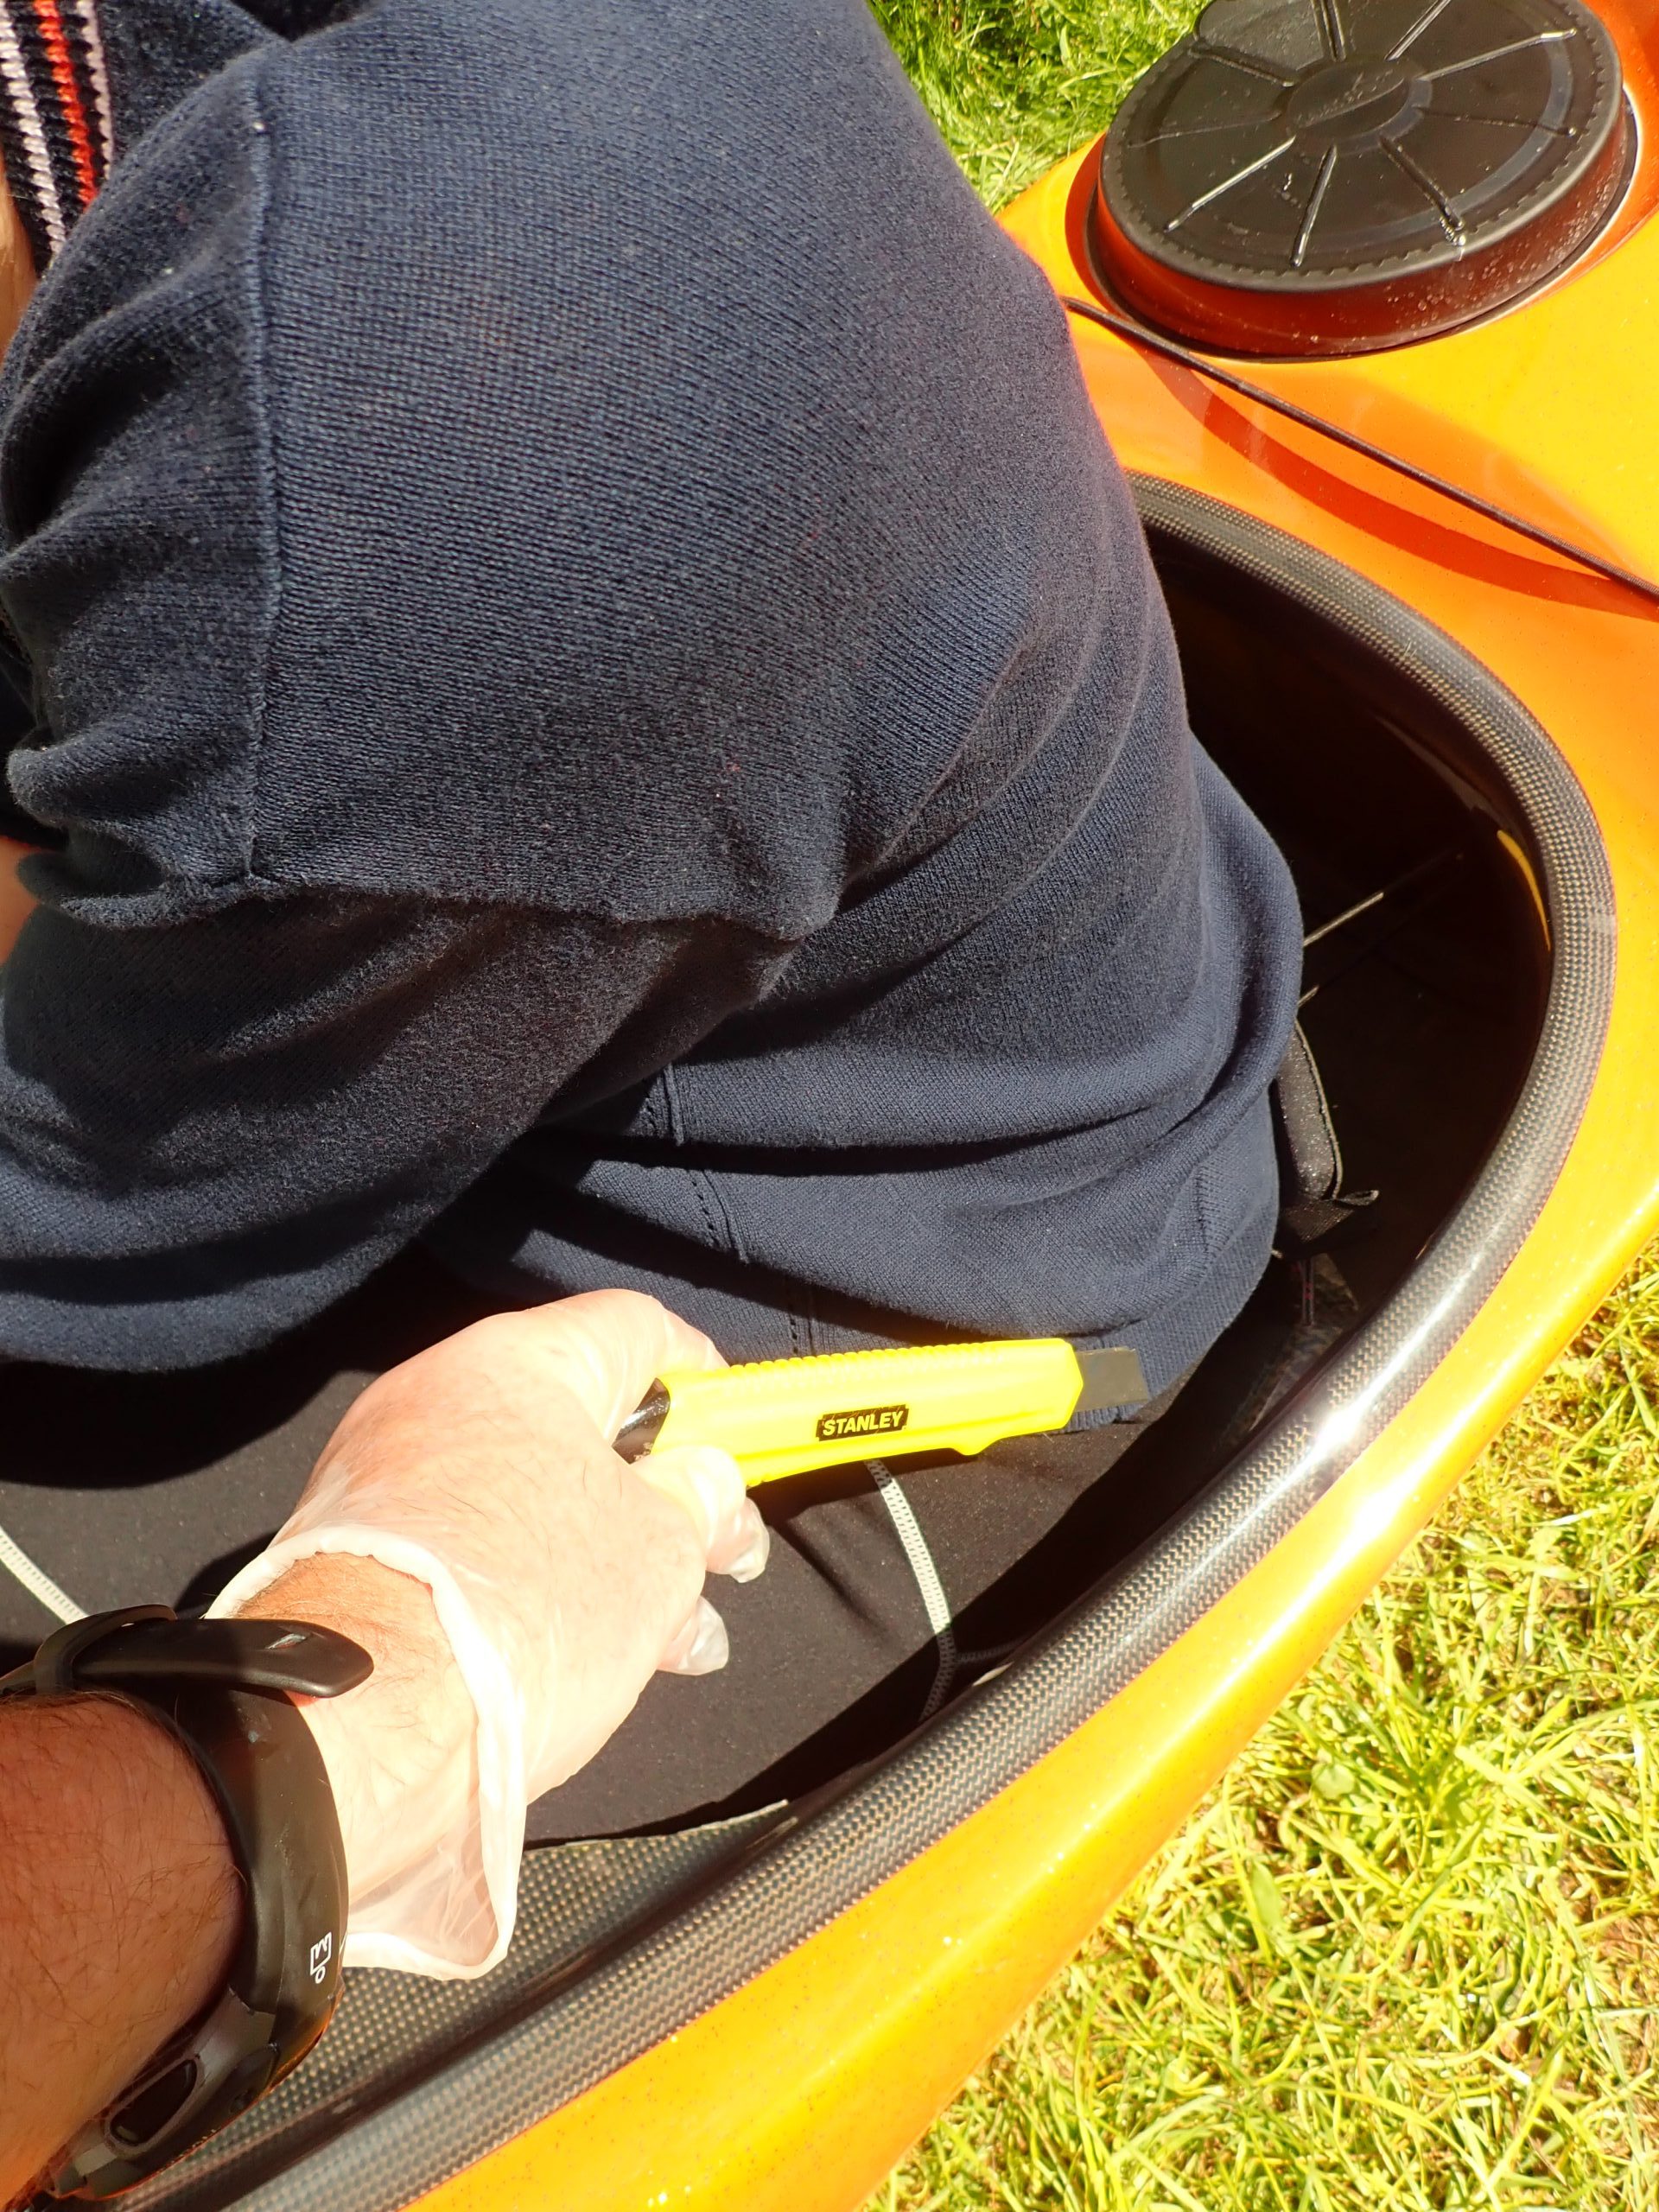
Safety:
Of course if you use adhesives, solvents, sharp tools etc then you need to take the relevant safety precautions with regards to ventilation, fire hazards, personal protective equipment and so on, blah…
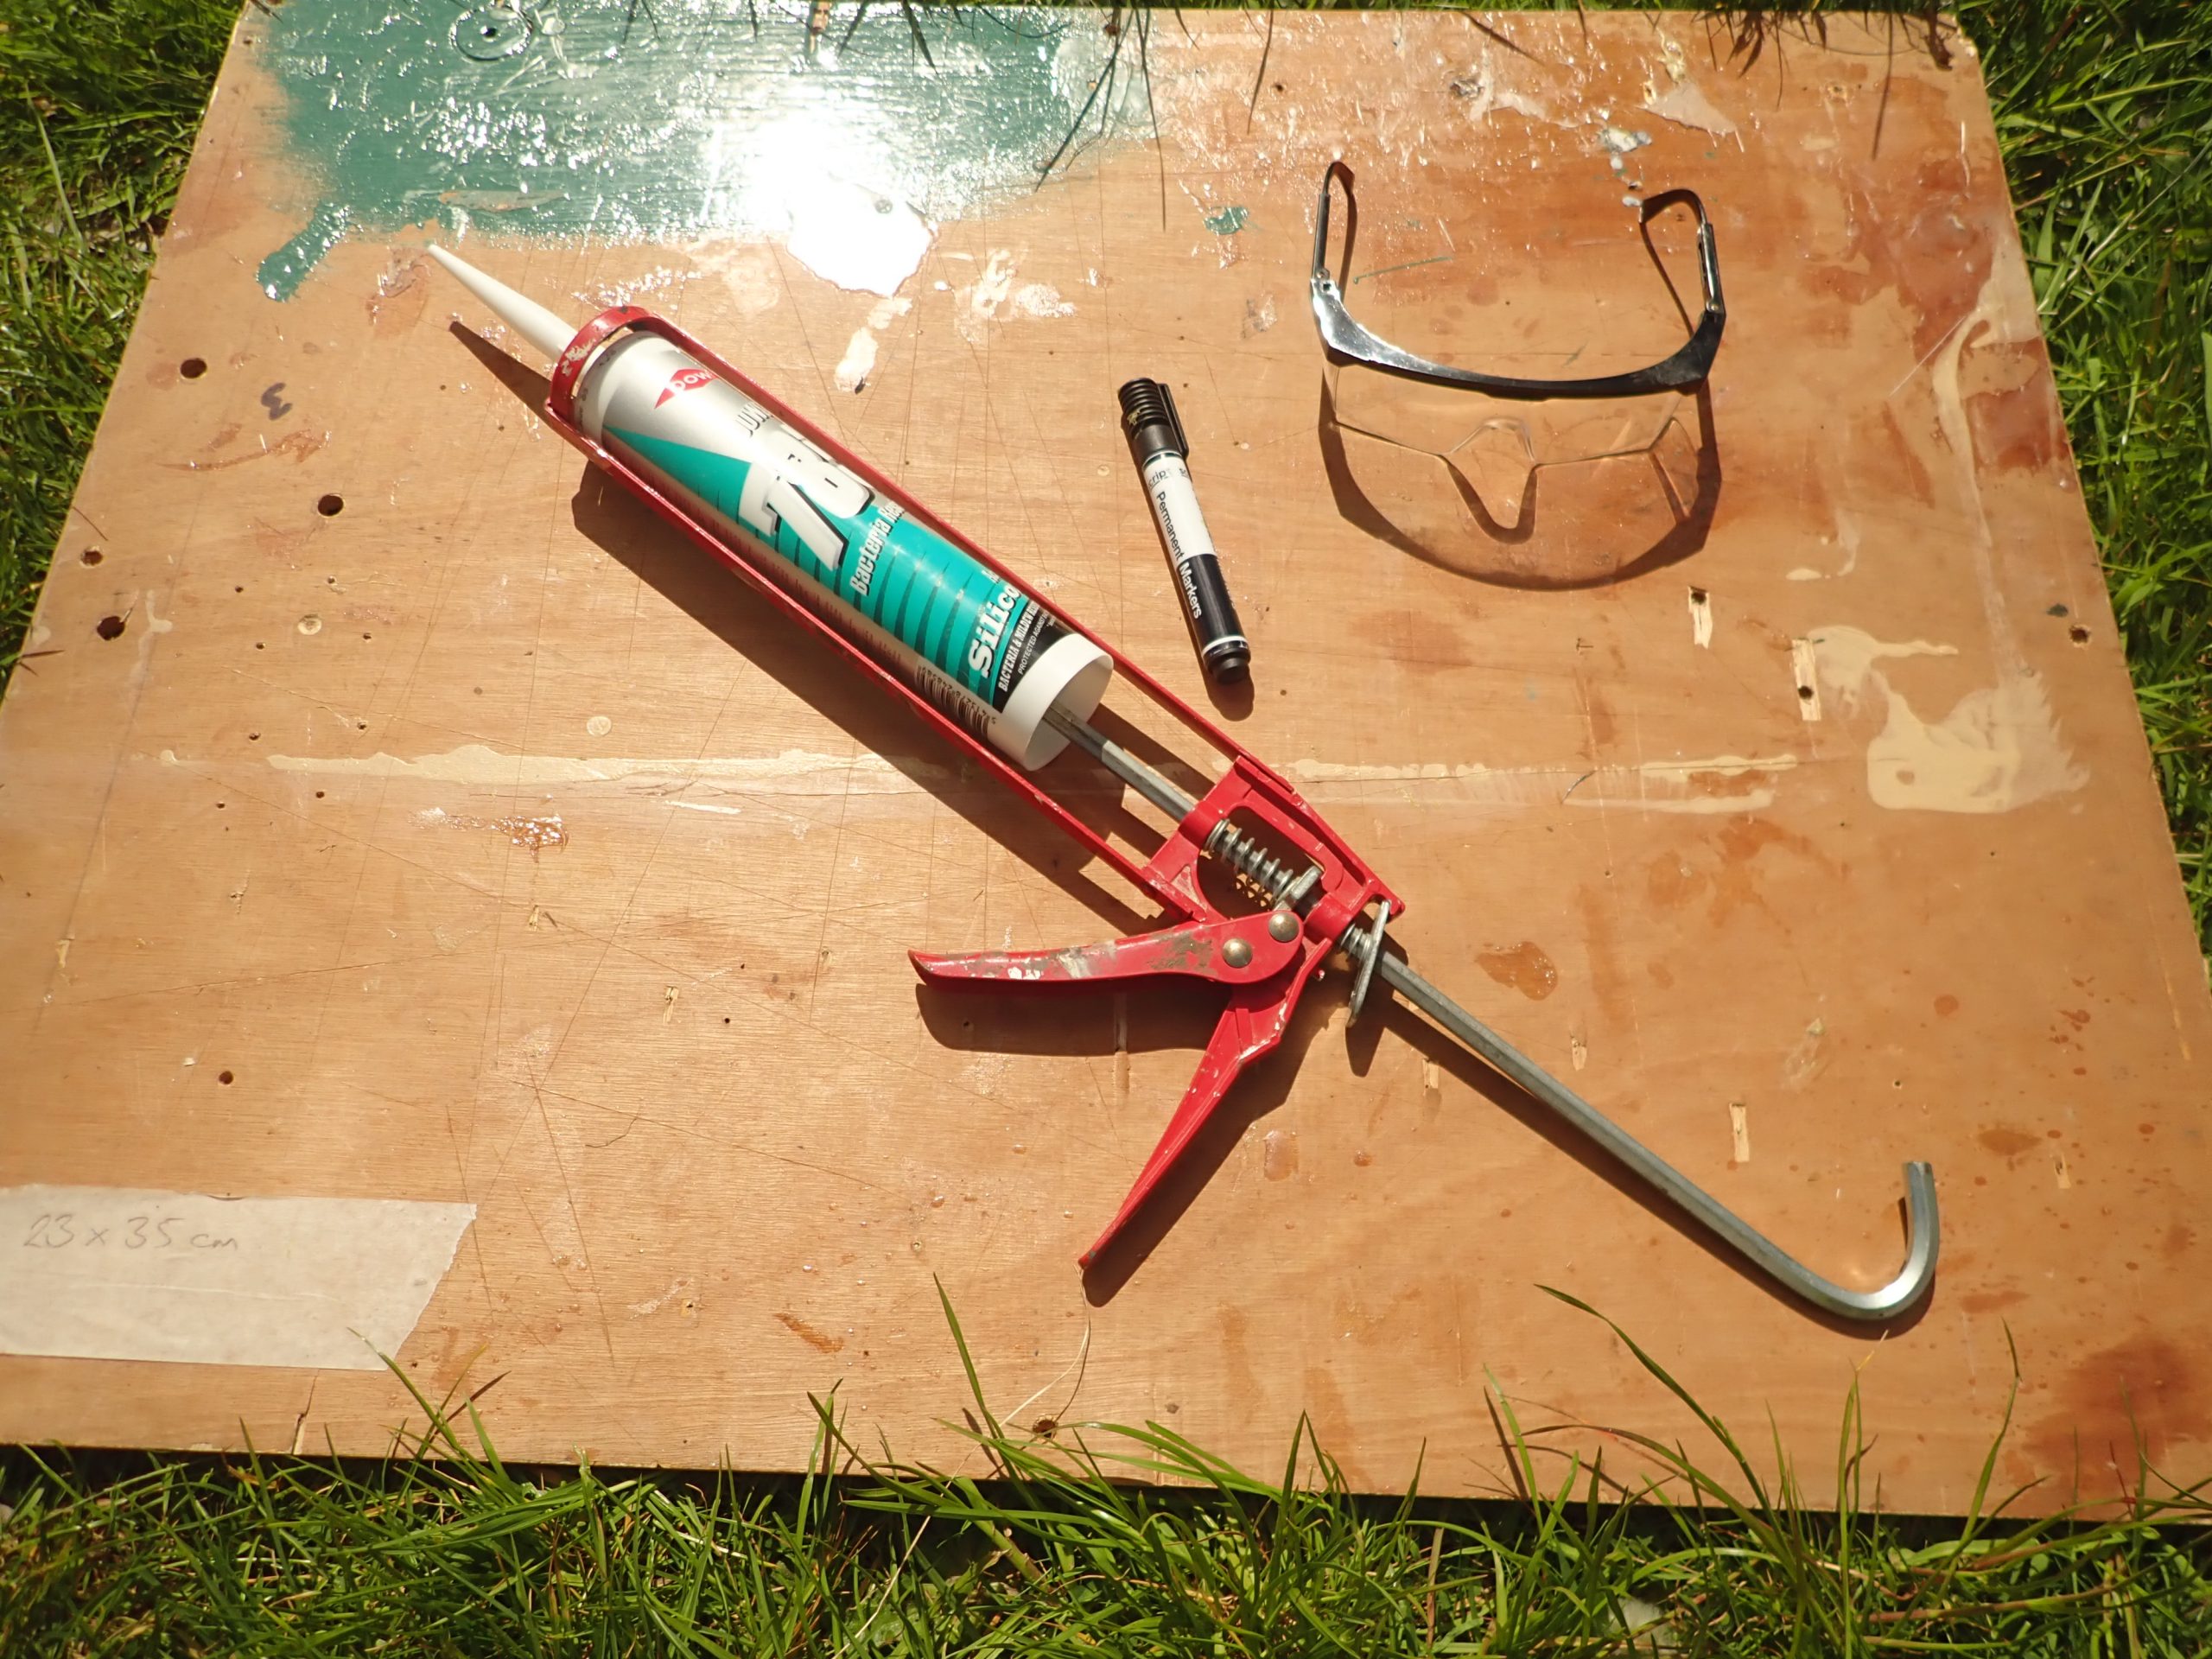
Tools ‘n’ stuff:
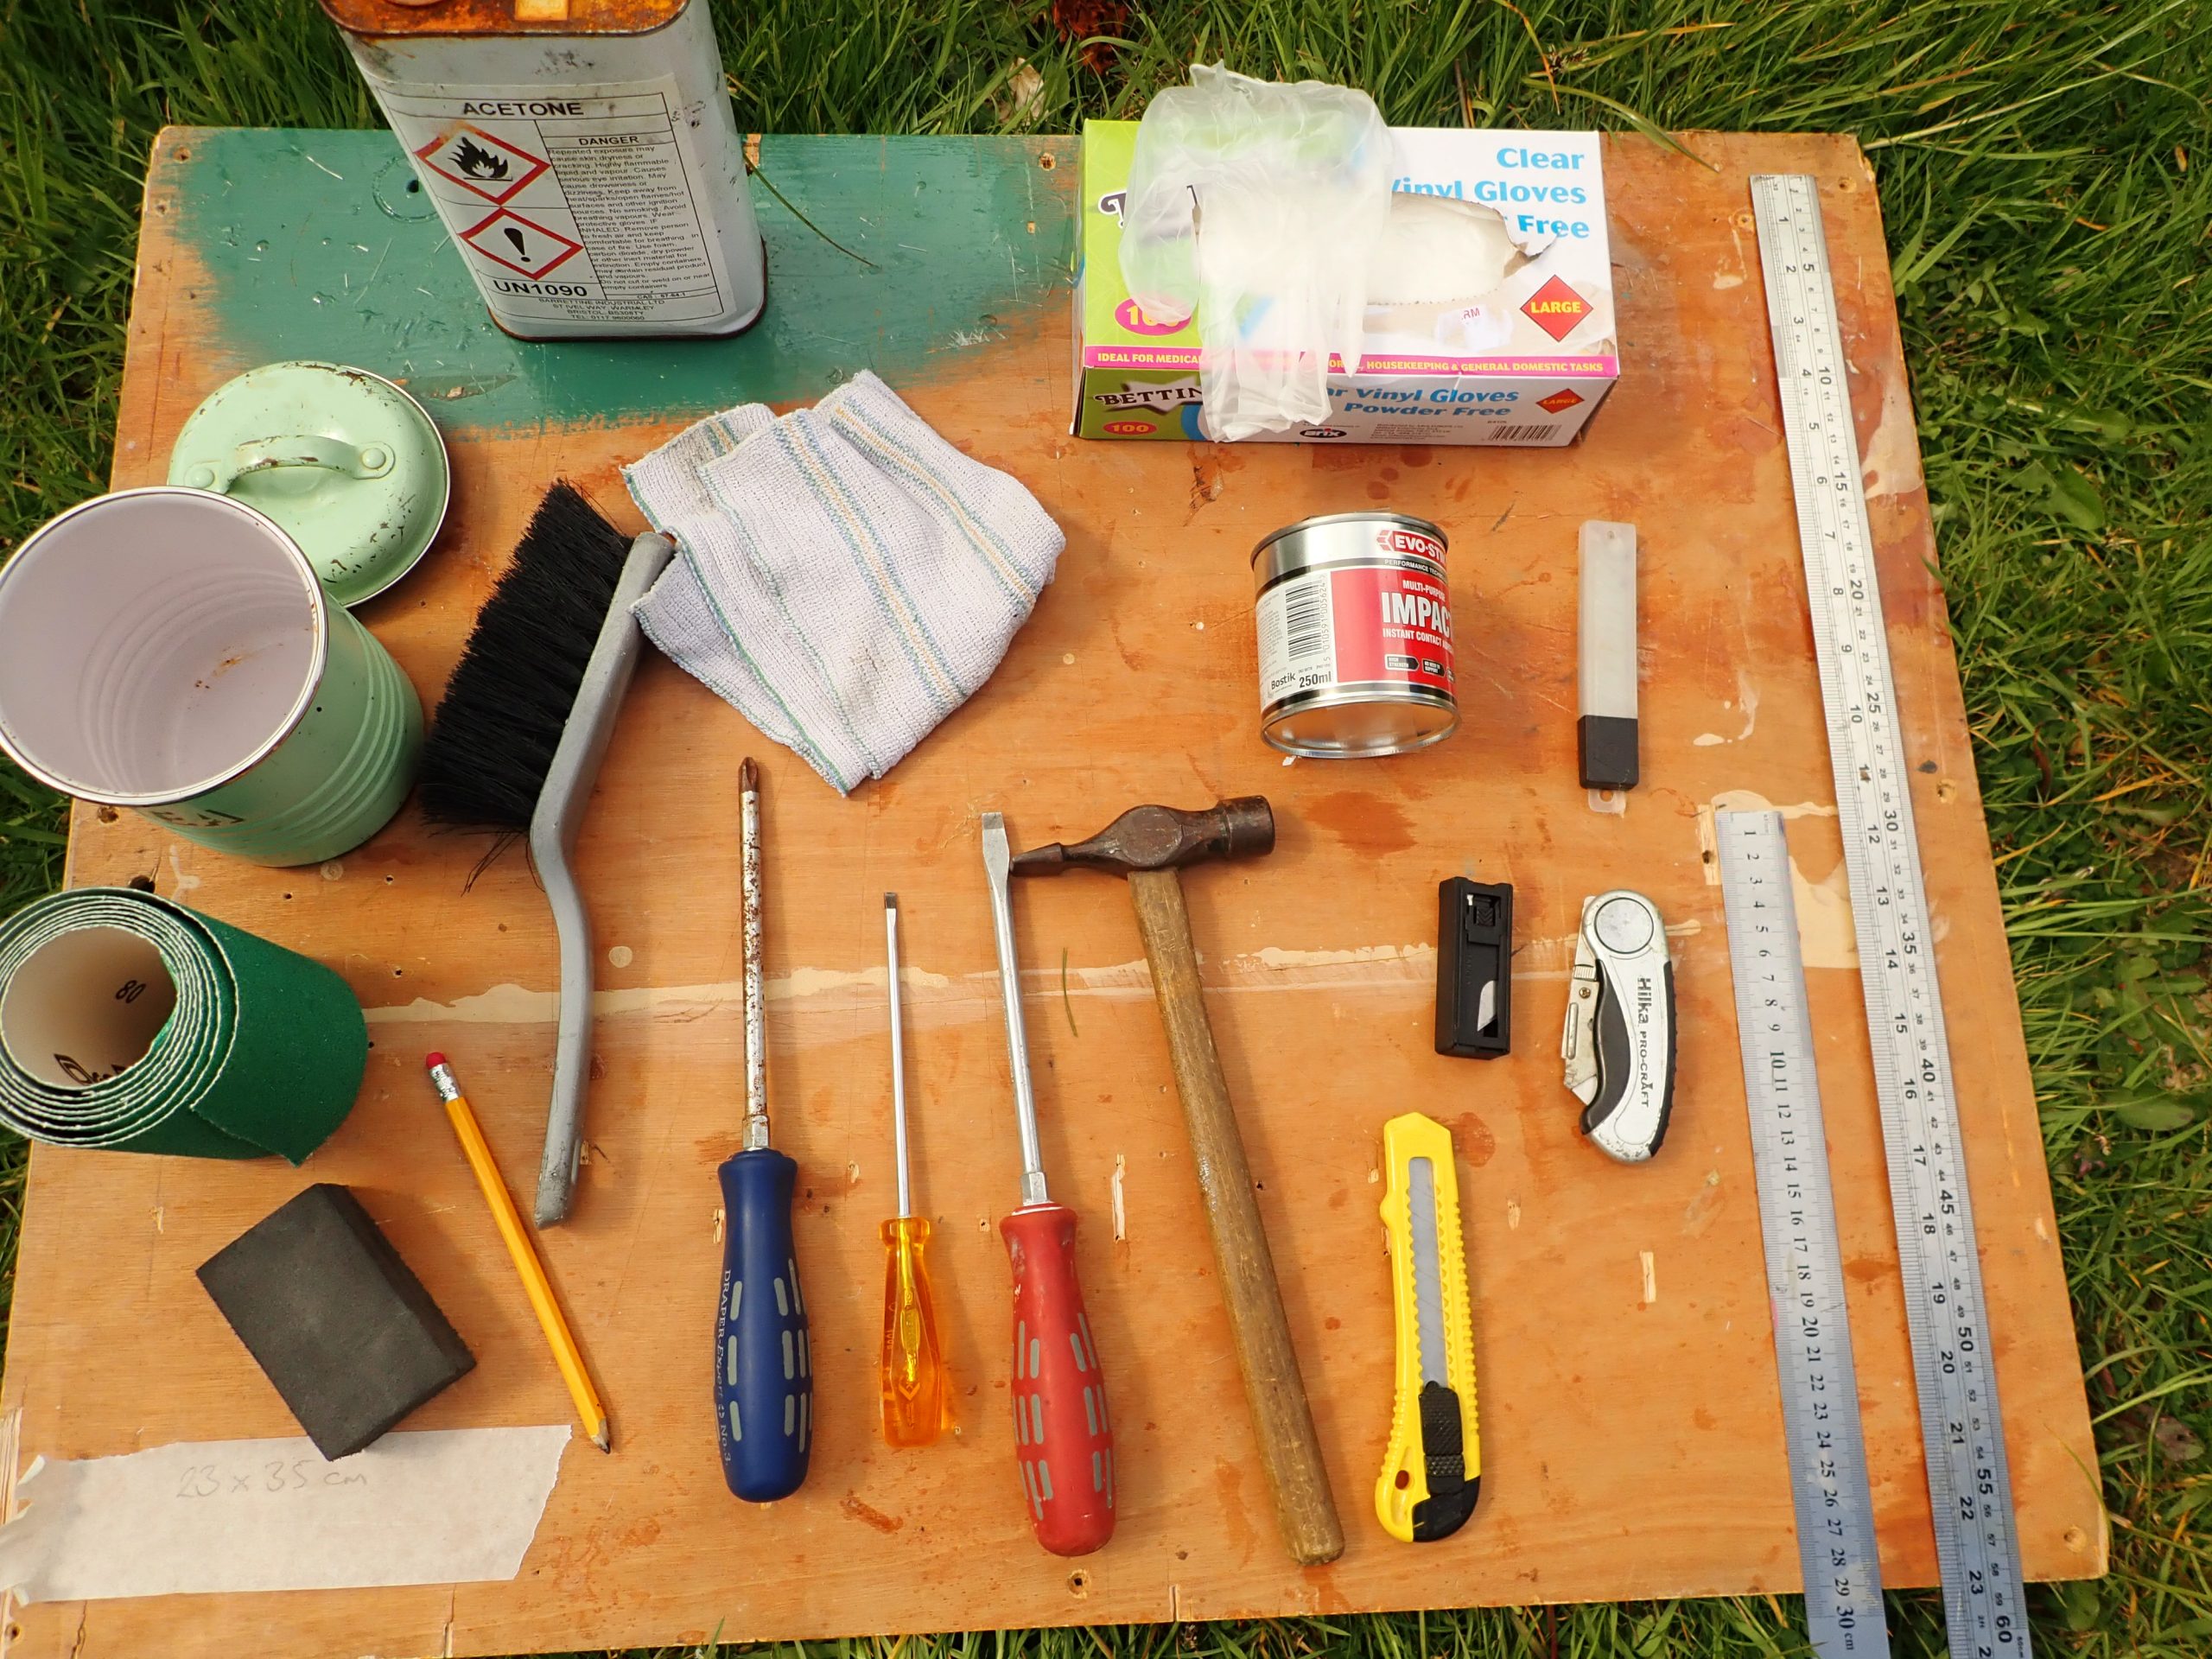
Before:
Footrests:
Thigh Bars:
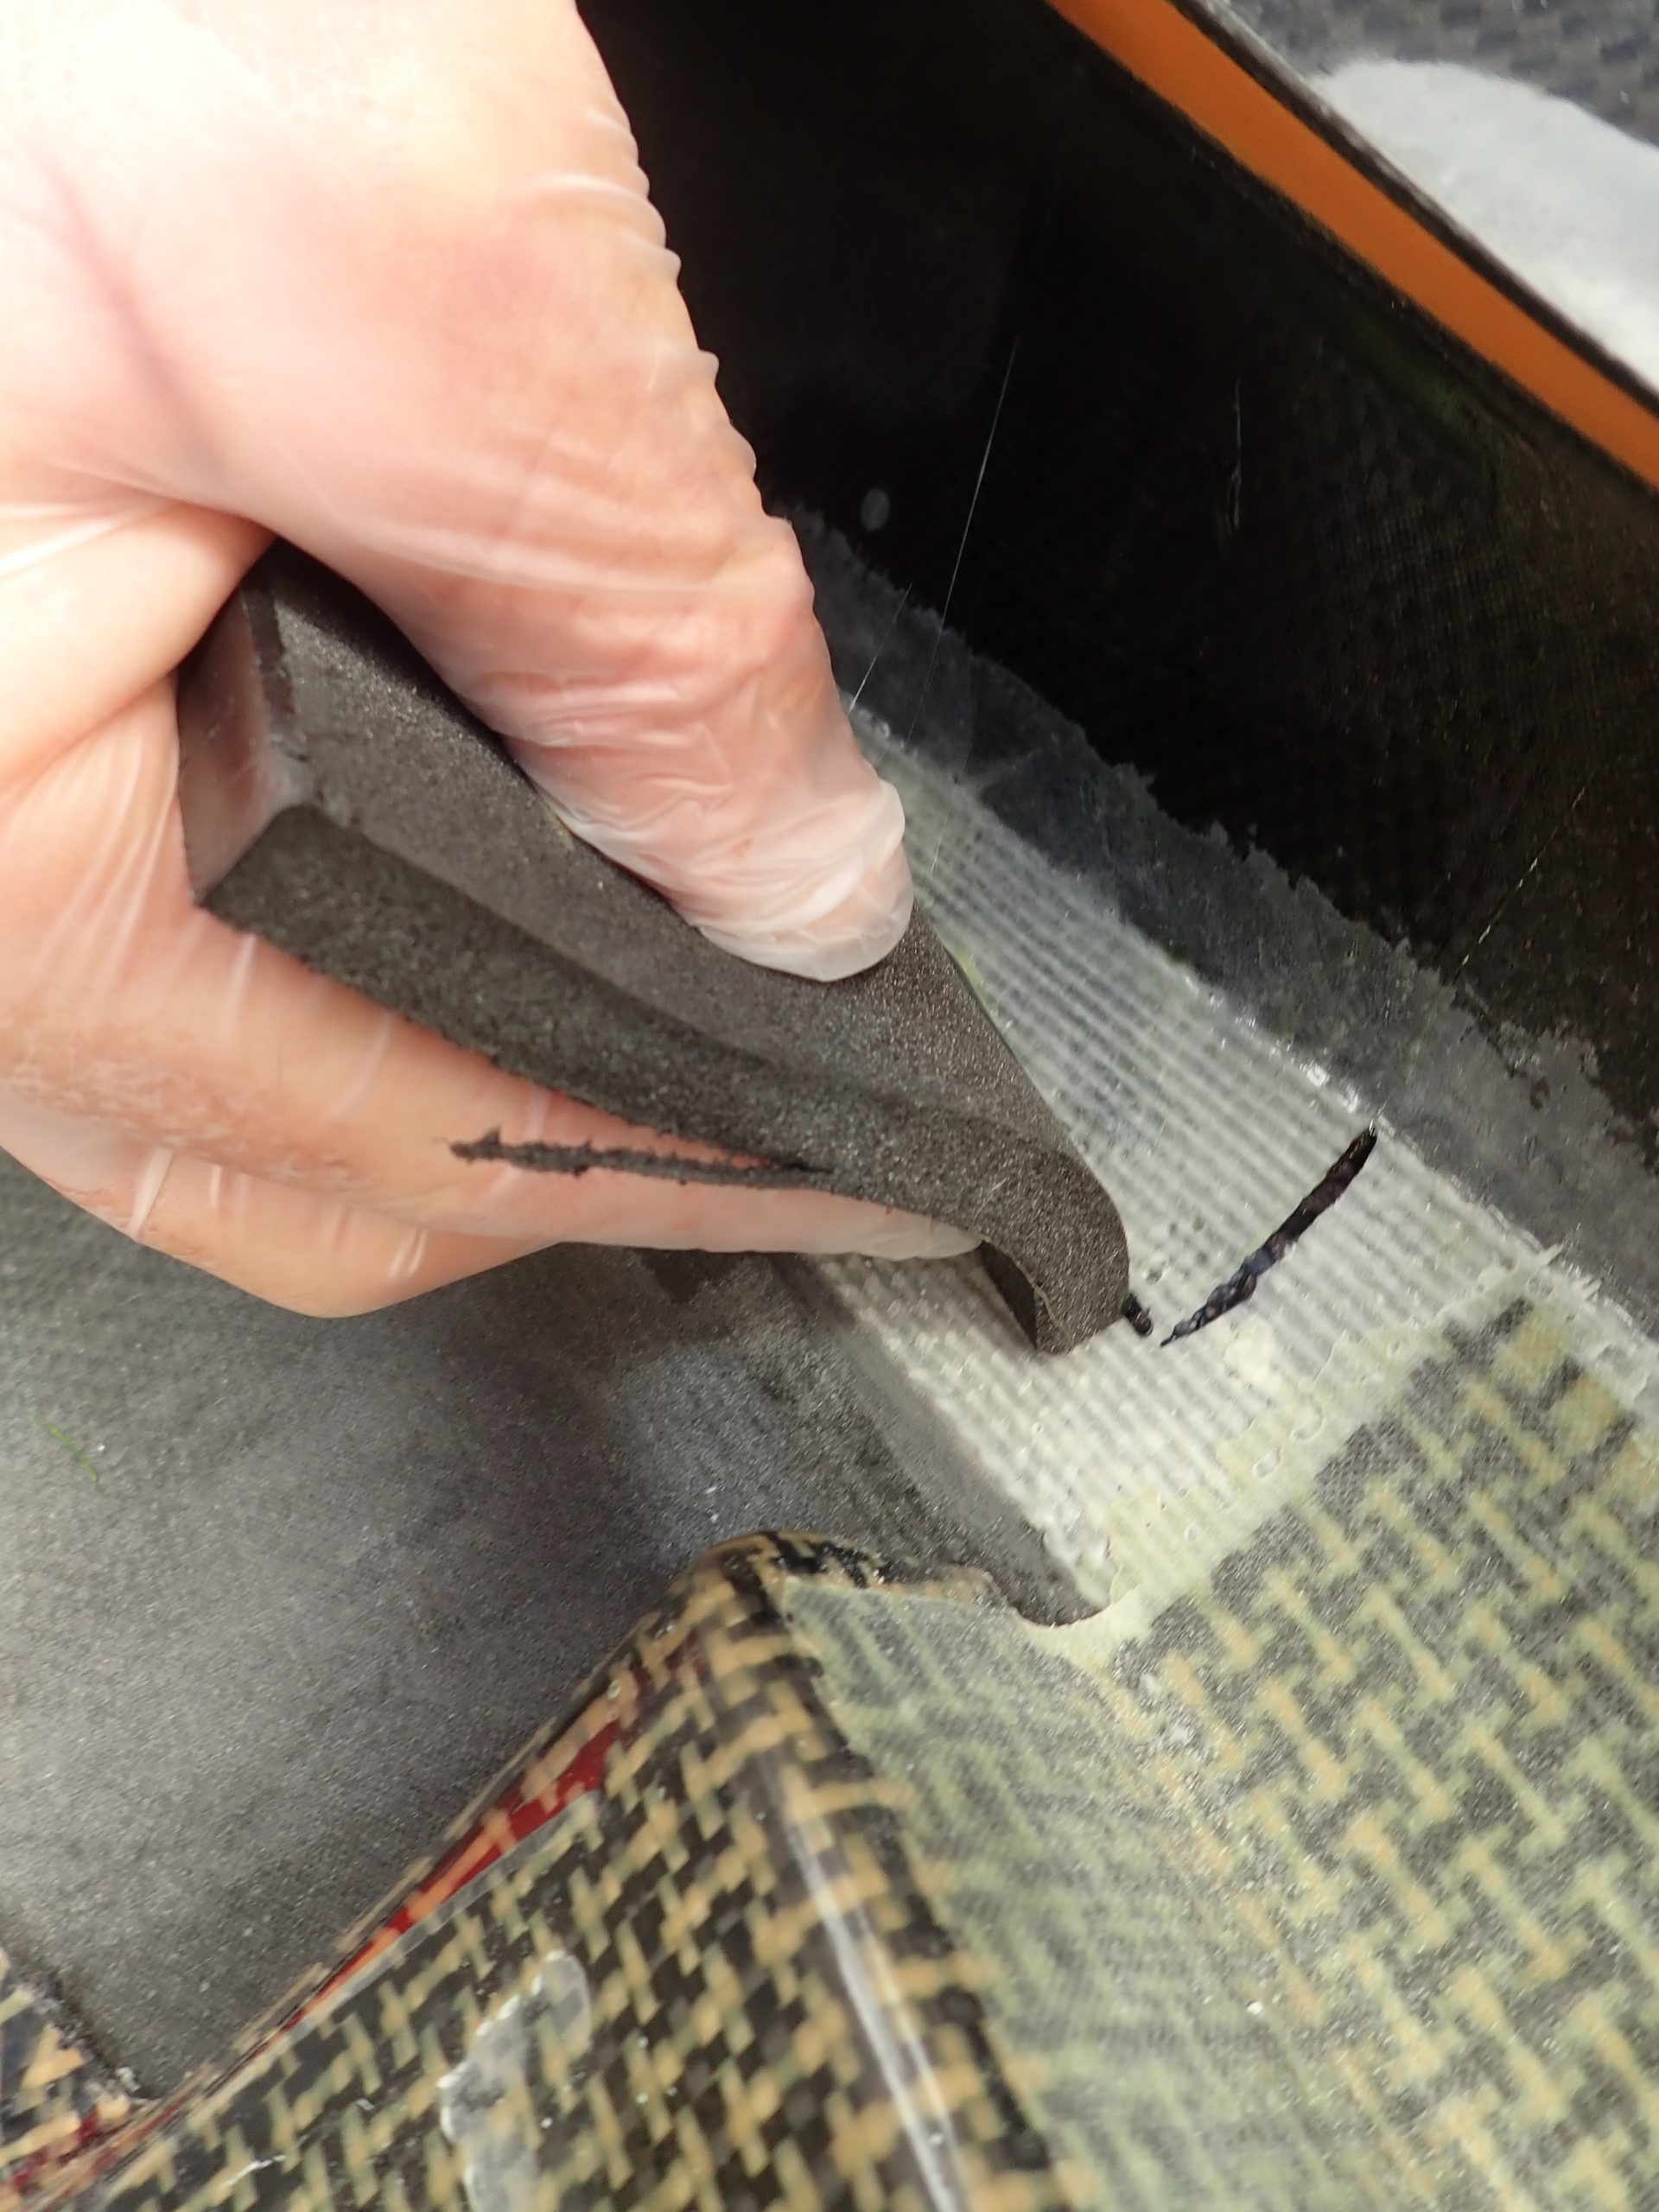

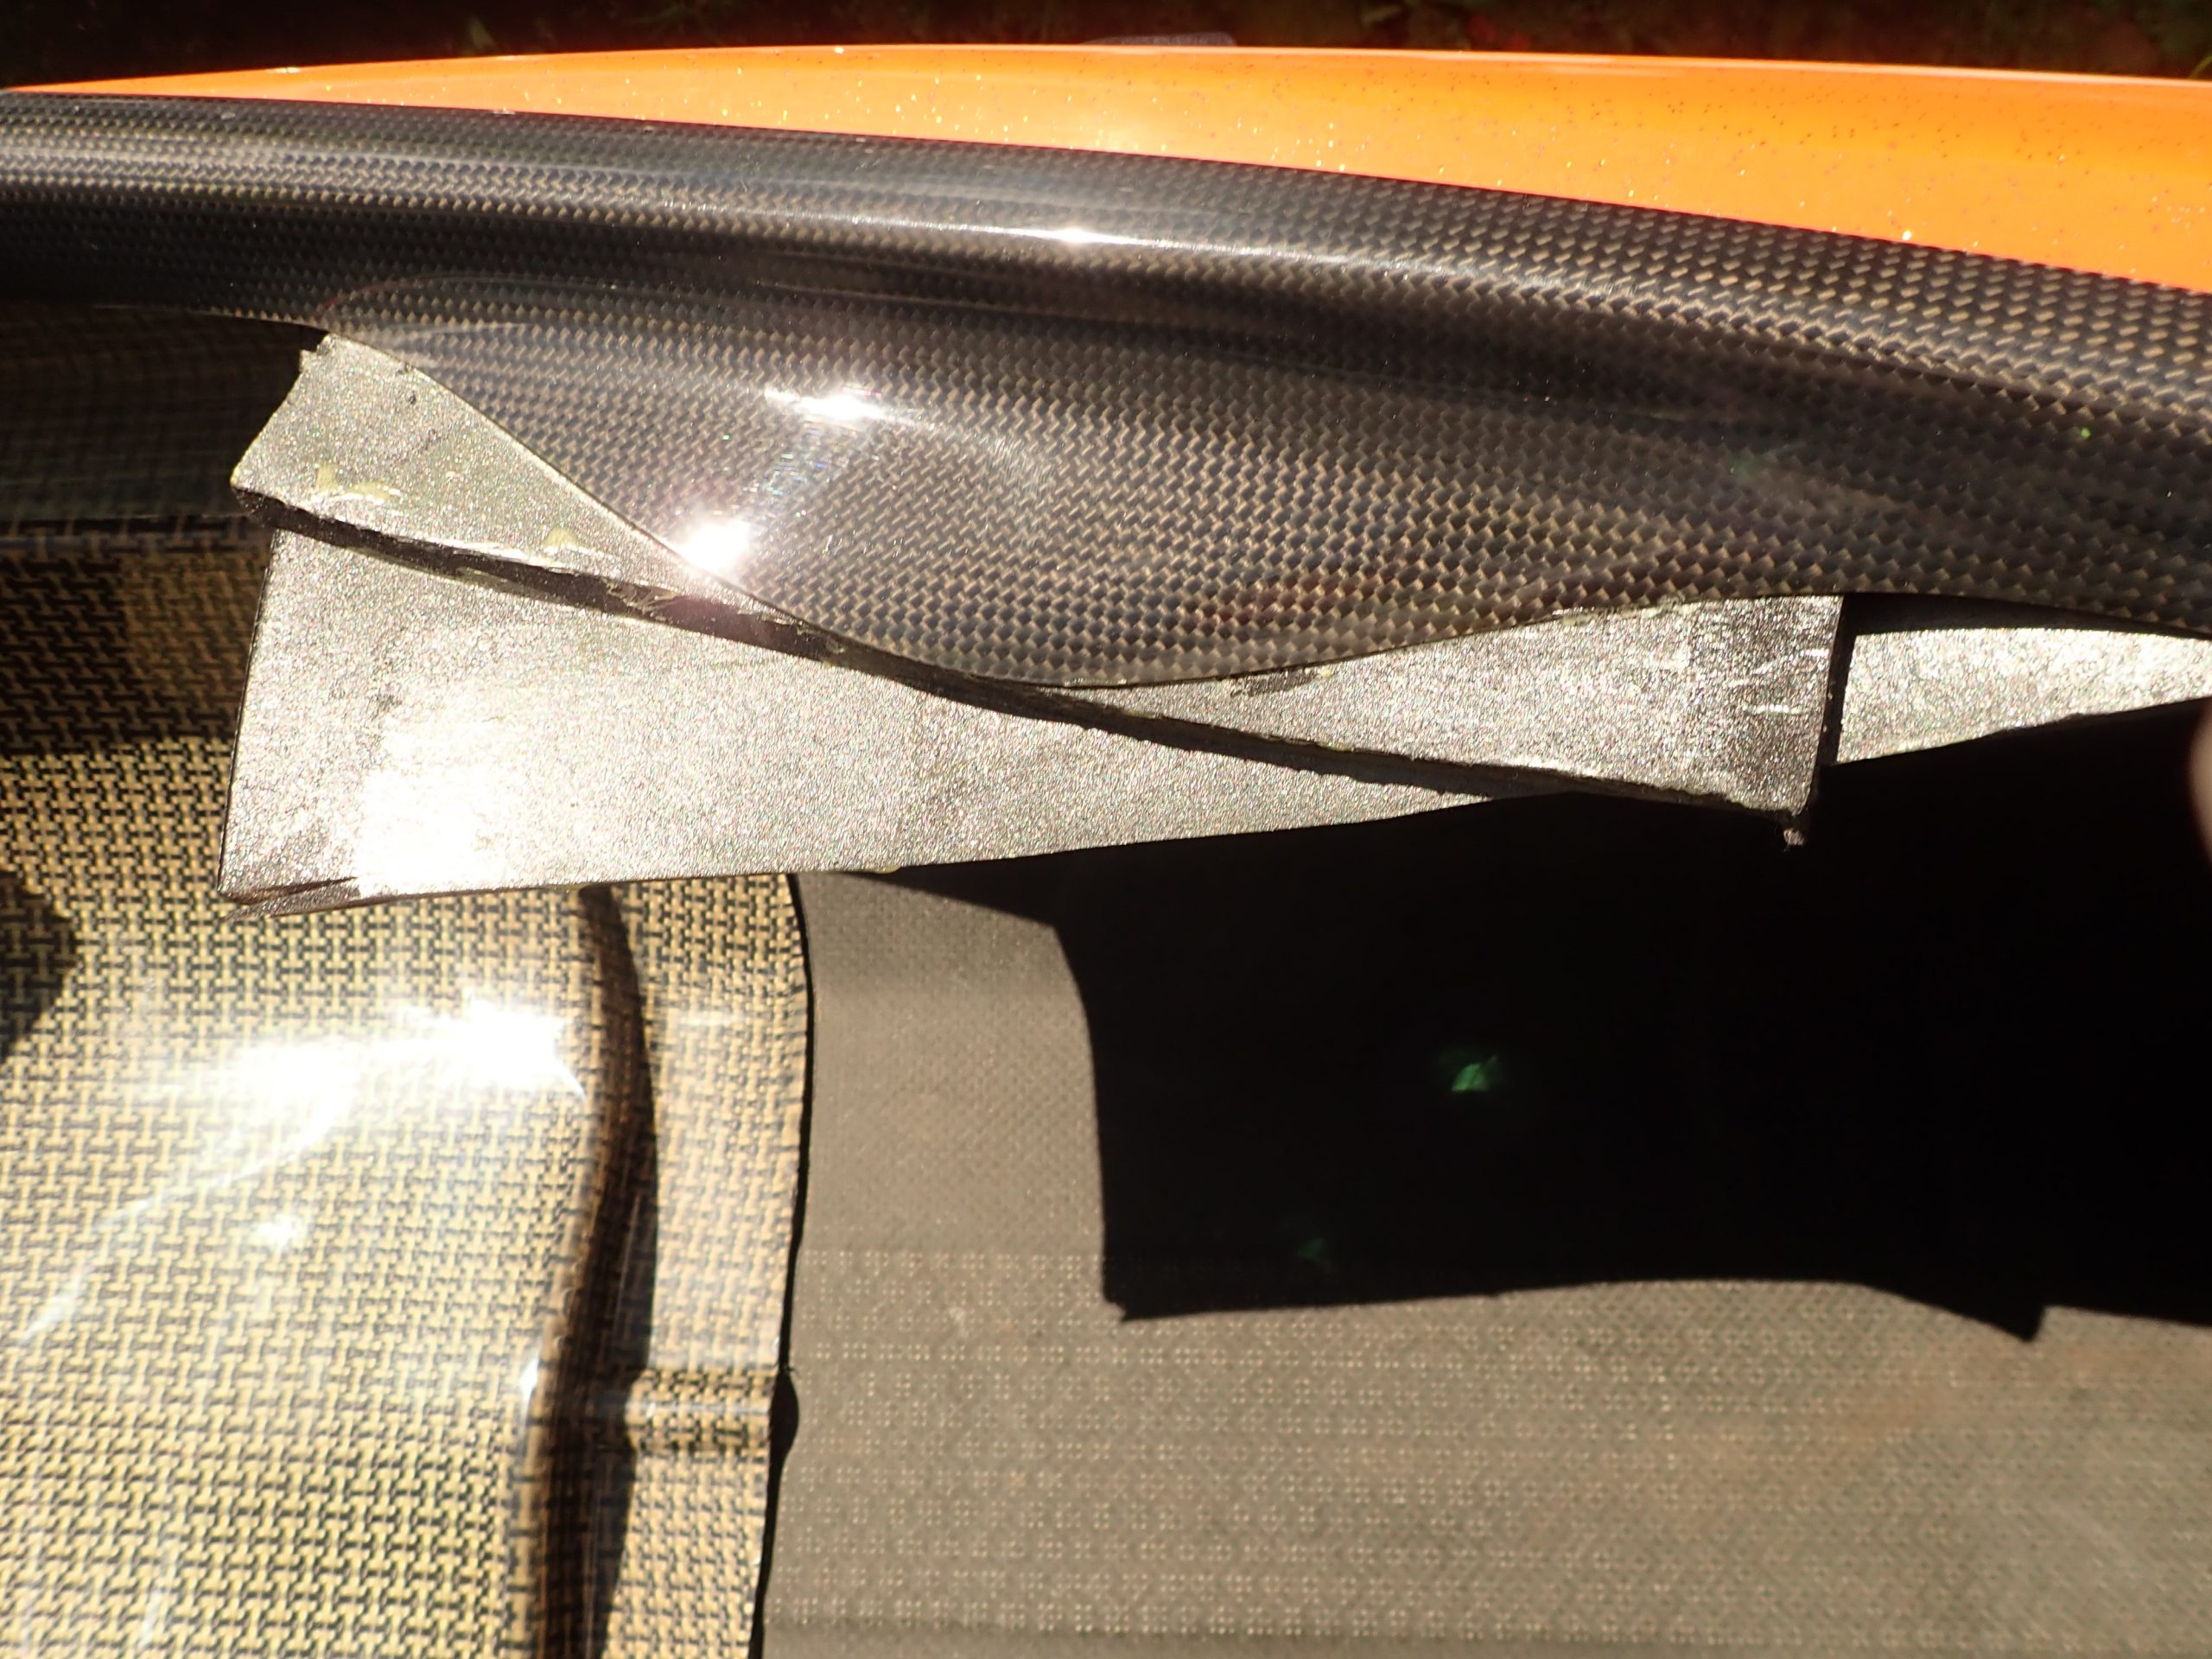
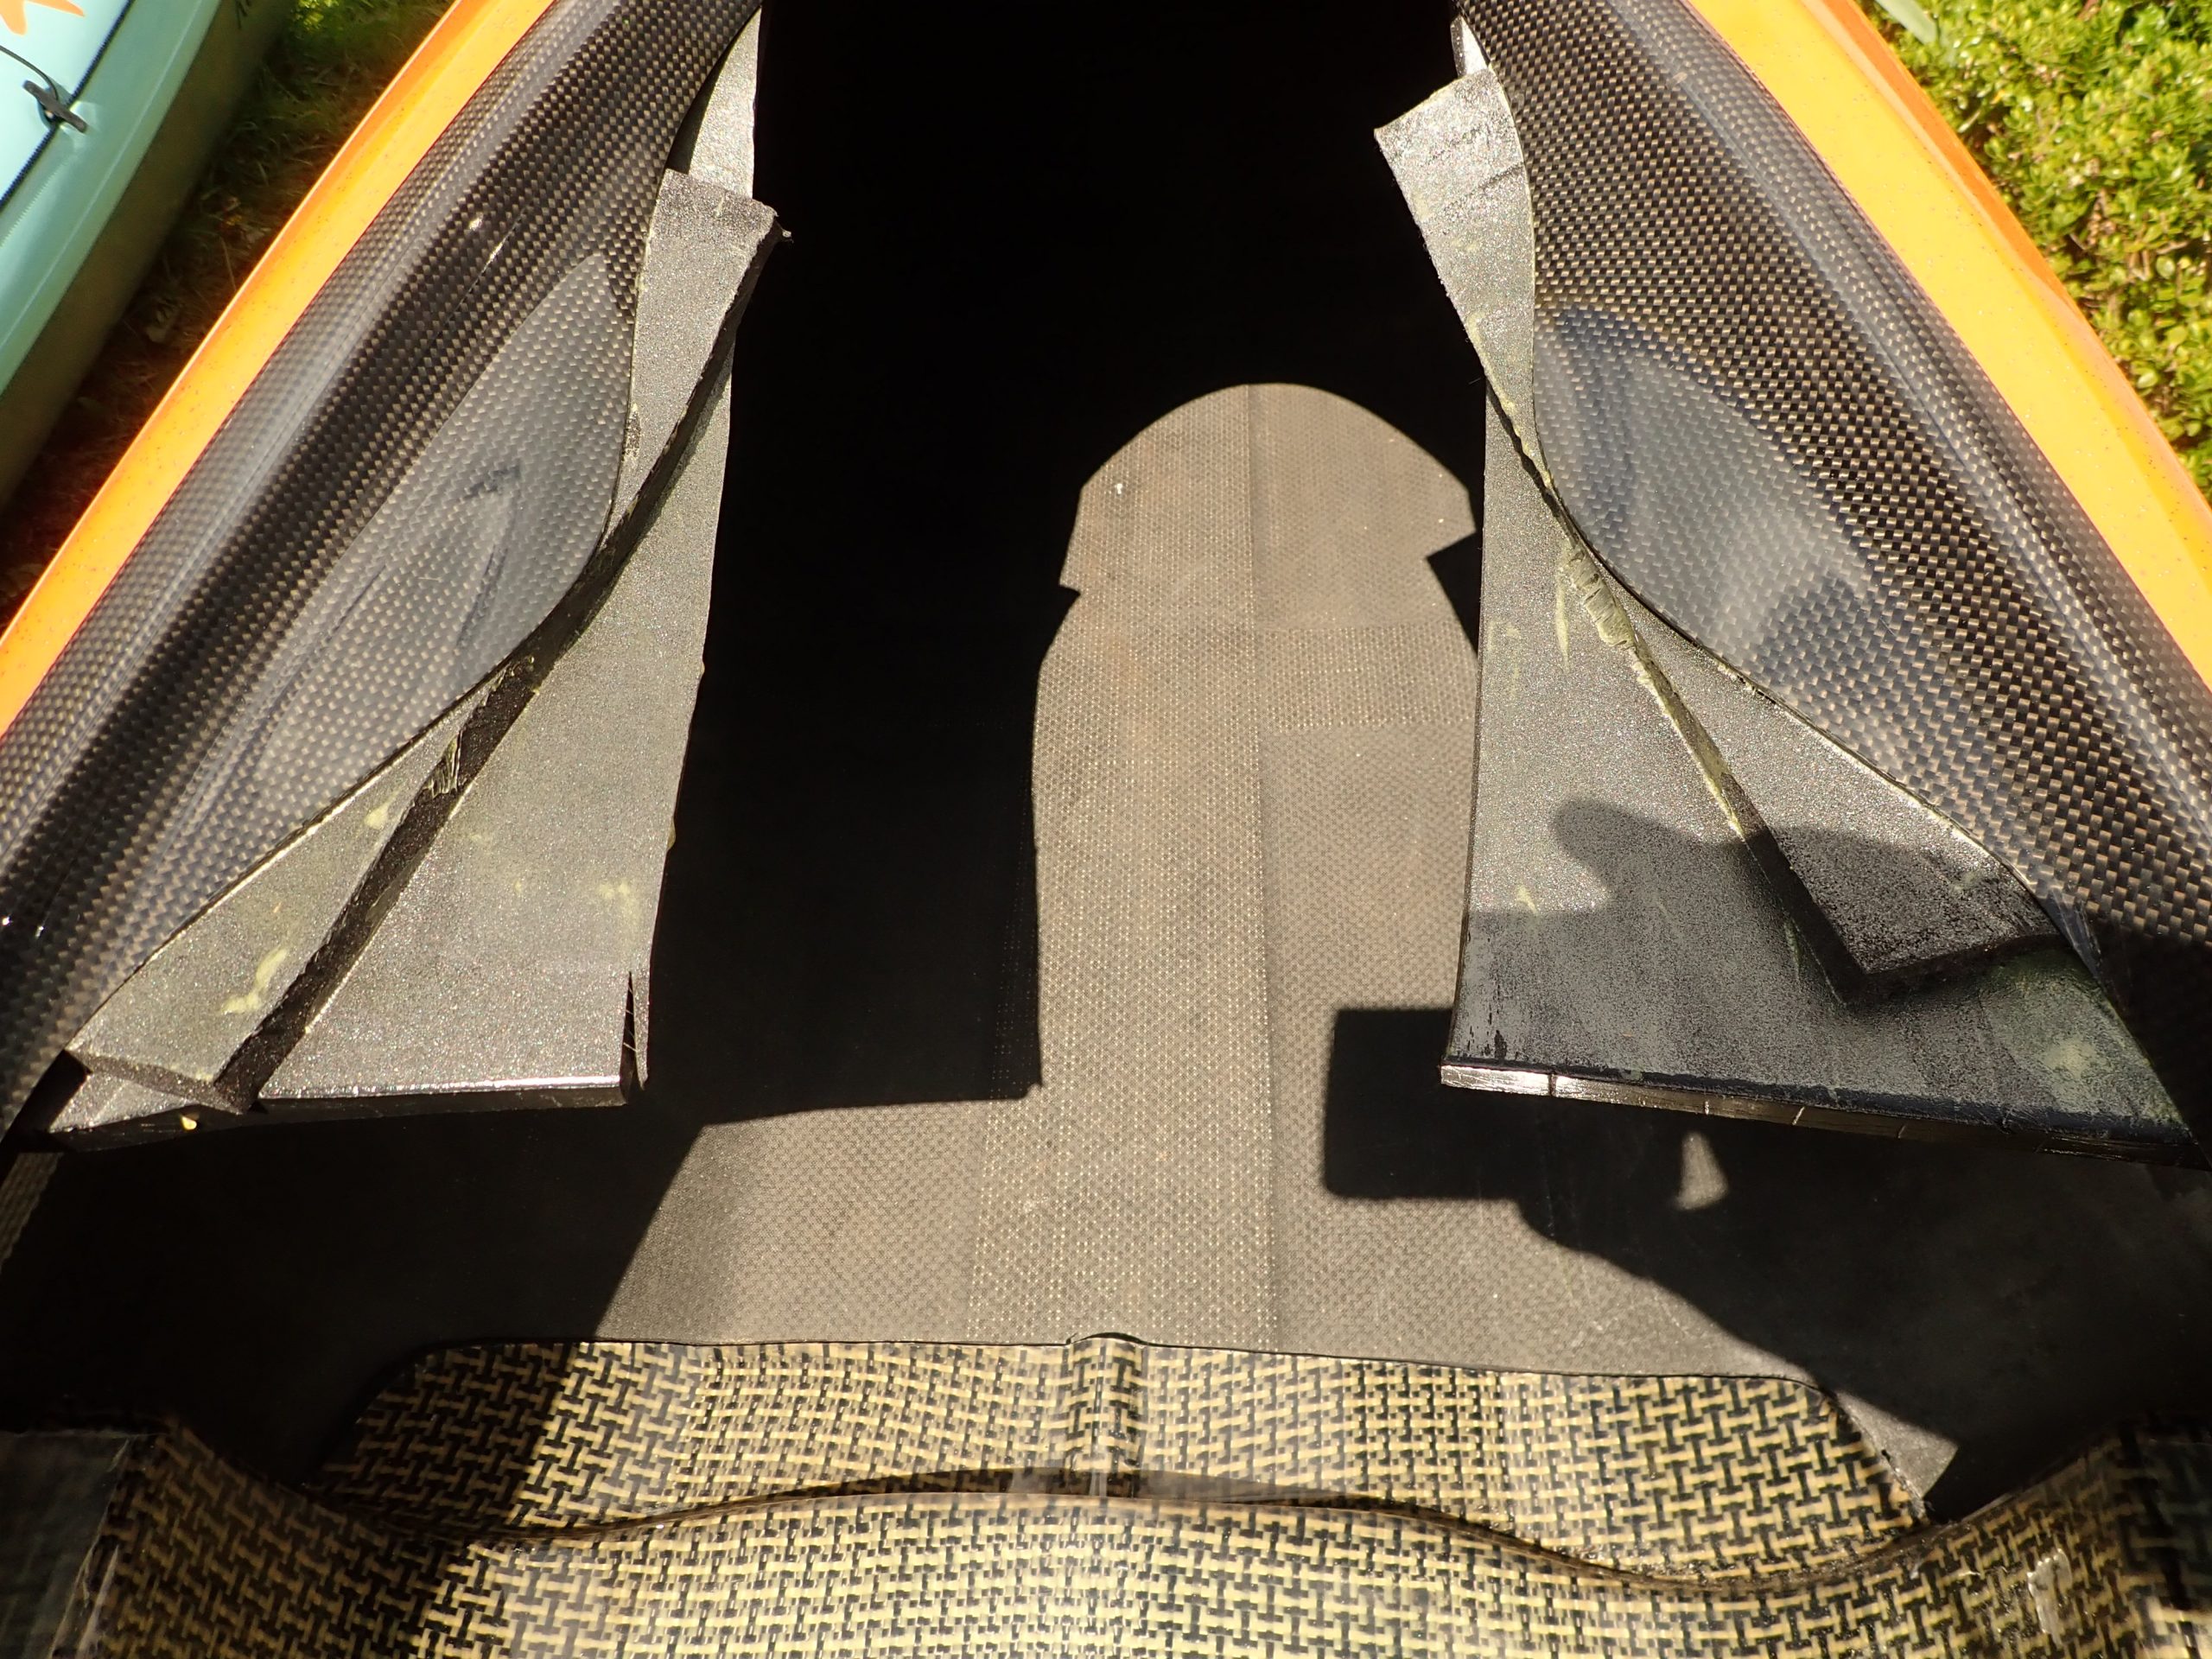
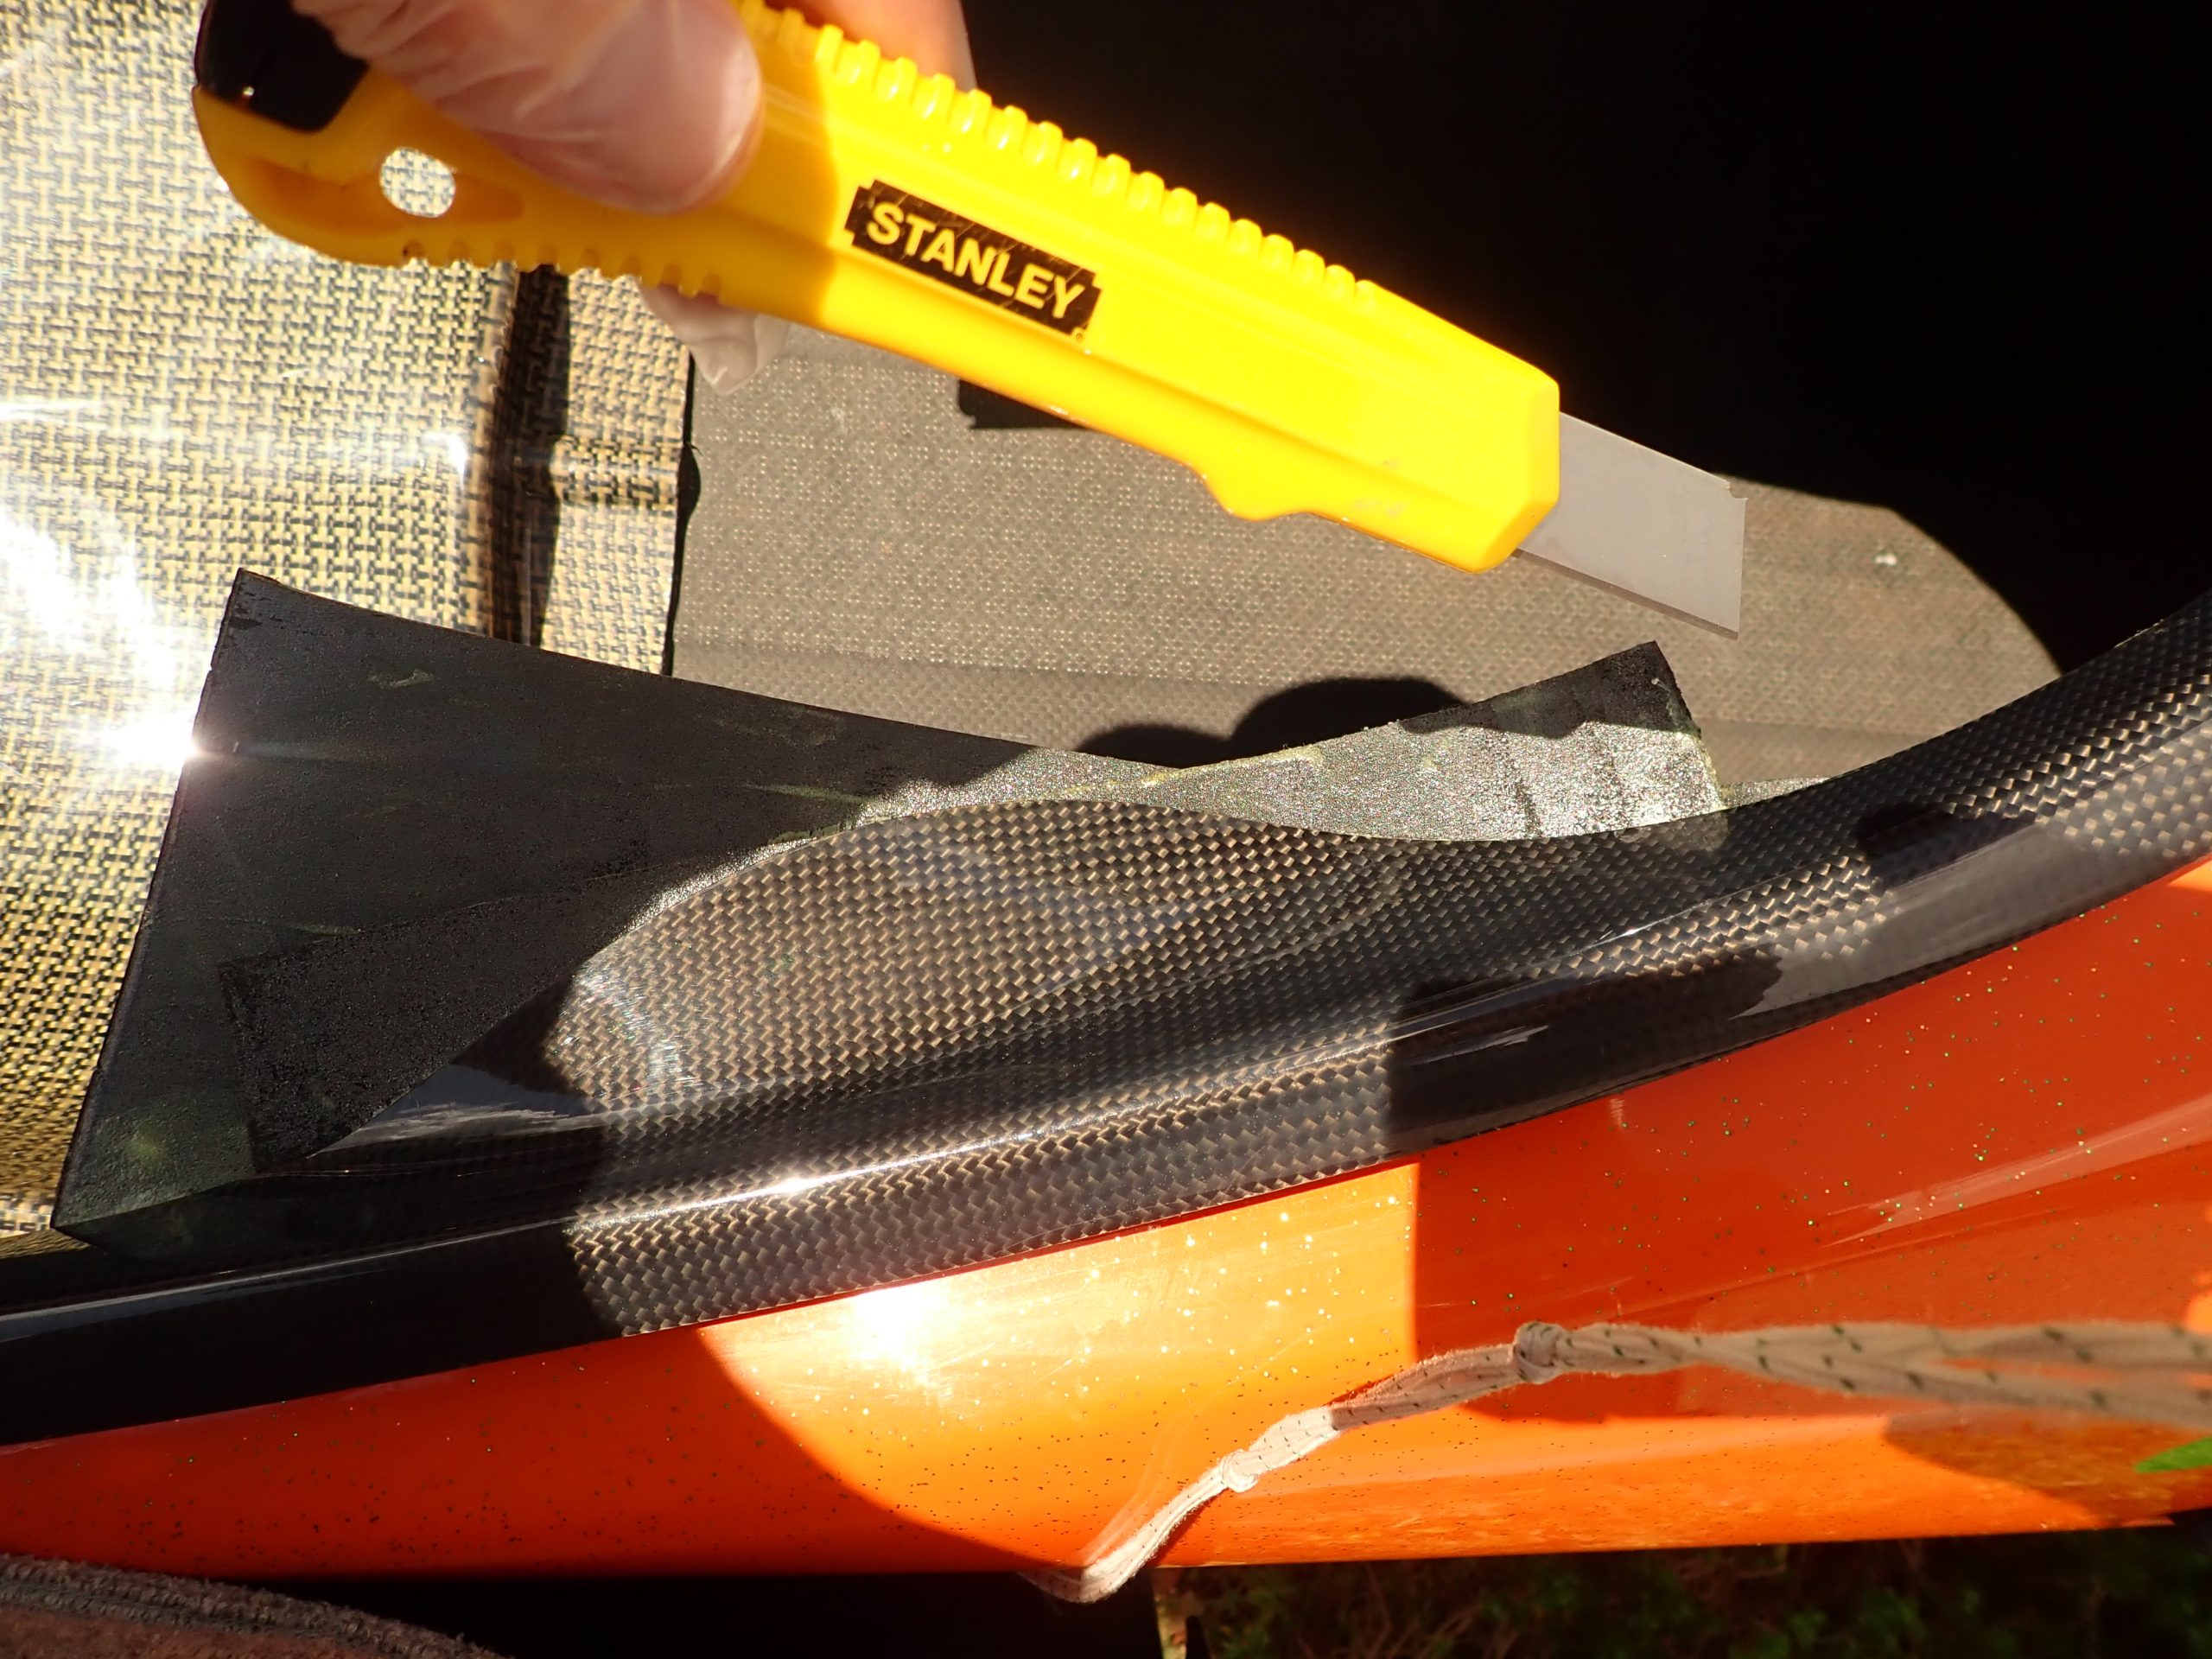
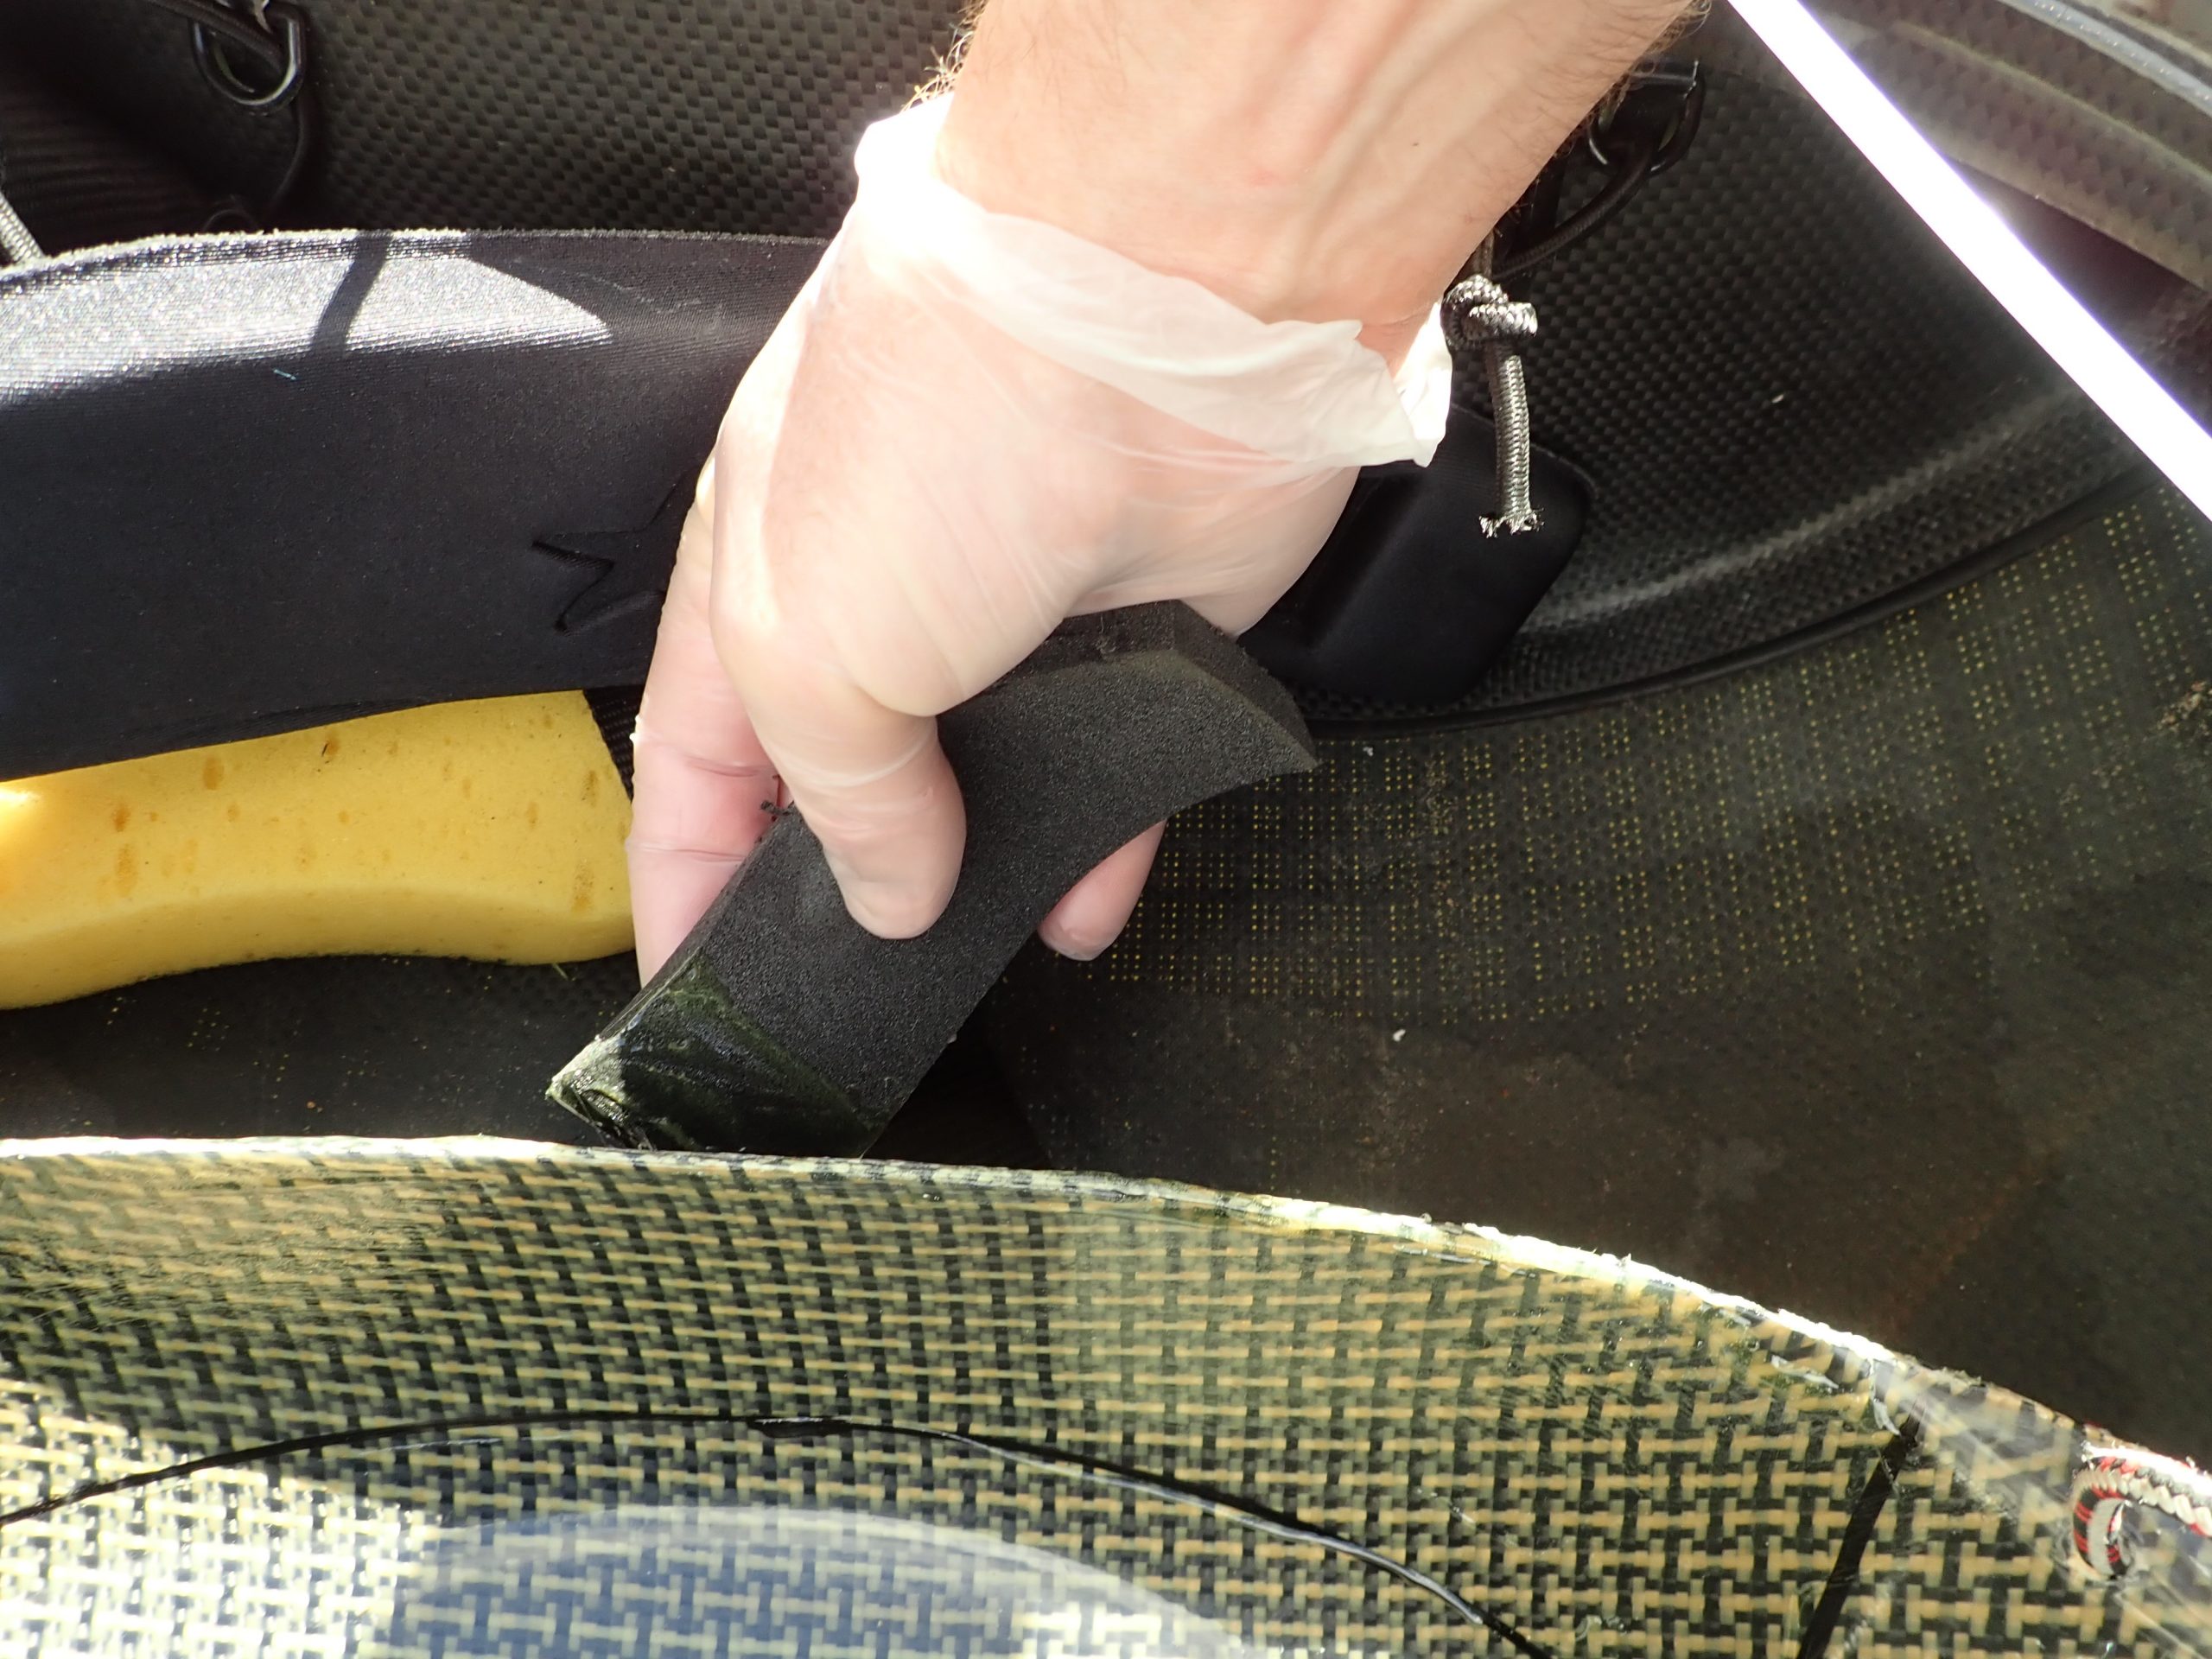
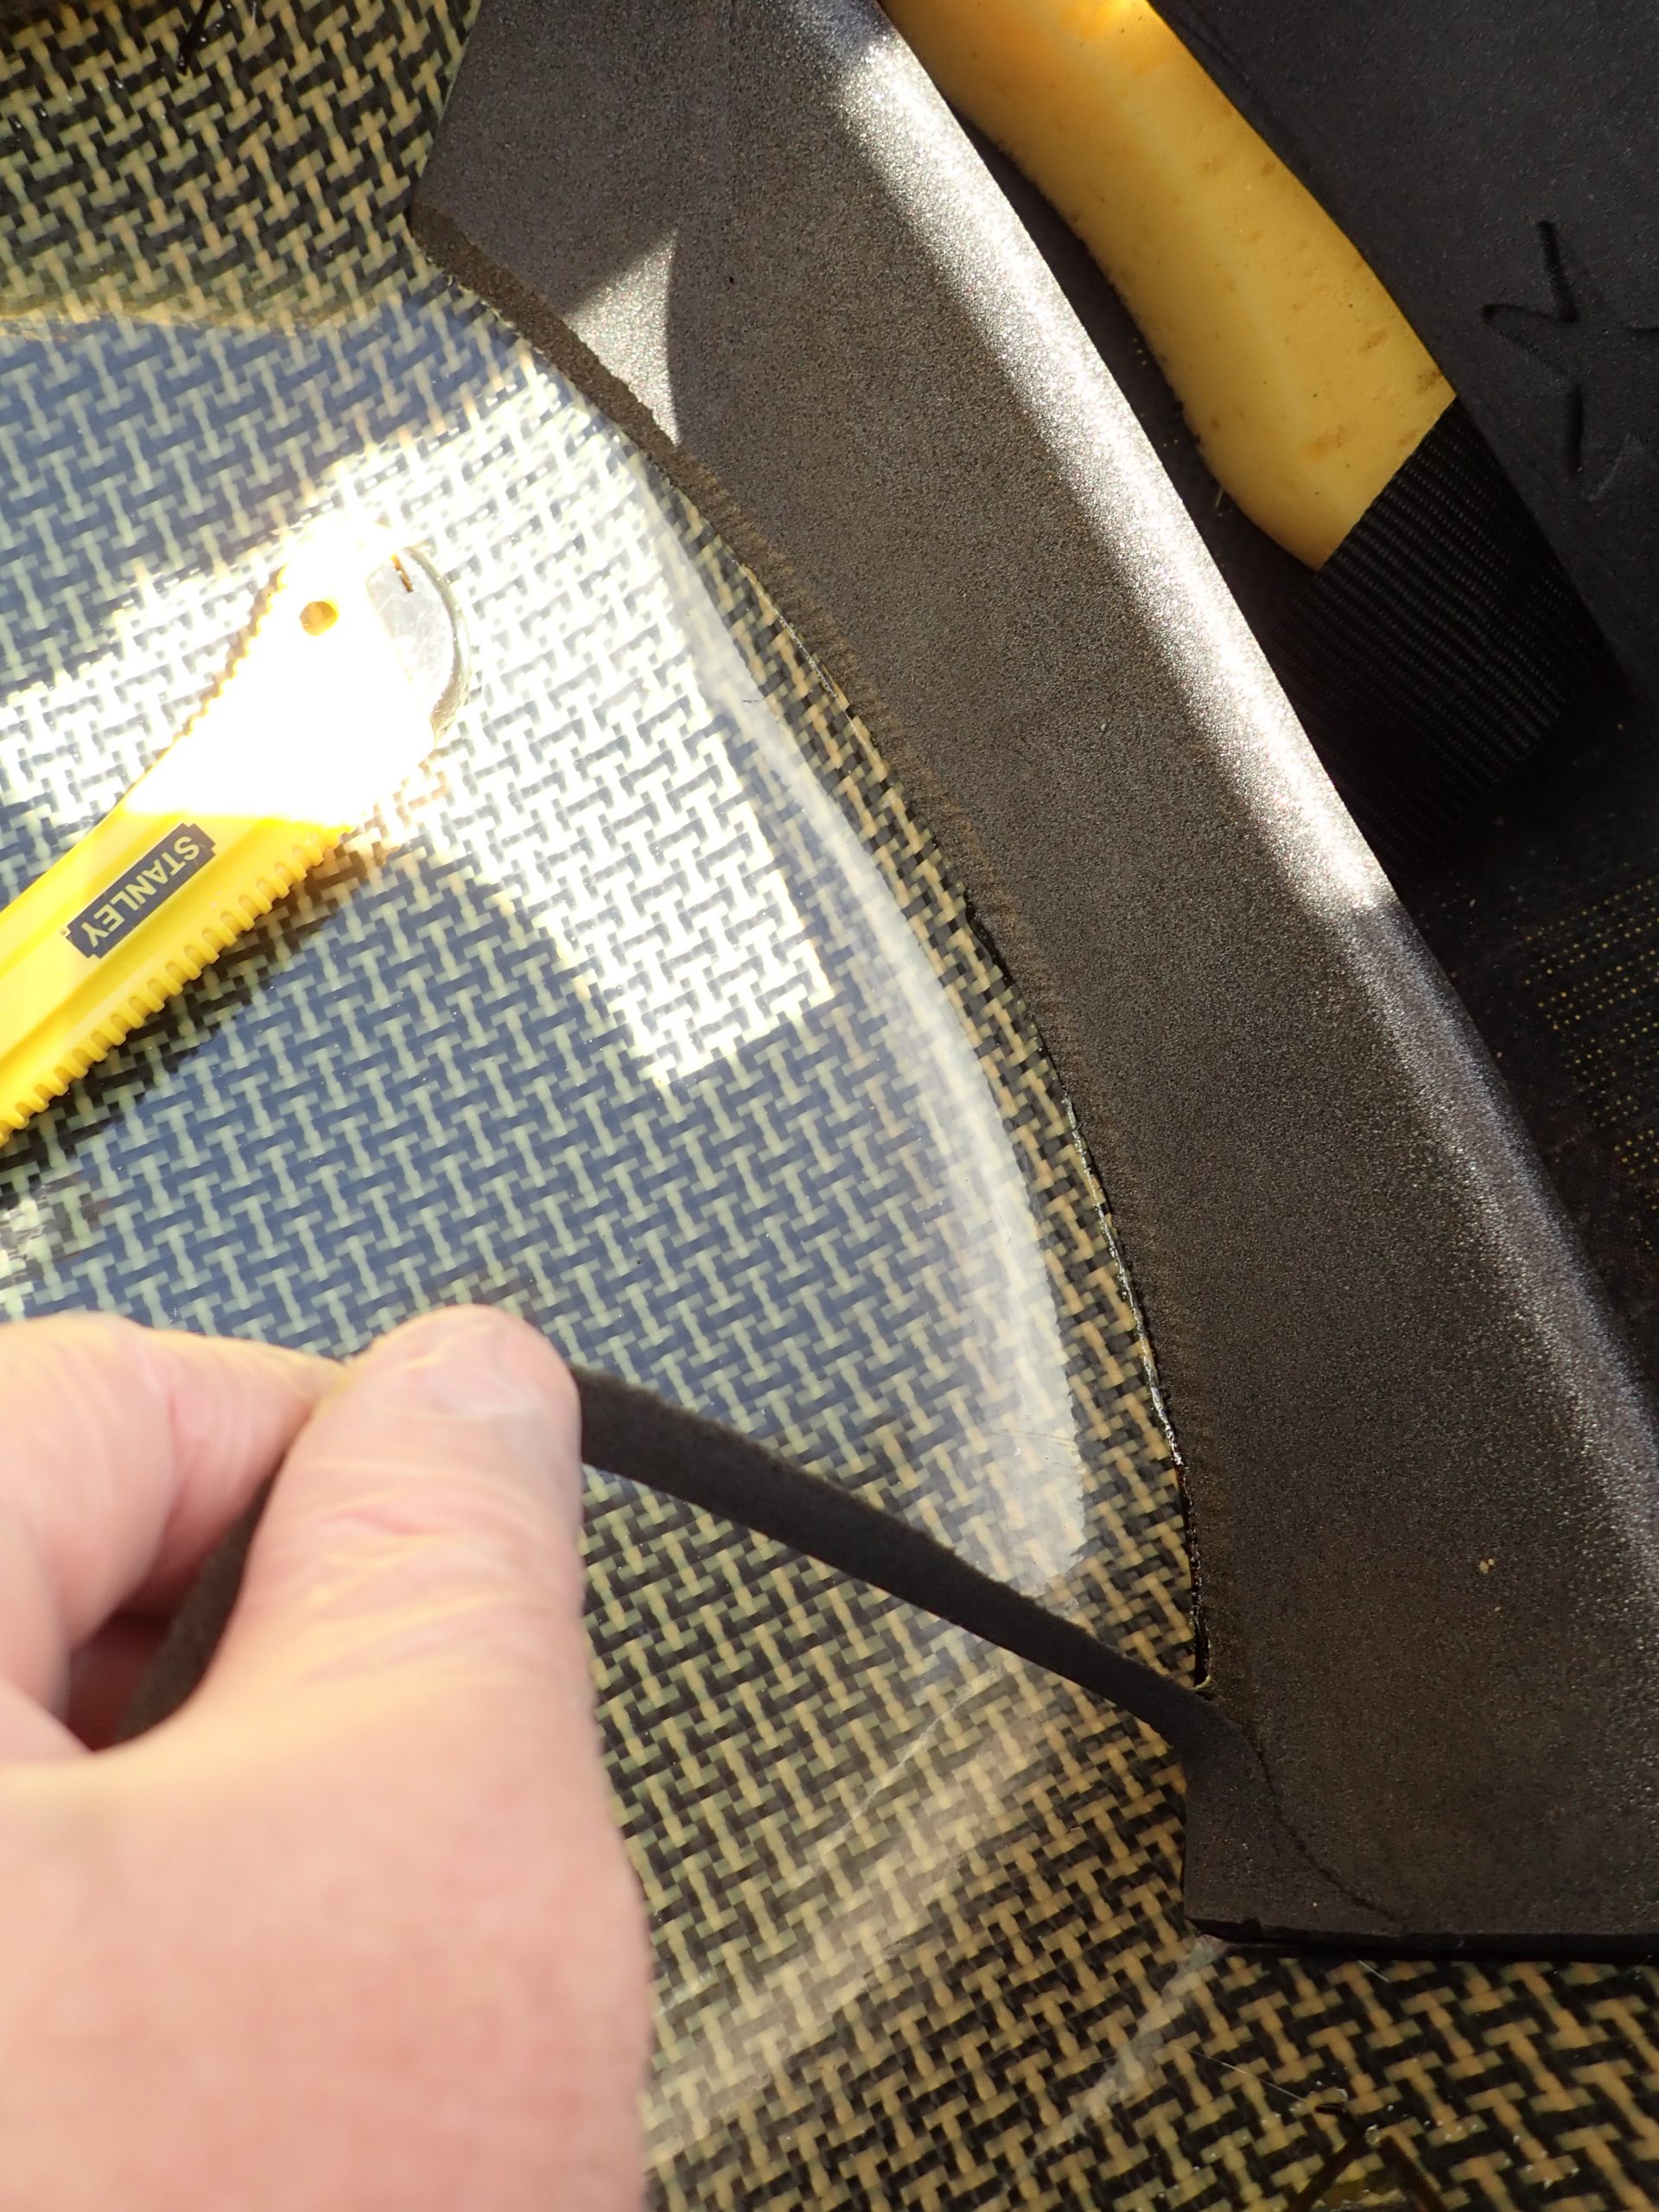
Pre-bend the thighs pads to roughly match the contours of the deck and thigh bar. Then starting at the centre of the pad and working outwards, press the pad firmly into place under the thigh bars. Beware: with contact adhesive you only get one shot at this. Make sure you place it accurately and press into place uniformly! It gets messy if you need a second attempt.

Refit the footrests:
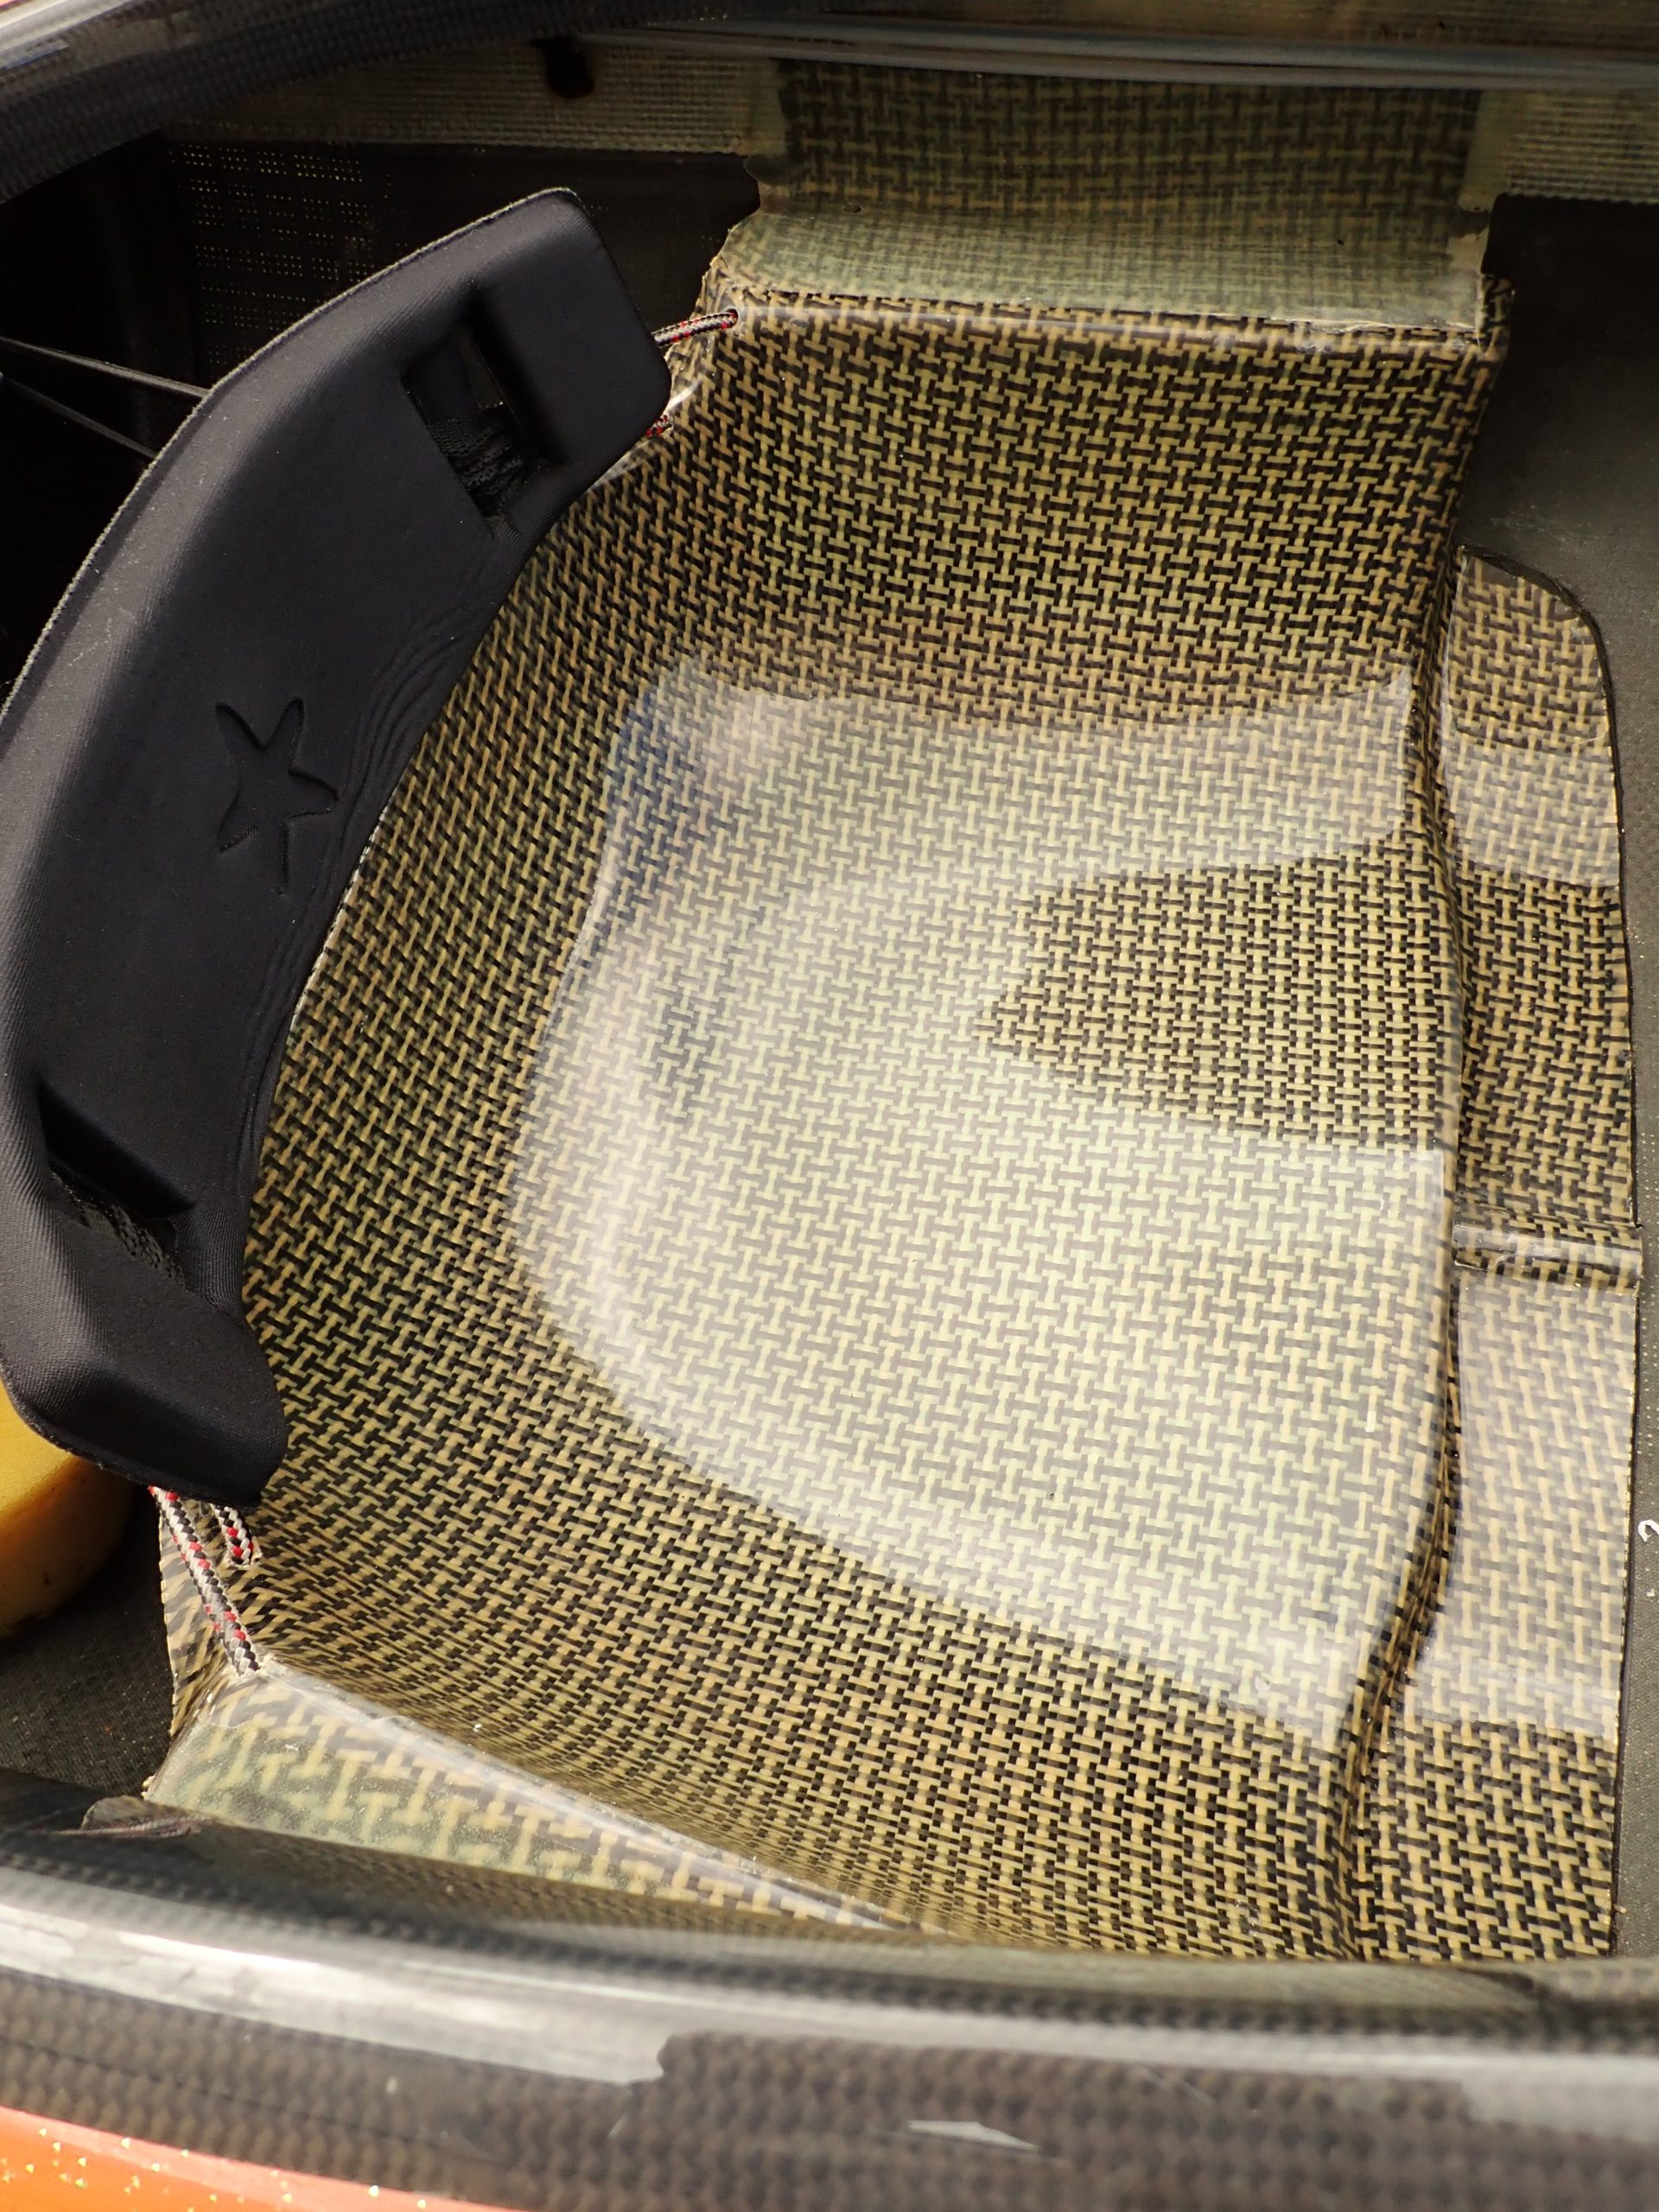
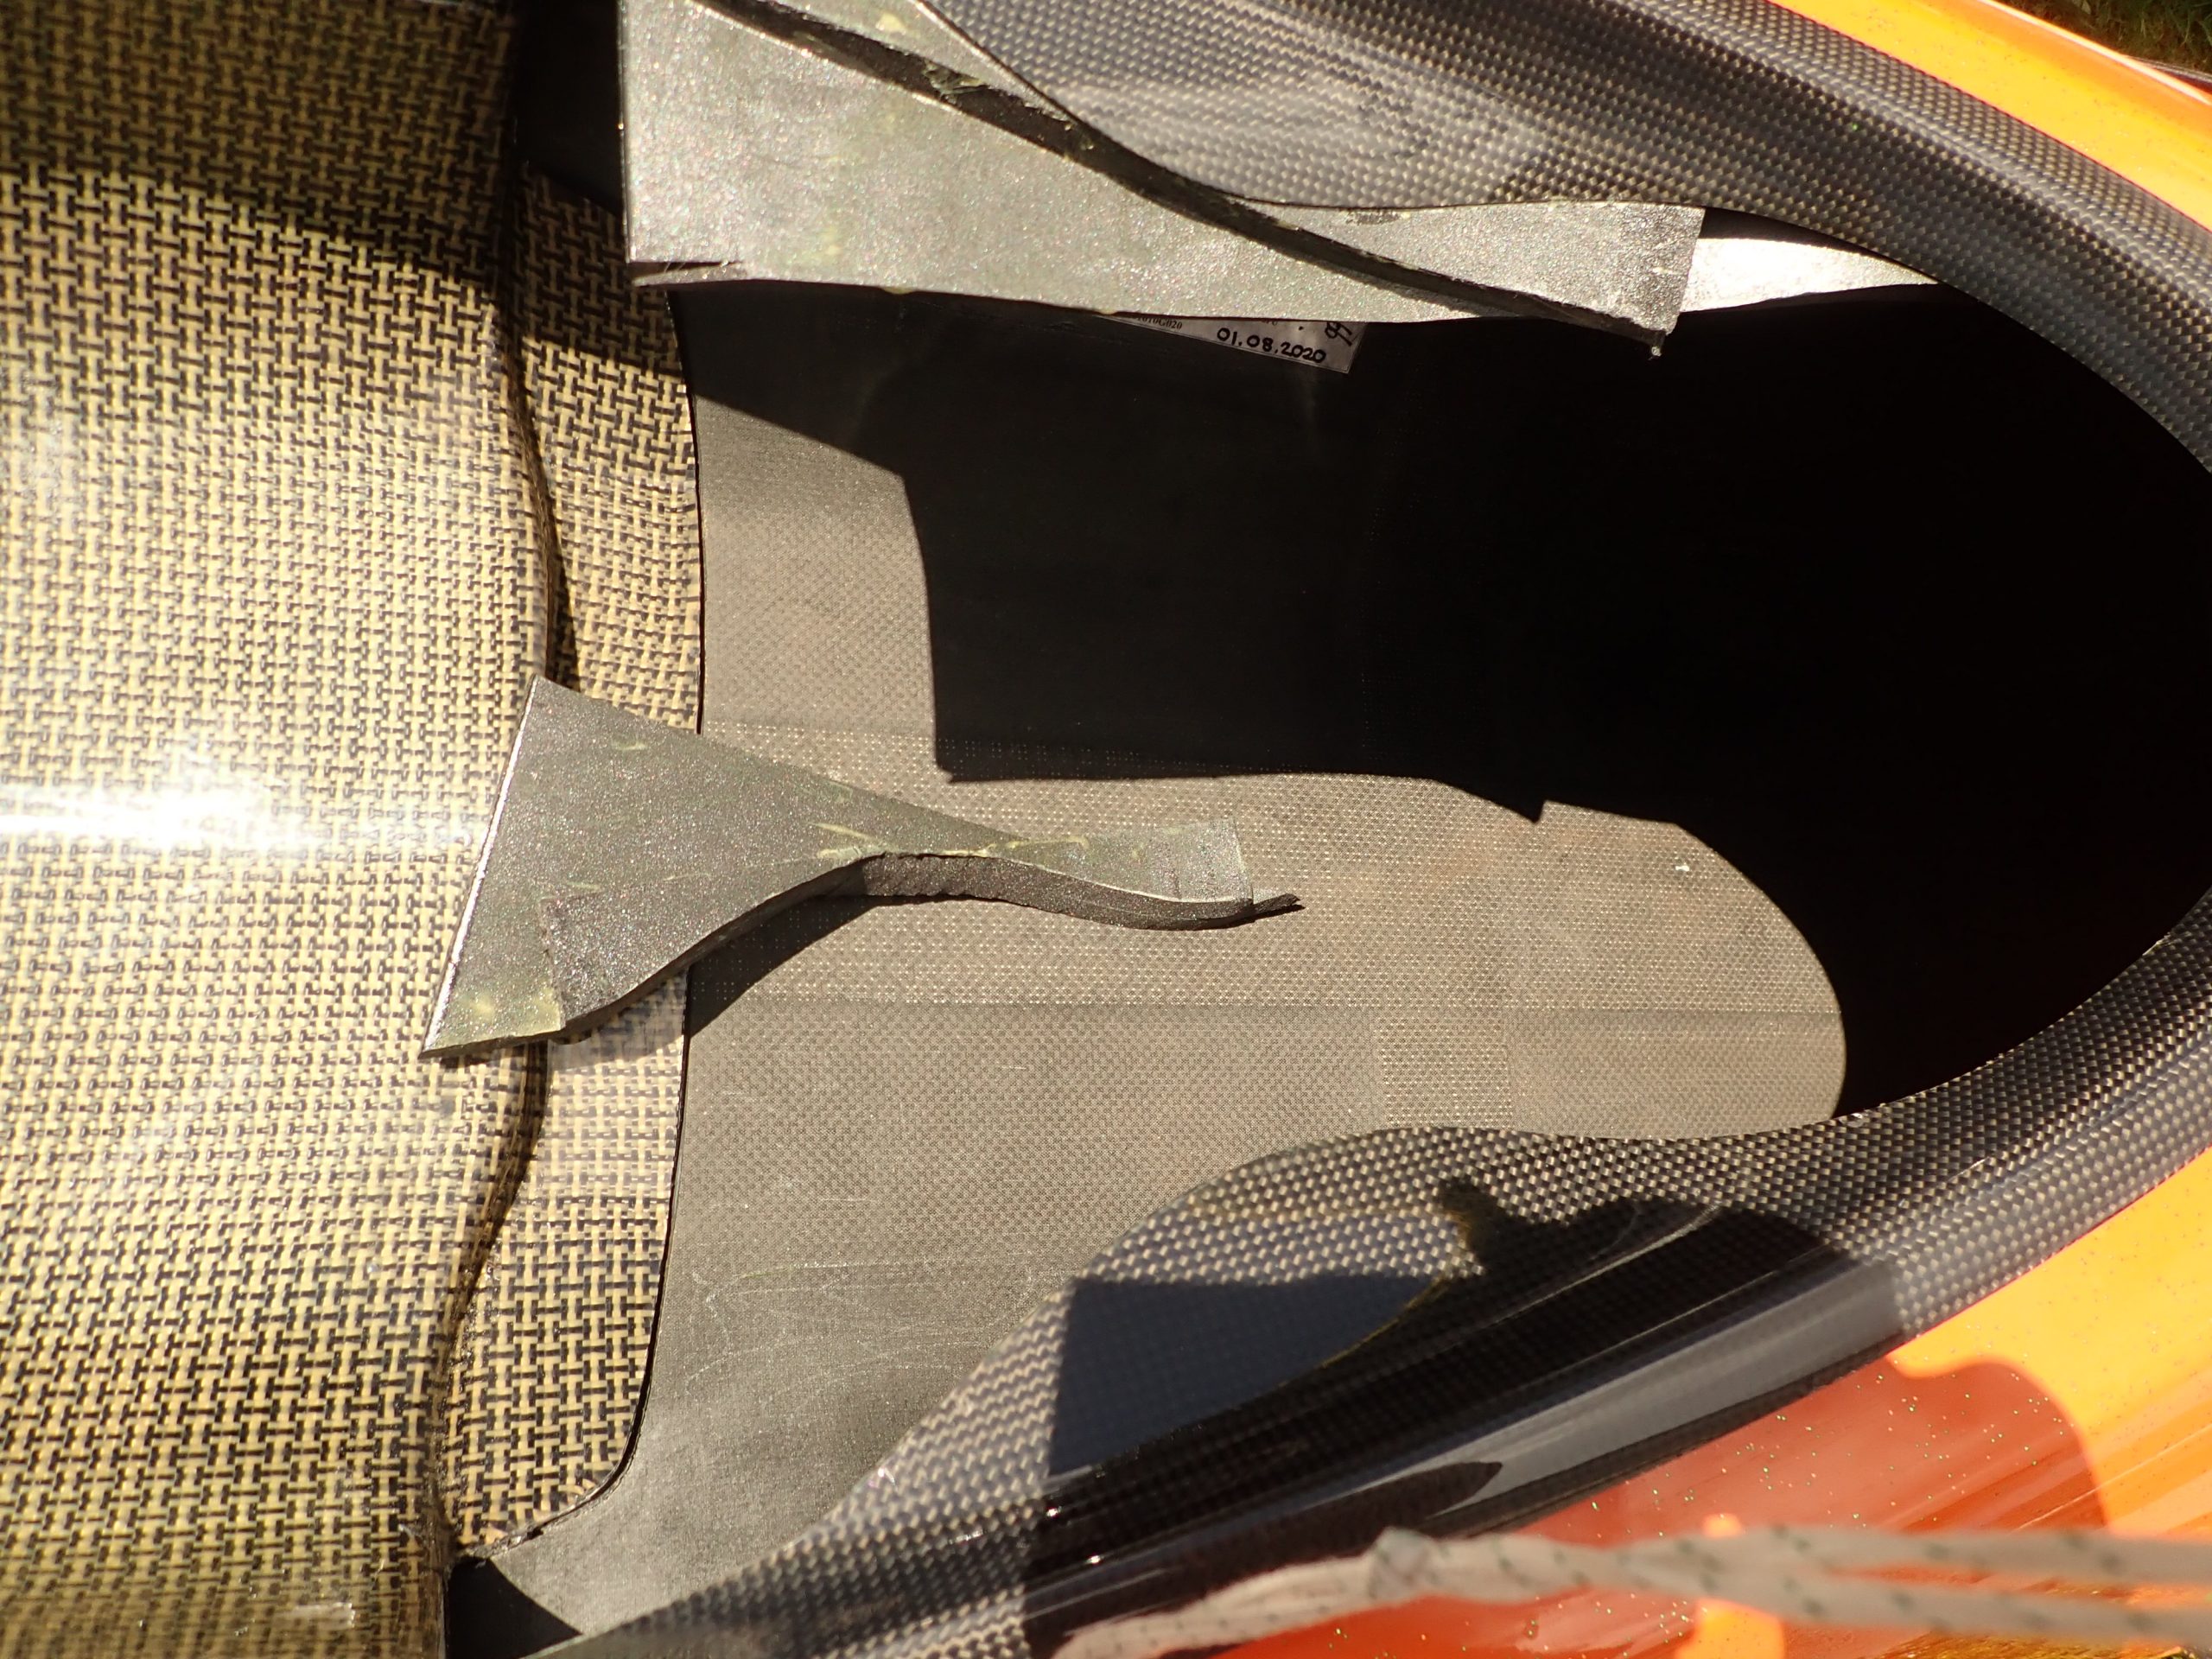
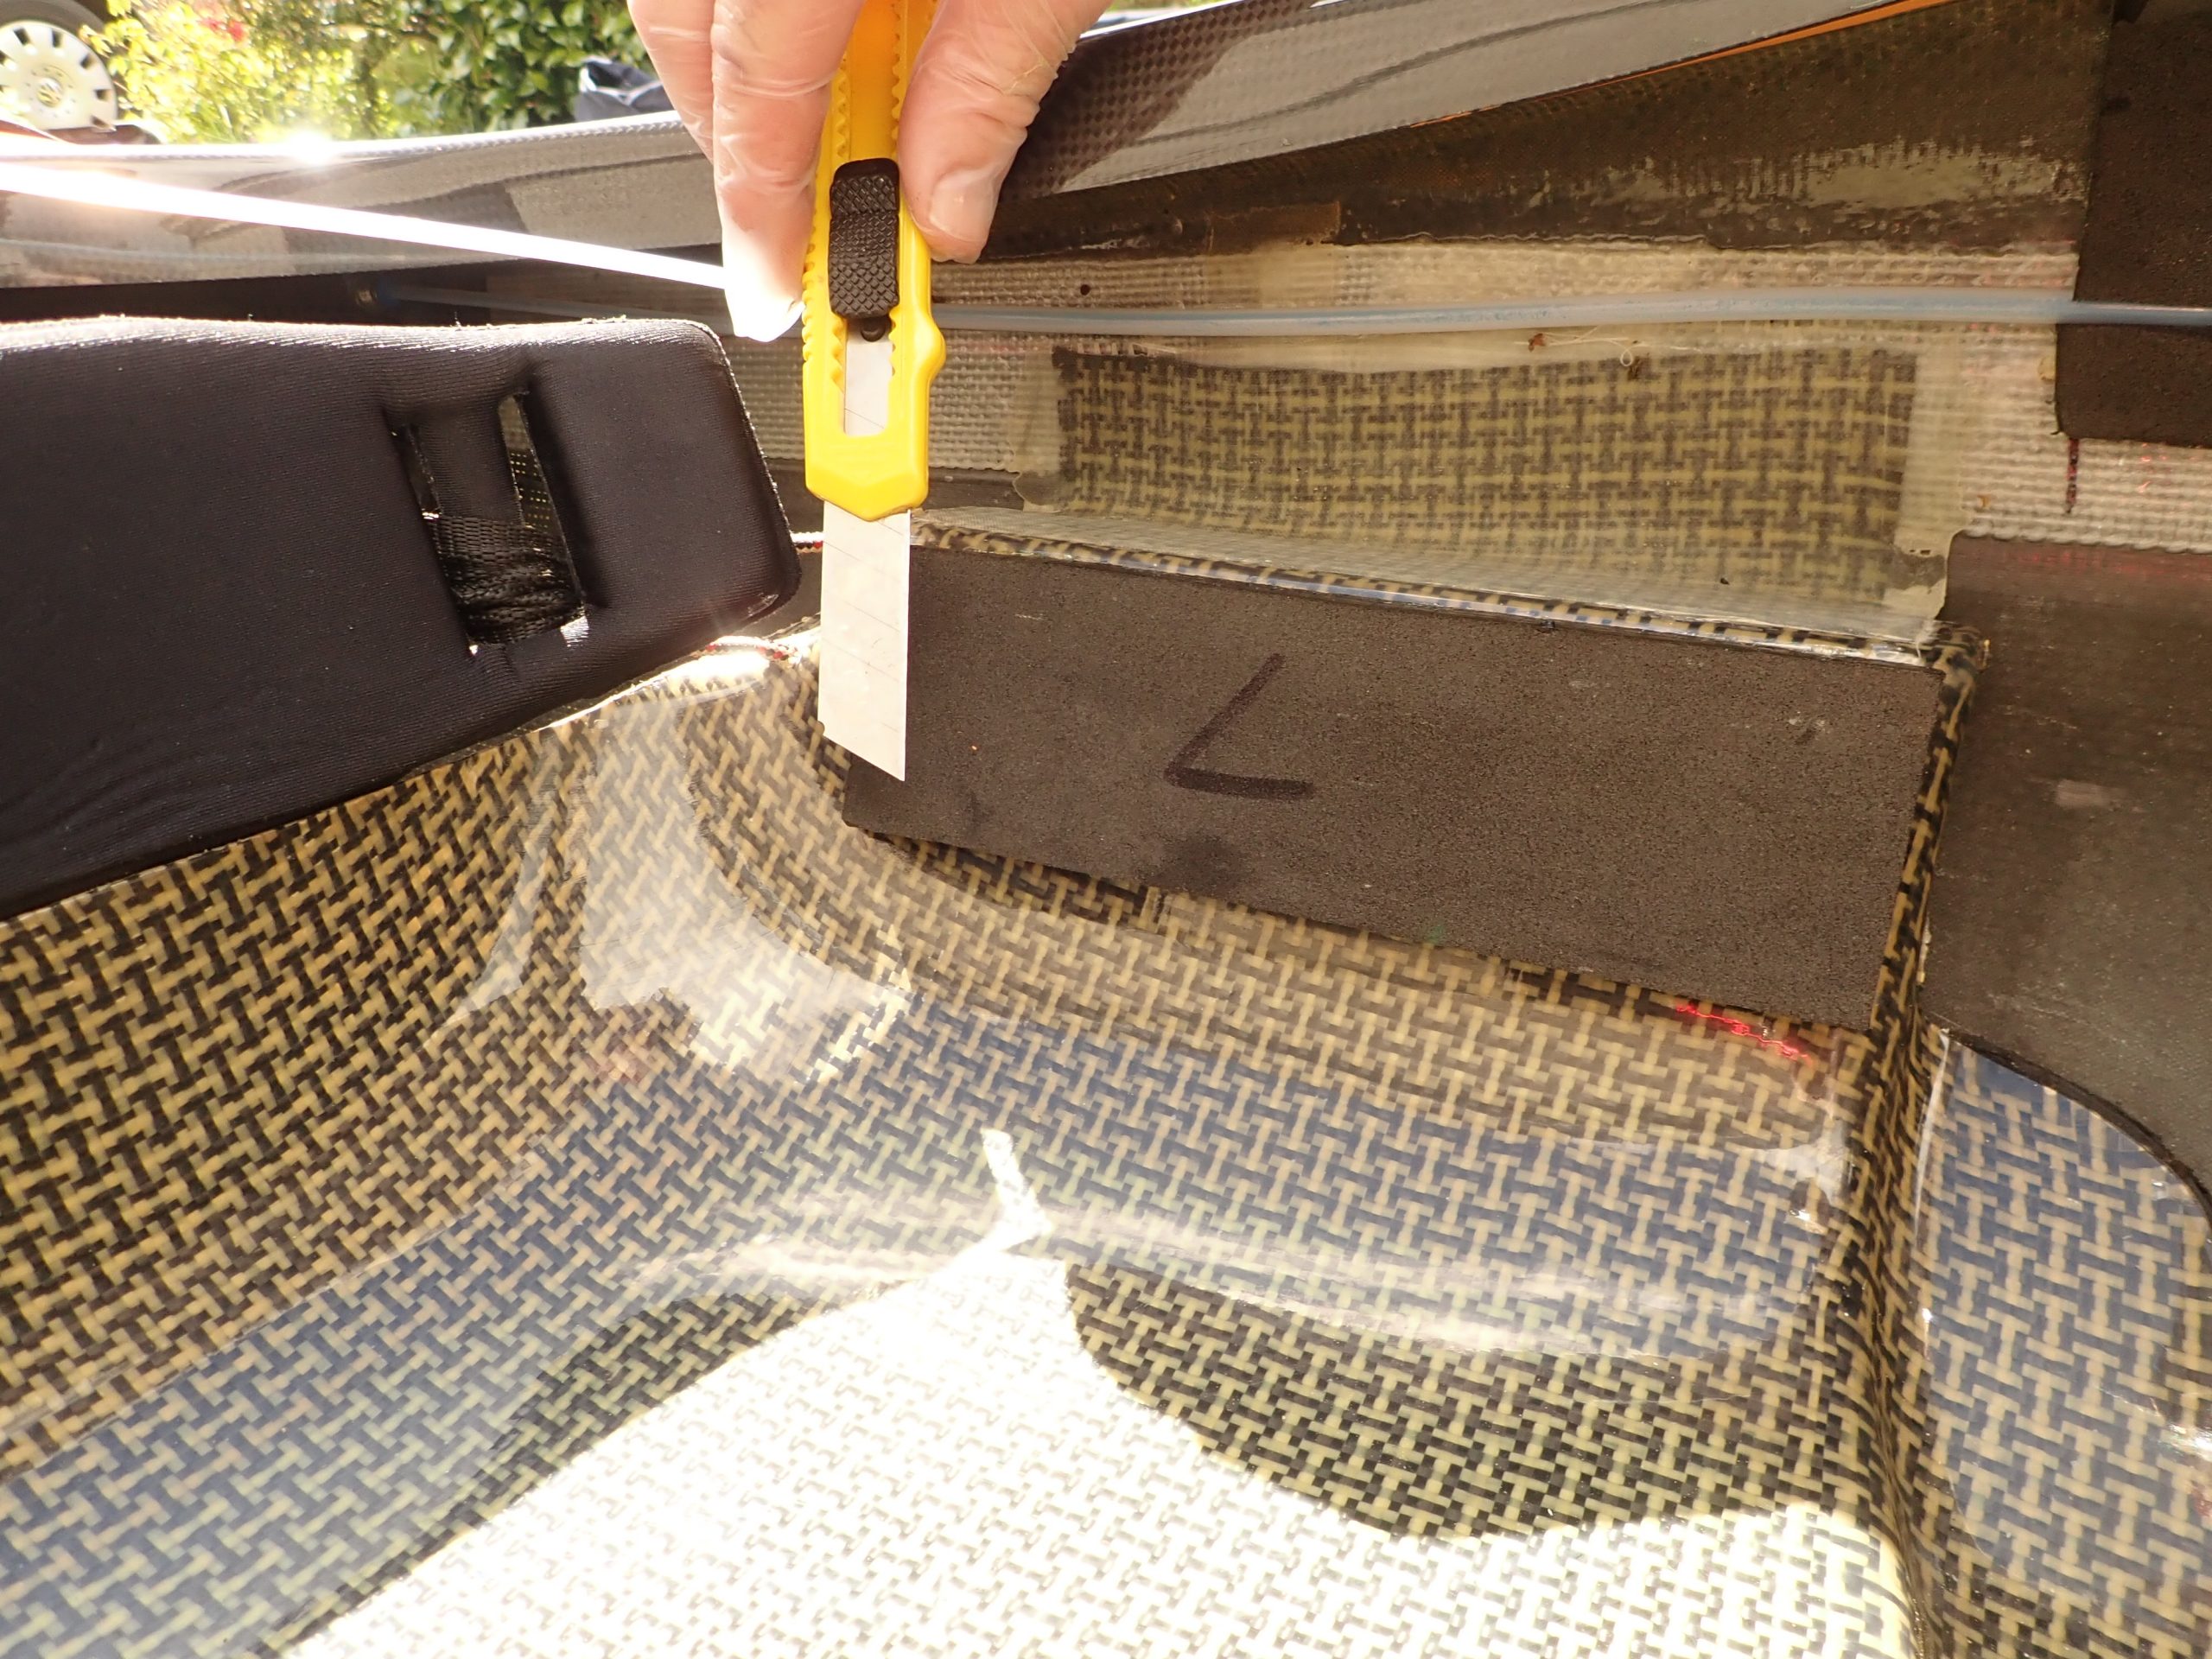
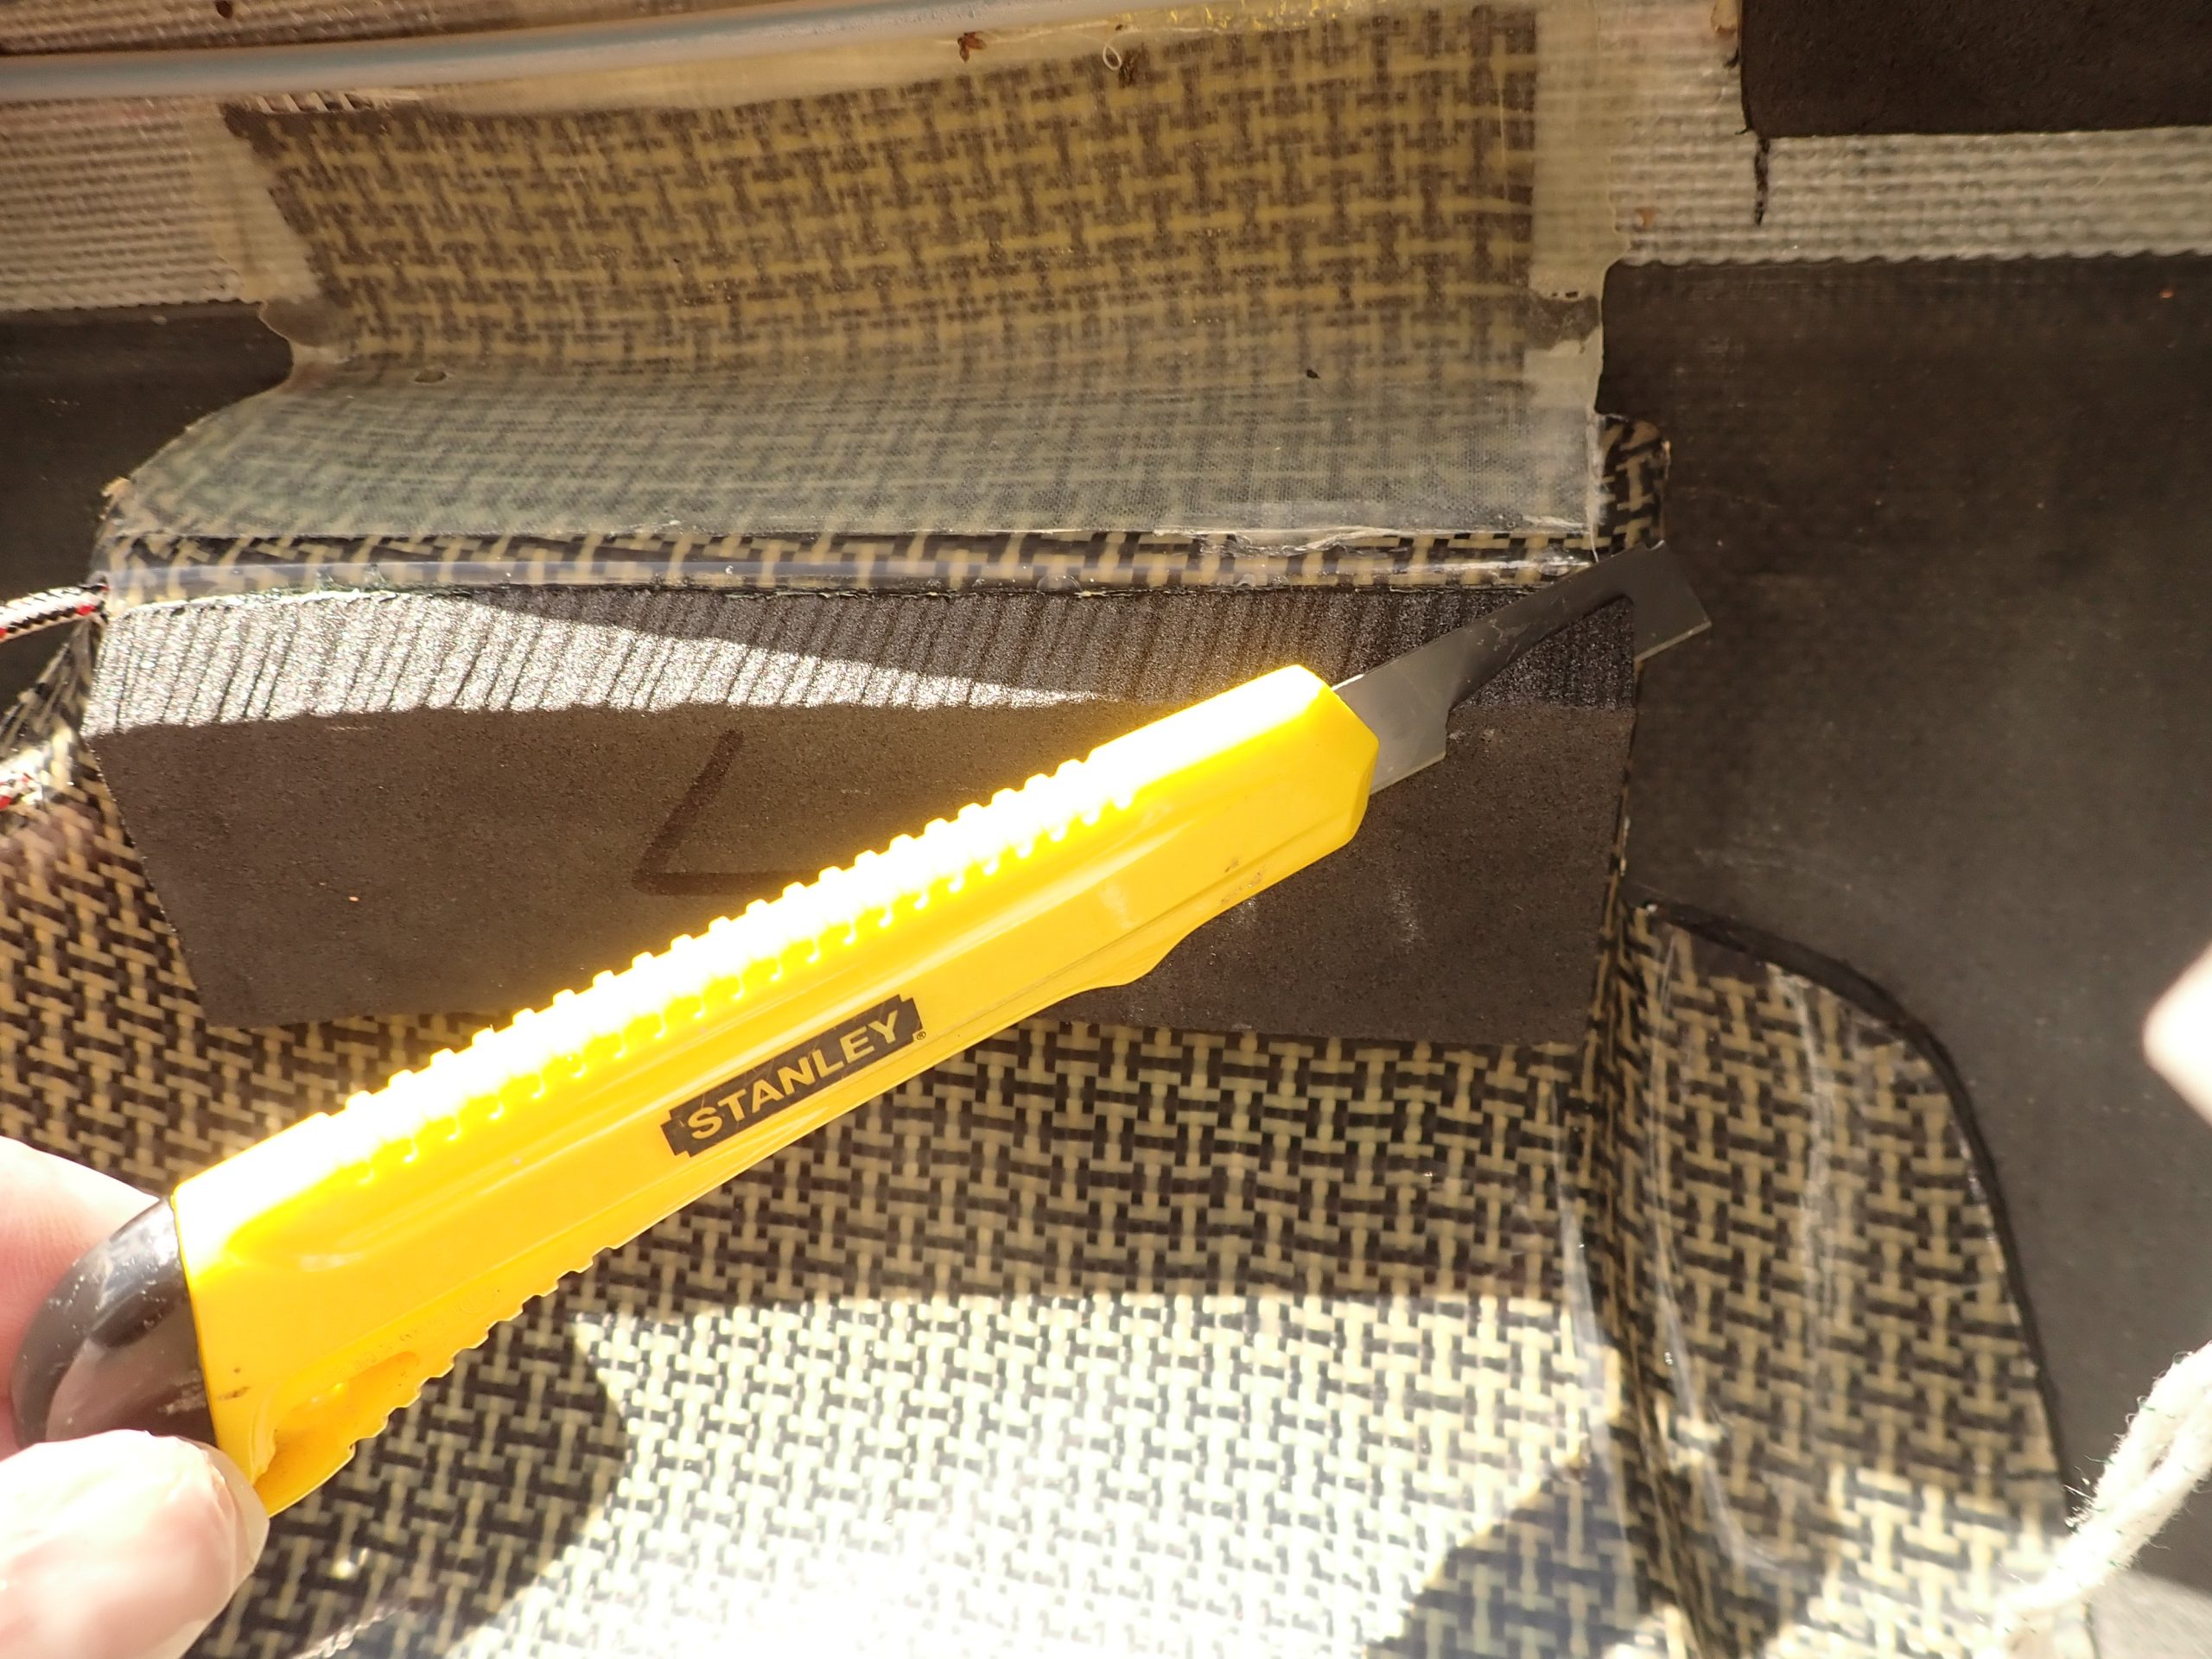
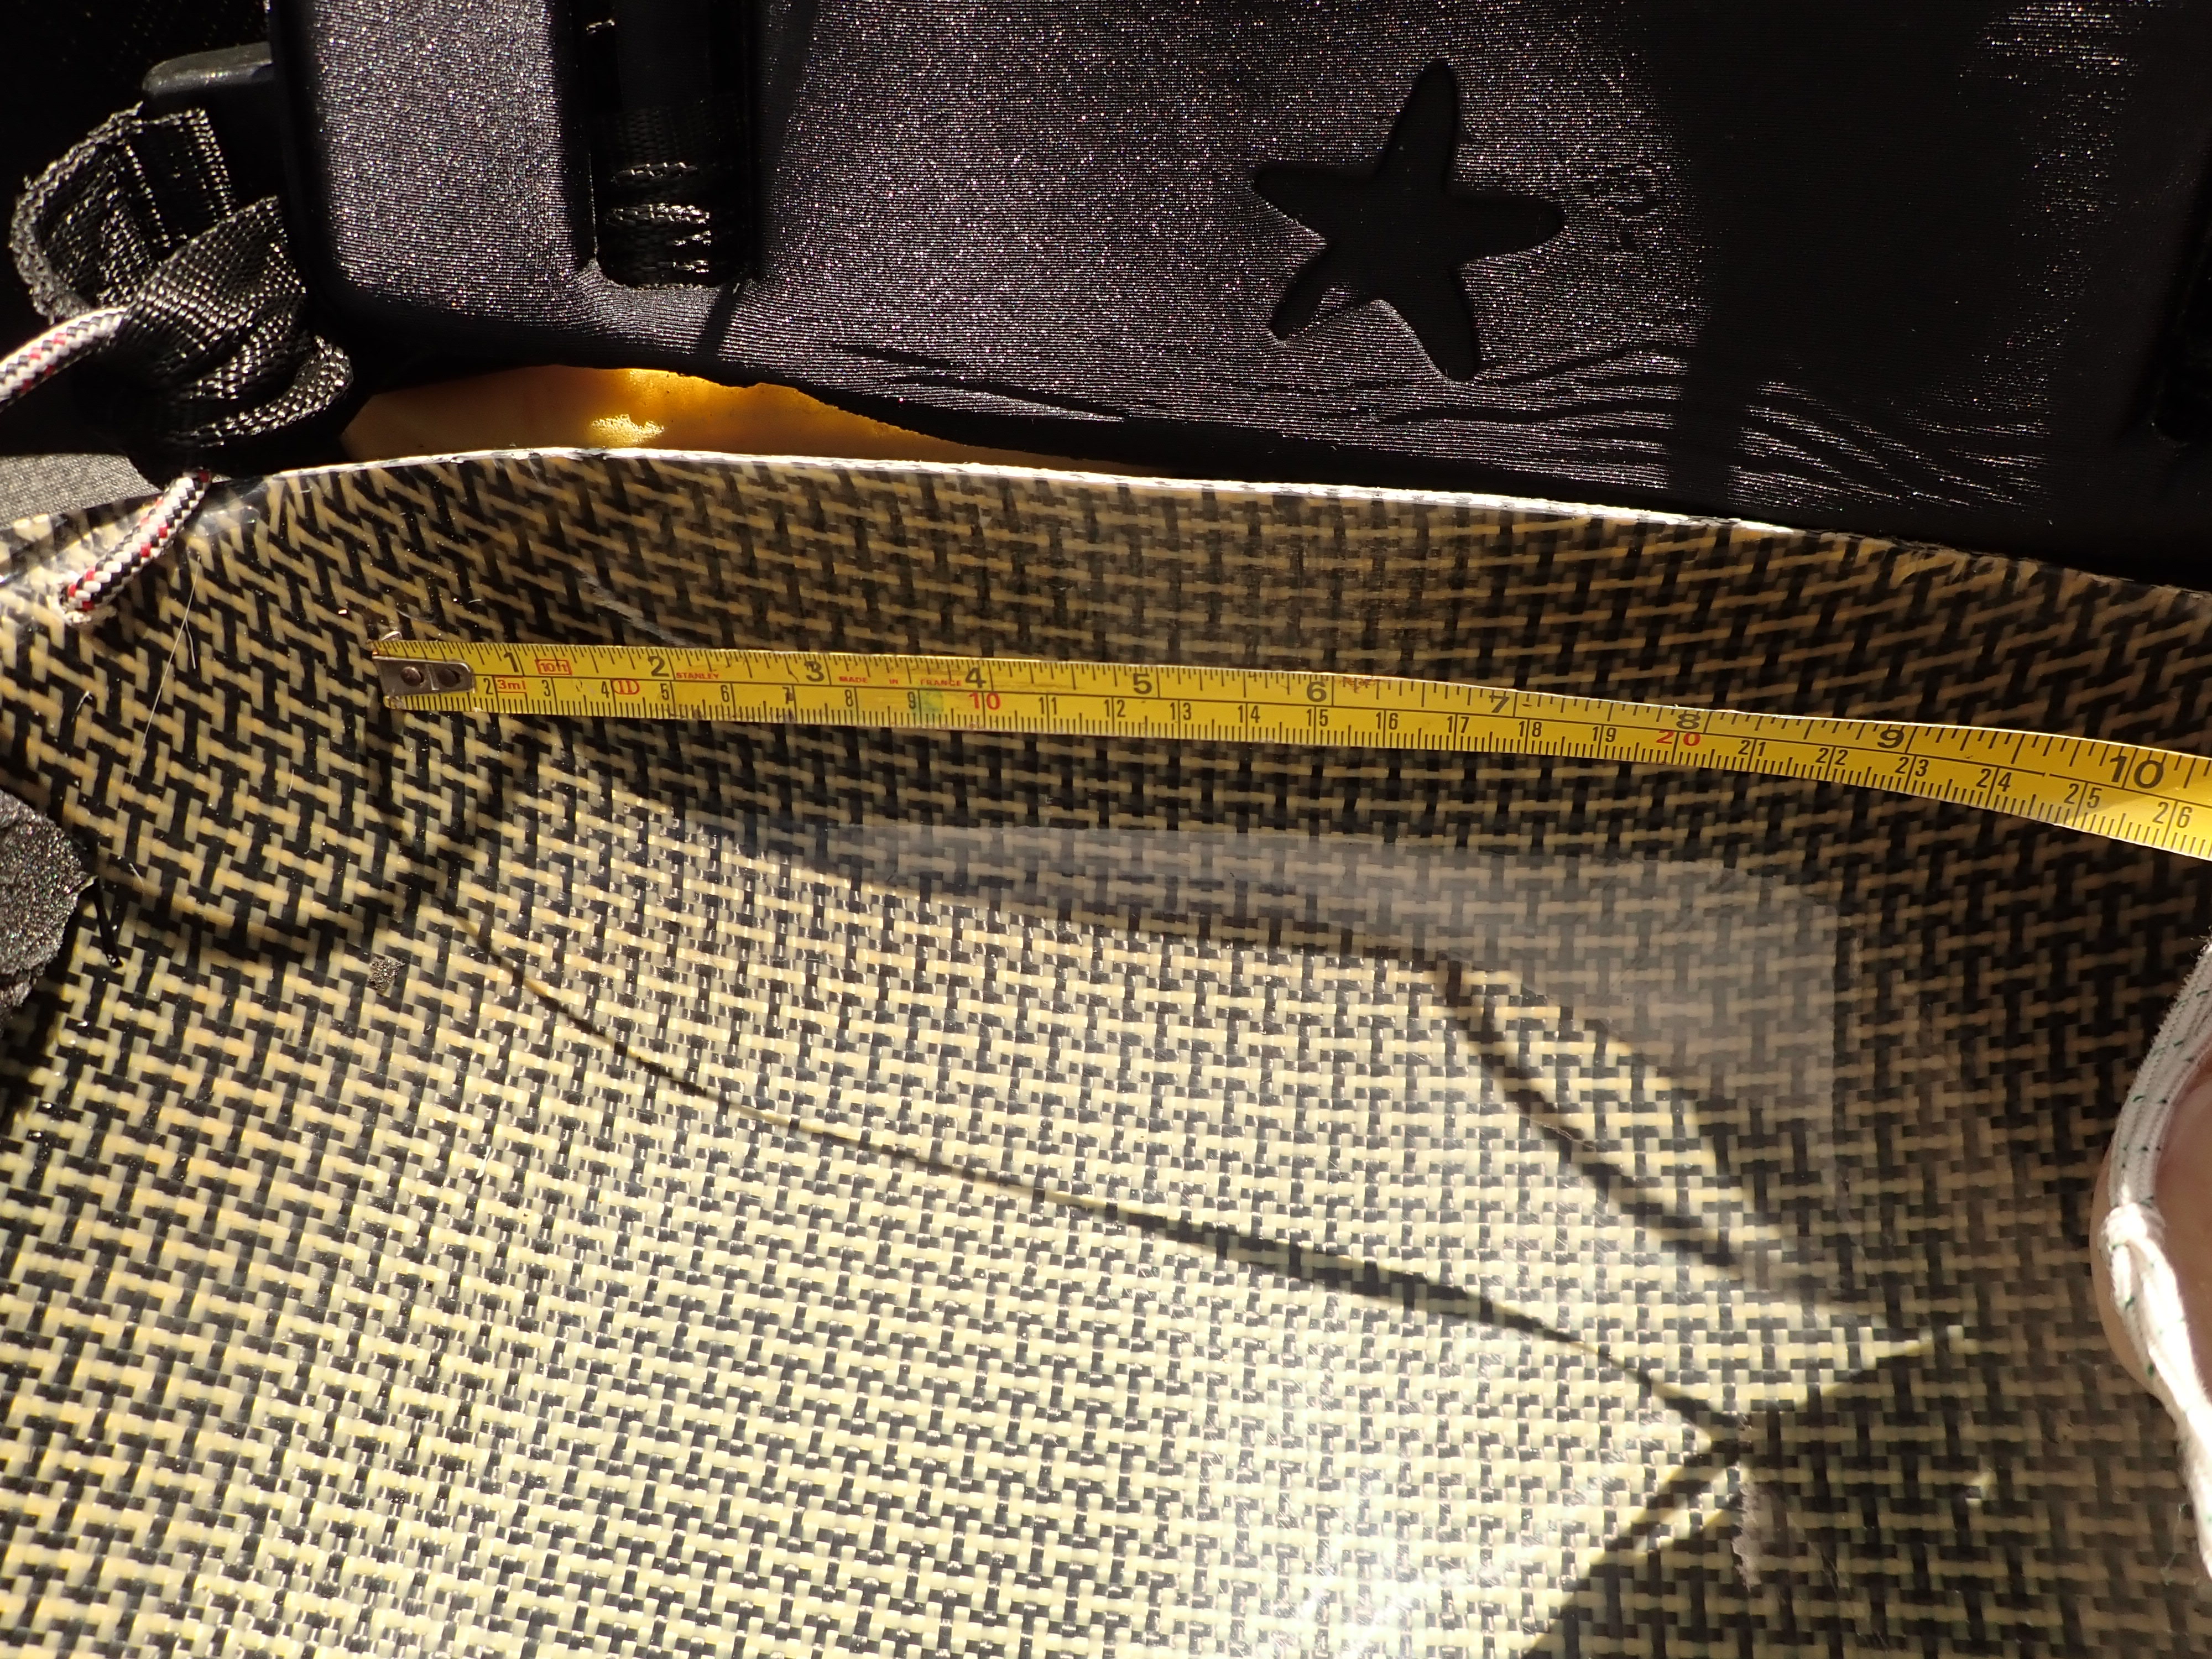
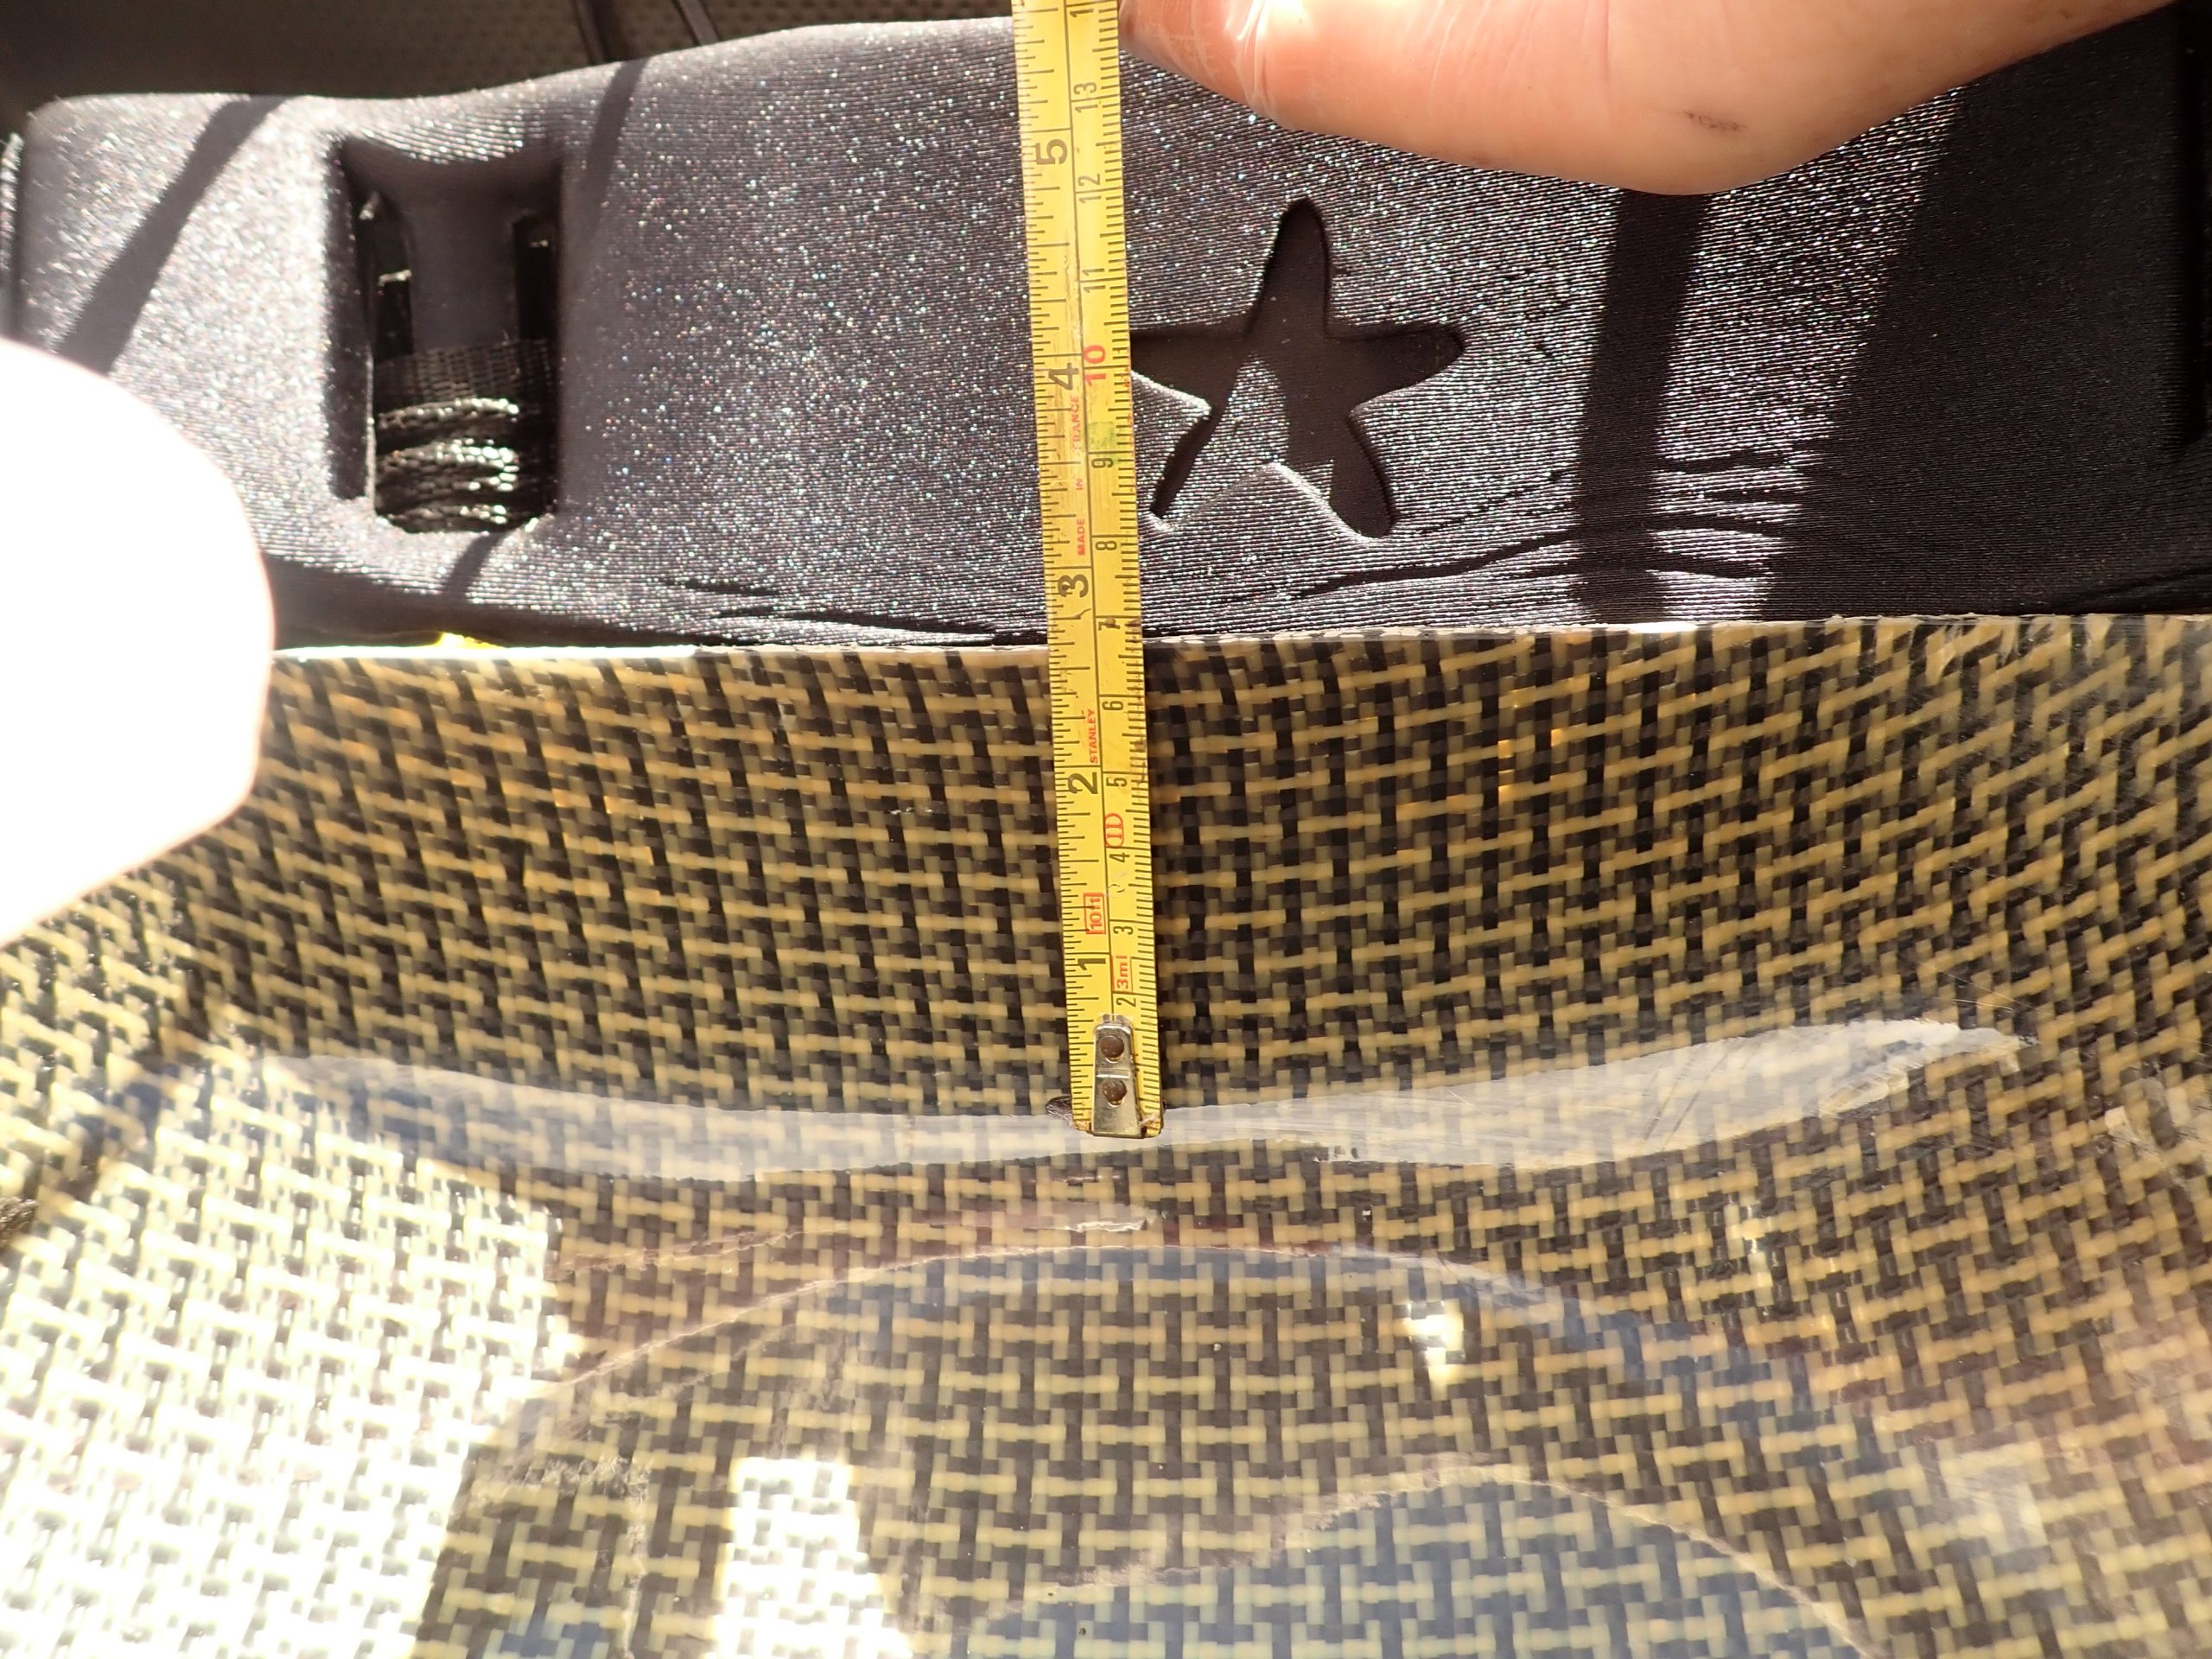
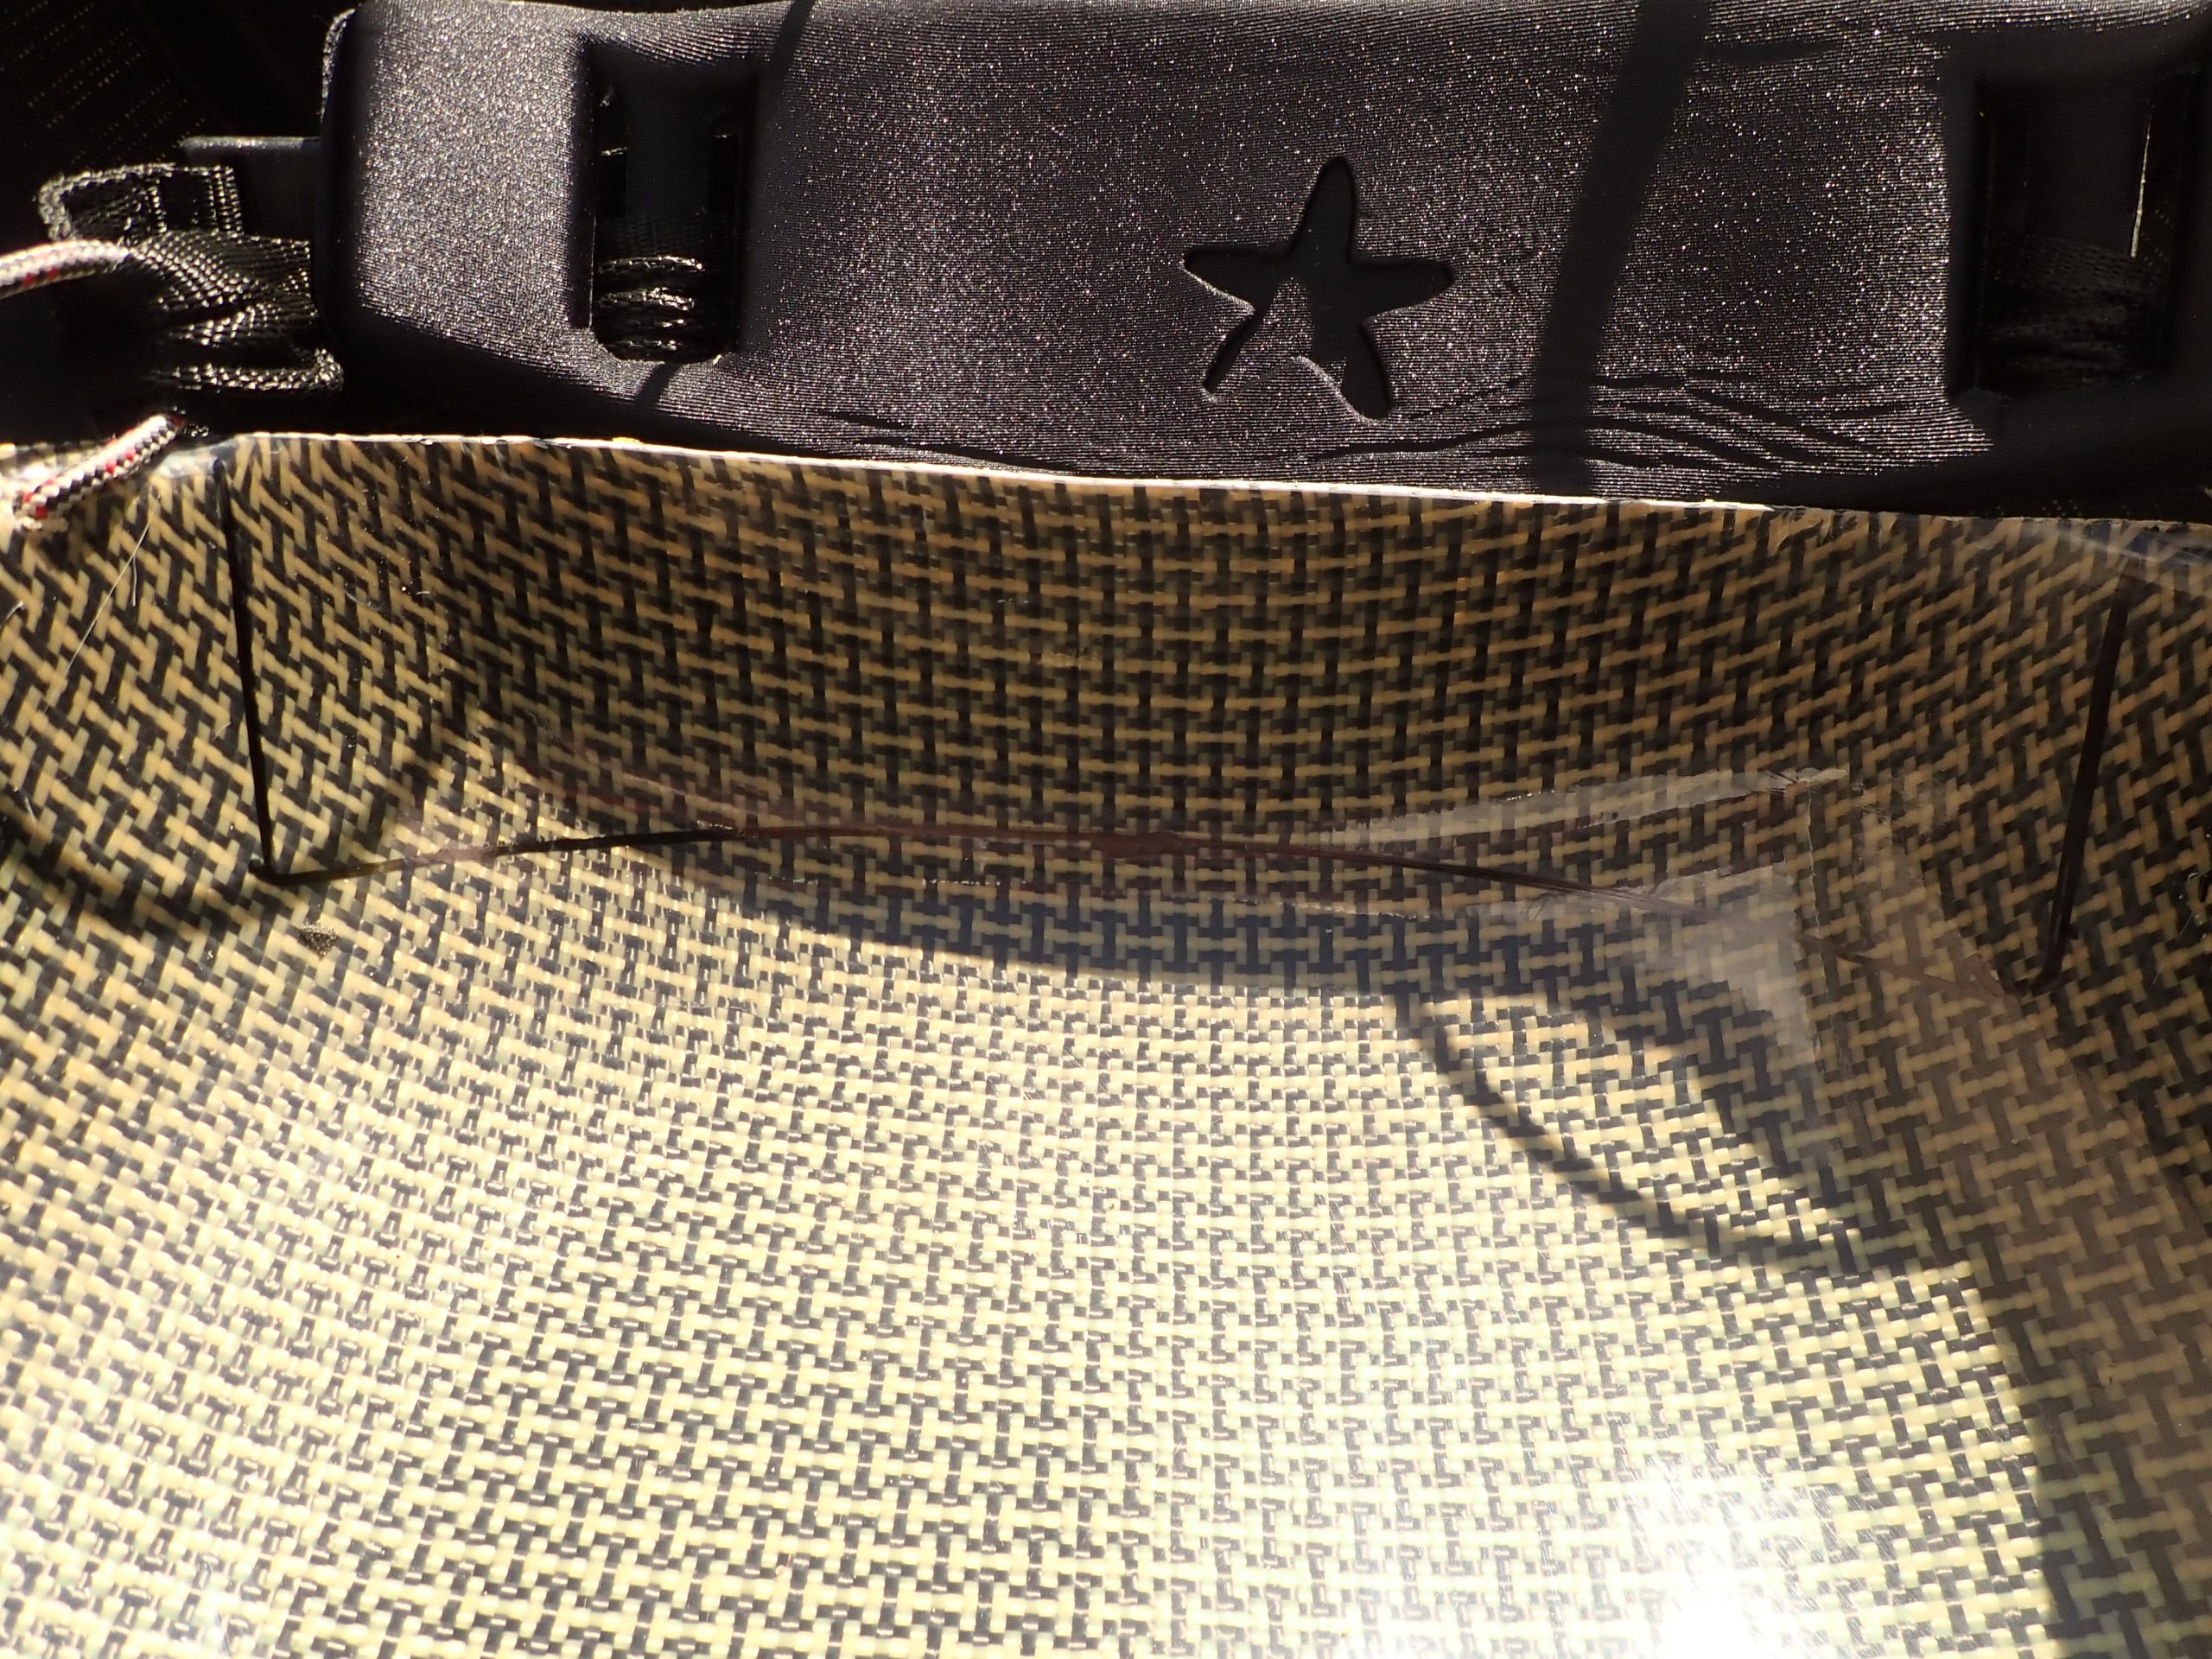
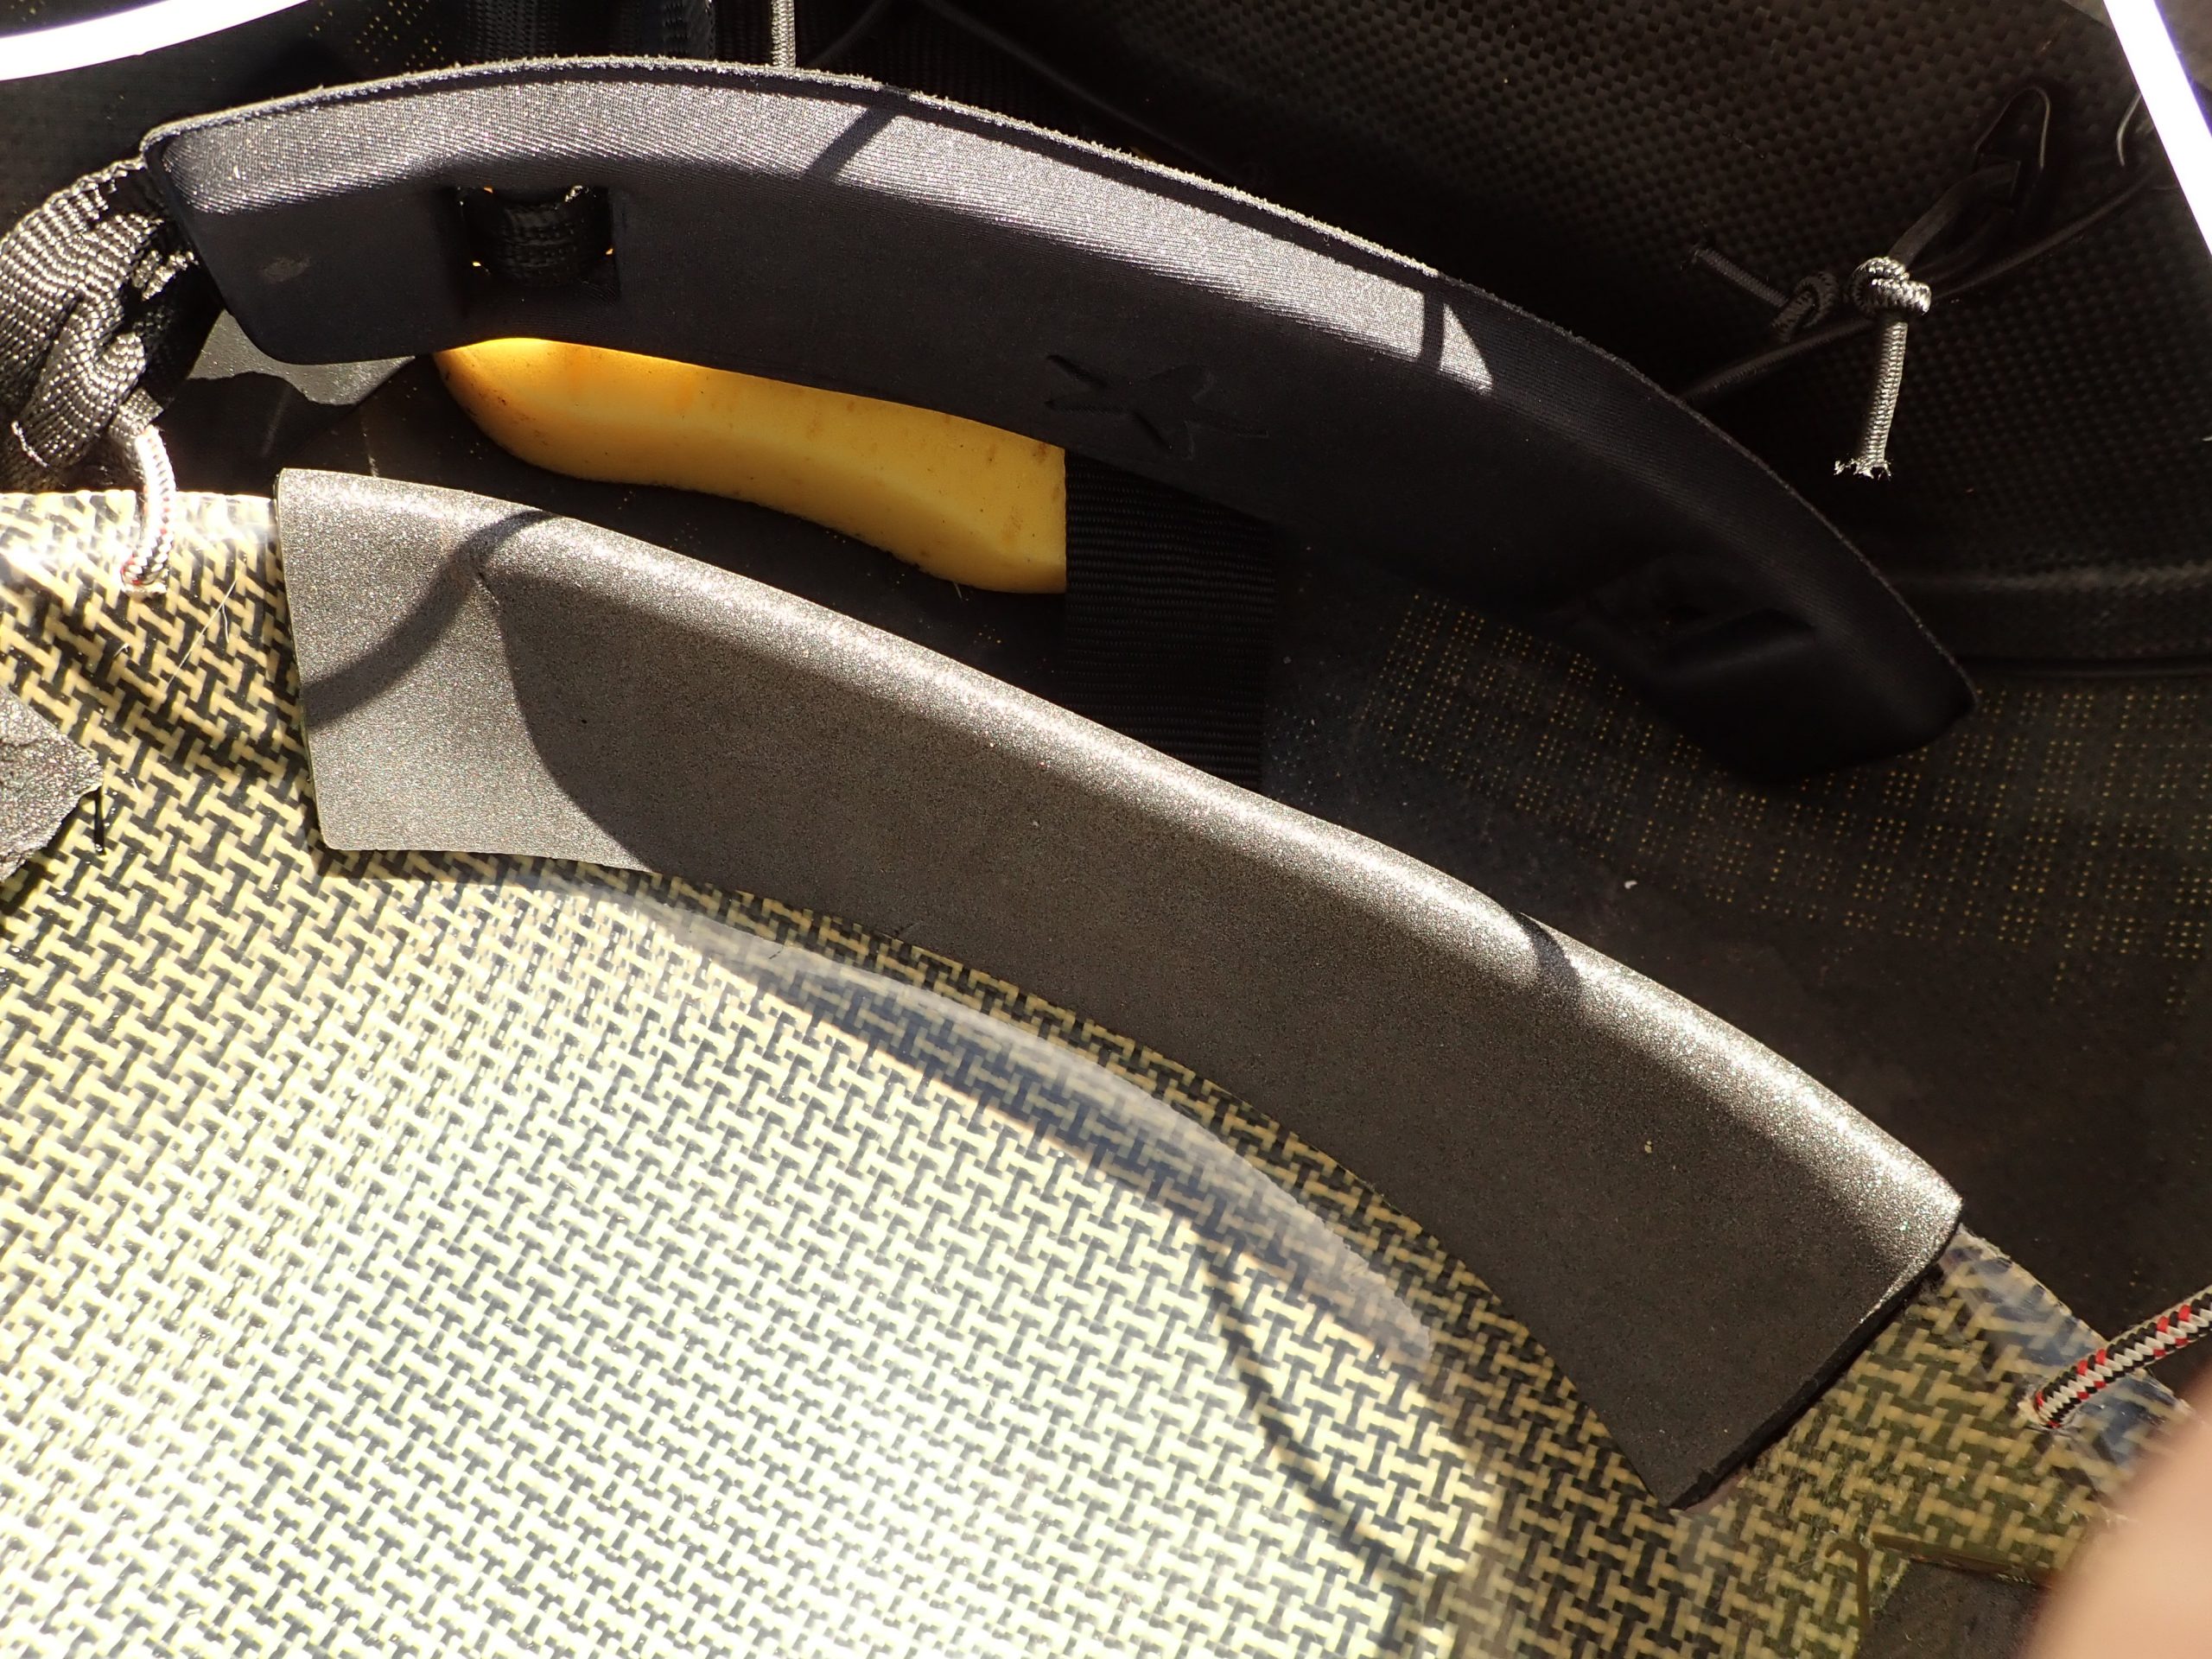
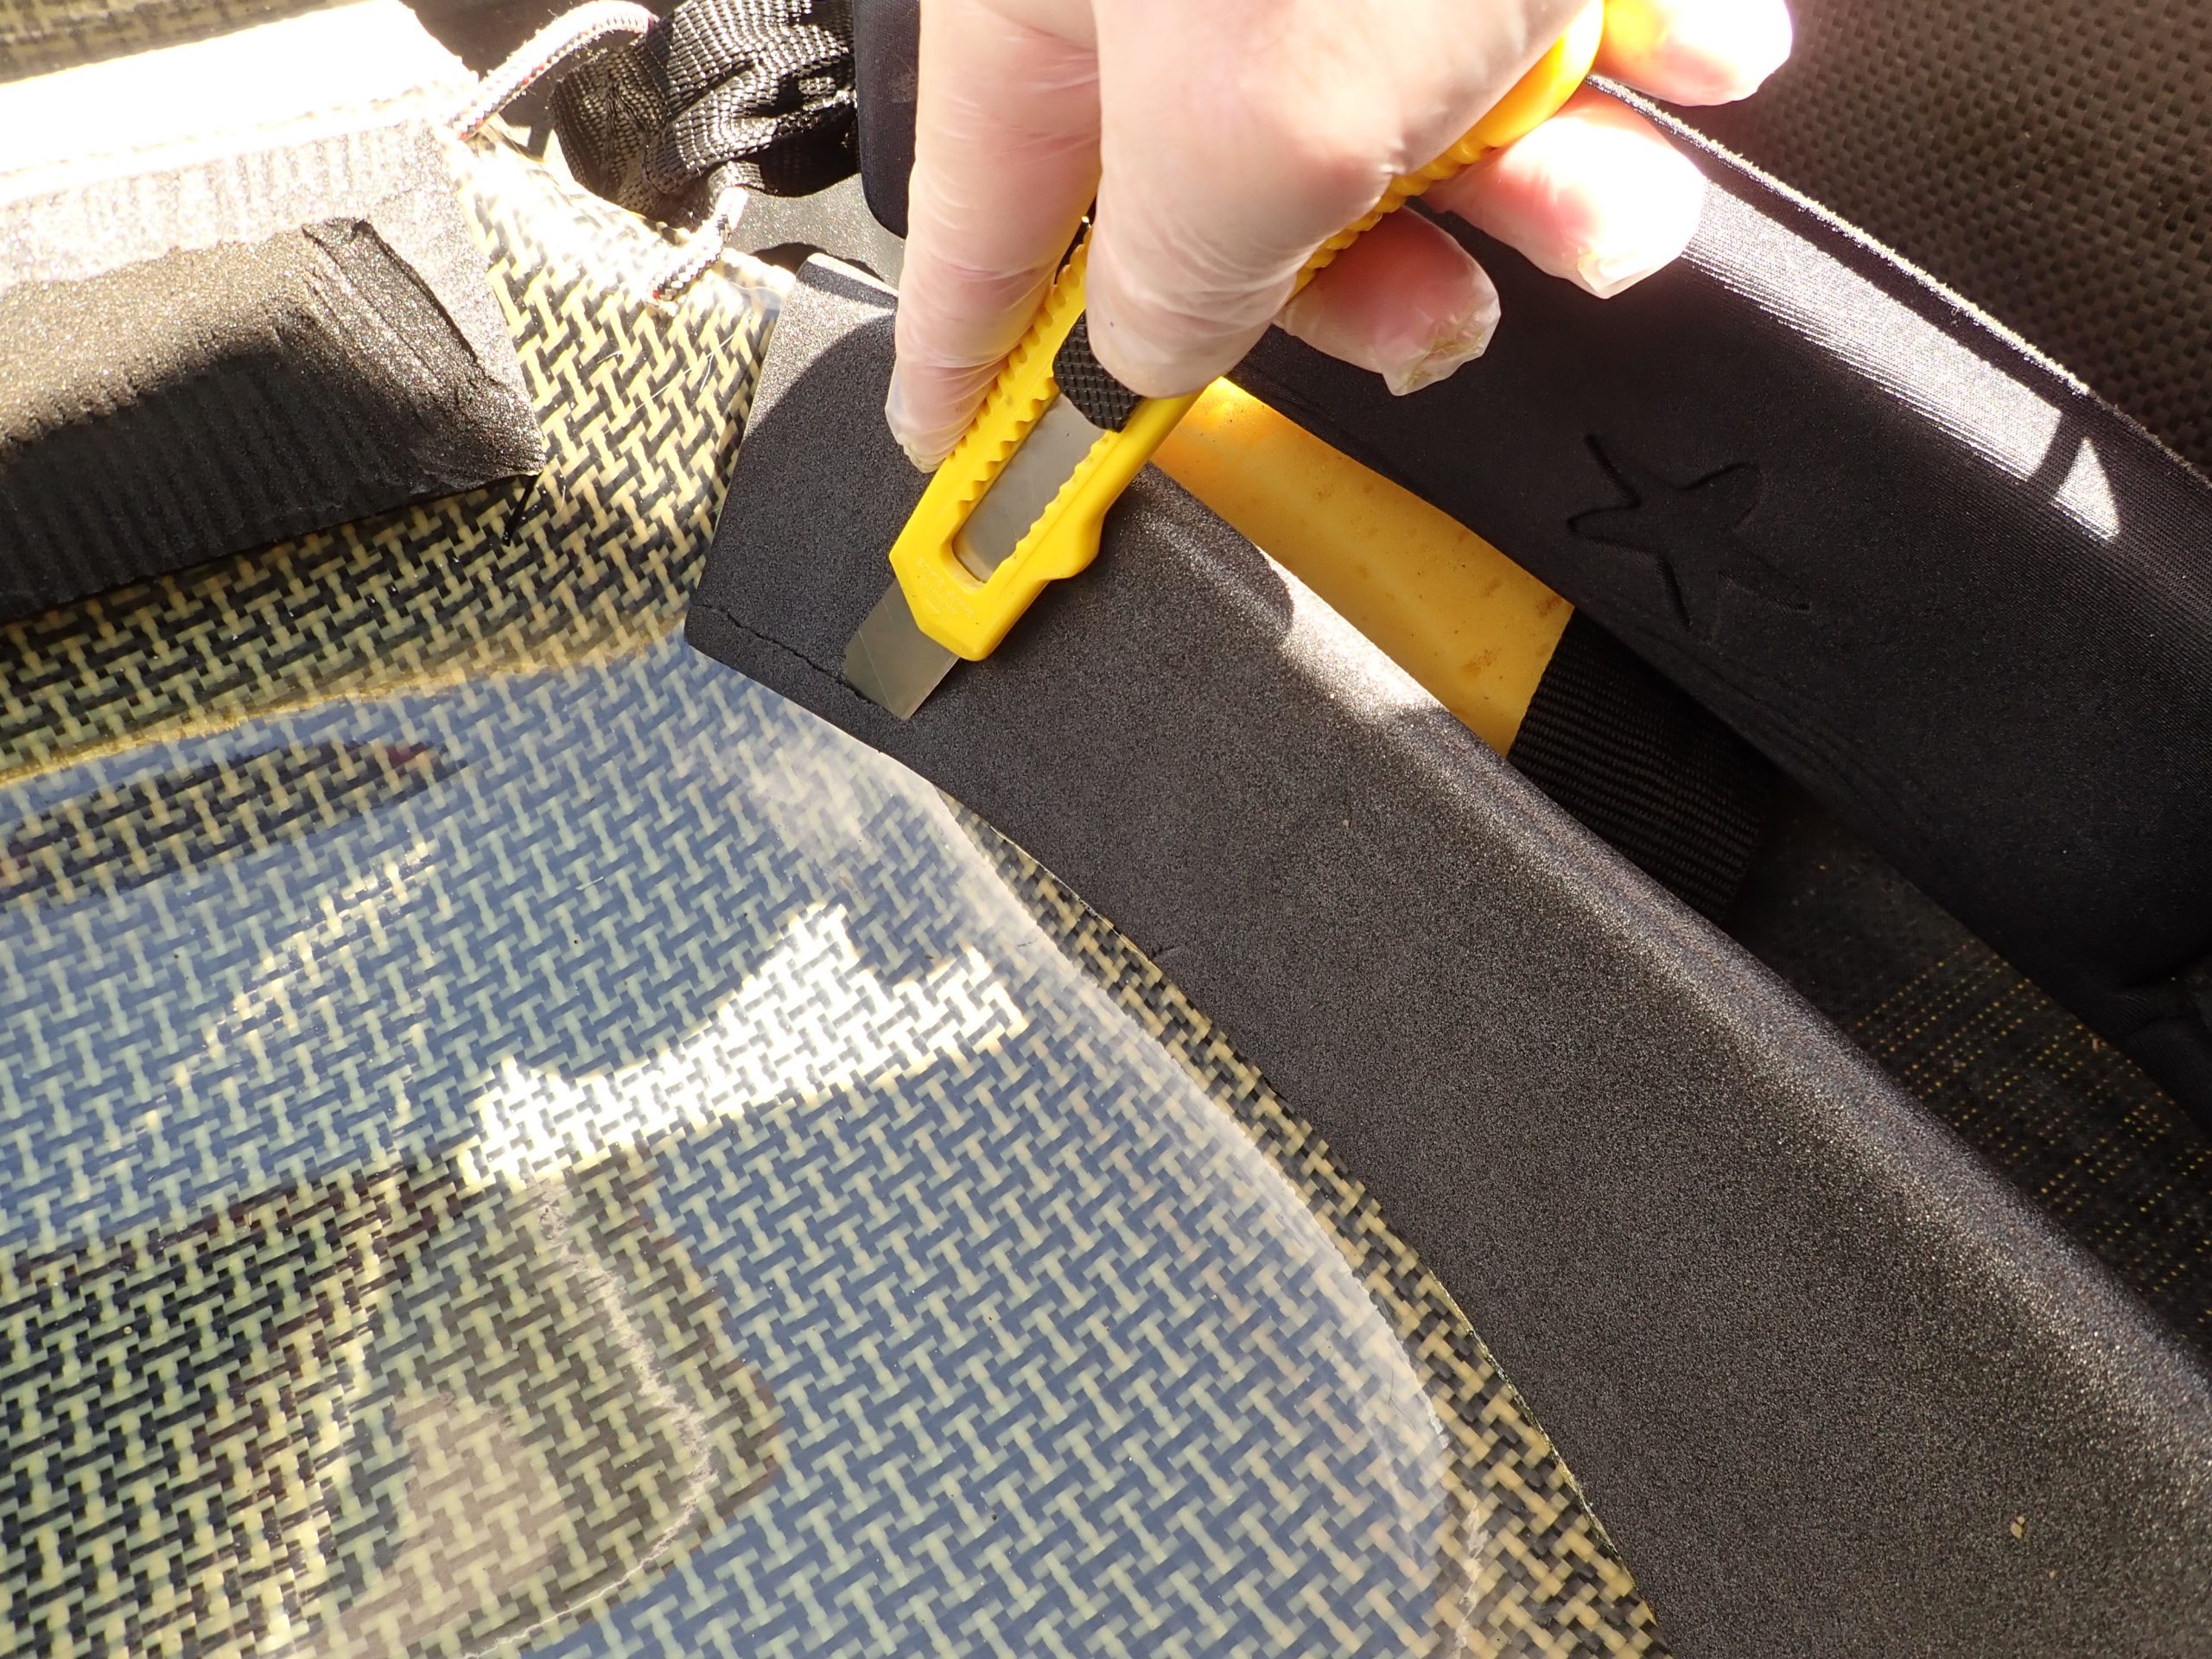
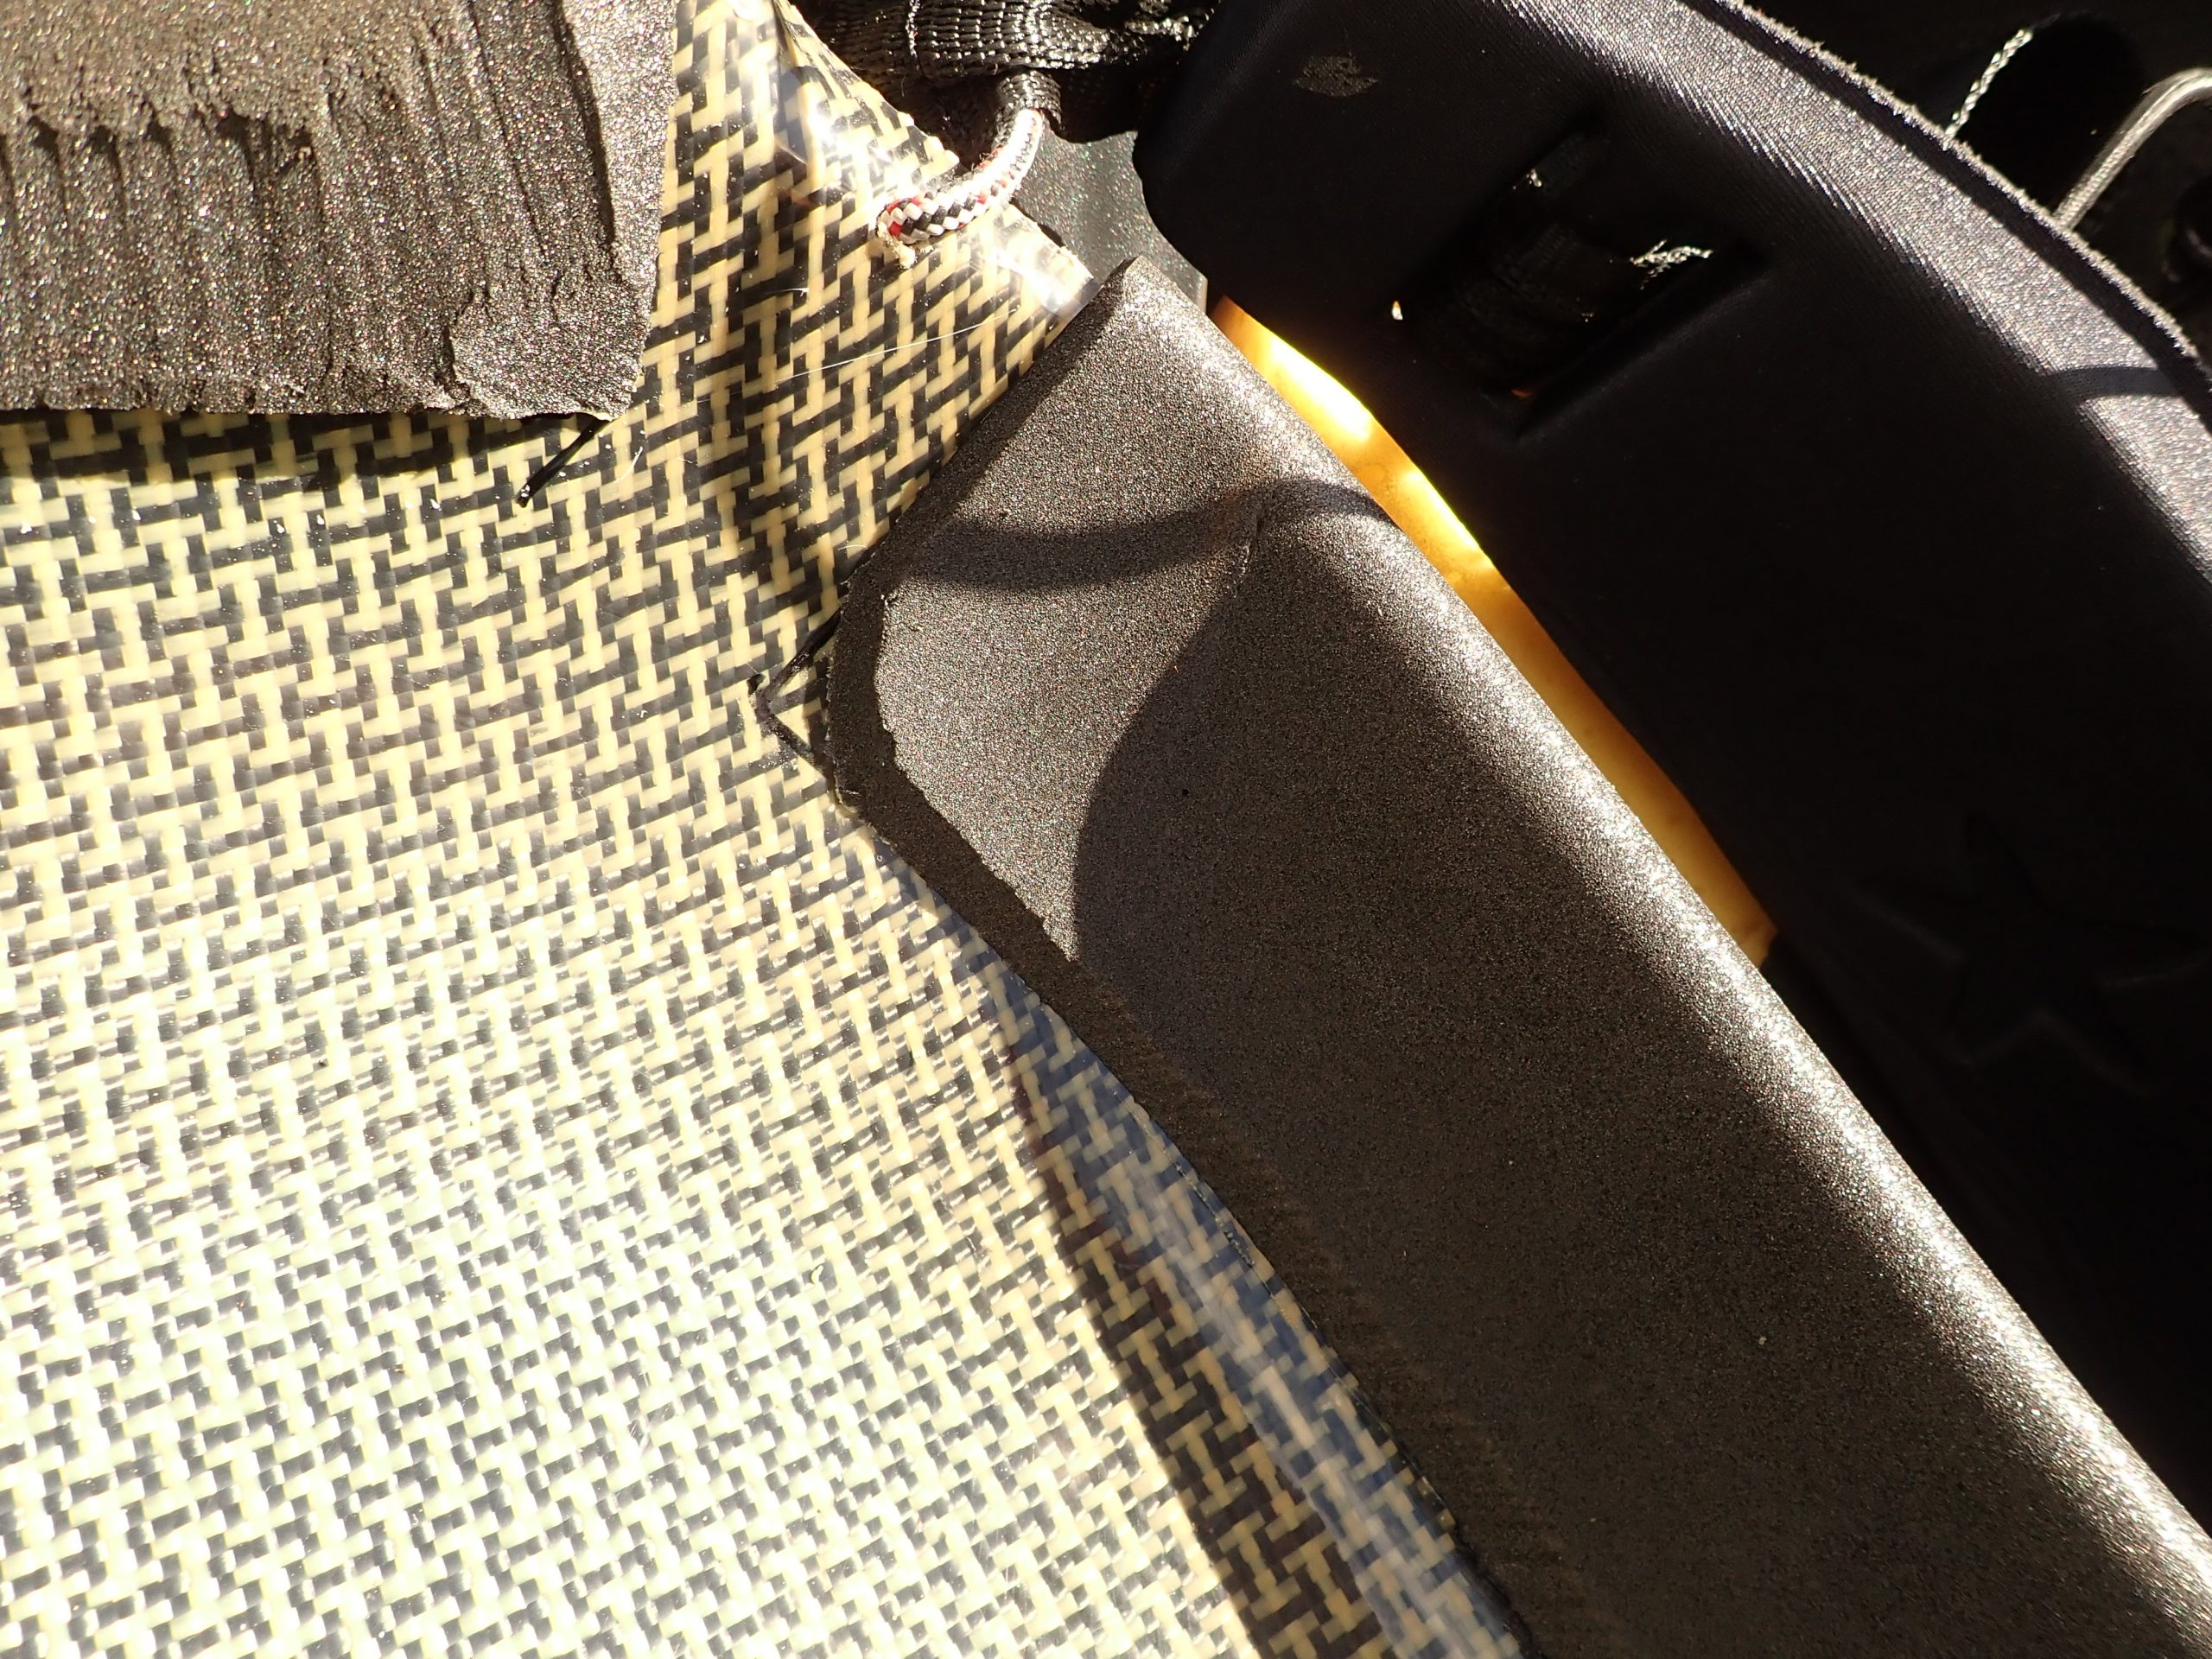
Seat – Hip Blocks:
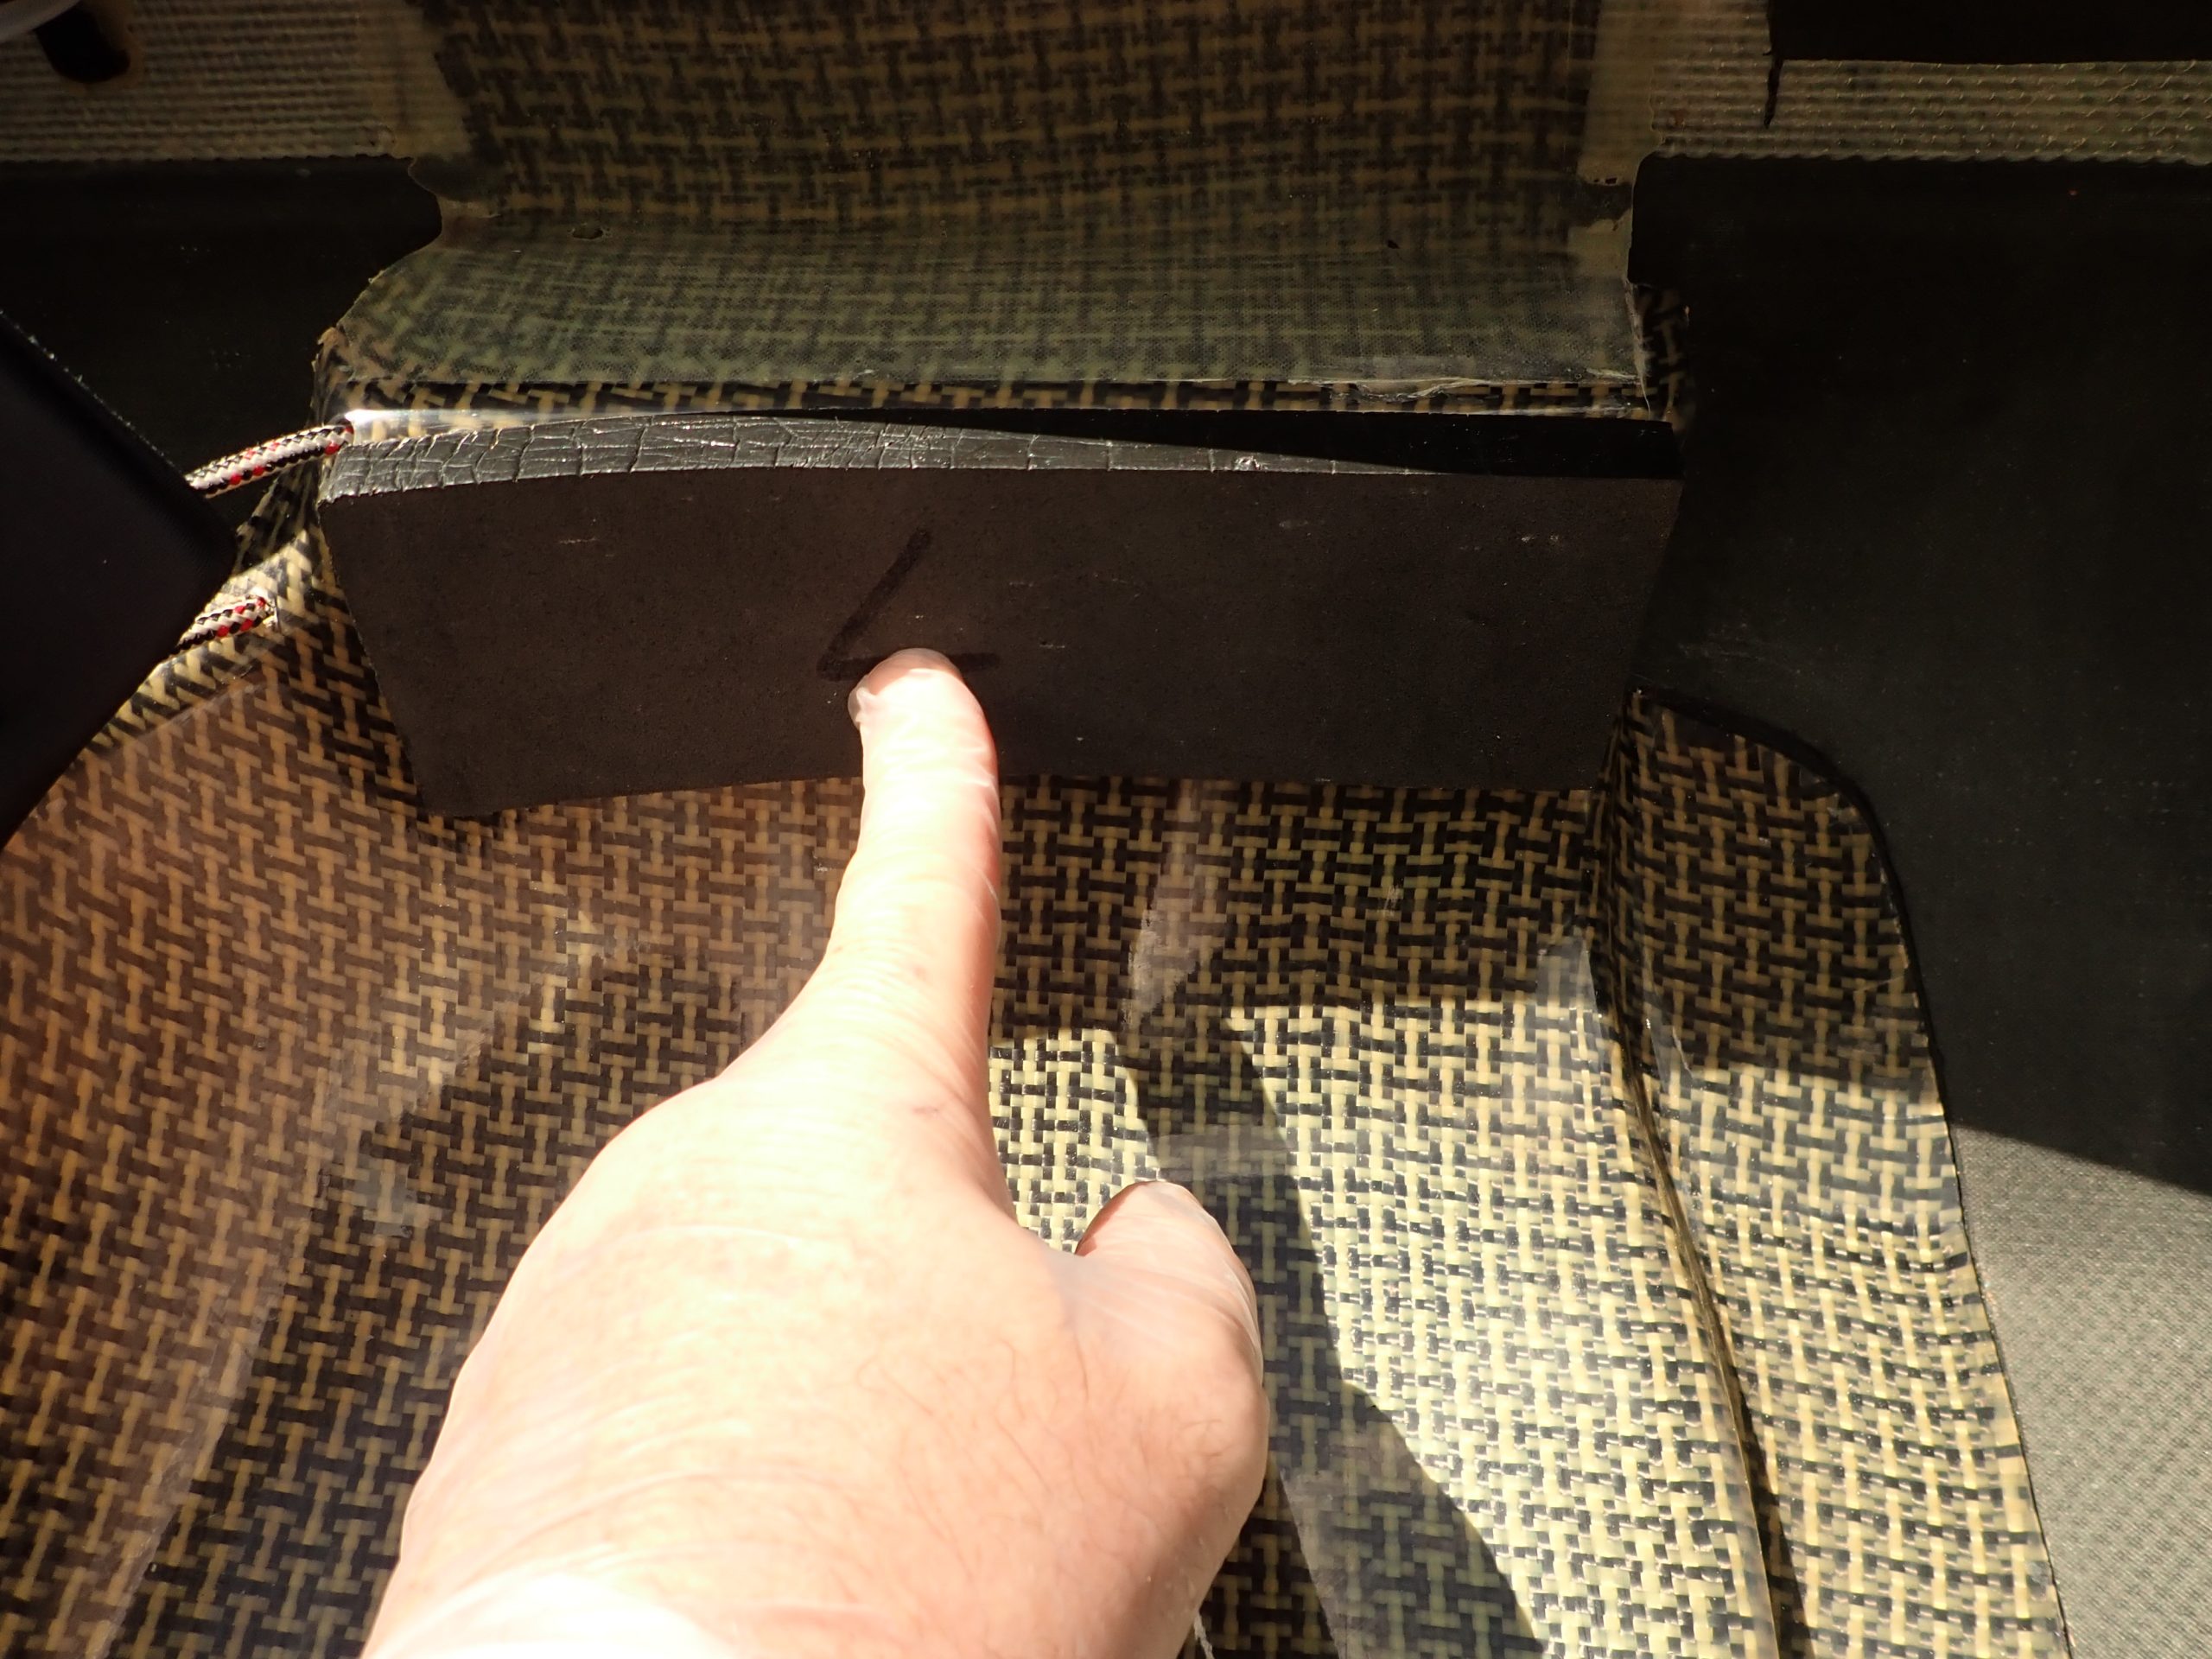
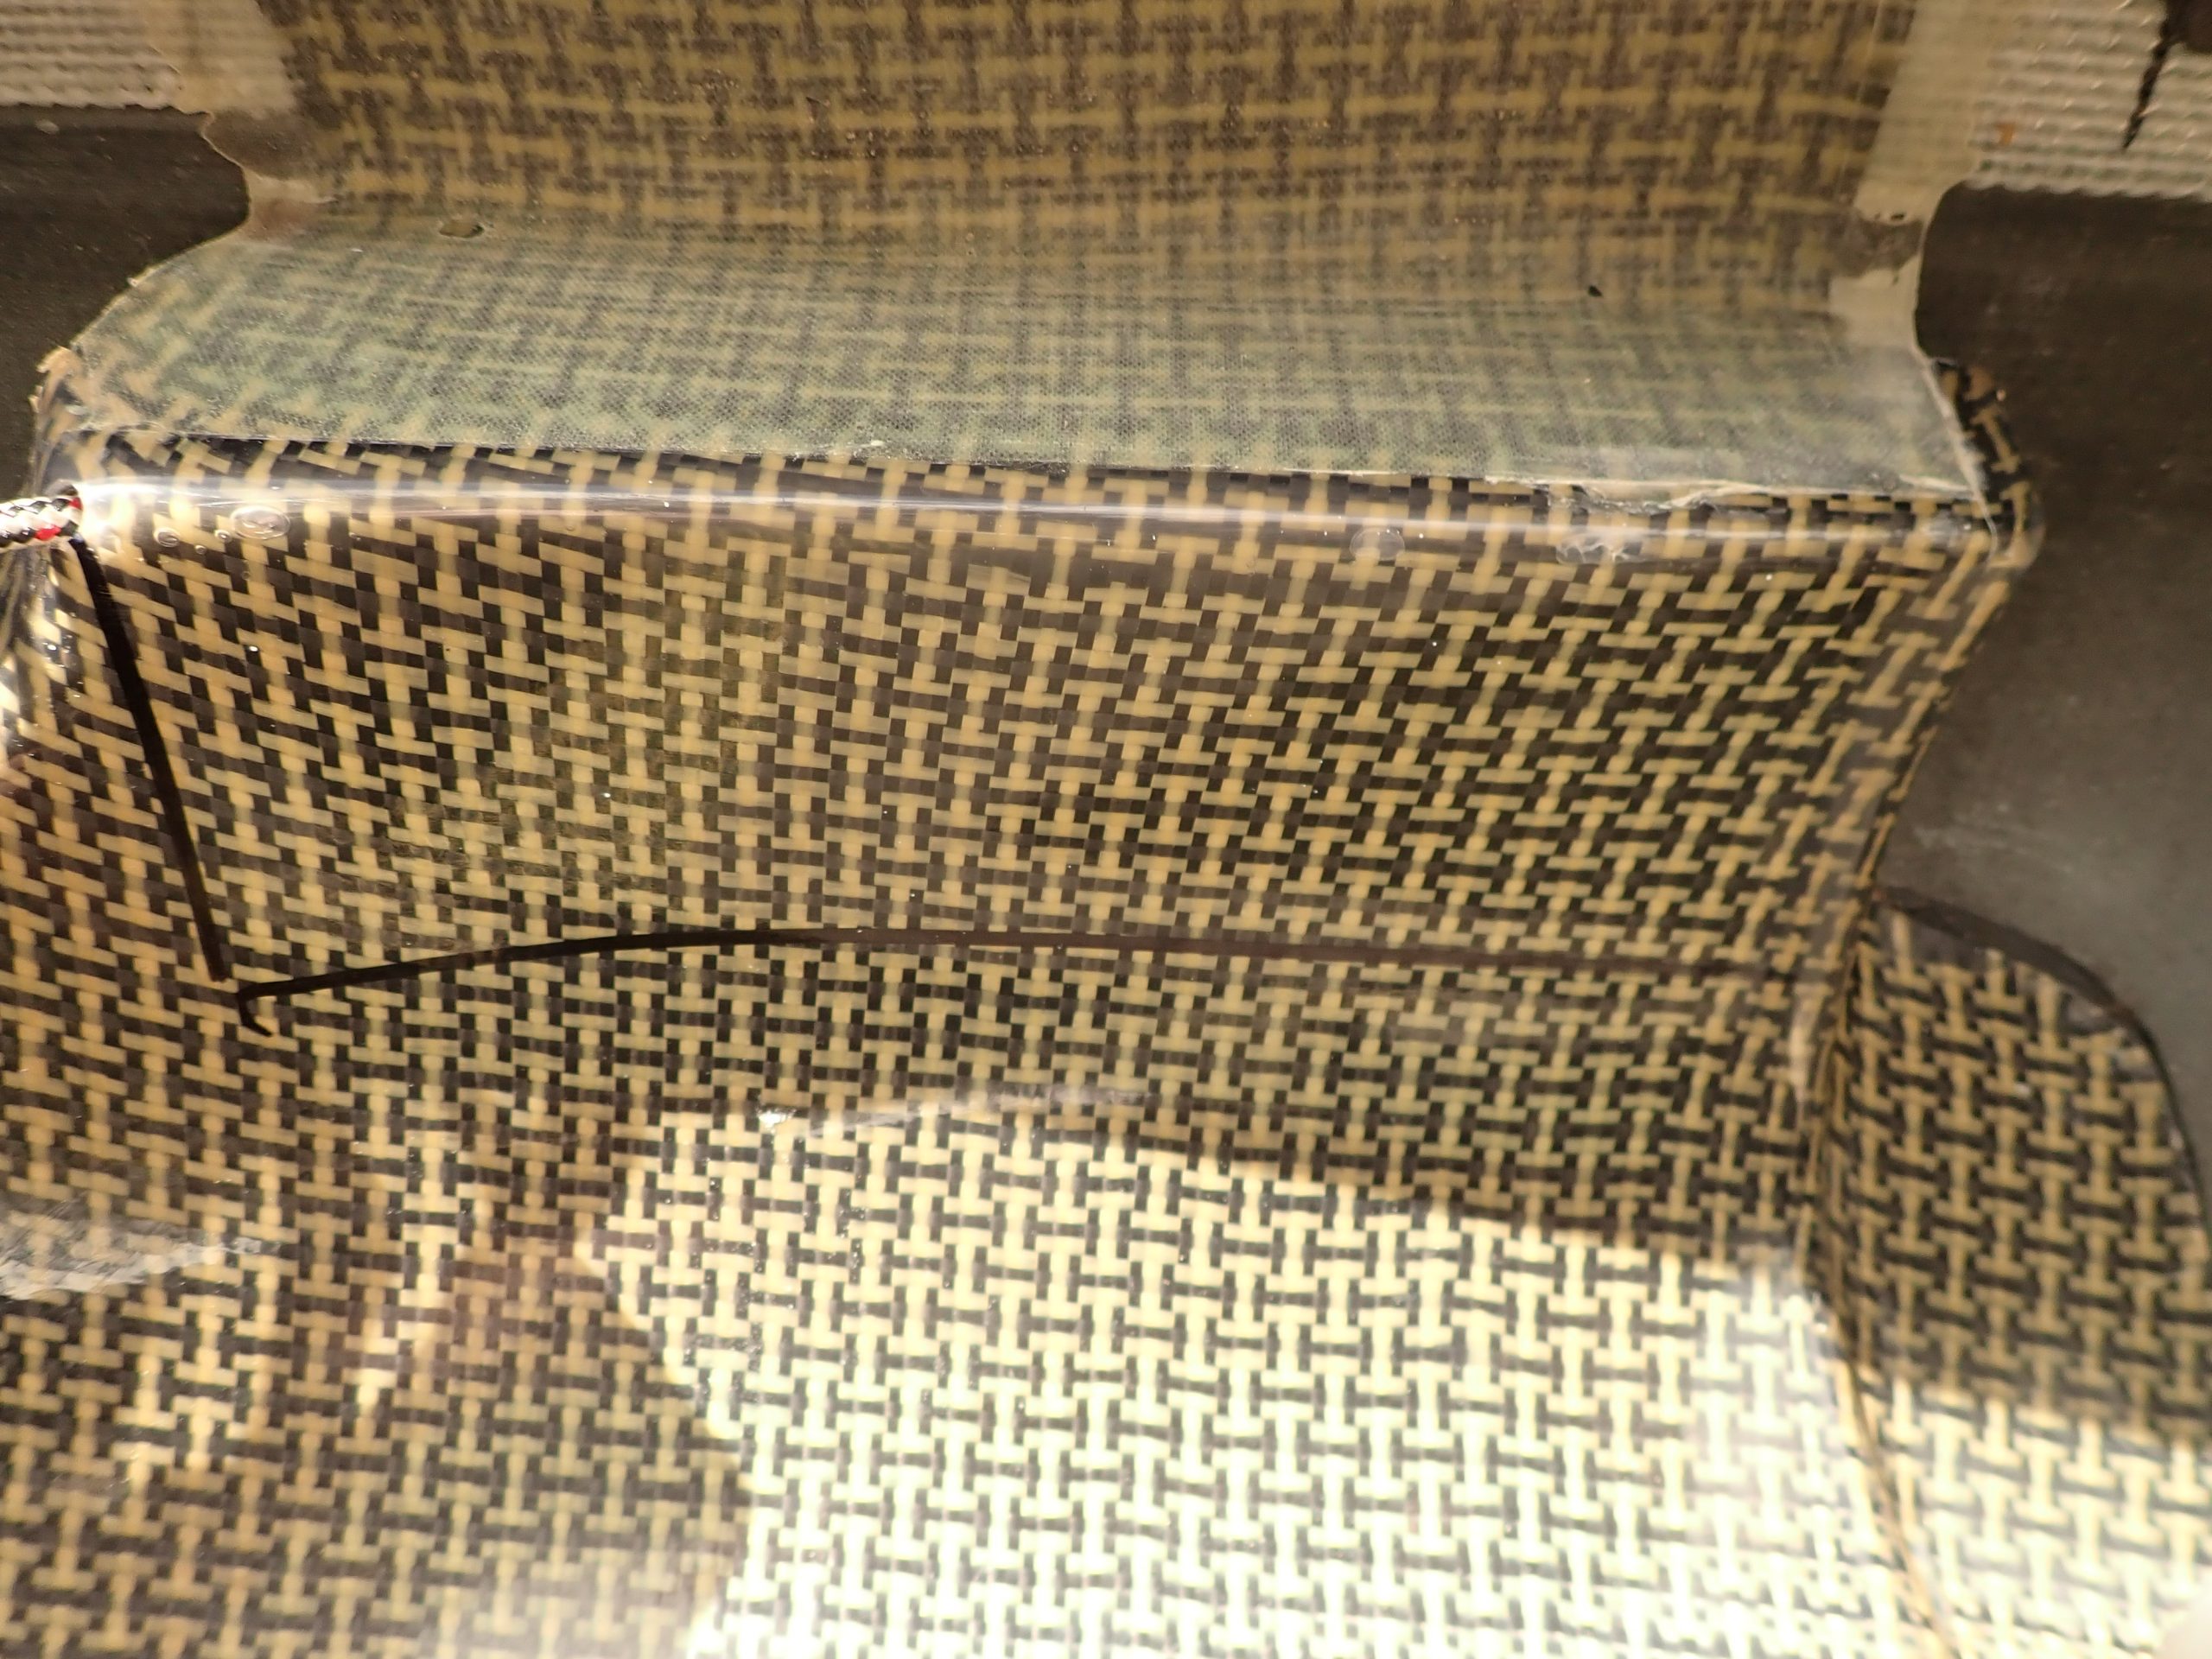
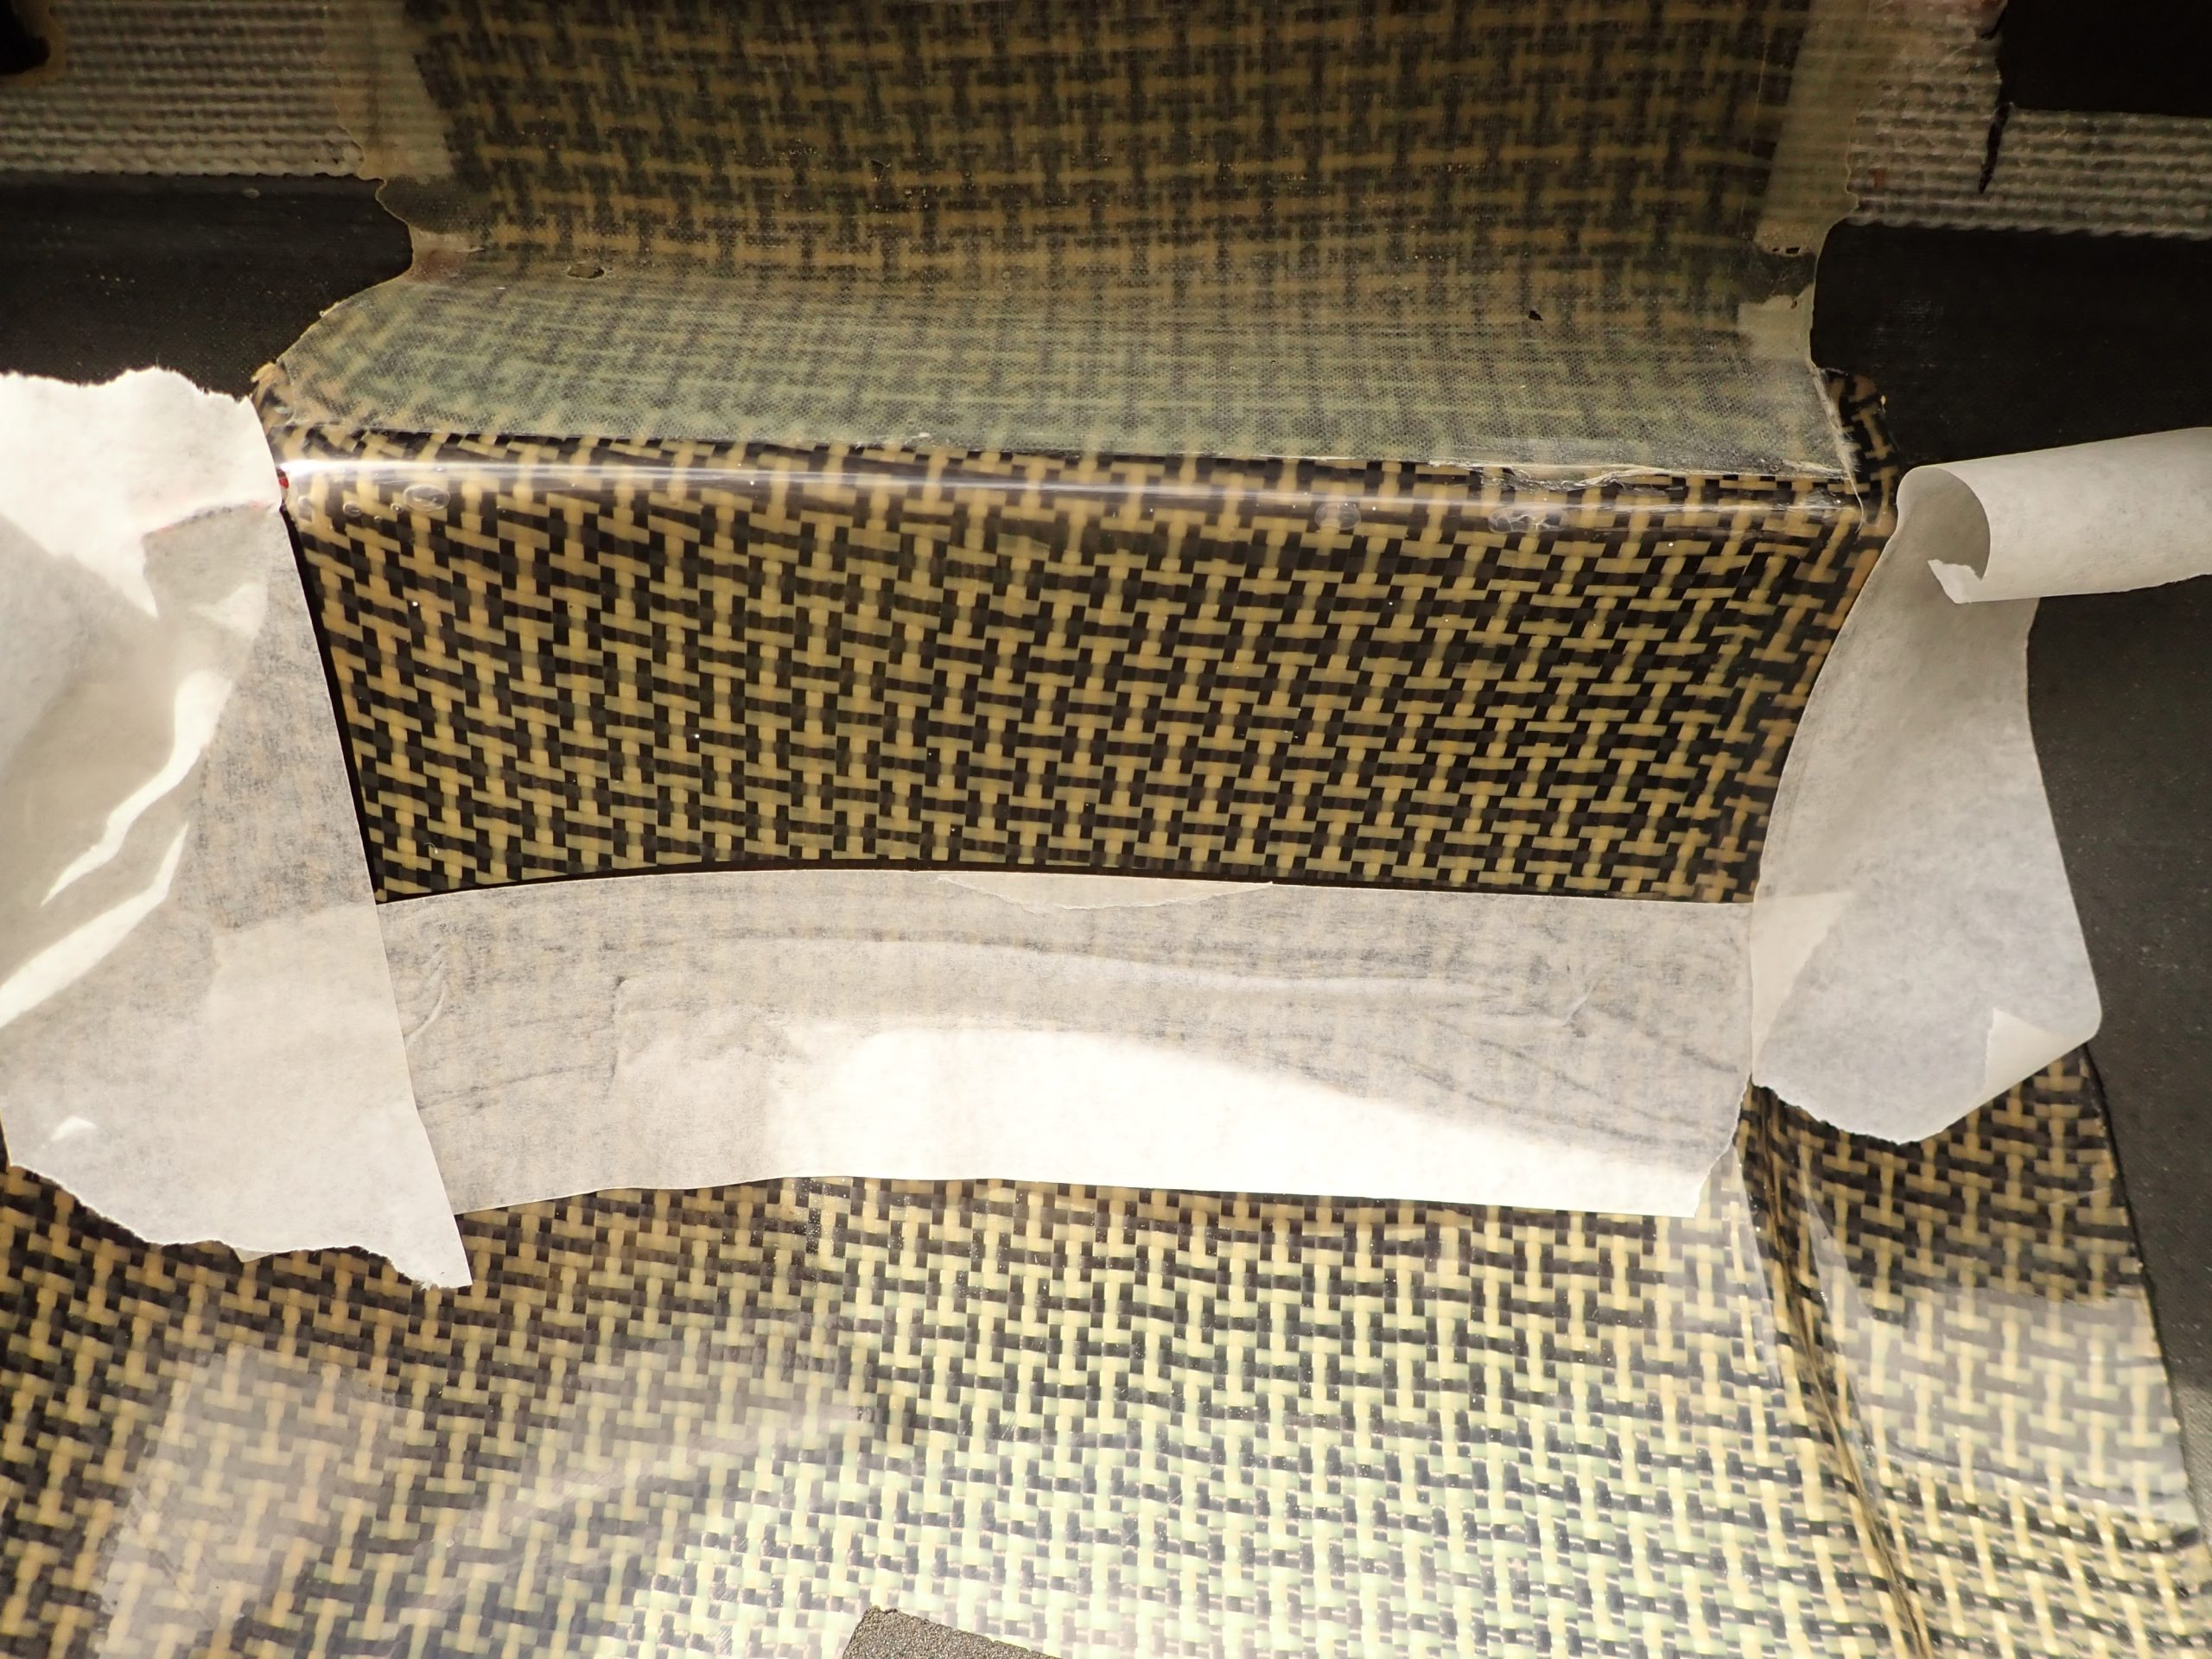
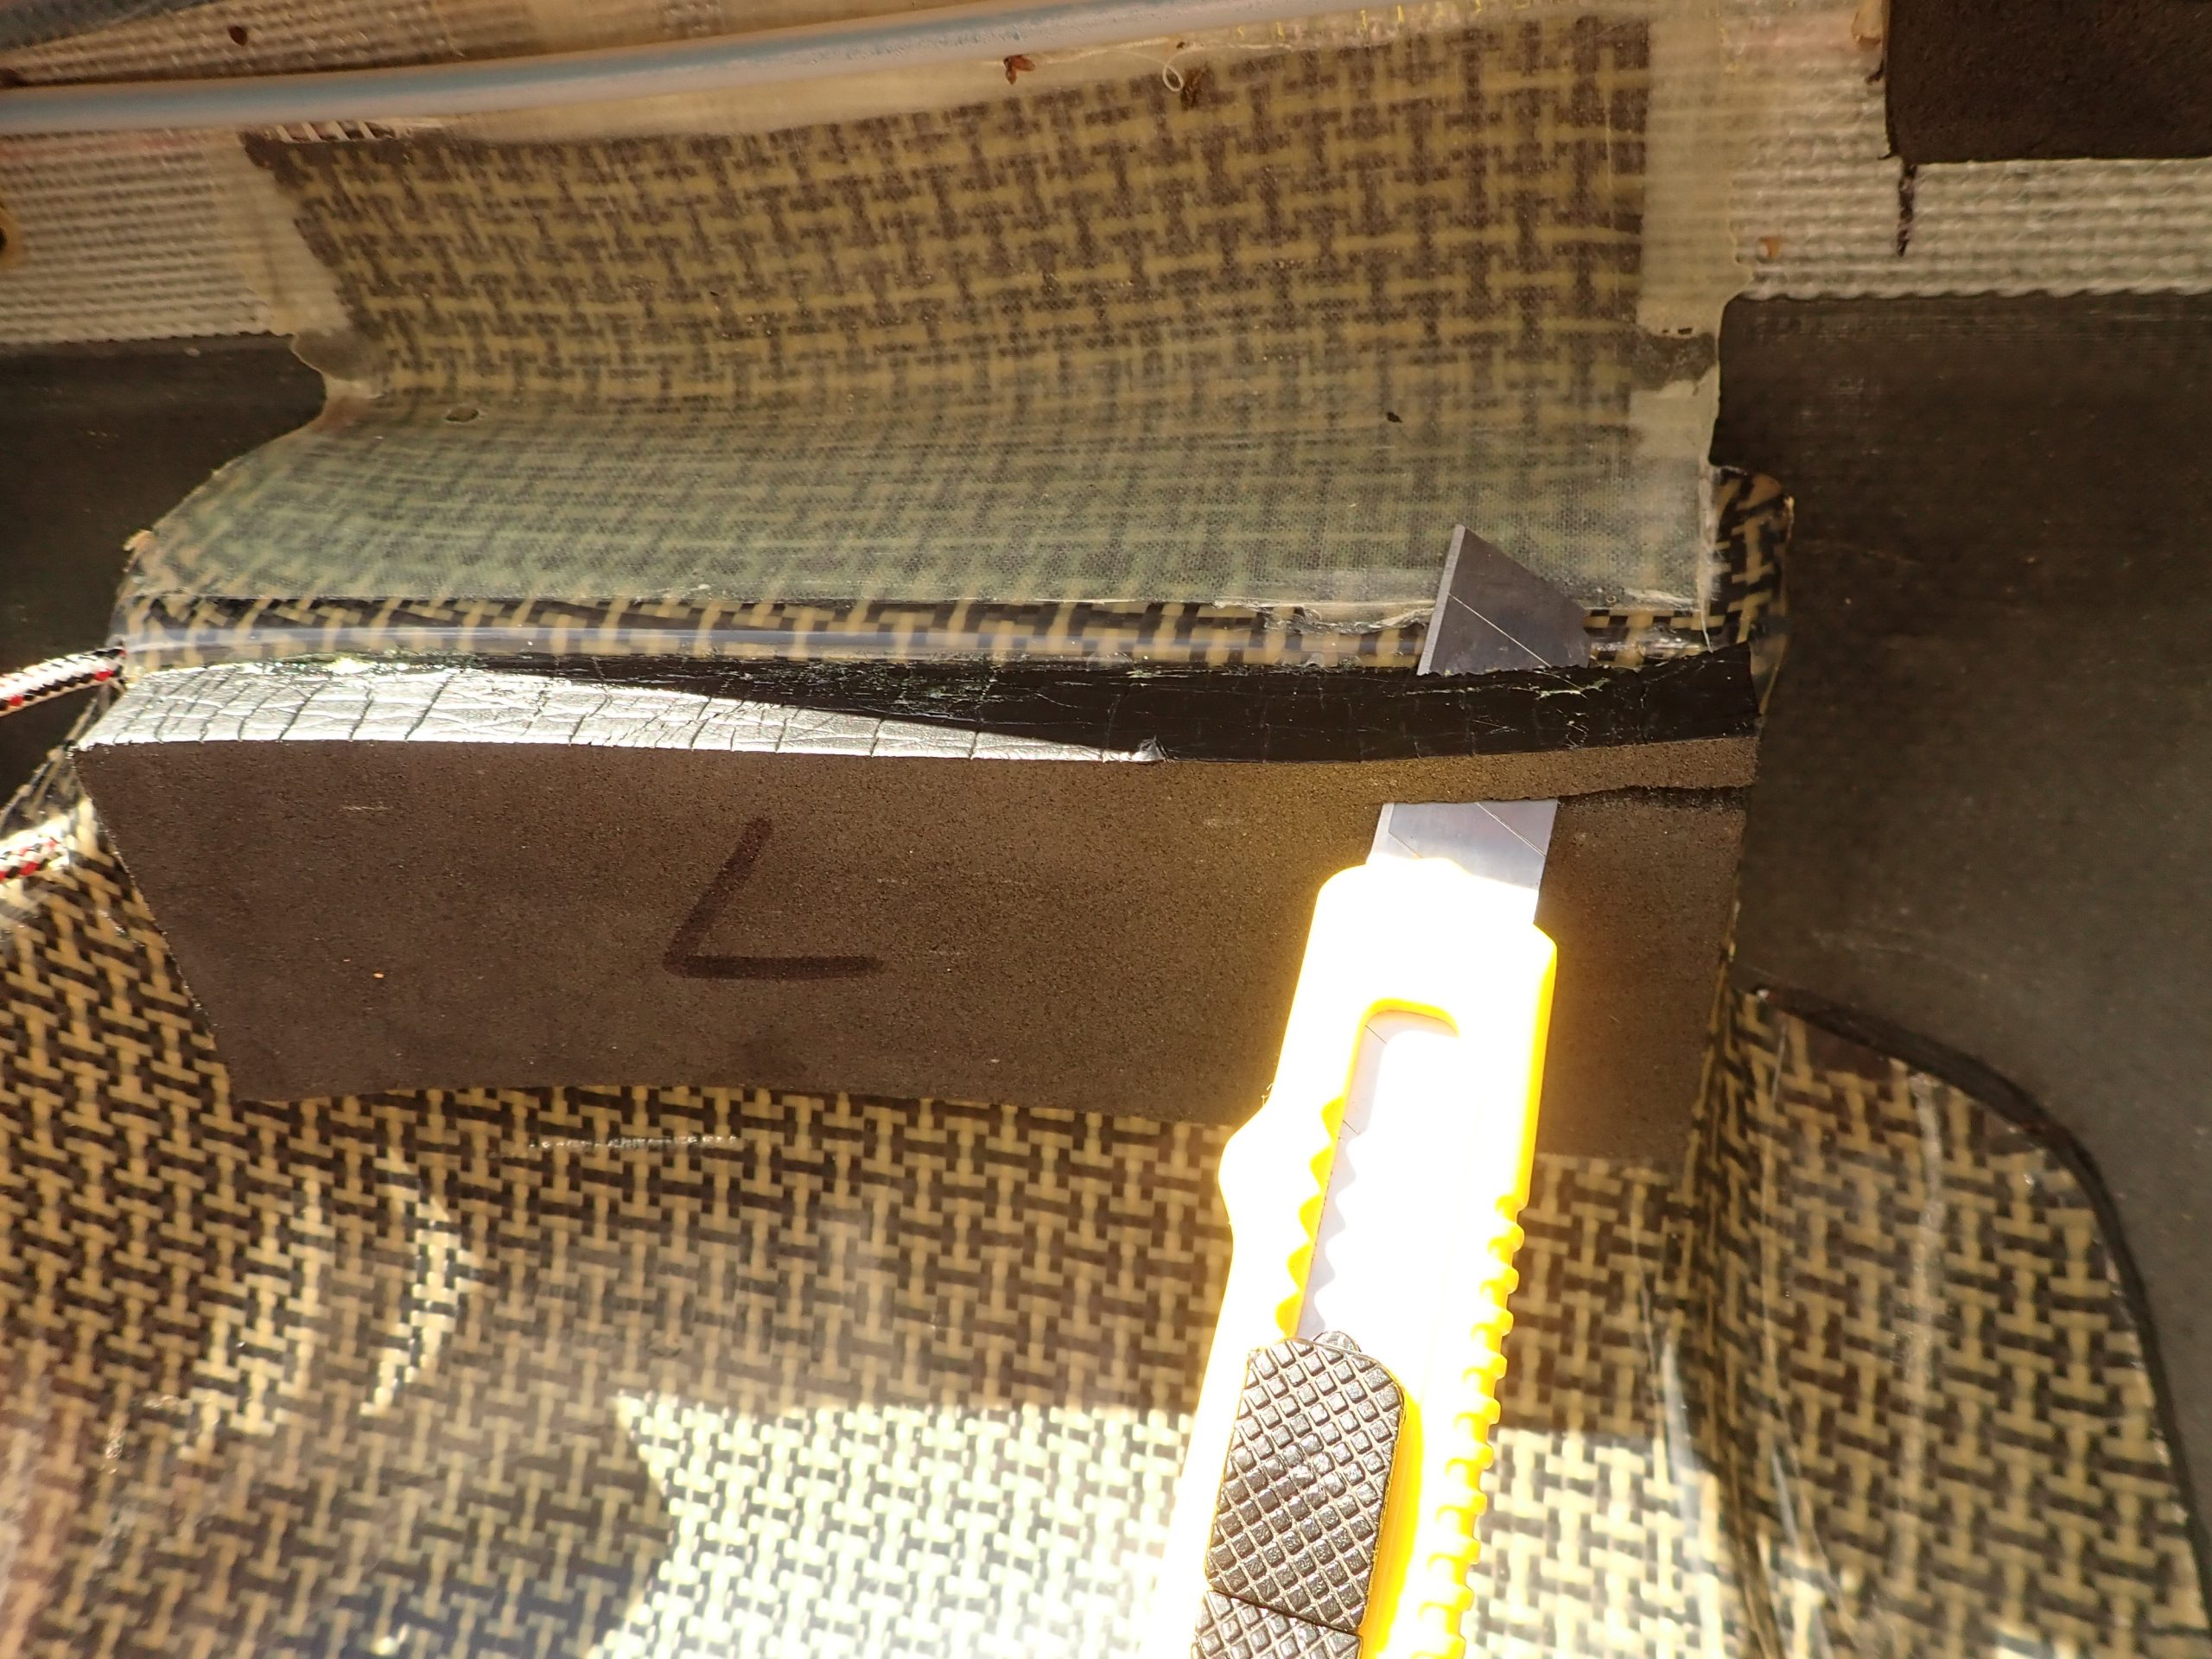
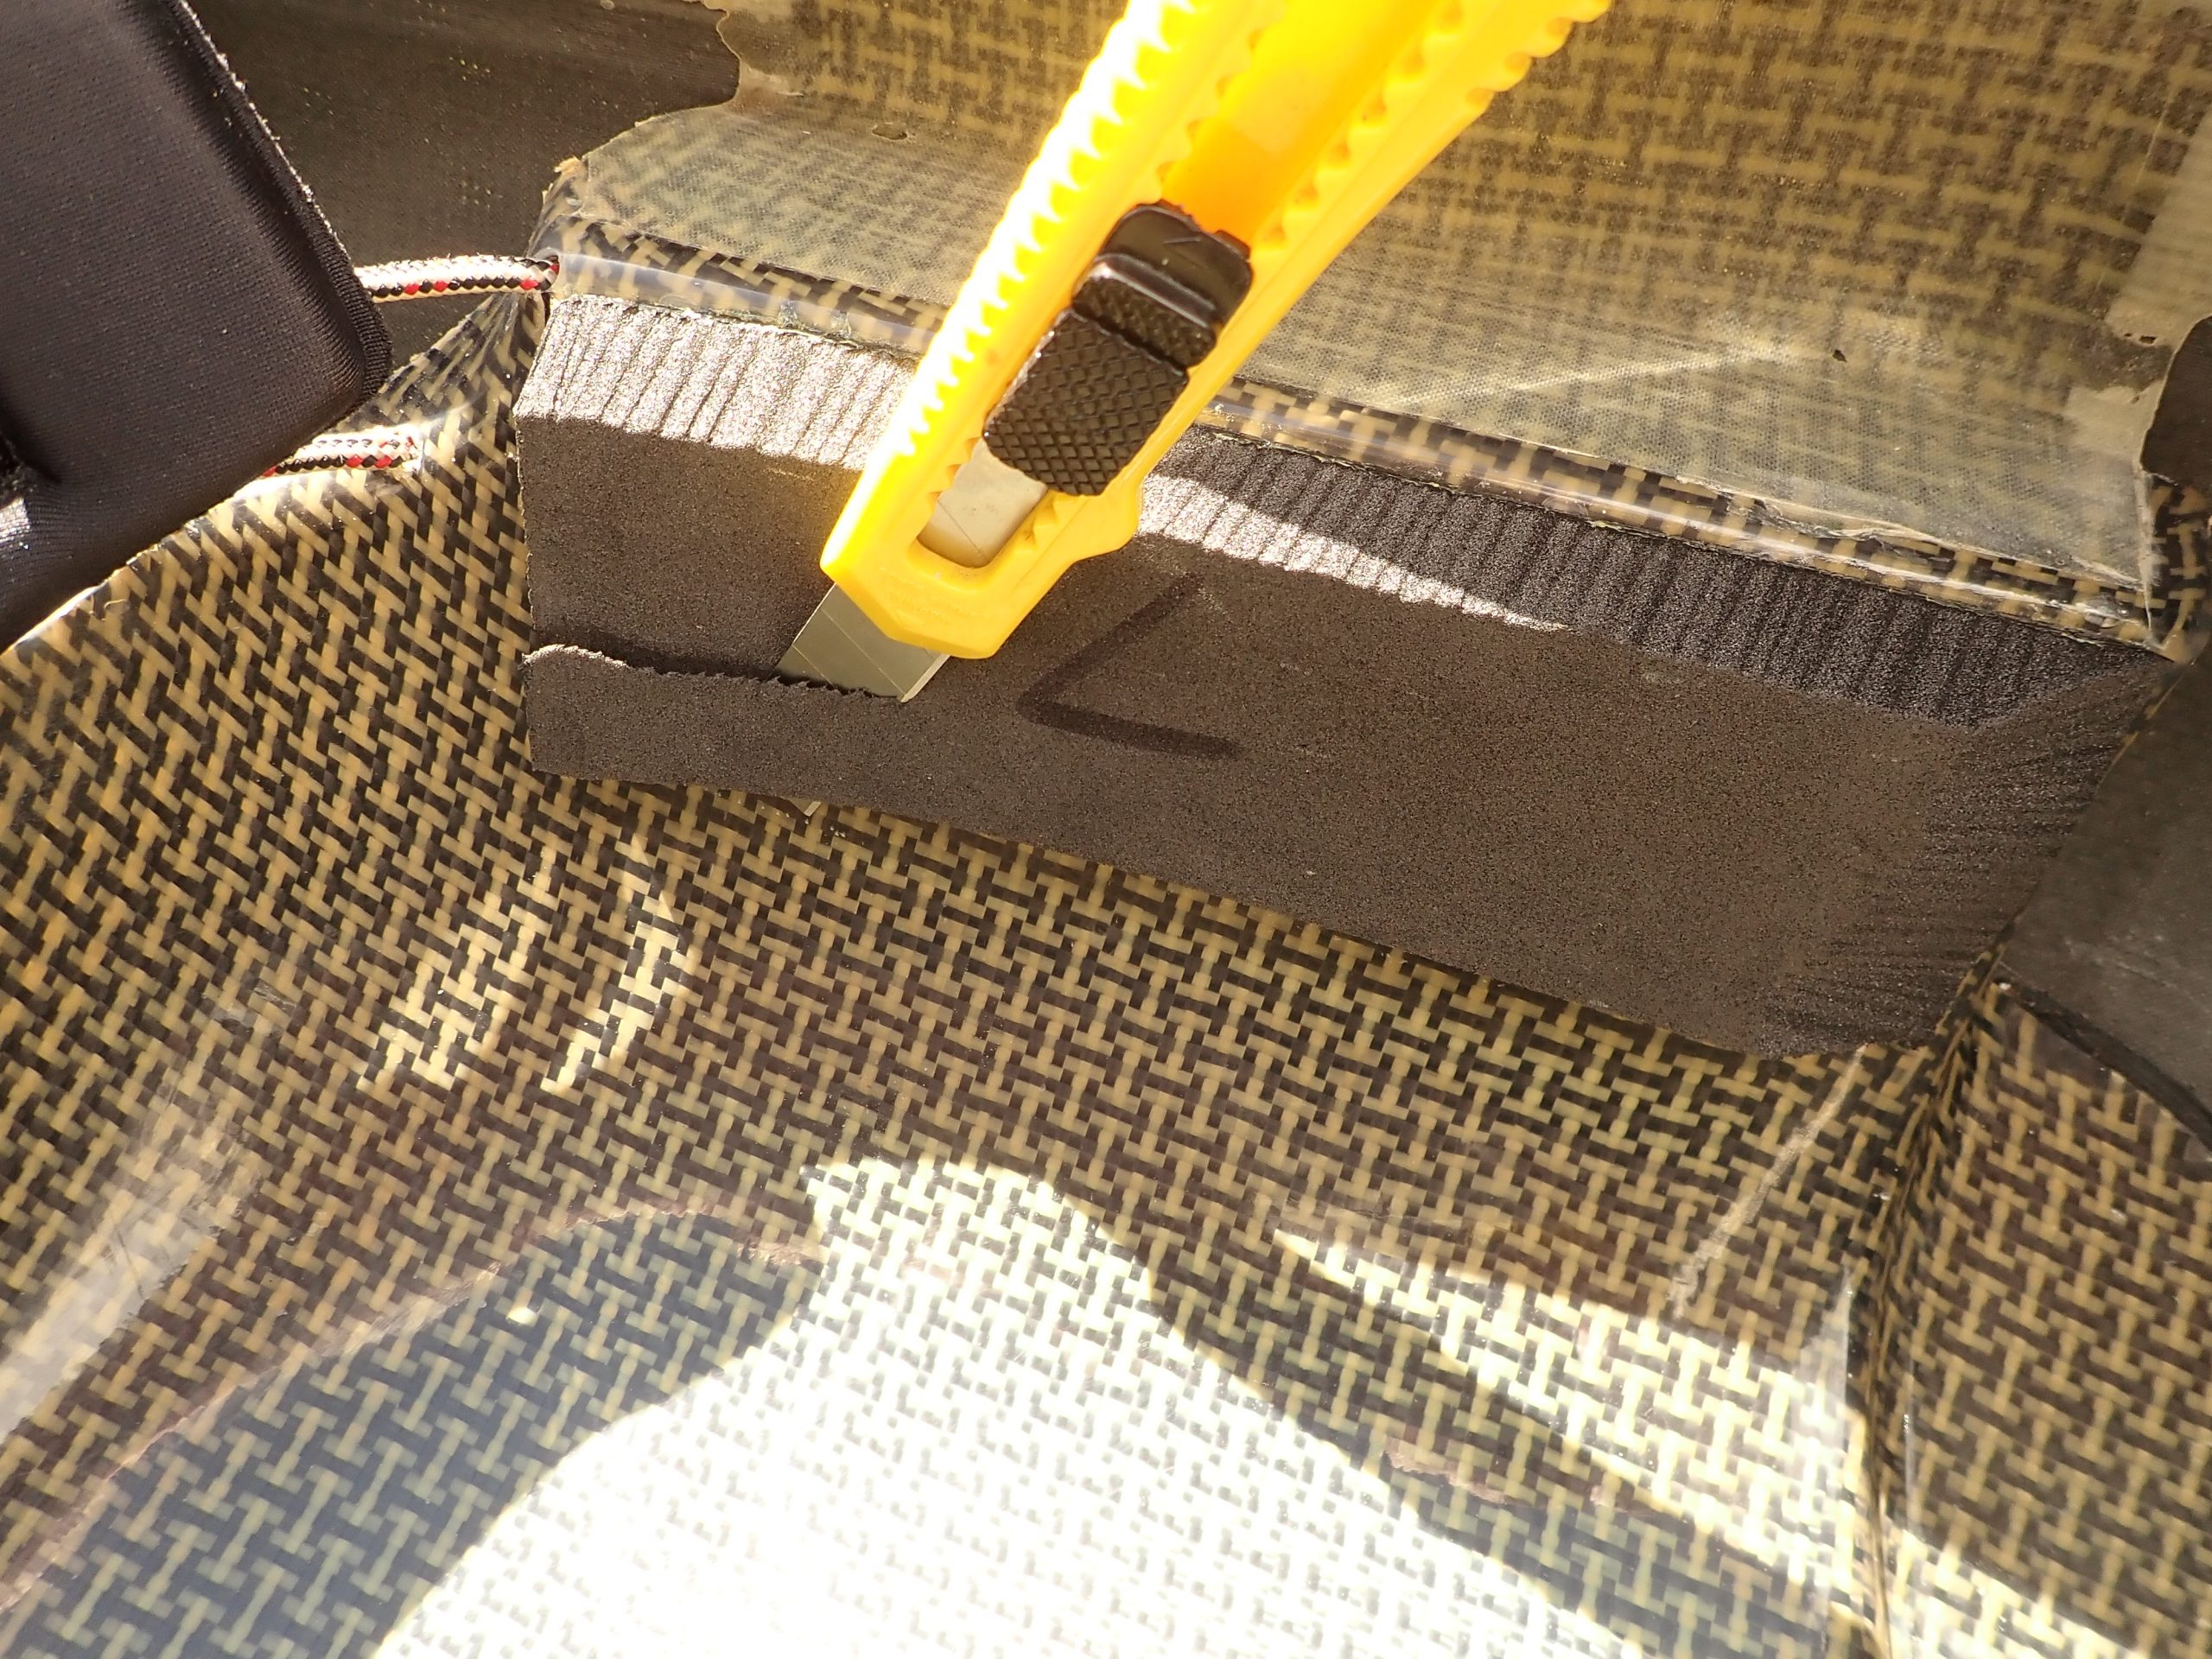
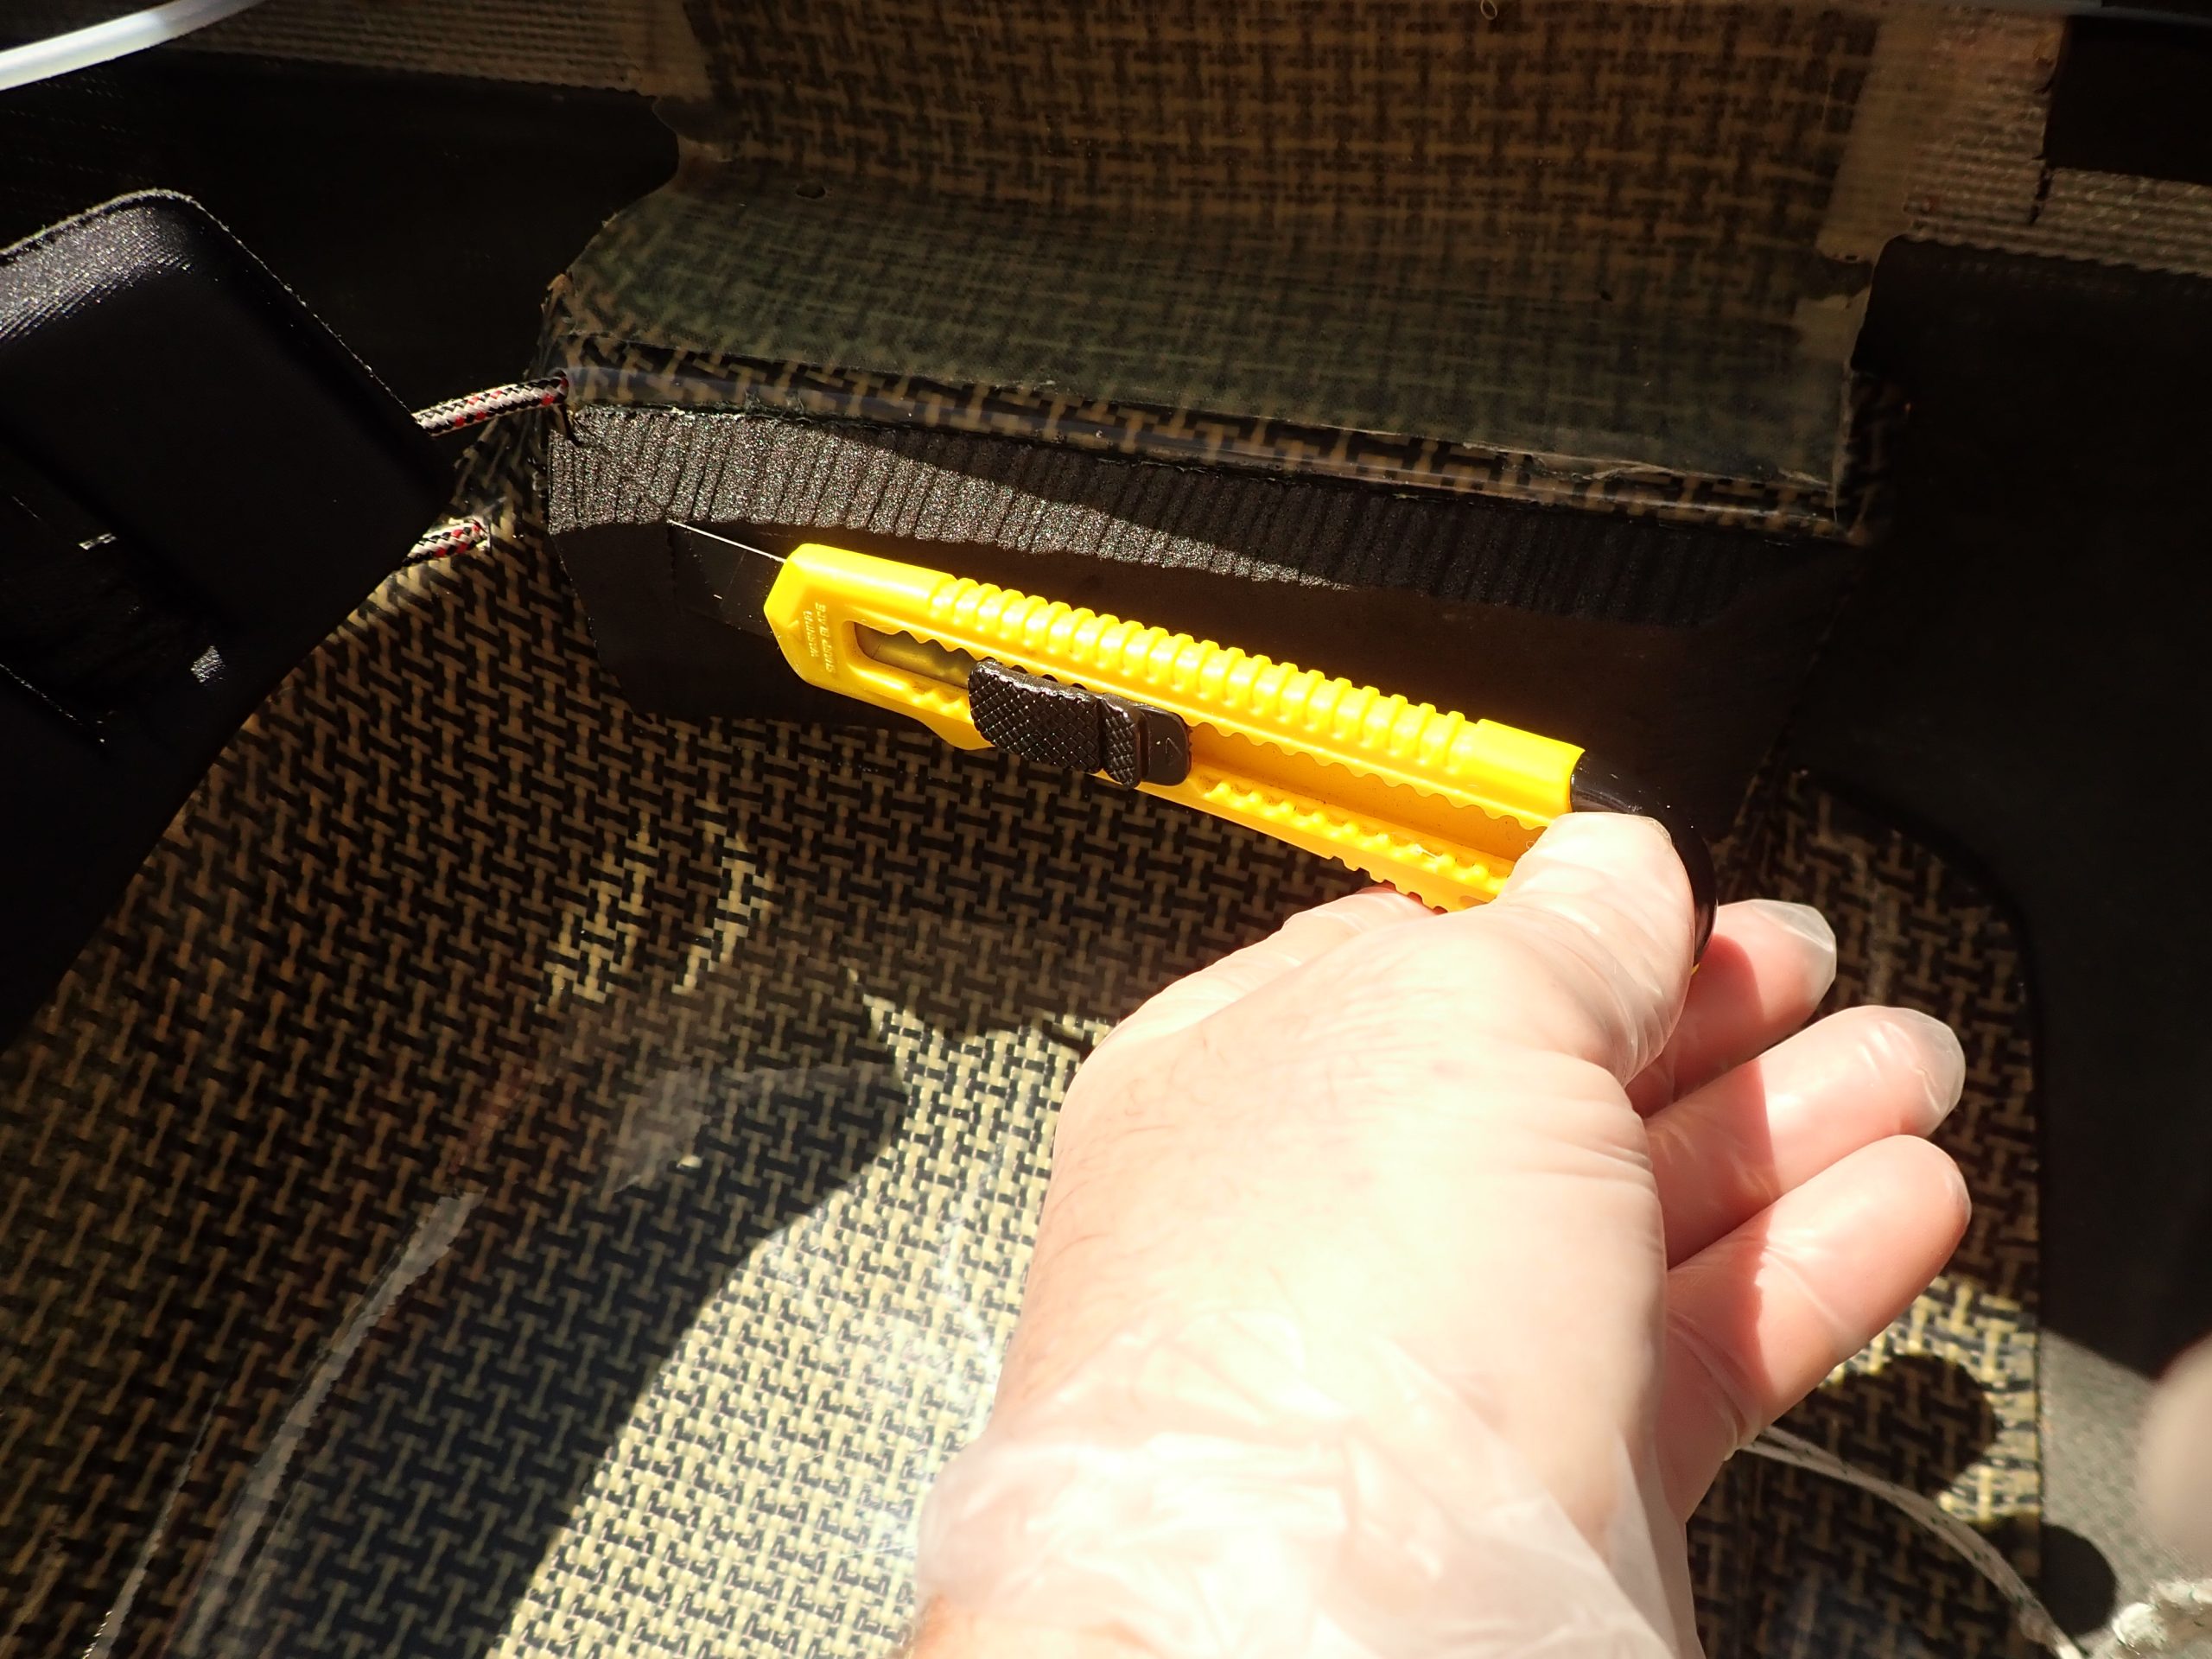
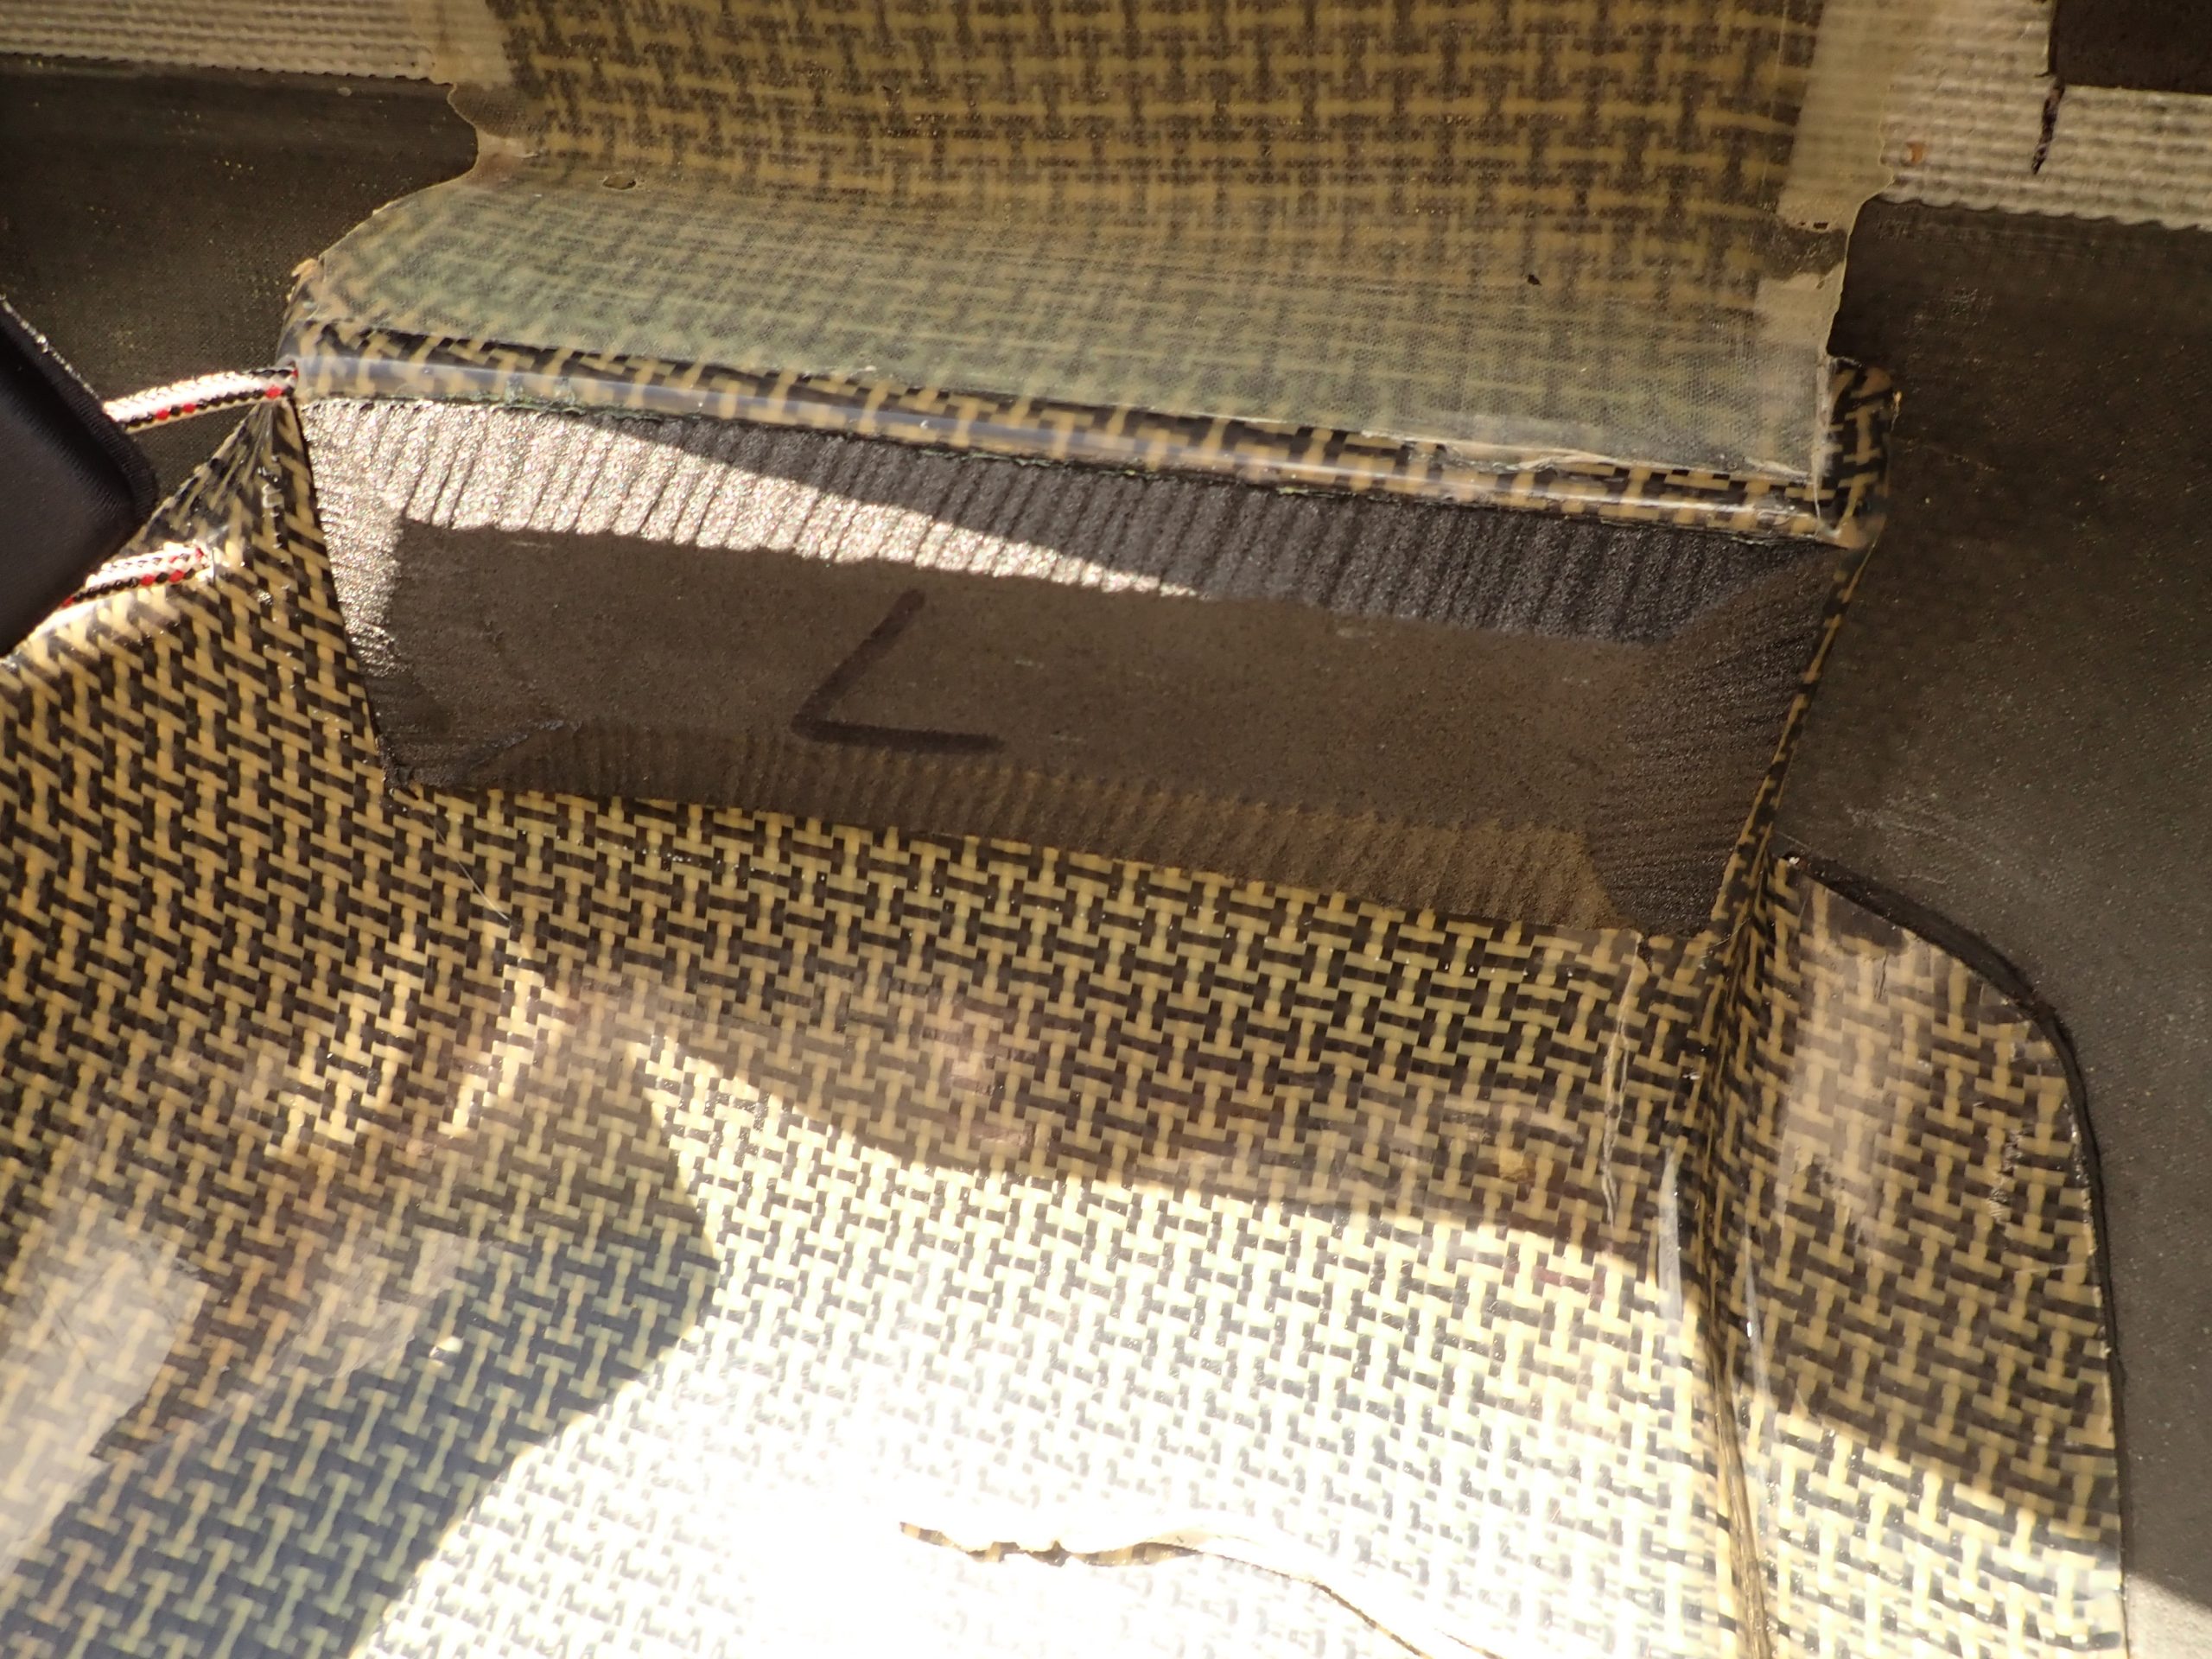
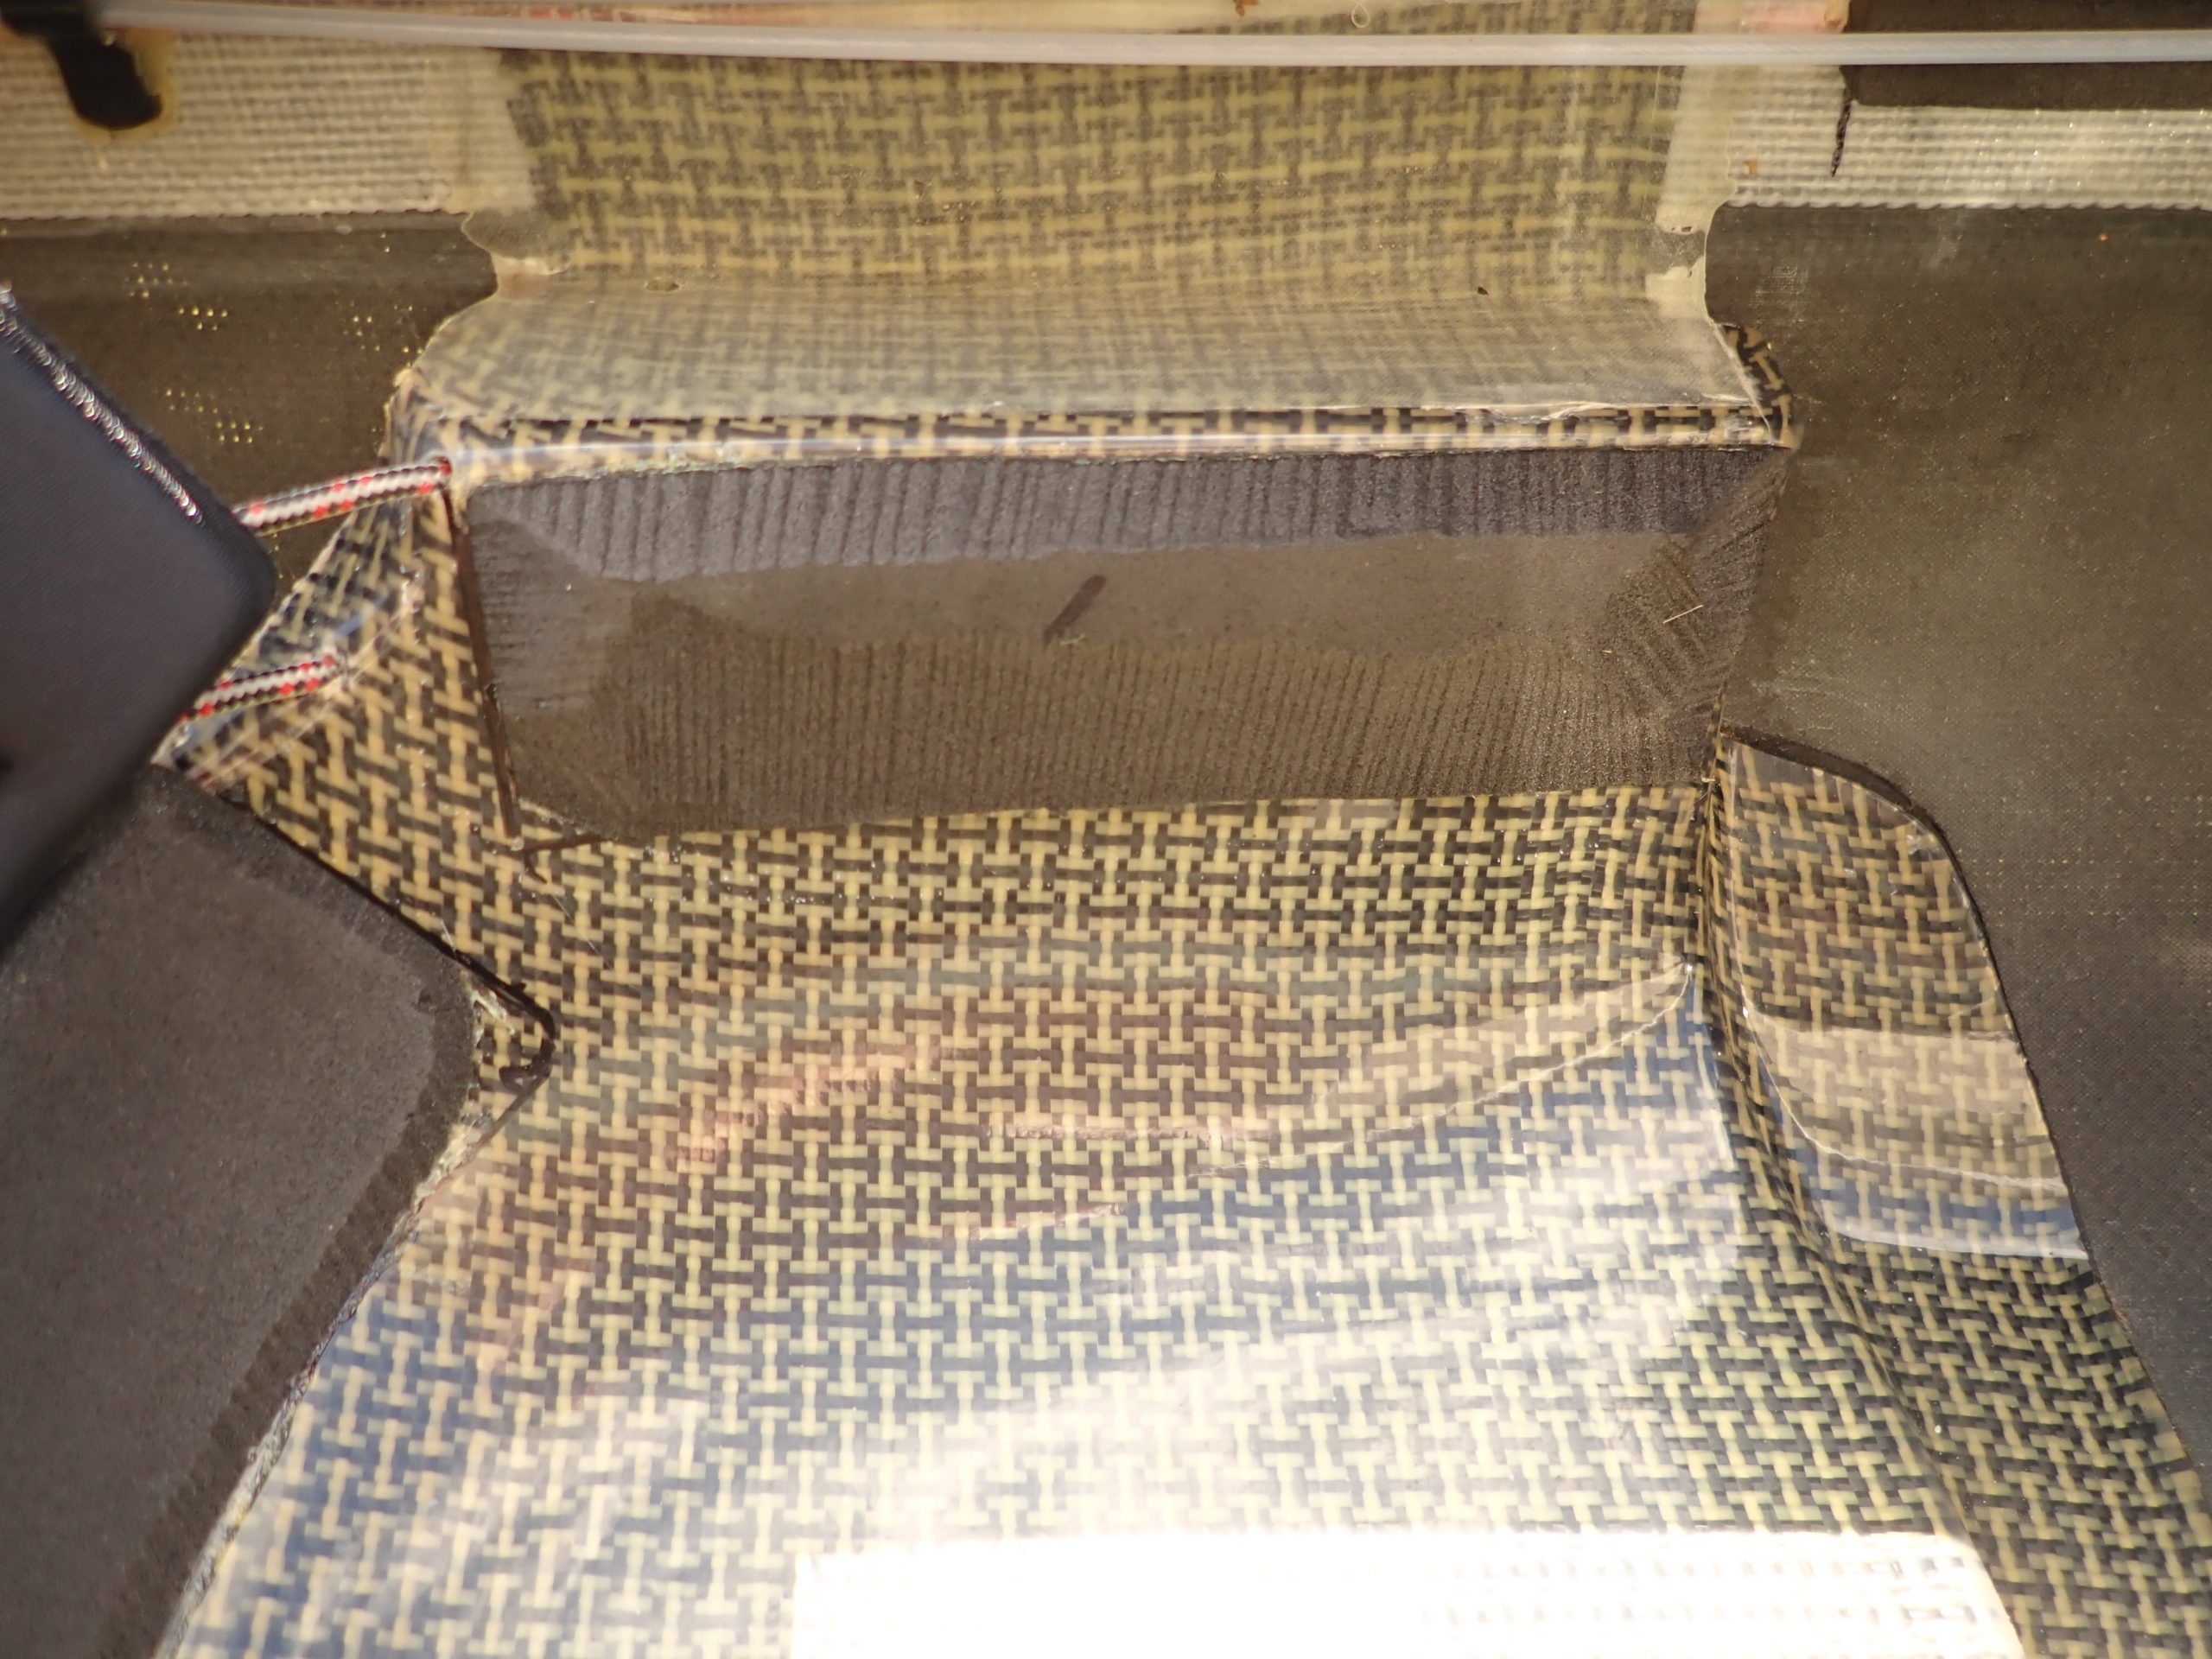
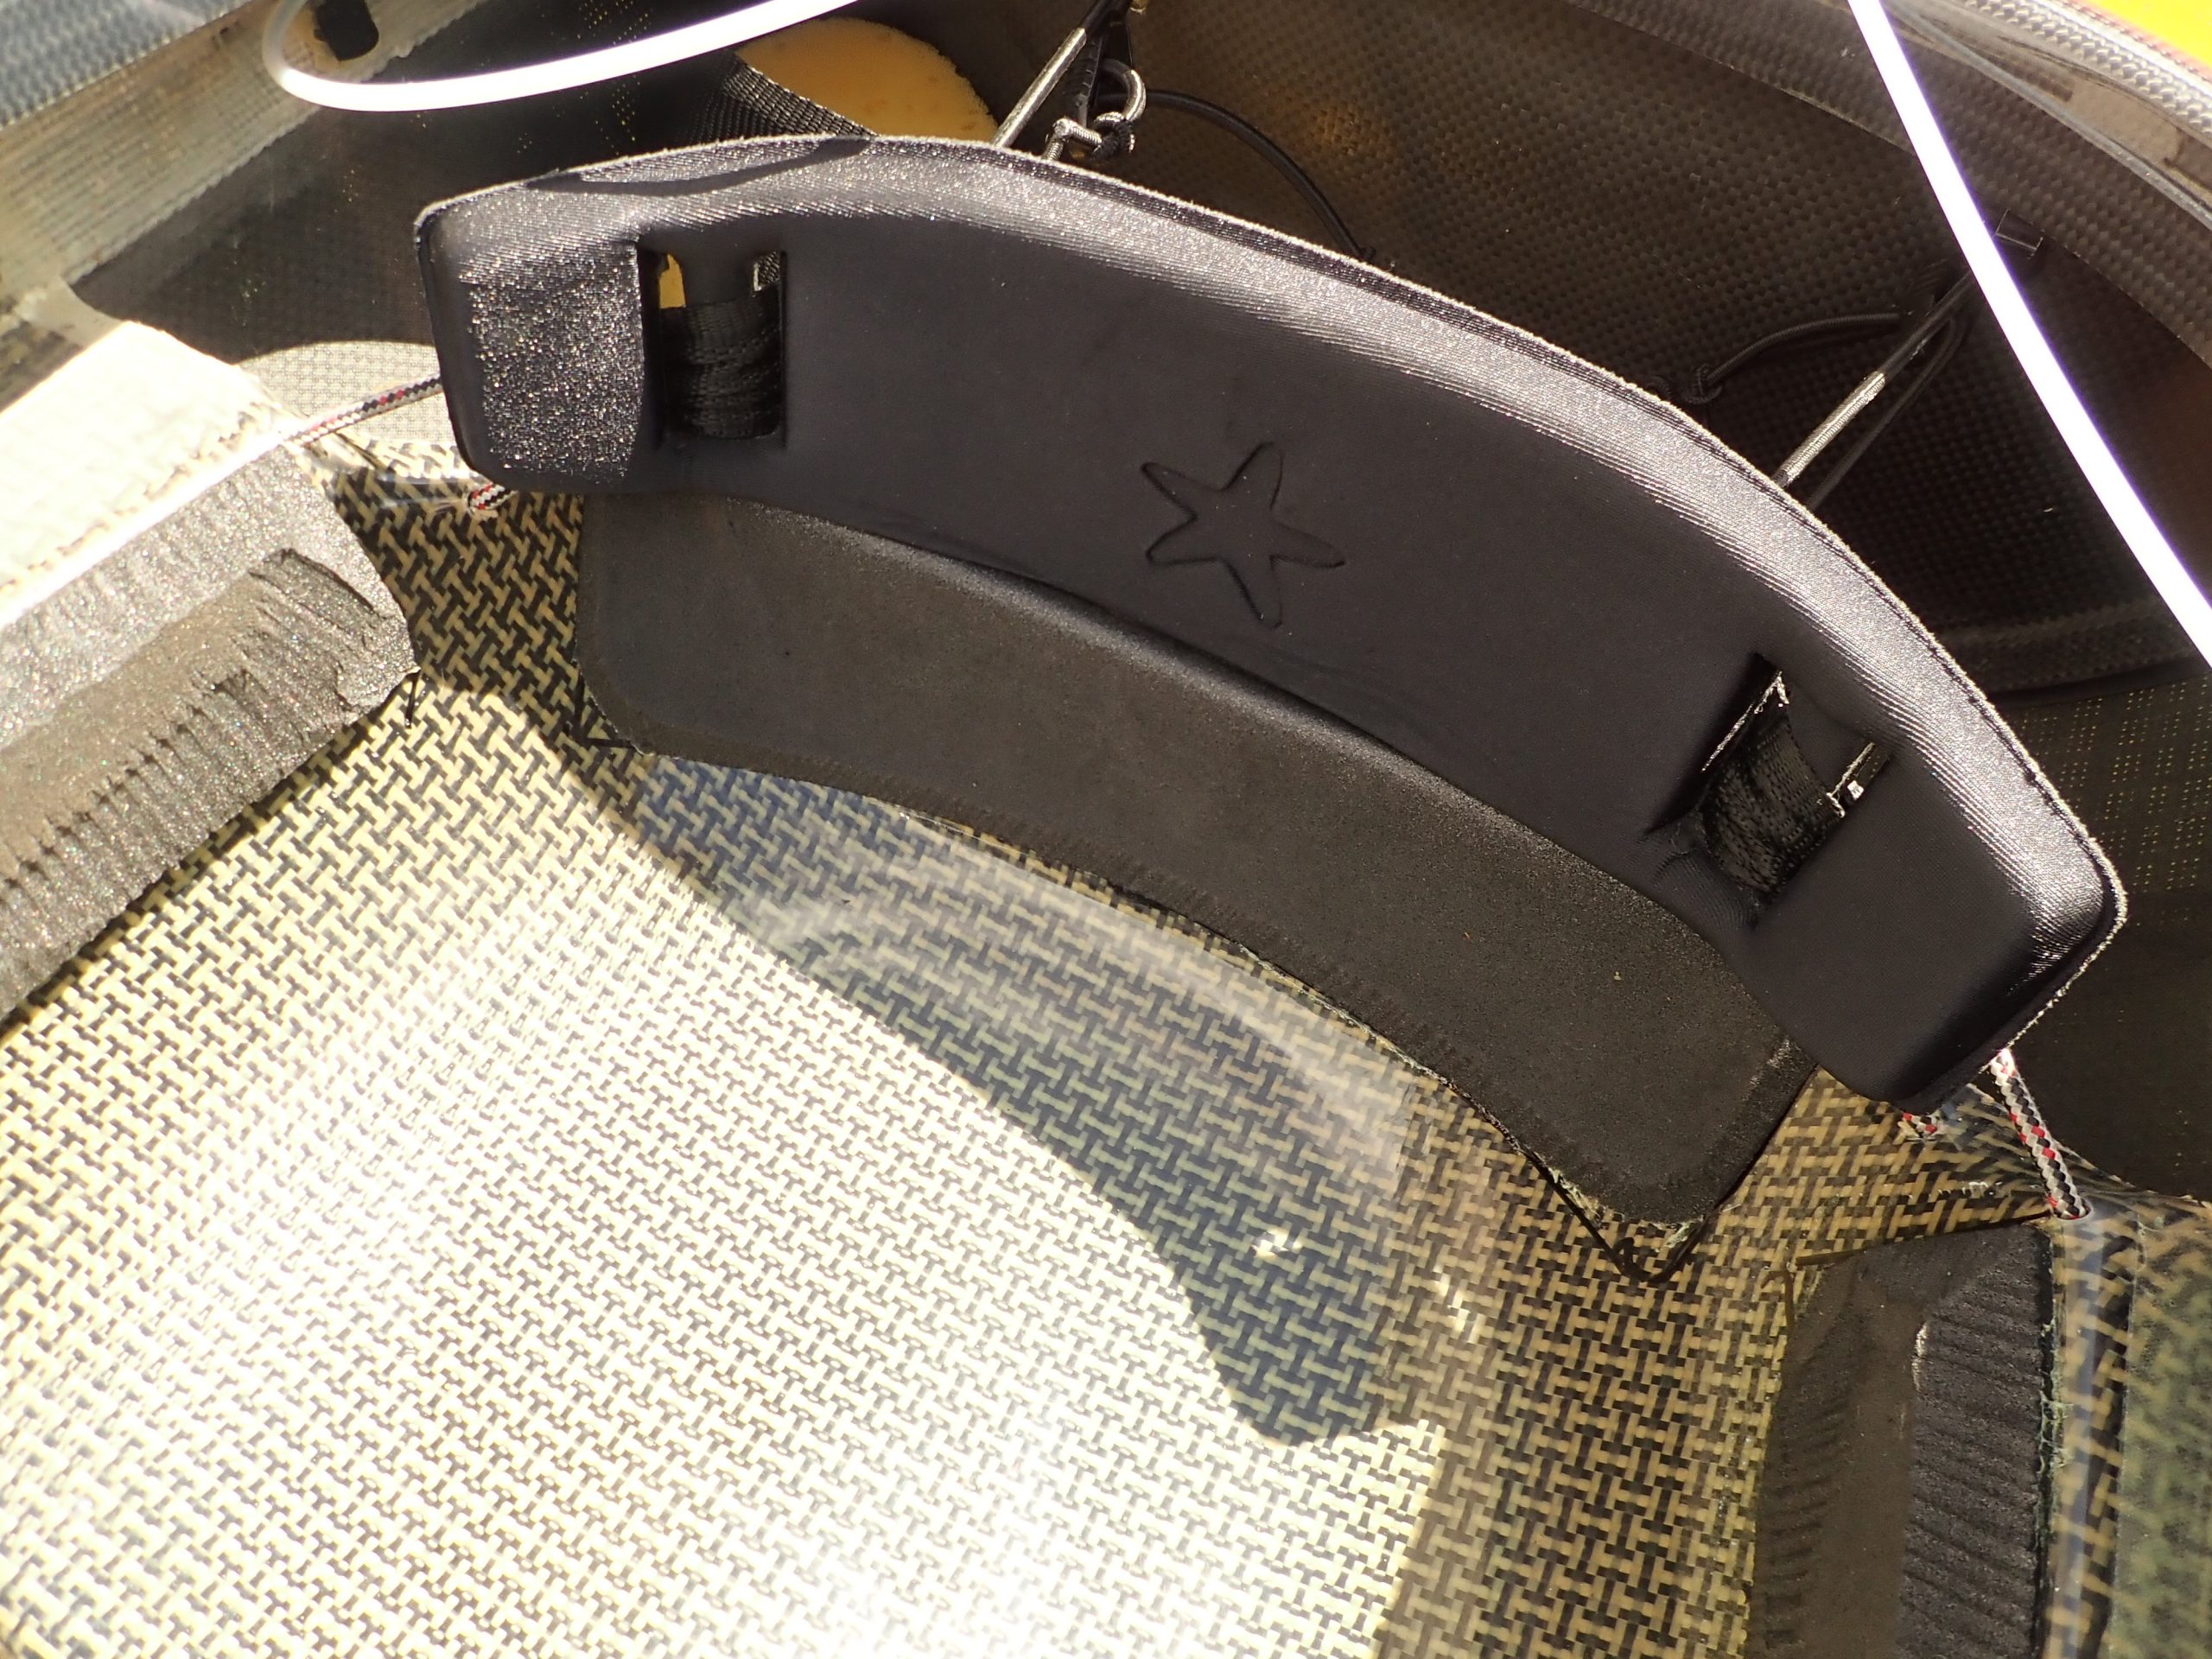
Seat – Rear edge:
This is the same drill as previously, just on the rear edge of the seat.
Job Done:
Now go paddling and enjoy your super handling, super comfortable boat!
by John Willacy