Here we take a look at the fitting of Bow and Stern guards to the Rockpool Taran.
Before we get in to the ‘how-to’, maybe we should take a quick look at the ‘why’ too.
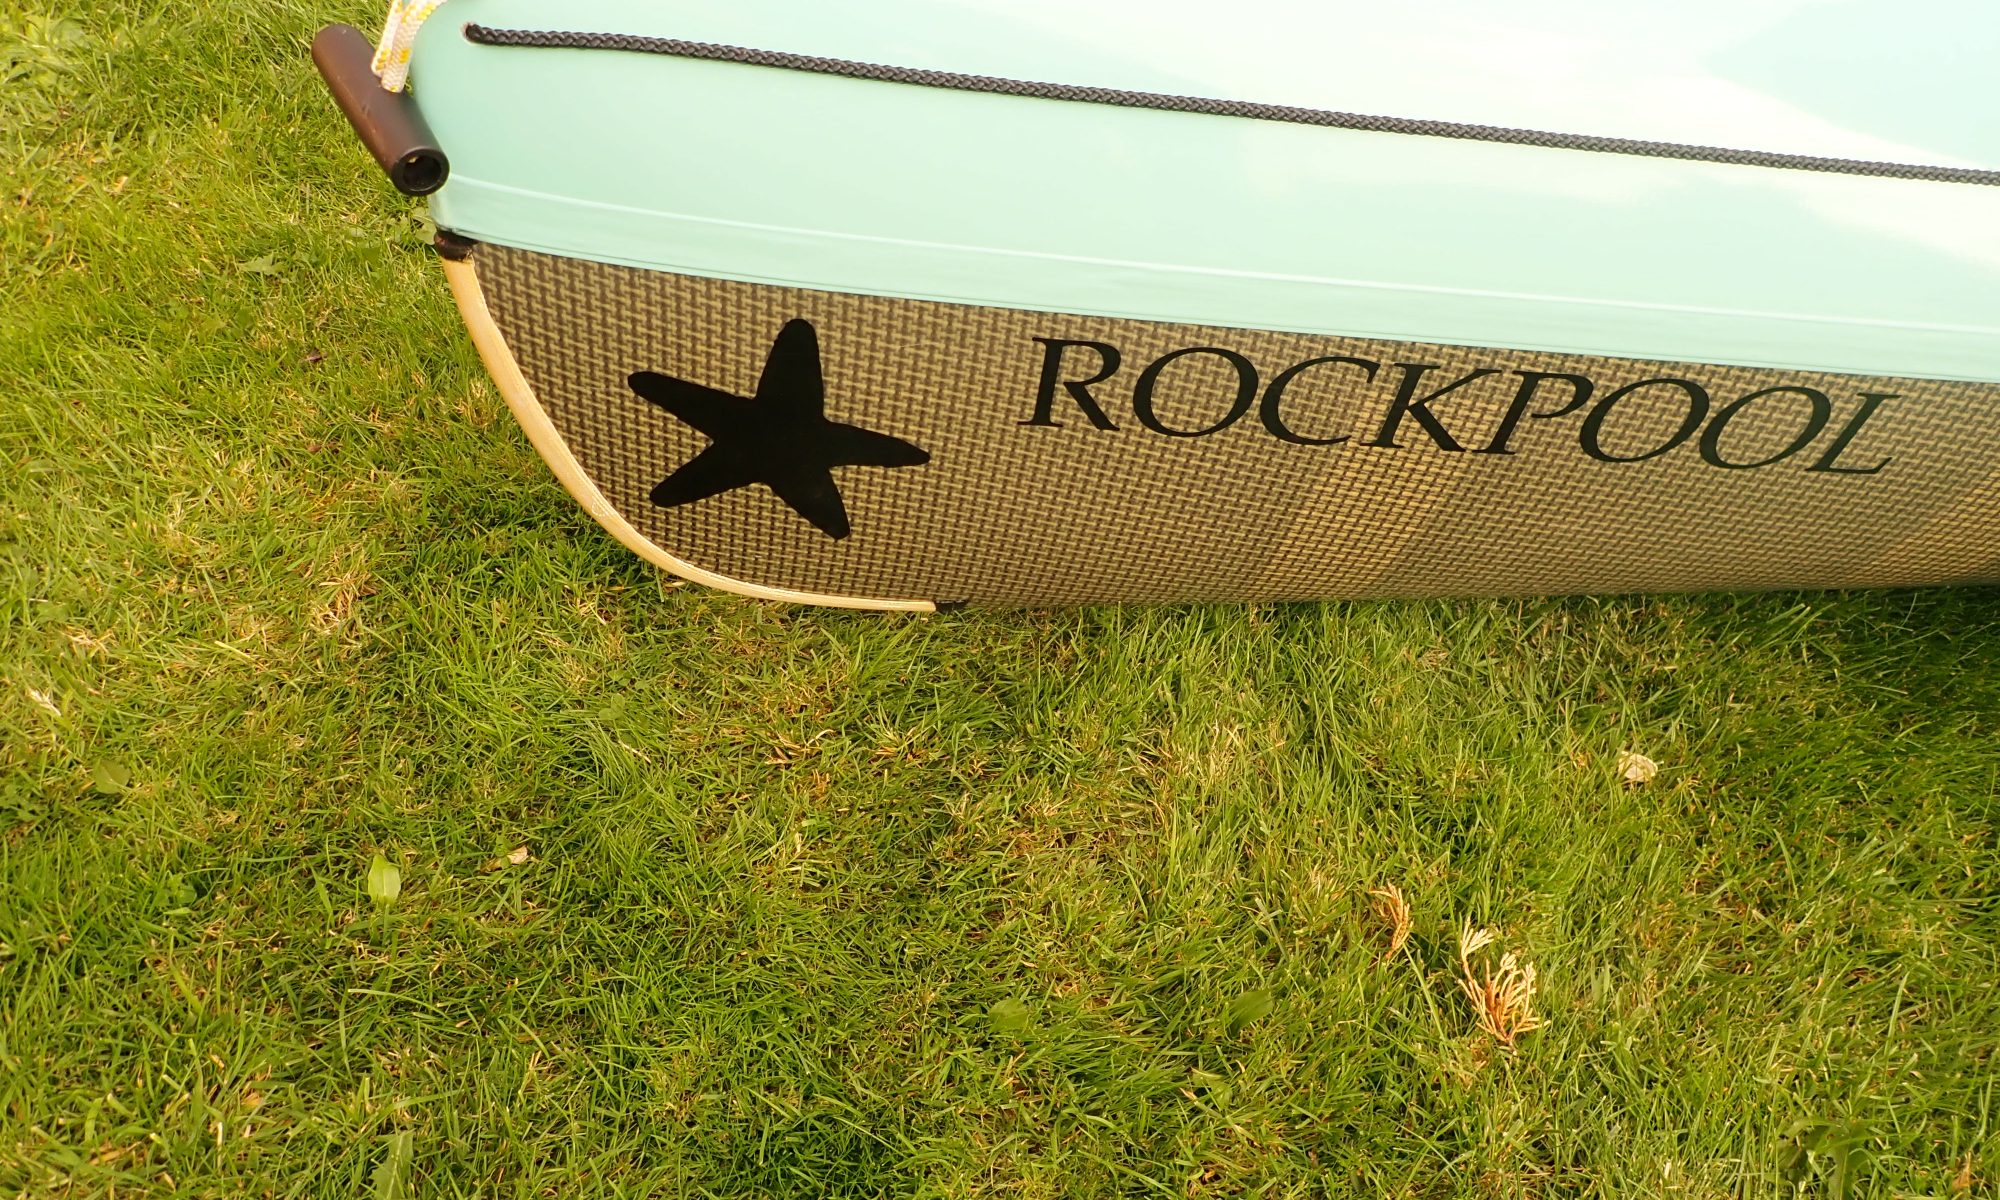
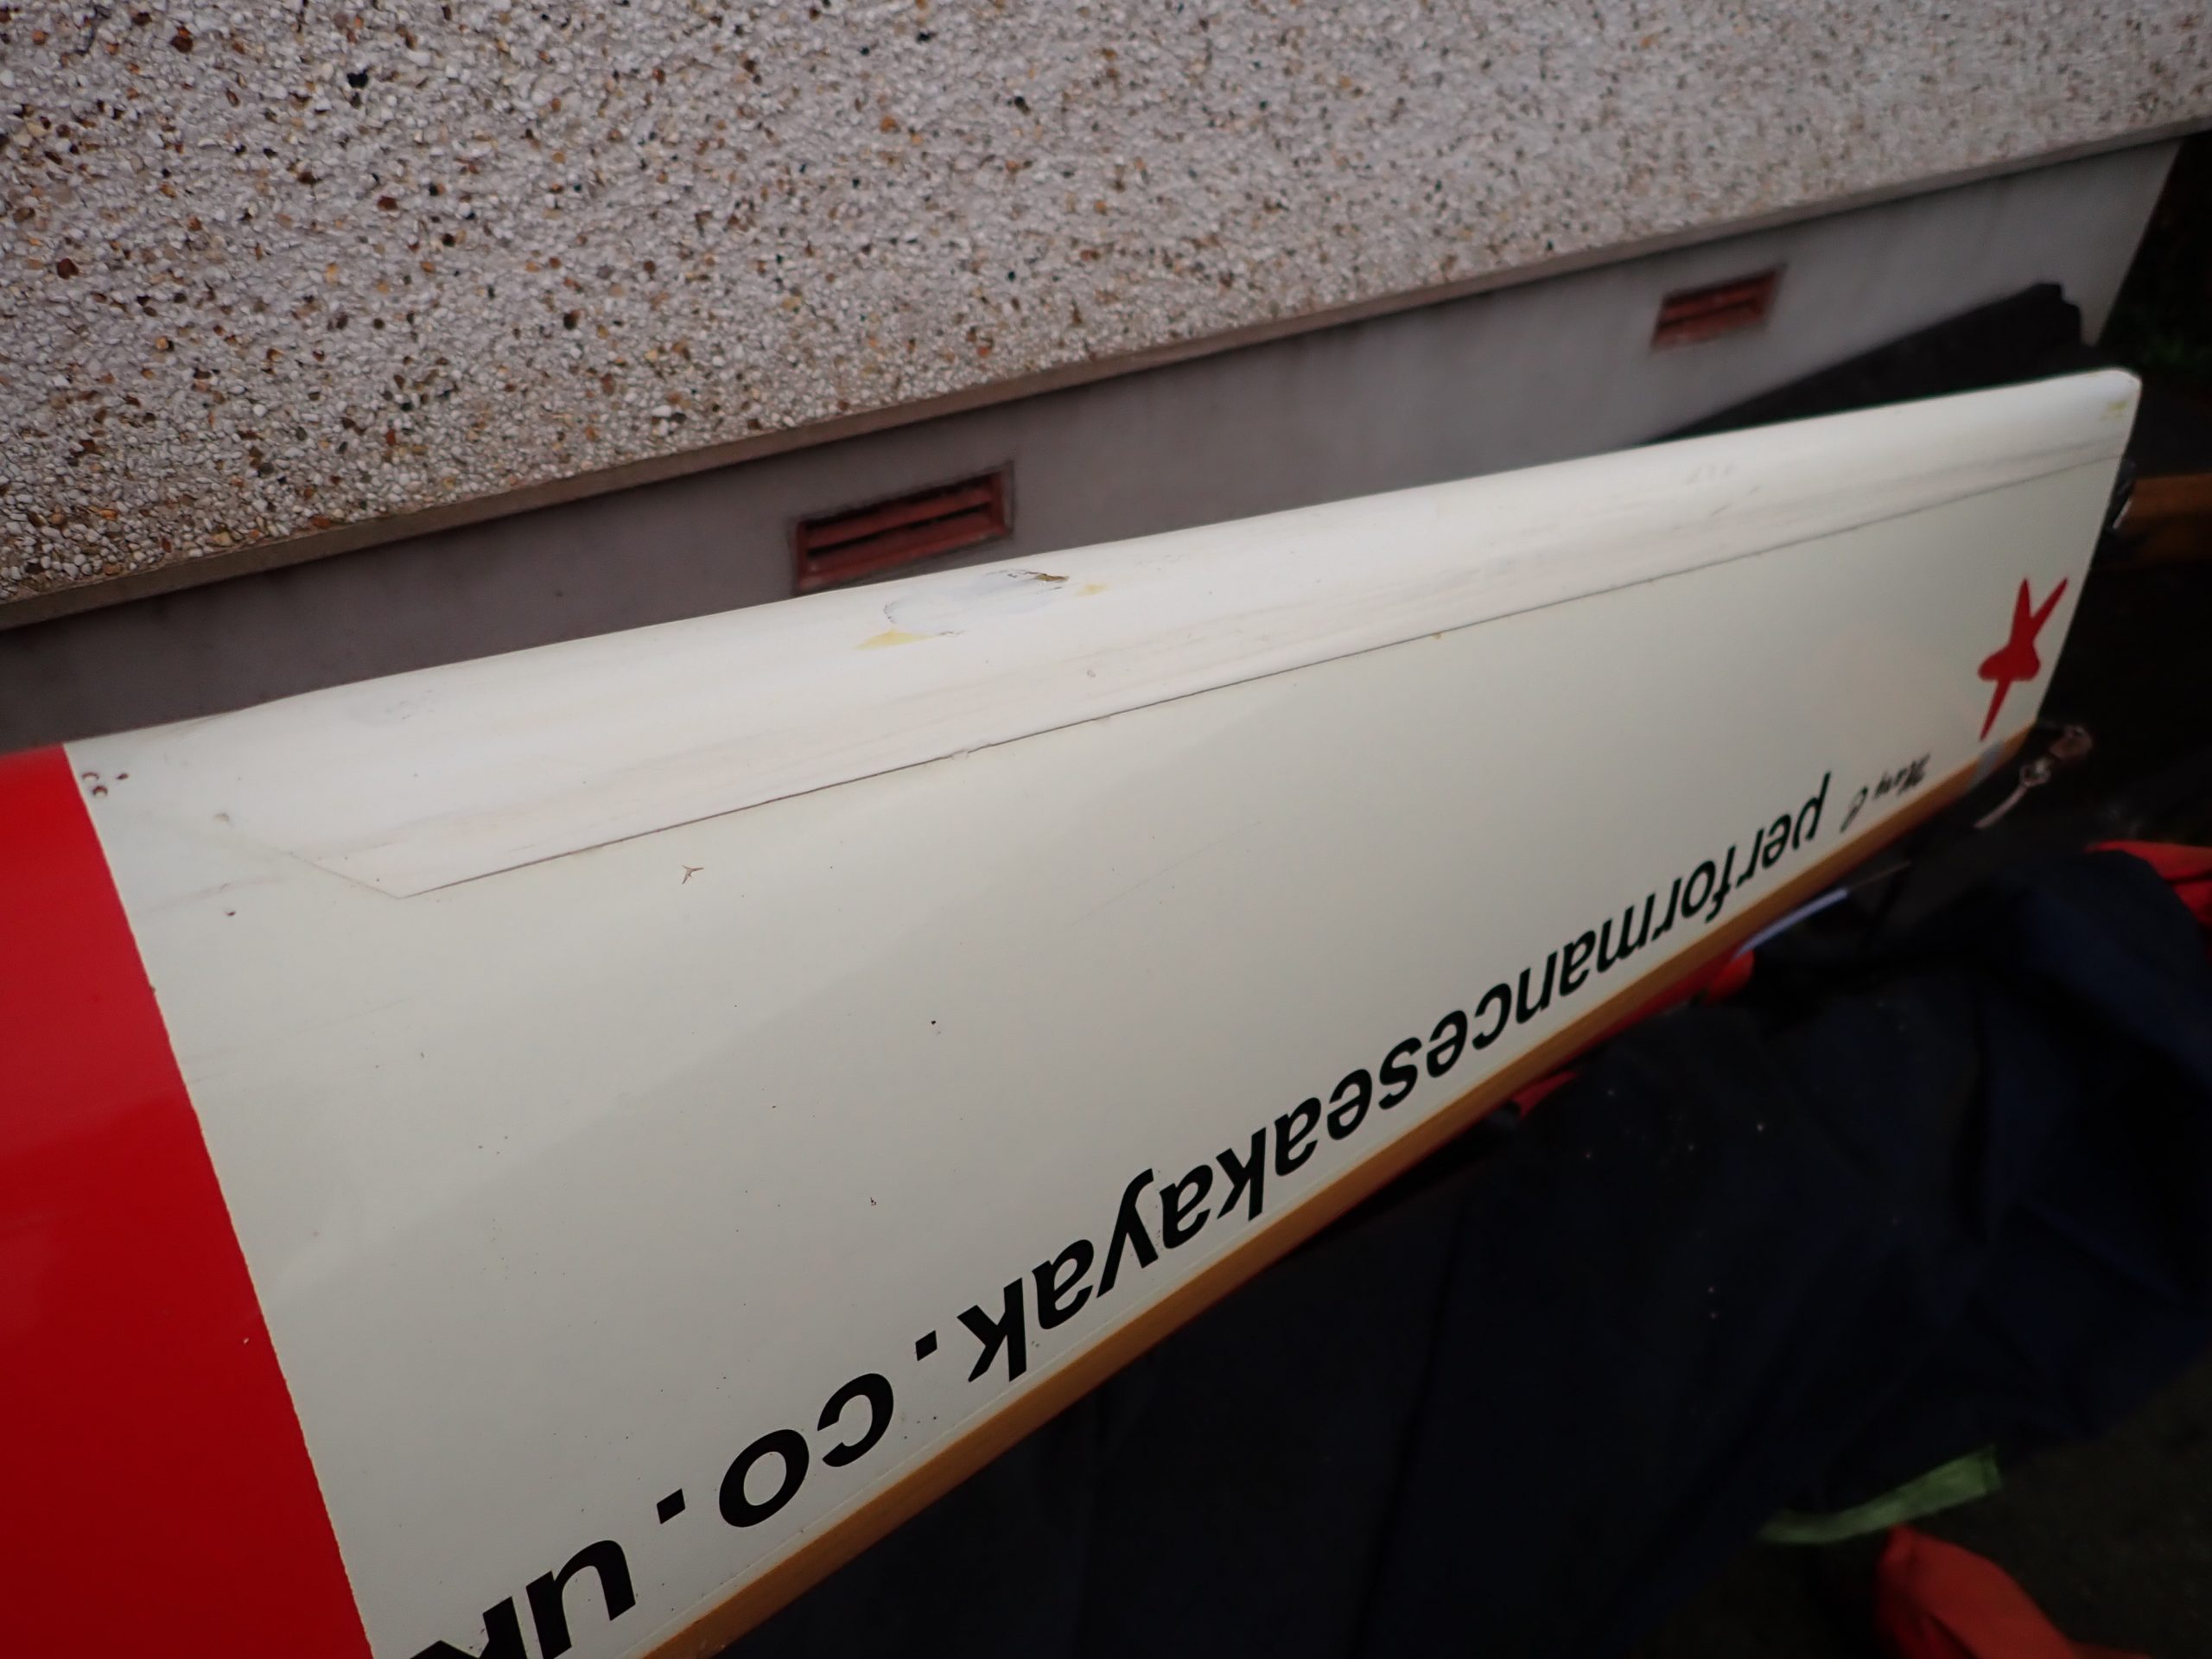
The Taran is a long-waterline kayak (5.0m+) with a relatively low rocker. It is designed as a performance sea kayak and as such needs a little more understanding from the paddler. This long low-rocker hull means that any wear and tear can be intensified over small areas.
So:
Try to launch and land with the boat afloat wherever you can.
Try to do this with the boat parallel to the water’s edge as much as possible. Not only does this help with looking after the ends, it also makes you less likely to step out into the deeper water that a long hull brings.
Avoid seal-launches or dragging the boat. The hull is not designed with these in mind, they put a lot of wear on the tip of the tail and also can damage the rudder.
Likewise riding the boat up a steep beach puts wear on the relatively fine bow. (And on a steep beach can leave you stepping put into a metre of water!)
Treat the ends of the boat gently, it is your friend!
However the nature of sea kayaking mean that the Taran is going to take some wear and tear during it’s life like it or not. So fitting end-guards to look after the hull can be useful.
Bow Guards
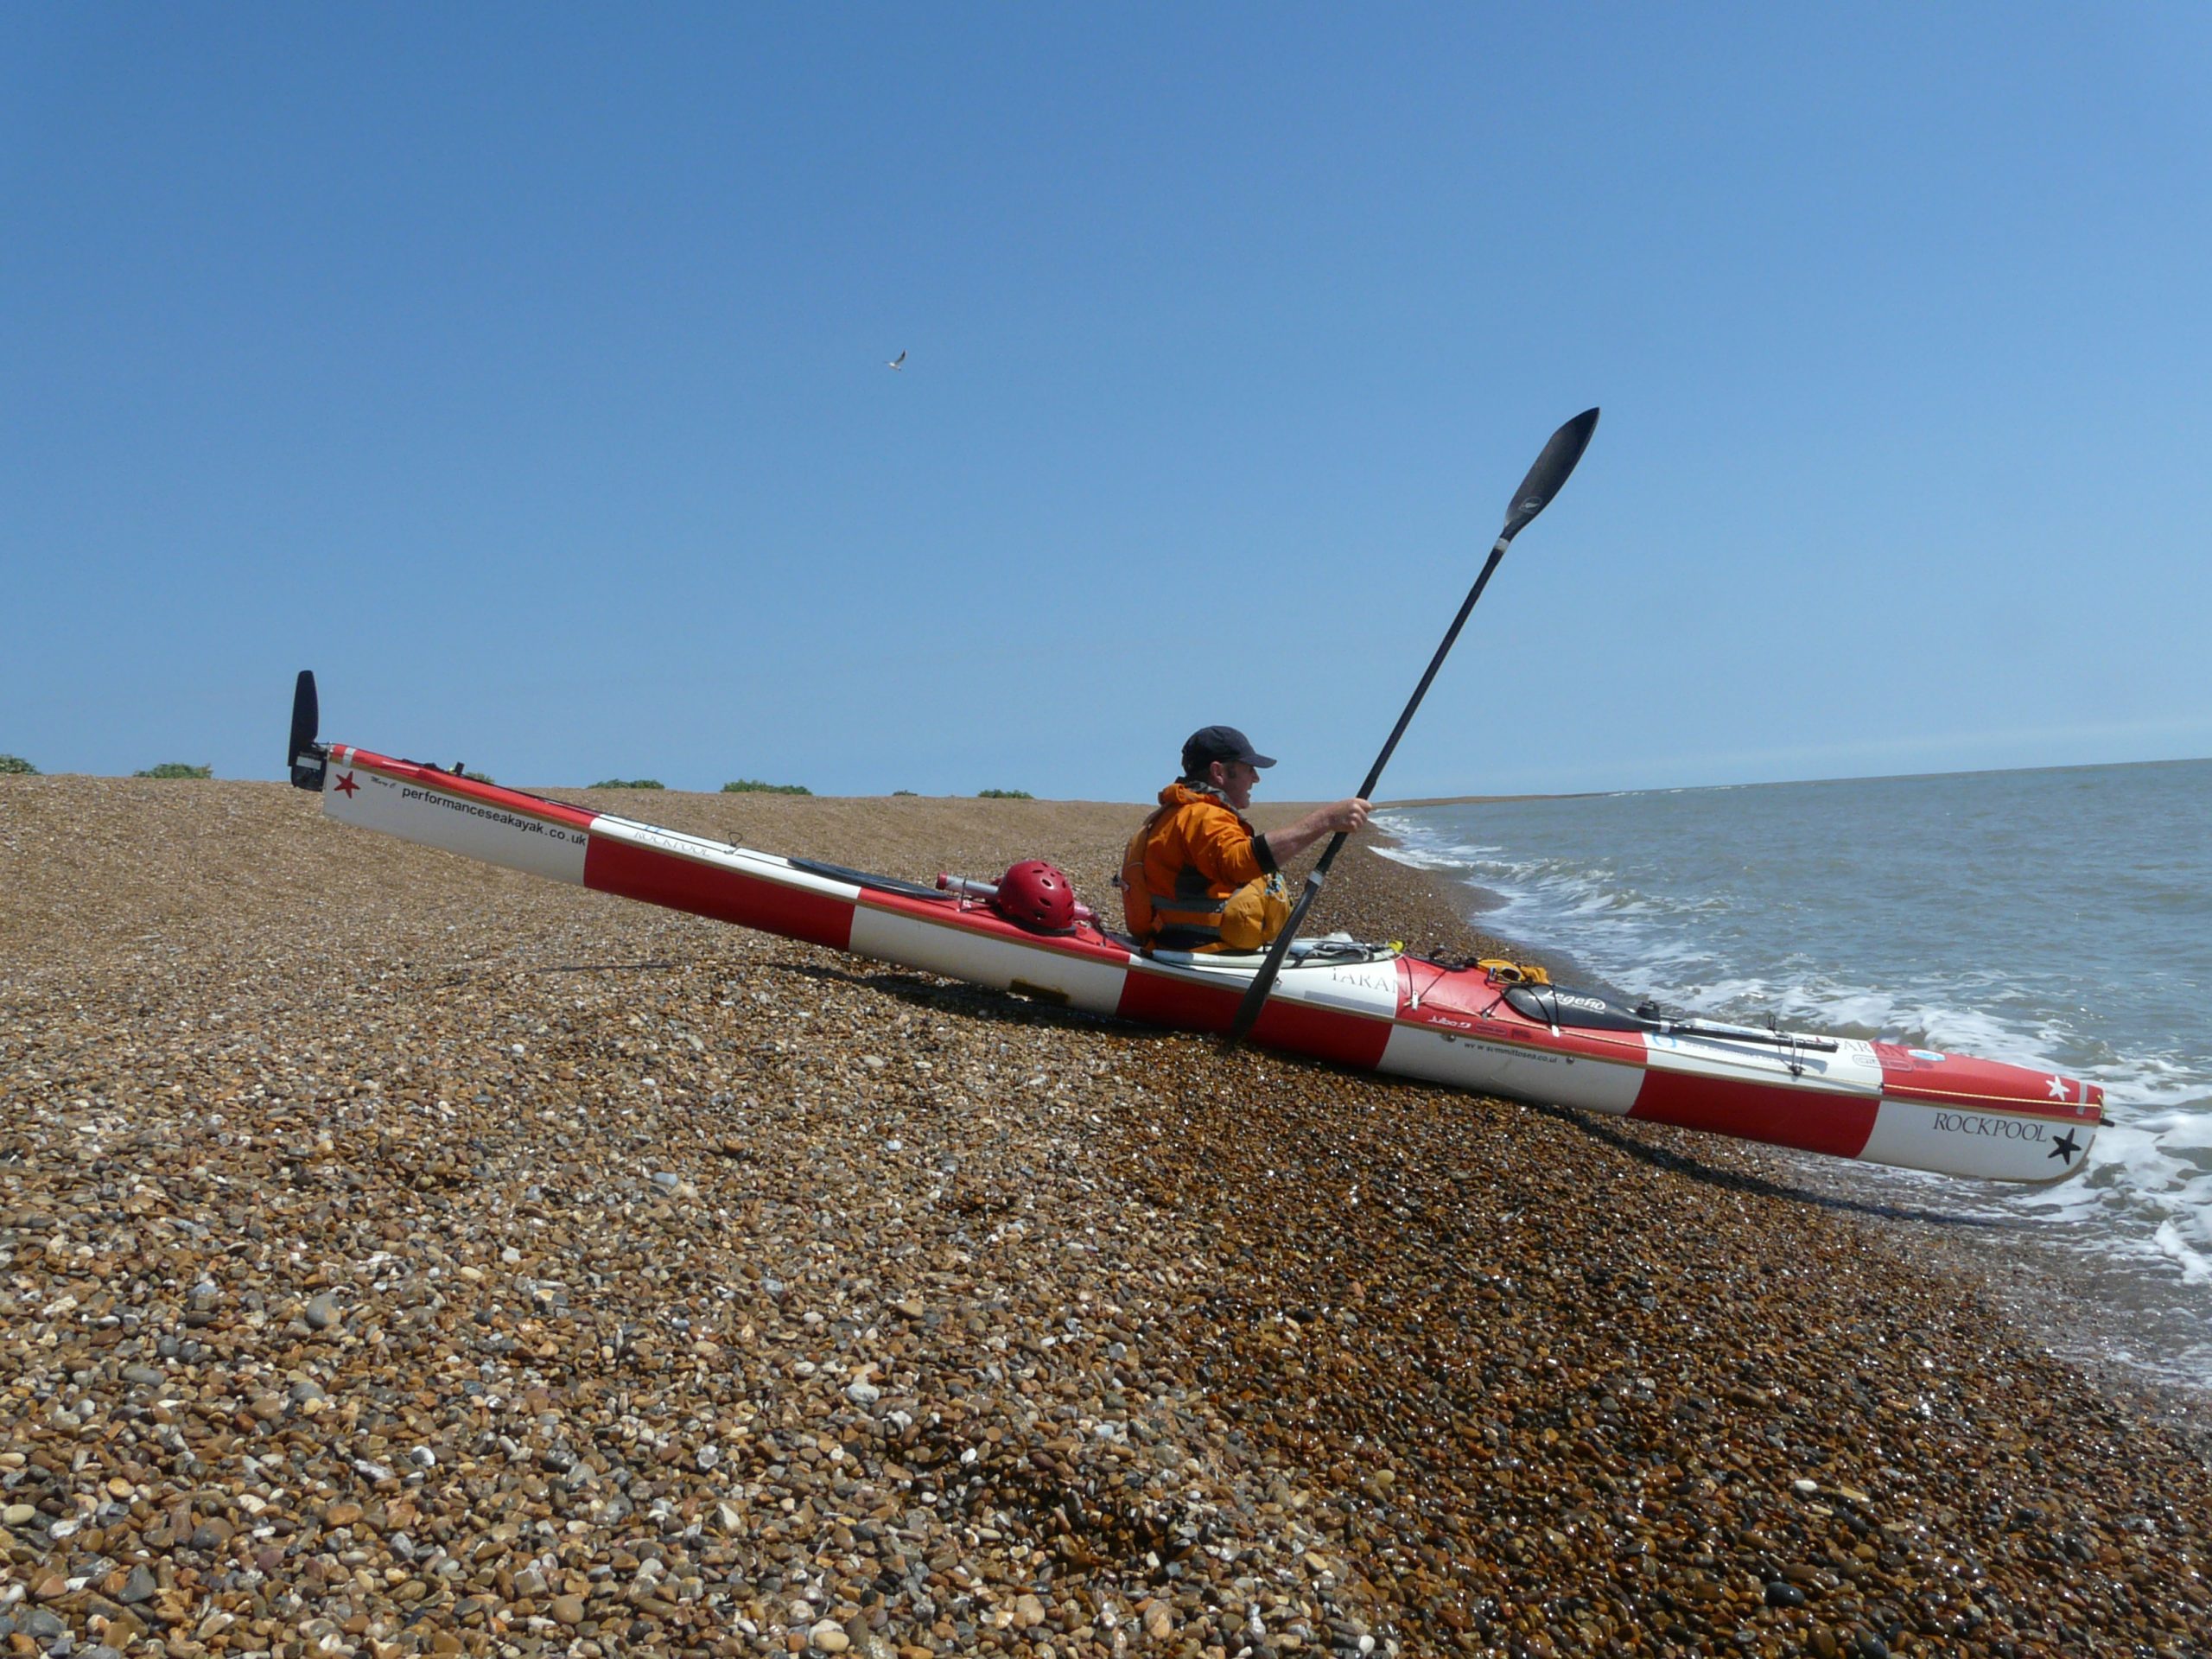
I have a bow guard fitted to the Taran I use for running the Bores, the shallower ones can result in the bow sliding along the river bed. I also fitted one on my first GB Circumnav boat, it was useful for those solo scratchy launches and landings with a heavy boat. (However I didn’t have one fitted to the 2nd GB Circ boat and it survived pretty well.)
I also have fitted them to training boats, as high-speed rock/boat interactions do occur at times! The ‘light bow’ of the Taran means that a well built rock-guard has minimal detrimental effect on boat handling, but can save hours of boat repairs.
Stern Guards
I feel are less important on the whole for the Taran.
Fit one if:
a) You are going on a long-solo exped where you will likely have no option but to drag the boat at times.
b) You like to treat a boat badly. (A Taran is for life not just for Christmas!)
The idea
When the Taran was being built for my first GB Circumnav we took an idea from my days of Wild Water Racing and fitted it to the Taran – the composite Bow Guard. As a WWR paddler on the shallow, rocky rivers of the UK you learn that the Bow (or Rock) Guard is indispensable, to keep a boat hull in race condition for as long as possible.
It’s a simple idea: lay-up a few layers of Kevlar braid (or tape) on the bow of the boat. Once this has cured it provides a tough shield against wear and moderate impact. Weight is minimal (a matter of grams) and if constructed carefully it provides minimal drag to the boat too.
In the racing world the Bow Guard is designed to be removable, held in place with tape for training and easily removed for racing. With the Taran a removable guard is less significant. The added weight or drag is minimal.

This guide covers the building of a removable guard.
Building a Bow Guard
First choose your fabric. Kevlar braid will give a very tough guard but can become quite bulky. Kevlar tape results in a more minimalist guard but gives less protection. I use tape for my faster boats and a combination of braid over tape for my heavy wear boats. A reasonable compromise would be 2 layers of 25mm tape overlapped by a layer of 32mm braid. You can use wider fabrics but that may make the guard quite bulky and may be overkill.
A little Peel-Ply can be useful to tidy things up too. You can use either polyester or epoxy resin, though using epoxy will give a much more robust guard.
Cut your material to length – start at the bow, at the lower edge of the deck/hull seam and ‘stretch’ the tape around to reach the keel a little beyond the end of the curve.
You are going to lay-up the fabric on the hull so you need to ensure you can release the finished guard and keep the hull clean from excess resin. So you can use either release agent/wax, or for a rough and ready but effective method you can use food wrap (Cling Film). I figure if you are using the former you probably don’t need help from this guide, so we’ll take a look at the Cling Film method instead.
Turn the boat upside down and stretch a layer of Clingfilm over the bow area. Hold the edges in place with masking tape – tension the Cling Film to make it as smooth as possible. Ensure you cover well beyond the working area or you will spend time scraping off resin drips later!
Cut strips of your Kevlar Tape to the desired length, the more strips the stronger the guard but thicker the finished piece. You’ll get a better finish if you can lay up the widest tape on the outer-layer.
Paint a layer of epoxy resin over the Clingfilm in the area where the guard will be. Wet a strip of Kevlar tape on a piece of cardboard and then place it onto the Clingfilm. Wearing gloves(!!) – gently ‘pinch’ the tape and run your fingers along the tape from the centre out towards the ends. Repeat this until the weave in the Kevlar tape stretches (a little) and the Kevlar tape holds in place without any puckering along the edges. This may take a little time – be patient! Add your next layer of Kevlar tape and repeat the smoothing, and then repeat the whole process until you have the required number of layers. Ensure each piece of Kevlar tape is slightly longer than the previous to give a smooth overlap at the ends.
This next stage is optional: it gives a smoother finish, but it can be fiddly and takes a little practice (and patience):
Place a length of Peel-Ply over the last layer of Kevlar tape with a good overlap. Now using your fingers once again smooth the Peel-Ply as per the Kevlar tape. The Peel-Ply does not stretch or form like the weave in the Kevlar so this stage can be rather fiddly. However with patience (and a dollop of resin) it should eventually give a smooth finish with no puckering. However it can be tricky – remember this one is optional!
Allow it all to go off (overnight, and it needs some warmth for epoxy) and then remove the whole thing from the boat. DO NOT remove the guard from the boat until it has gone off fully or it will distort.
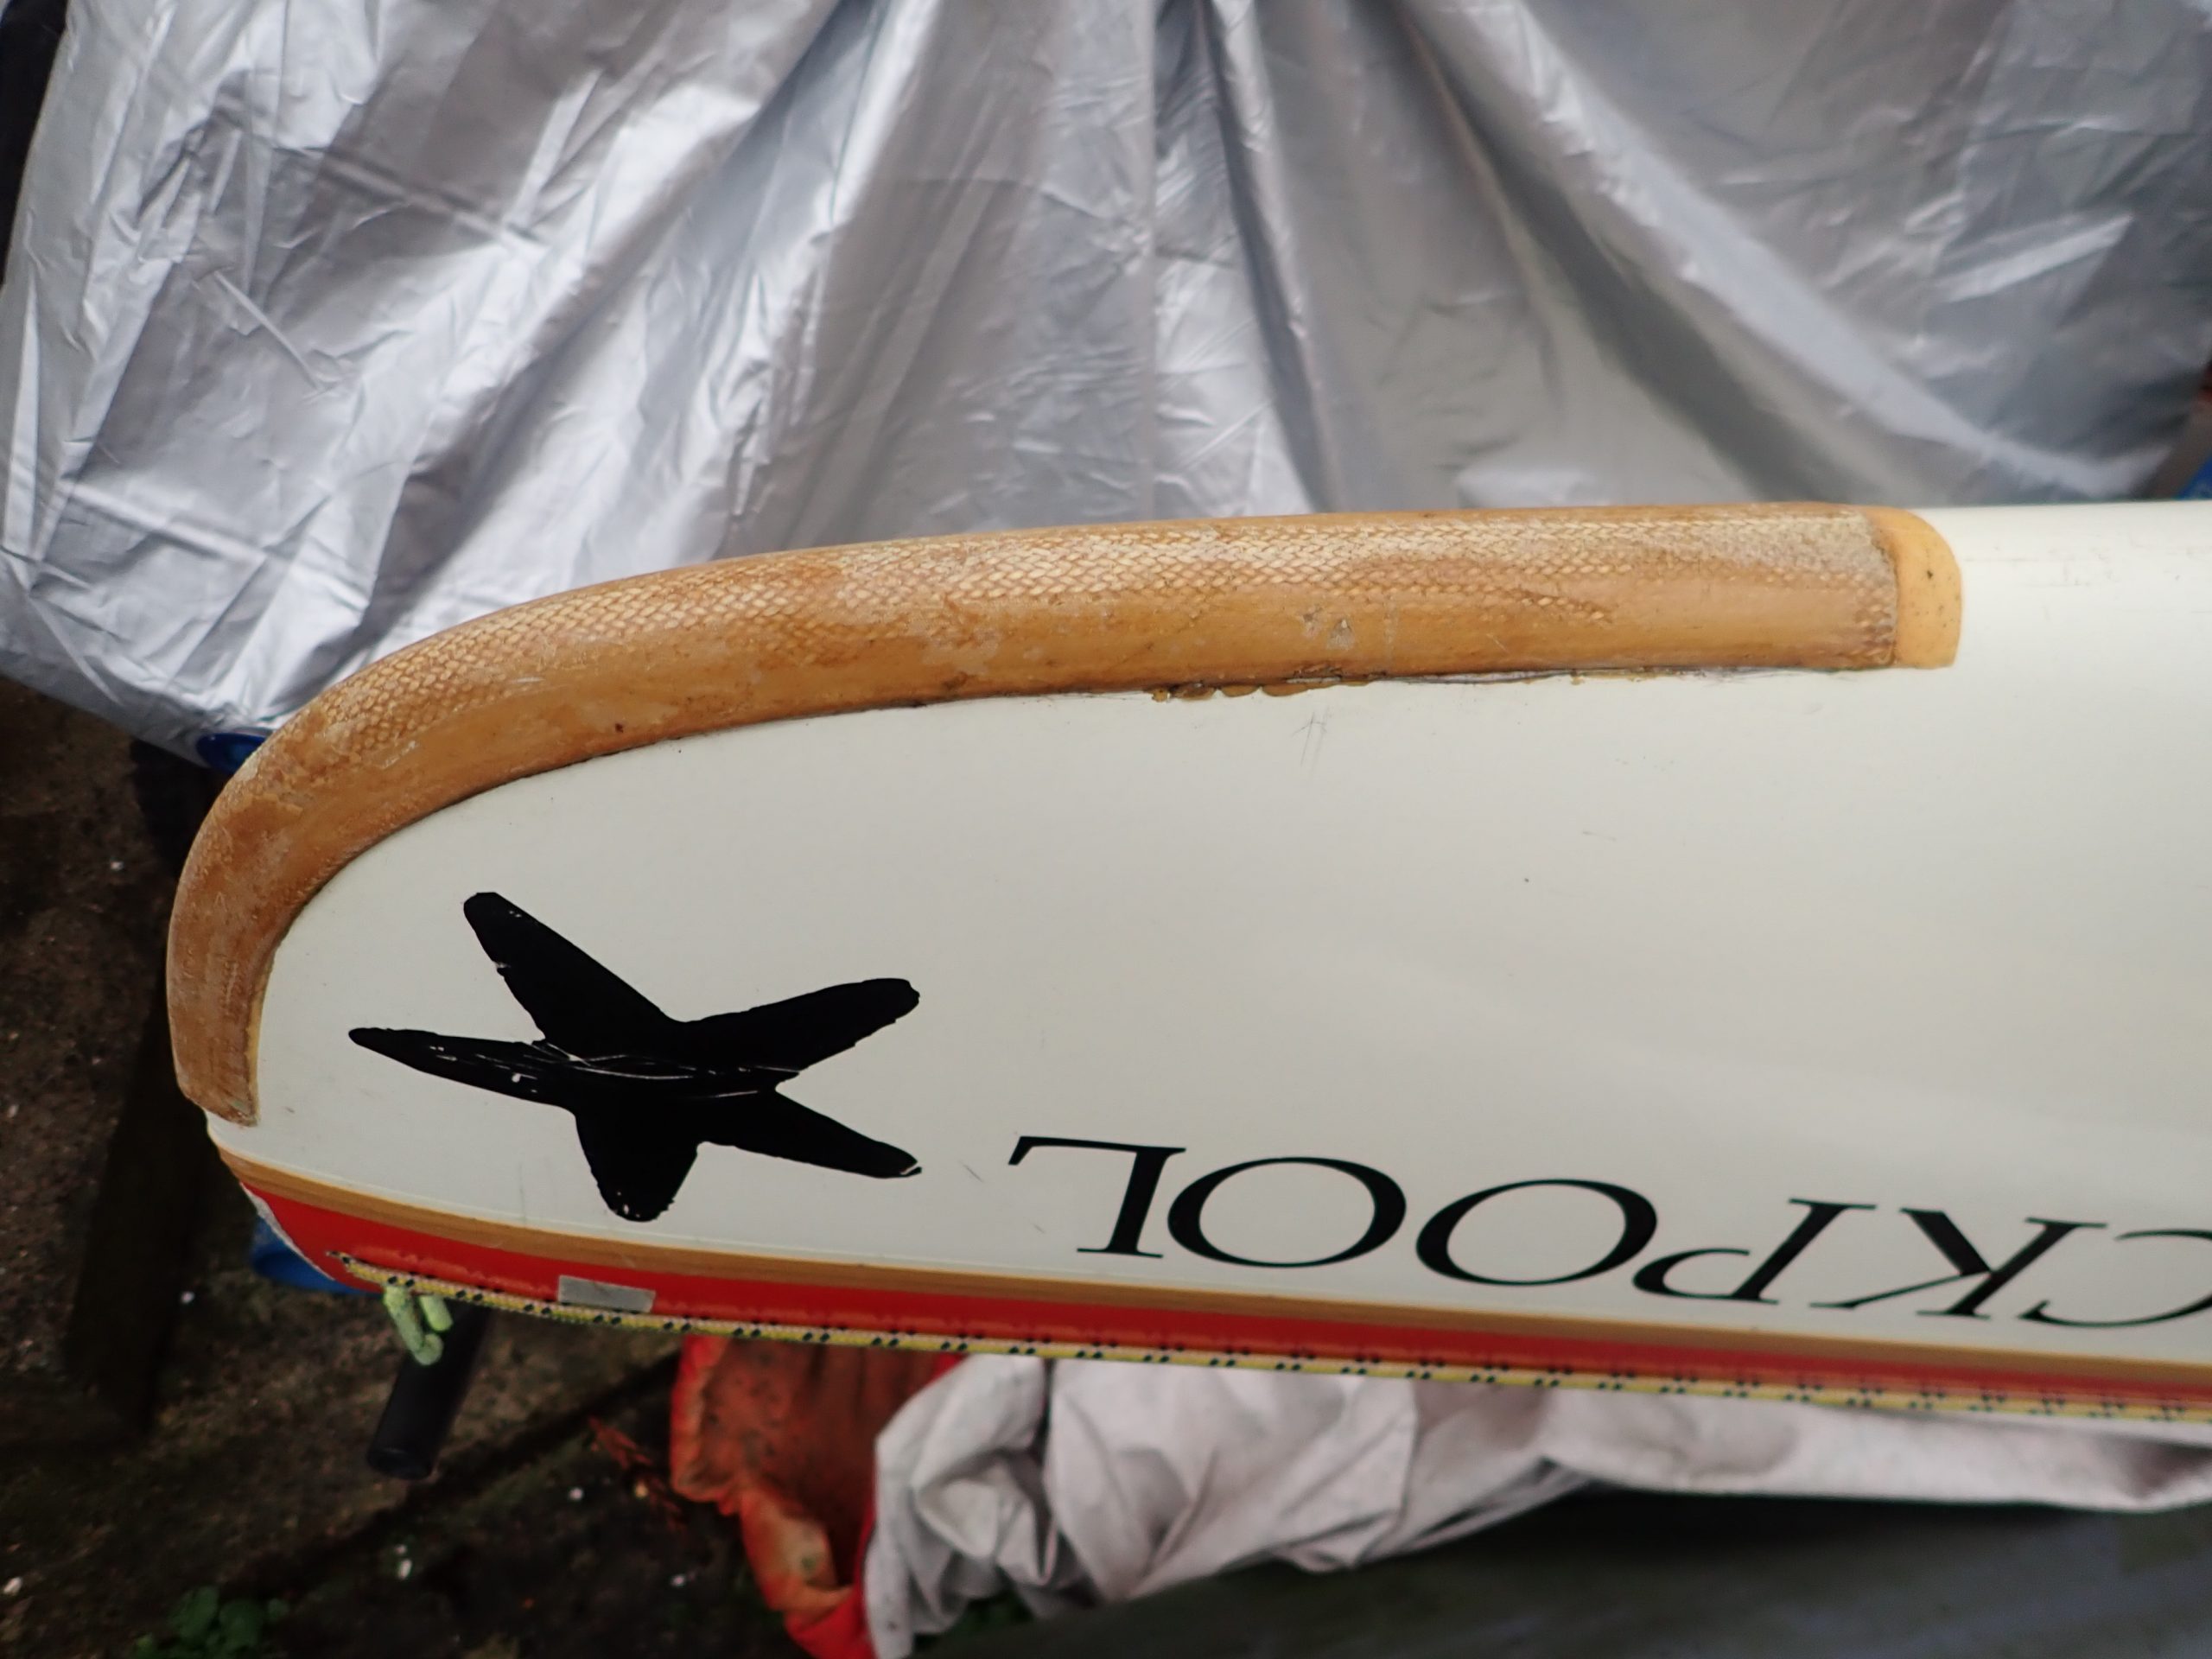
Discard the cling film and masking tape, remove the Peel-Ply and then carefully trim any sharp edges of the Bow Guard. Use a hacksaw/band saw to trim the end to length as necessary.
If it is to be a removable guard then drill a small hole at the top, to thread a thin cord lanyard through which in turn is tied to the bow-toggle. The guard is now attached to the boat with a couple of strips of gaffer-tape running across the top end of the guard. Don’t put anything at the bottom end; it will peel away producing a fountain of drag! Note: Don’t slide the boat rearwards with a taped guard, it will catch and peel off.
Alternatively the guard can be held permanently fixed in place with a thin layer of waterproof grab-adhesive such as Sikaflex.
If you hit anything now the guard will spread the load and minimise damage to the gelcoat.
Stern Guard
On the stern a similar process can be used.
Here a removable guard is less useful. The rear guard is designed for wear rather than impact and so the guard really needs to be a permanent addition for sea kayaking – effectively building a mini-keel strip over the stern of the boat. This is a permanent guard.
I make my stern-guards around 75cm long, reaching from the very end of stern keel.
I use wide Diolen or Kevlar tape (50mm). Mask an area of boat to give a slight overlap beyond the fabric tape. Roughen this area using a ‘nylon sanding wheel’ on an electric drill. Clean and remove all dust. Wet this area with resin and then wet the tape separately.
Lay the tape on the boat, remove the masking tape and allow it all to dry to the touch (minimal ‘tacking’) – following layers will bond best if the previous has not fully cured. Re-mask slightly wider (or use multiple layers of masking and just remove them individually as necessary) and now paint on a layer of gelcoat or thickened resin (if using epoxy) to give a smooth finish. Mask the leading edge to an arrow point facing forward.
Remove the masking tape and now you have should have a tidy stern guard.
Here is a summary list for fitting a Keel Strip, the same method is used to make the shorter Stern Guard.
Keel Strip Application
Clean and dry hull
Mask outer edges of keel line with 2” masking tape
(Add multiple masking layers as necessary – mask each layer ‘wider’ as required)
Rough upthe keel line with nylon wheel on electric drill
Wipe down with acetone
Re-mask as necessary
Paint on resin along length
Wet out keel strip tape (Diolen tape –2”??)
Drape tape length of boat and wet with resin
Smooth ends with patches of ‘peel ply’
Remove masking tape
Leave to cure
Tidy ends etc
Re-mask full length
Paint with gel/flo-coat/coating resin as required
Remove mask tape
Light sand as necessary
Items required:
Mixing containers – large paper cups
Mixing sticks – tongue depressors
2” paint brushes
Acetone
Resin
Gel
Pigment
Catalyst
Peel-ply (small – 3 x 2” patch for each end)
2” masking tape
2” Diolen tape
Electric drill
Nylon wheel for drill
Boat stands
by John Willacy